manuals.online logo
Brands
  1. Home
  2. •
  3. Brands
  4. •
  5. Technics
  6. •
  7. Musical Instrument
  8. •
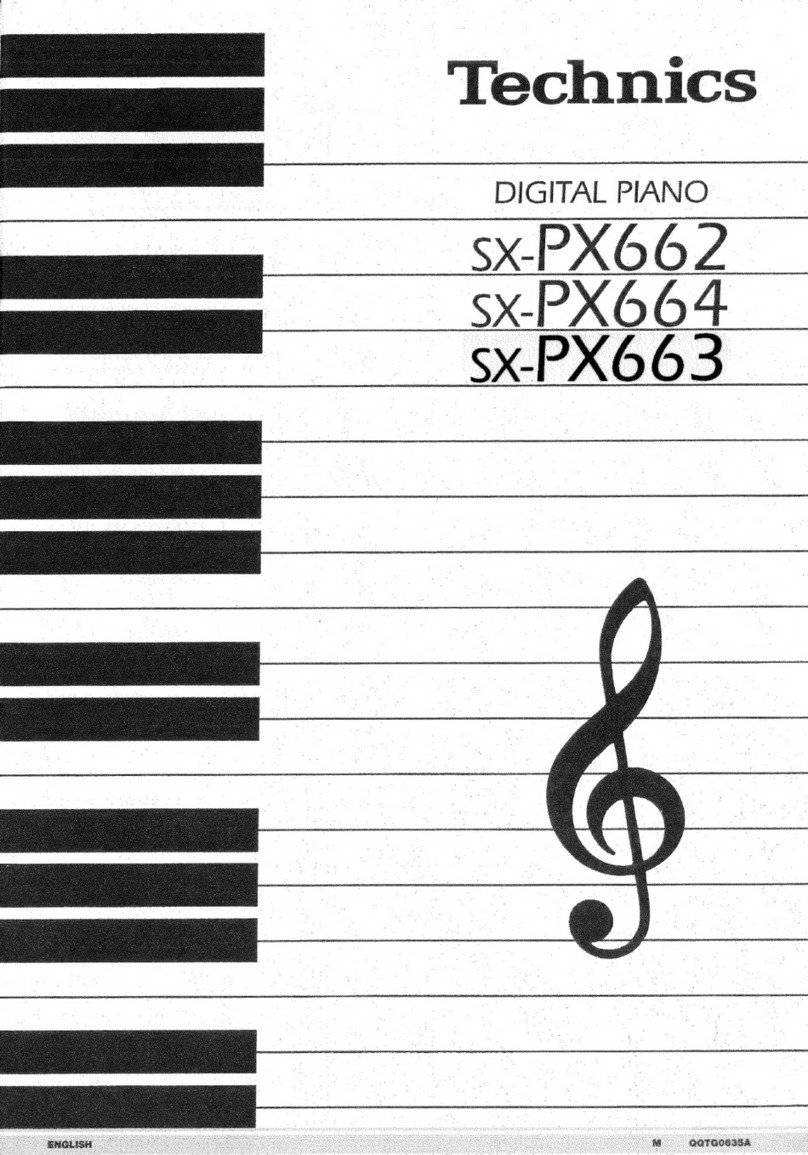
  9. Technics SX-PR950P User manual

Technics SX-PR950P User manual

Other Technics Musical Instrument manuals
Technics SX-3500R User manual

Technics

Technics SX-3500R User manual

Technics SX-E55 User manual

Technics

Technics SX-E55 User manual

Technics SX-EN2 User manual

Technics

Technics SX-EN2 User manual

Technics SX-EA3 User manual

Technics

Technics SX-EA3 User manual

Technics SX-1800B User manual

Technics

Technics SX-1800B User manual

Technics SX-PX554 User manual

Technics

Technics SX-PX554 User manual
Technics SX-3900A User manual

Technics

Technics SX-3900A User manual
Technics SX-F100 User manual

Technics

Technics SX-F100 User manual

Technics U30 User manual

Technics

Technics U30 User manual

Technics SXP30 - ELECTRONIC PIANO User manual

Technics

Technics SXP30 - ELECTRONIC PIANO User manual

Technics SX-EA1 User manual

Technics

Technics SX-EA1 User manual

Technics SX FA1 Organ User manual

Technics

Technics SX FA1 Organ User manual

Technics SX-PRSOV User manual

Technics

Technics SX-PRSOV User manual

Technics SX-PX107 User manual

Technics

Technics SX-PX107 User manual

Technics SXP30 - ELECTRONIC PIANO User manual

Technics

Technics SXP30 - ELECTRONIC PIANO User manual

Technics SX-PX103 User manual

Technics

Technics SX-PX103 User manual

Technics SX-PR603/M User manual

Technics

Technics SX-PR603/M User manual

Technics SX-PX111 User manual

Technics

Technics SX-PX111 User manual

Technics SX-4000R User manual

Technics

Technics SX-4000R User manual

Technics SX-PR50V User manual

Technics

Technics SX-PR50V User manual

Technics SX-2900A User manual

Technics

Technics SX-2900A User manual

Technics SX-G100C User manual

Technics

Technics SX-G100C User manual

Technics sx-PR604/M User manual

Technics

Technics sx-PR604/M User manual

Technics SX-4300A User manual

Technics

Technics SX-4300A User manual
Popular Musical Instrument manuals by other brands

Funkey SP-561 user manual

Funkey

Funkey SP-561 user manual

thomann DP-275 GP BP user manual

thomann

thomann DP-275 GP BP user manual

Kawai CN17 Operation guide

Kawai

Kawai CN17 Operation guide

Yamaha PCY130 owner's manual

Yamaha

Yamaha PCY130 owner's manual

Roland LX-15 Brochure & specs

Roland

Roland LX-15 Brochure & specs

Johannus Rembrandt 200 user manual

Johannus

Johannus Rembrandt 200 user manual

Yamaha Clavinova CVP-609 Reference manual

Yamaha

Yamaha Clavinova CVP-609 Reference manual

Casio celviano ap-700 user guide

Casio

Casio celviano ap-700 user guide

Yamaha PSR-E473 owner's manual

Yamaha

Yamaha PSR-E473 owner's manual

Modulus Quantum Series owner's manual

Modulus

Modulus Quantum Series owner's manual

Gear4music SDP-4 user manual

Gear4music

Gear4music SDP-4 user manual

HOMCOM 390-006 Assembly instruction

HOMCOM

HOMCOM 390-006 Assembly instruction

Xotic Guitars ProVintage Series owner's manual

Xotic Guitars

Xotic Guitars ProVintage Series owner's manual

Sadowsky MetroLine Series operating manual

Sadowsky

Sadowsky MetroLine Series operating manual

Bosendorfer CEUS user manual

Bosendorfer

Bosendorfer CEUS user manual

Yamaha Electone EL-17 owner's manual

Yamaha

Yamaha Electone EL-17 owner's manual

Alesis AHB-1 Assembly guide

Alesis

Alesis AHB-1 Assembly guide

Hotpoint RF512GP How to get the best

Hotpoint

Hotpoint RF512GP How to get the best

manuals.online logo
manuals.online logoBrands
  • About & Mission
  • Contact us
  • Privacy Policy
  • Terms and Conditions

Copyright 2025 Manuals.Online. All Rights Reserved.

ORDERNO. EMID0309005C1
A4
Digital Ensemble
SX-PR950P
Colour
(K) ...................Black
SPECIFICATIONS
SPECIFICATIONS
KEYBOARD 88 KEYS
SOUND GENERATOR PCM
MAX.POLYPHONY 64 NOTES
SOUNDS NUMBEROF SOUNDS:1025
SOUNDS(
990 SOUNDS+2ORGAN
DRAWBARS+33 DRUMKITS)
PIANO GROUP:
GRAND, UPRIGHT, ELECTRIC,
MODERN
SOUND GROUP:
STRINGS, VOCAL, GUITAR&
HARPSI,BRASS, SAX&
WOODWIND, ORGAN&
ACCORDION, SYNTH, BASS,
MALLET &ORCH PERC,
WORLD, PIANO MIXTURES,
ORCH MIXTURES, DIGITAL
DRAWBARS, DRUMKITS,
SOUND EXPLORER
SIMPLEPIANO supported
FAVORITES supported
PEDAL DAMPER, SOFT*, SOSTENUTO*
(*PROGRAMMABLE)
PROGRESSIVE PIANIST supported
TOUCH SENSITIVITY supported
EFFECT DIGITAL EFFECT, MULTI
EFFECT, REVERB, CHORUS,
BRILLIANCE
CHORUS supported
CONDUCTOR RIGHT 1, RIGHT 2, LEFT
TRANSPOSE ±12 NOTES
RHYTHMS NUMBEROF RHYTHMS:
128 RHYTHMS ×4VARIATIONS
RHYTHMS GROUP:POP,
ROCK, FUNC &SOUL, DISCO,
POPBALLAD, BALLAD, BALL
ROOM&SHOW,
8BEAT,16BEAT, USA, WALTZ &
TRAD,JAZZ &SWING, LATIN&
WORLD
METRONOME Supported
CONTROLS MAINVOLUME, APC/
SEQUENCERVOLUME,
BALANCE, MUTE, START/
STOP, INTRO &ENDING 1,
INTORO &ENDING 2, FILL IN1,
FILL IN2, COUNT INTRO,
SYNCHRO &BREAK, TEMPO/
PROGRAM,TAPTEMPO, FADE
IN/OUT, SPLIT POINT
AUTO PLAYCHORD MODE:BASIC, ADVANCED1,
ADVANCED2, PIANIST
MEMORY, ONBASS, CHORD
FINDER, LEFT HOLD
MUSICSTYLEARRANGER Supported
SOUND ARRANGER Supported
PIANO STYLIST Supported
ONETOUCH PLAY Supported
TECHNI-CHORD Supported
PANEL MEMORY 3BANKSX8
SEQUENCER 16 TRACKS
RESOLUTION:1/96 PERBEAT
STRAGECAPACITY:
APPROX.40000 NOTES (10
SONGSMAX.)
INPUT MODES:
EASYRECORD, REALTIME
RECORD, STEP RECORD
FUNCTIONS:
RECORD &EDIT,COPY&
PASTE, RANGEEDIT
COMPOSER 8PARTS:
BASS, ACCOMP 1-5,
DRUMS1,2
STRAGECAPACITY:
APPROX.13000 NOTES
INPUT MODES:
REALTIME RECORD, STEP
RECORD
FUNCTIONS:EASY
COMPOSER
PATTERN COPY, SEQ
TOCOMPOSER, LOADSINGLE
COMPOSER
MEMORY: 3BANKS
DISKDRIVE 3.5inch DISKDRIVE FOR2HD
(1.44 MB), 2DD (720 KB)LOAD,
SAVE, DIRECT PLAY, SONG
MEDREY, DISKTOOLS,
PREFERENCES
SOUND PART SETTING, MIXER,
MUSTARTUNING, KEY
SCALING, APCREVERB
SETTING, TECHNI-CHORD,
SOUND LOADOPTION, SOUND
ARRANGER
REVERB &EFFECT MICREVERB &EFFECT, TONE
CONTROL, REVERB, CHORUS,
MULTI, SOUND LOADOPTION,
MIXER
CUSTOMIZE DISPLAYTIMEOUT, DATA
PROTECTION, FAVORITES
SETTING, MIDI SETTING LOAD
OPTION, LANGUAGESETTING,
DISKPREFERENCES
CONTROL INITIAL, PEDAL SETTING,
PANEL MEMORYMODE, MUSIC
STYLEARRANGERMODE,
FADEIN/OUT SETTING
SOUND EDIT EASYEDIT, TONE, PITCH,
FILTER, AMPLITUDE, LFO,
EFFECT, CONTROLLER
MEMORY:
40,1USERDRUMKIT
MIDI PART SETTING, CONTROL
MESSAGES, REALTIME
MESSAGES, COMMON
SETTING, INPUT/OUTPUT
SETTING, MIDI PRESETS,
MODESETTING
DISPLAY LCD:
PAGE, CONTRAST, EXIT,
DISPLAYHOLD, OTHERPARTS/
TR
HELP Supported
DEMO Supported
TERMINALS PHONES X2, LINEOUT (R/
MONO,L), AUXIN(R/MONO,L),
MIDI (IN, OUT), PEDAL IN, MIC
(VOLUME)
OUTPUT 80W(40 W×2)
SPEAKERS 14 cm ×2, 6.5cm ×2
POWERREQUIREMENT 110 W
AC120/220/230-240V50/60 Hz
AC120V60 Hz(NORTH
AMERICAAND MEXICO)
DIMENSIONS(W×H×D) 141 cm ×161 cm ×97 cm (55x-1/
2”×63-3/8”x38-3/16”)
NET WEIGHT 98 kg (216.1lbs.)
ACCESSORIES ACCORD, INSULATORx3,
CLOTH, POLISH
2003 Matsushita ElectricIndustrial Co., Ltd. All rights reserved.
Unauthorizedcopying and distribution isaviolation oflaw.
1. Warning
Toprevent the risk of fire, smoke, orelectrical shock and to ensure safe operation, please be
sure to followthe safetyguidelines below.
1. Atplaces wherespecial caution isrequired, thenecessarysafety
precautionsareclearlylabeledor printed, for example, on the
cabinet, or on thepartconcerned. Please followthese safety
precautions, and alsothose listedintheOwner'sManual.
2. Parts whichhaveamarkinthecircuitdiagramor intheparts
list areessential for safety. Whenreplacing these parts, besure
touse onlythespecifiedparts.
3. Use thespecifiedtypes for internal wiring (double-insulated
wiring, etc.).
4. Whenreplacing parts on theACprimaryside(powertransformer,
electricswitch, electrical cord, noise-prevention condenser, etc.),
wind theleadwireand secureitbysoldering.
5. Donotlet thewiring comeintocontact withheat-emitting
devices (fuse resistor, radiator plate, etc.).
6. Whenreplacing thewiring, make surethat itisnotincontact with
theunfinishedor rough edgeofapart.
7. Whenreplacing thepowercord (exceptfor theplug-intype), tug it
from variousdirectionstoconfirm that itdoes notslipoutof
place.
8. Spacing
Ifsoldering was doneon theACprimarycircuit, confirm that the
interval betweenthesolderedterminalsor betweentheterminal
and surrounding metallicparts isat least theminimum required
(betweentheprimarycircuitand thechassis:atleast6.5mm;
betweenprimarycircuitterminals:at least 4.0mm;between
primarycircuitterminalsand secondarycircuitterminals:at least
6.5mm.).
2. SafetyPrecaution
2.1. Safetyprecaution
1. Beforeservicing, unplug thepowercord topreventanelectric
shock.
2. Whenreplacing parts, use onlythemanufacturer’srecommended
components for safety.
3. Check thecondition ofthepowercord. Replace ifwearor
damageisevident.
4. Afterservicing, besuretorestoretheleaddress, insulation
barriers, insulation papers, shields, etc.
5. Beforereturning theservicedequipmenttothecustomer, besure
tomake thefollowing insulation resistance test topreventthe
customerfrom being exposedtoashock hazard.
2.2. Insulation resistance test
1. Unplug thepowercord and shorttheprongsoftheplug witha
jumperwire.
2. Turn on thepowerswitch.
3. Measuretheresistance valuewithanohmmeterbetweenthe
jumperedACplug and eachexposedmetal cabinet part, suchas
screwheads, connectors, control shafts, handlebrackets, etc.
Measurements shouldrangefrom 4MOhm toinfinityfor
allexposedparts.
Fig-1
3. Owners manual
4. Howtoassemblethe piano
5. Howtoopen the top cover
6. Keyboard ranges
This keyboardfeatures TouchResponse, bywhichyou control the volume byplaying the keys
harderorsofter.
Fig-2
7. Partslocation Fig-3
Fig-4
8. Disassemblyinstructions
8.1. Removing thetop cover
1. Removethetop coverAfixing pinas shownin Fig-5 .
2. Lift up thetop coverA.
3. Removethetop coverBmounting screws(A×4pcs.)as shown
in Fig-5 .
4. Lift up thetop coverB.
Fig-5
8.2. Removing thekeyboard cover
1. Removethetop cover(see step“Removing the top cover ”).
2. Lift thesupportand removethethetop framewithclothmounting
screws(A. ×3pcs.).
3. Removetheguiderail lidsfrom theguiderails.
4. Matchthegearsofthekeyboard coverwiththenotches inthe
guiderail, and lift up thekeyboard coveras shownin
Fig-6 .
Fig-6
8.3. Removing thecontrol panel
1. Removethekeyboard cover(see step“Removing the keyboard
cover ”).
2. Removethecontrol panel mounting screws(A×7pcs. )as
shownin Fig-7 .
3. Slidethecontrol panel forward and pull out(as shownbythe
arrows).
Fig-7
8.4. Removing thekeyboard assembly
1. Removethecontrol panel (see step“Removing the control panel ).
2. Removethekeyboard assemblymounting screwslocatedon the
bottom ofthecabinet (A×10 pcs.)as shownin Fig-8 .
Fig-8
8.5. Key(s)
Disassembly
1. Removethekeyboard assembly(see step“Removing the
keyboard assembly ”).
2. Whileinserting athinplate topress downaclaw, pushtherearof
thekeyforward todisengagethekeyclawfrom thechassis.
3. Lift thekeyup toremoveit.
Note:
-Thekeyclawiseasilybroken. Donotapplyundueforce. Shoulda
keyclawbreak, itcanstill beused.
-Ifablack keyistobereplaced, itisnecessarytoremoveboth
adjacentwhite keys. Fig-9
/ / / /