Technika Bellissimo TBD4 W-2 User manual

Code: 0120505304
Domestic Dishwasher
12-Place setting
TBD4INTSS-2
TBD4 W-2
3 year Warranty
Customer Care Centre: 1800 333 244

.2.
.1.
Safety Is Very Important
Close-up View (Control Panel)
Close-up View (Interior)
A
B
C
D
Upper Rack
Rack Height Adjustor
Top Spray Arm
Lower Rack
E
F
G
H
Washing Filter
Bottom Spray Arm
Detergent and Rinse Aid Dispenser
Technical Characteristics
Width 60(60) cm
Depth 60(58) cm
Height 85(82) cm
Capacity 12 standard place settings
Mains water pressure
Power voltage 220-240V~ 50Hz
2200W
Total absorber power
IMPORTANT
Carefully read the instructions contained in this manual, as it pro-
vides information that is essential to safe and proper installation,
use and maintenance of this appliance.
This appliance complies with following EEC directives:
-73/23/EEC of 19/02/73(Low Voltage)and subsequent
modifications;
- 89/336/EEC of 03/05/89 (Electromagnetic Compatibility) and
subsequent modifications.
- Carefully dispose of the packing material.
- After removing the packing, check to make sure that the appli-
ance is not damaged. If in doubt, contact a qualified professional.
- The dishwasher must only be used by adults for the washing of
household dishes and cooking utensils.
- Fundamental rules to follow when using the appliance:
* Never touch the dishwasher with wet hands;
* We discourage the use of extension cords and multiple sockets;
* During installation, the power supply cord must not be exces-
sively or dangerously bent or flattened;
* If the appliance is not operating properly or, requires
maintenance, disconnect the appliance from the power supply.
- Keep detergents out of the reach of children. Also keep children
away from the dishwasher when it is open to reduce the risk of injury.
- This appliance cannot be installed outdoors, not even if the
area in which it is installed is covered by a roof. It is also very
dangerous to leave it exposed to the rain and elements.
- Do not touch the heating element during or after a wash cycle.
- Do not lean or sit on the door when it is open, as this could
overturn the dishwasher.
- If the appliance malfunctions, turn off water supply to the appli-
ance and disconnect the plug from the wall socket. Then, refer
to the "Troubleshooting". If you cannot resolve the problem,
contact an authorised service agent.
- Only specialised personnel are authorised to make repairs.
- Appliances which are being discarded must be made inoperable
by cutting the power supply cord and removing the door lock.
- The appliance must be positioned so that the plug or isolating
switch is accessible.
- If the supply cord is damaged, it must be replaced by the manu-
facturer or an authorised service agent.
- Children and infirm must be supervised at all times during use of
the dishwasher by an adult.
Warning:
Dishwasher Detergents can be extremely dangerous, if swallowed.
Avoid contact with skin and eyes and keep children away from the
dishwasher when the door is open.
Check that the detergent receptable is empty after completion of the
wash cycle.
Third Sprayer
A
B
C
D
E
POWER Light
POWER Button
Water heating Indicator Light
Low Rinse Aid Indicator Light "Fast" Button
F
G
H
I
"Eco" Button
"Half Load" Button
Knob For Selecting Cycle
Handle For Opening Door
I H G F E
A B C D
300-650KPa

.3. .4.
Detergent (Powder recommended only)
Detergent specifically intended for use with dishwashers must
be used. The dispenser must be refilled before the start of each
wash cycle following the instructions provided in the "Wash Cycle
Table." The detergent dispenser is located on the inside panel
the door.
Loading the detergent
To open the "A" cover on the dispenser, press the "B" button.
The detergent for the wash cycle should be poured into the "C"
compartment.
After the detergent has been placed in the dispenser, close the
cover and press down until it clicks in place.
NOTE: To facilitate closing the cover, remove any excess de-
tergent on the edges of the dispenser.
Rinse Aid
This product makes dishes sparkle and helps them to dry with-
out spotting. The dispenser is located on the inside panel of the
door and should be filled after every 80 wash cycle (or when the
rinse aid indicator light comes on for models with this feature).
Loading the Rinse Aid
To open the dispenser, turn the "C" cap in an anti-clockwise
direction and then pour in the rinse aid, making sure not to overfill.
The amount of rinse aid used for each cycle can be regulated by
turning the "F" dosage adjuster, located beneath the "C" cap,
with a screwdriver. There are 6 different settings; the normal
dosage setting is 3.
Important
Proper dosage of the rinse aid improves drying.
If drops of water remain on the dishes or spotting occurs, the
dosage adjuster should be turned to a higher setting.
If the dishes have white streaks, turn the dosage adjuster to a
lower setting.
Loading the Dishwasher
Lower Rack Upper Rack
Load for 12 Standard Settings
fig.A fig.B
2
1
34
Before placing the dishes in the dishwasher, remove the large food
particle to prevent the filter from becoming clogged, which results
in reduced performance.
If the pots and pans have baked-on food that is extremely hard to
remove, we recommend that they be allowed to soak before they
are washed. This will eliminate the need for extra wash cycle.
Pull out the rack to facilitate loading the dishwasher.
How to Use the Lower Rack
We recommend that you place the items which are the most diffi-
cult to clean items on the lower rack: pots, lids, serving dishes and
bowls, as shown in the figure to the right.
It is preferable to place serving dishes and lids on the sides of the
racks in order to avoid blocking the rotation of the top spray arm.
- Pots, serving bowls, etc. must always be placed face down.
- Deep pots should be slanted to allow the water to flow out.
- The silverware basket can be doubled (see fig.A) so that only
one section may be used when the silverware load is light. This
also makes space for additional pots and pans on the lower
rack.
- Silverware should be placed in the silverware basket with the
handles at the bottom; if the rack has side baskets, the spoons
should be located individually into the appropriate slots. Espe-
cially long utensils should be placed in the horizontal position at
the front of the upper rack.
How to Use the Upper Rack
The upper rack is designed to hold more delicate and lighter
dishware, such as glasses, coffee and tea cups and saucers, as
well as plates, small bowls and shallow pans (as long as they are
not too dirty).
Position the dishes and cookware so that they do not get moved
by the spray of water.
The upper rack can be adjusted for height. (See fig.B)
F
C
B
C A
Detergent and Rinse Aid
==
==
=(Powder recommended only)

.5. .6.
Turning on the Appliance
Starting a wash cycle
- Make sure that the plug for the appliance is inserted into the wall
socket.
- Make sure that the water supply is turned on to full pressure.
- Load the dishwasher (see the section entitled, "Loading the
Dishwasher" on page 4).
- Pour in the detergent (see the section entitled, "Detergent
and Rinse Aid" on page 3).
- Turn the knob located on the right of the control panel in
clockwise direction until the number or symbol for the cycle set-
ting is aligned with the reference mark (see the section entitled,
"Wash Cycle Table" on page 7).
- Press the POWER button, and the POWER light will turn on. At
this point, the wash cycle will begin. Cancelling or modifying a wash cycle setting
A cycle that is underway can only be modified if it has been
running for a short time. Otherwise, the detergent may have al-
ready been used, and the appliance may have already drained
the wash water. If this is the case, the detergent dispenser must
be refilled (see the paragraph entitled, "Loading the Detergent"
on page 3).
Press the POWER button, and the ON light will turn off. Rotate
the knob in clockwise direction to the desired cycle setting (see
the section entitled: Starting a wash cycle?F. Then, turn the
dishwasher back on using the POWER button.
If you forget to load some of the dishes
The wash cycle can be interrupted by pressing the POWER button.
You can then load additional dishes and turn the appliance back
on. The cycle will start where it left off.
Wait a few minutes before unloading the dishwasher to avoid
handling the dishes and utensils while they are still hot and
more susceptible to breakage. They will also dry better.
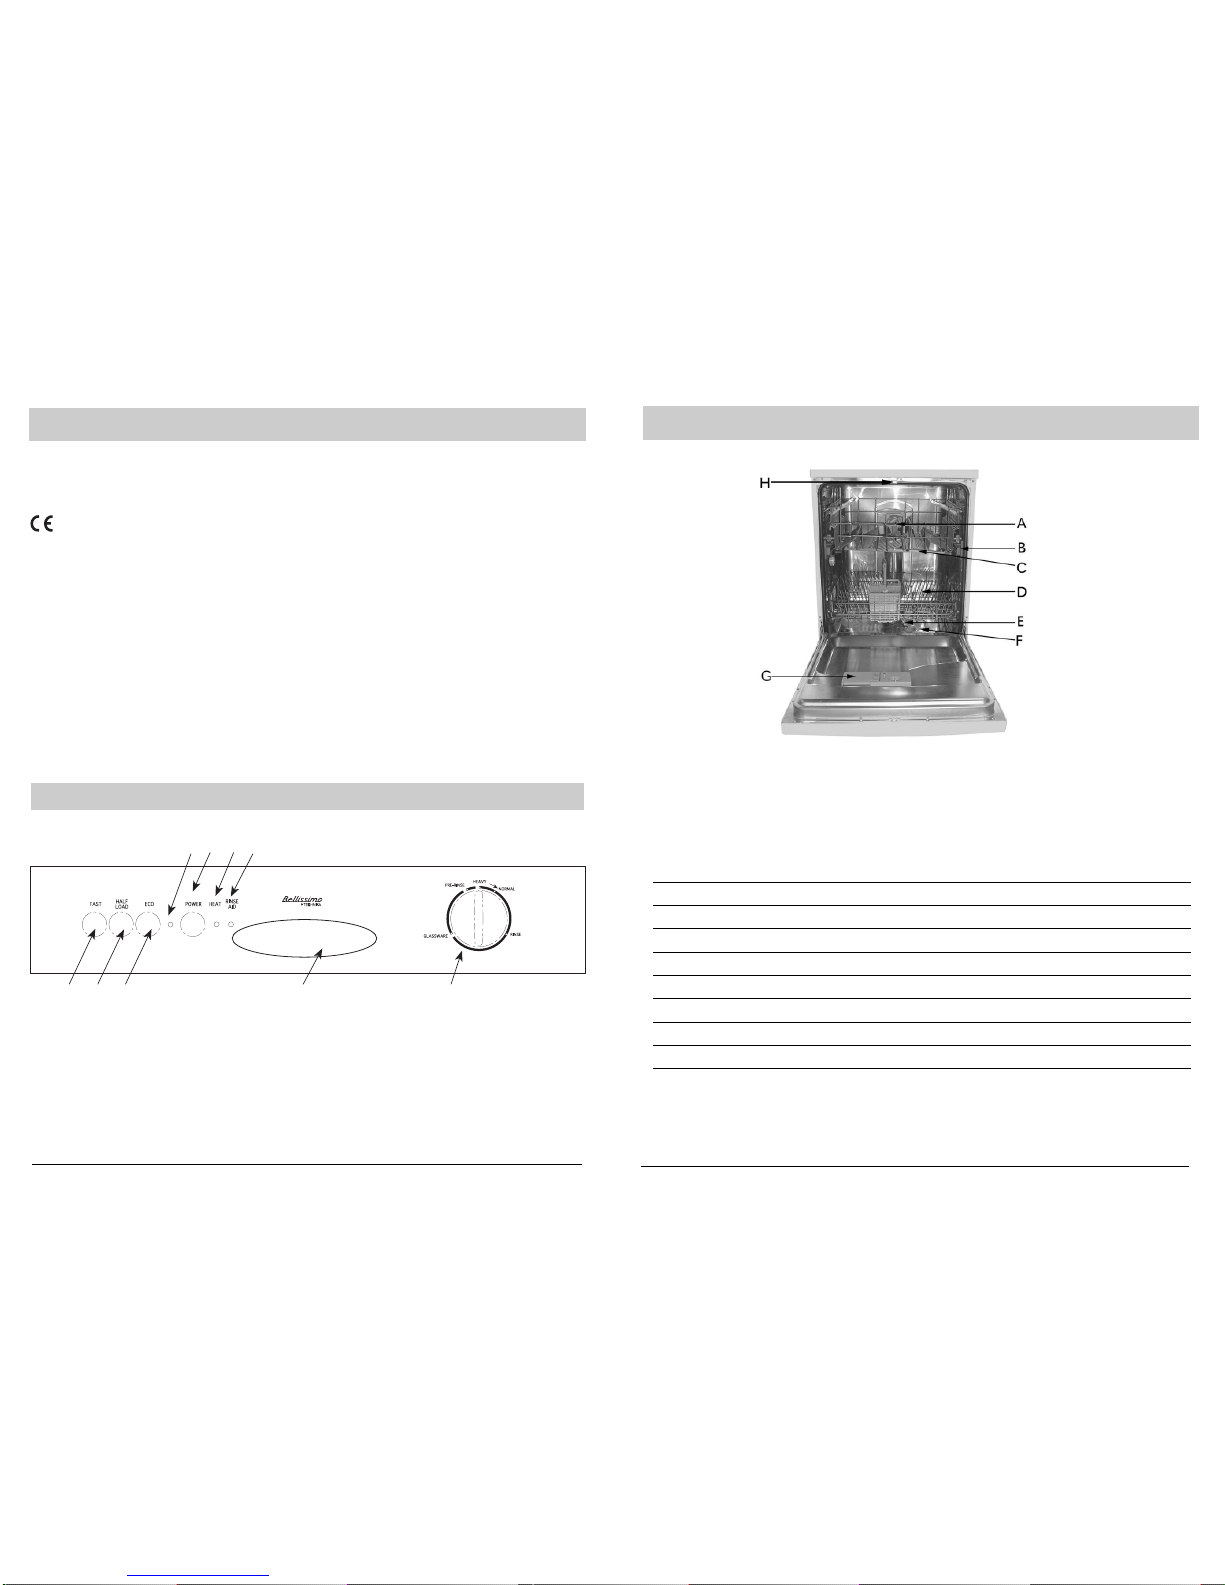
Wash Cycle Adjustment Buttons
Eco Button
This button (see "close-up View - Control Panel" on page 1, letter
"G" ) is used for normal dirty dishes, pots and pans. It is a stan-
dard daily cycle. This button reduces the washing temperature
from 60=to 50I=saving energy costs.
Half Load Button
This button (see "close-up View - Control Panel" on page 1, let-
ter "H" ) makes it possible to wash dishes using only the upper
rack if there are not enough dishes for a full load. This will allow
you to save on water and electricity.
Fast
This button (see "close-up View - Control Panel" on page 1, letter
"I" ) , when pressed with wash cycle 4 (glassware) make it pos-
sible to run the wash cycle at a lower temperatur (50) and elimi-
nates the drying phase.
It can be used before setting any of the wash cycles, except for
the intensive cycles (if included in the wash cycle table ). Please
keep in mind that the amount of detergent should also be cut in
half.
At the end of the wash cycle
When the knob stops turning and is aligned with a STOP mark
(see figure), the cycle has finished. Turn off the appliance using
the POWER button, turn off the water supply and open the door
of the dishwasher.
- It is important to try and run the dishwasher when it is fully
loaded to save on energy. In order to prevent odors from form-
ing and food from caking onto the dishes, you can run the pre-
rinse cycle.
- Choose the right wash cycle: the choice of cycle depends on
the type of dishware, cookware and utensils being washed and
how dirty they are.
Energy Saving Tips
- Use the right amount of detergent: if you use too much detergent,
the result will not be cleaner dishes, but, rather, a greater nega-
tive impact on the environment.
How to Keep Your Dishwasher in Shape
After Every Wash
After every wash, turn off the water supply to the appliance and
leave the door slightly ajar so that moisture and odors are not
trapped inside.
Remove the Plug
Before cleaning or performing maintenance, always remove the
plug from the socket.
No Solvents or Abrasive Cleaning Products
To clean the exterior and rubber parts of the dishwasher, do not
use solvents or abrasive cleaning products. Use only a cloth and
warm soapy water.
To remove spots or stains from the surface of the interior, use a
cloth dampened with water and a little white vinegar, or a clean-
ing product made specifically for dishwasher.
When You Go on Holiday
When you go on holiday, it is recommended that you run a wash
cycle with the dishwasher empty and then remove the plug from
the socket, turn off the water supply and leave the door of the
appliance slightly ajar. This will help the seals last longer and pre-
vent odors from forming within the appliance.
Moving the Appliance
If the appliance must be moved, try to keep it in the vertical position.
If absolutely necessary, it can be positioned on its back.
Seals
One of the factors that cause odors to form in the dishwasher is
food that remains trapped in the seals. Periodic cleaning with a
sponge will prevent this from occurring.

.7. .8.
Cleaning and Special Maintenance
Filter Assembly
For best performance and results, the filter assembly must be
cleaned.
The filter efficiently removes food particles from the wash water,
allowing it to be recirculated during the cycle. For this reason, it
is a good idea to remove the larger food particles trapped in the
filter after each wash cycle by rinsing the "A" semi-circular filter
and cup under running water. To remove the filter assembly, pull
on the cup handle in an upward direction. The entire filter assem-
bly (made up of the "A" semicircular filter and the "B" fine filter)
should be cleaned at least once a month. To clean the filter and
the fine filter, use a cleaning brush. Then, reassemble the filter
parts as shown in the figures below and inset the entire assem-
bly in the dishwasher, positioning in its seat and pressing
downward.
The dishwasher must never be used without the filters. Improper
replacement of the filters may reduce performance of the appli-
ance and damage dishes and utensils.
Cleaning the Spray Arms
It may happen that food particles become encrusted on the
sprayer arms and block the hole (see "Close up view [interior]"
on page 2, letters C-E ). Check the sprayer arms periodically and
clean them when needed.
It may occur that the dishwasher does not function properly or at
all. Before calling for assistance, Iet us see what can be done
first: Have you forgotten to press one of the buttons or to per-
form an essential operation?
The Dishwasher Does Not Start
Have you checked whether:
- the plug is pushed into the socket correctly;
- the power is on in the house;
- the door is closed properly;
- the POWER switch is on "ON";
- the water supply is turned on.
A
B
The Dishwasher Does Not Load Water
Have you checked whether:
- the water is turned on and the hose is connected properly;
- the water supply to the houses on and has sufficient pressure;
- the water supply hose is crimped or bent;
- the filter for the water supply hose is clogged.
The Dishes Are Not Clean
Have you checked whether:
- the water is turned on and the hose is connected properly;
- the water supply to the house is on and has sufficient pressure;
- the water supply hose is crimped or bent;
- the filter for the water supply hose is clogged.
The Dishwasher Does Not Drain
Have you checked whether:
- the drain hose is crimped or bent.
Lime Deposits or a White Film Form on the Dishes
Have you checked whether:
- the rinse aid dosage is correct.
If, despite all these checks, the dishwasher still does not function
and/or the problem persists, contact the nearest authorised service
agent and provide them with the following information:
- the nature of the problem;
- the model type number (Mod...) and the serial number (S/N...),
which are indicated on the plate located on the side of the inner
part of the door.
Never call on unauthorised technicians and refuse to al-
low parts to be installed that are not original spare parts.
Troubleshooting
Cycle Eco
Button Fast
Button
Cycle Selection
Information Description of
Cycle
Deter-
gent Rinse
Aid
HEAVY
HEAVY
NORMAL
RINSE
GLASSWARE
GLASSWARE
PRE-RINSE
Very dirty dishes, pots and
pans (not to be used with
delicate items).
Very dirty dishes, pots and
pans. (not to be used with
delicate items)
For dishes that need to be
rinsed and dried only.
Economic, fast cycle to be
used for items which are sen-
sitive to higher. Run immedi-
ately after dishes are used.
Economic, fast cycle to be
used for items which are sen-
sitive to higher. Run imme-
diately after dishes are used.
Pre-wash of dishes, pots and
pans while waiting for the
load to be completed after
the subsequent meal.
Pre-wash with cold water.
Rinse with cold water.
Extended wash at 60K
Rinse with hot waterK
Drying.
Pre-wash with cold water.
Rinse with cold waterK
Extended wash at 50K
Rinse with hot waterK
Drying.
Rinse with cold water.
Extended wash at 60K
Rinse with hot waterK
Drying.
Rinse with hot waterK
Drying.
Wash at 50
.
Hot RinseKKKKK
Drying.
Wash at 50K
Rinse with cold water.
Short cold wash to pre-
vent food residue from
drying on the dishes K
30g
30g
25g
15g
15g
NORMAL
25g
Rinse with cold water.
Extended wash at 50K
Rinse with hot waterK
Drying.
RINSE For dishes that need to be
rinsed and dried only.
Rinse with hot waterK
Drying.
Normally dirty dishes pots and
pans. Standard daily wash
with ECO button pressed.
Dirty dishes pots and pans.
Wash Cycle Table (Powder recommended only)

.9. .10.
Installation
Positioning the Appliance
Position the appliance in the desired location. The back should
rest against the wall behind it, and the sides, along the adjacent
cabinets or wall. The dishwasher is equipped with water supply
and drain hoses that can be positioned to the right or the left to
ensure correct installation.
Levelling the Appliance
Once the appliance is positioned, adjust the feet (screwing them
in or out) to adjust the dishwasher, making it level. The appliance
should not be inclined more than 2. If the appliance is level, it
will help ensure proper performance.
Cold Water Connection
Connect the cold water supply hose to a threaded 3/4 (gas) connec-
tor and make sure that it is fastened tightly in place (see fig.1).
If the water pipes are new or have not been used for an extended
period of time, let the water run to make sure that the water is
clear and free of impurities. If this precaution is not taken, there
is a risk that the water inlet can get blocked and damage the
appliance.
650KPa Pressure limiting Valve is required.
Anti-Flooding Protection
The dishwasher is equipped with a system that stops the supply of
water in the event of a problem with the water supply hose, or
leaks within the unit, in order to prevent damage to your home.
Drain Hose Connection
Insert the drain hose into a drain pipe with a minimum diameter
of 4cm, or let it run into the sink, making sure to avoid bending
or crimping it. Use the special plastic support that comes with
the appliance (see fig.2). The free end of the hose must be at a
height between 40 and 100 cm and must not be immersed in
water.
Attention:
The special plastic hose support must be solidly fastened to the
wall to prevent the drain hose from moving and allowing water to
spill outside the drain.
Electrical Connection
After making sure that the voltage and frequency values for the
current in the home correspond to those on the rating plate
(located on the stainless steel inner door of the appliance) and
that the electrical system is sized for the maximum voltage on
the rating plate, insert the plug into an electrical socket which
is earthed properly (the earthing of the appliance is a safety
requirement mandated by law).
If the electrical socket to which the appliance must be connected
is not appropriate for the plug, replace the plug, rather than
using adaptors or the like as they could cause overheating and
burns.
Installation
fig.2
Installation
fig.1
Diagram
This manual suits for next models
2
Table of contents
Other Technika Dishwasher manuals

Technika
Technika TDX7SS User manual

Technika
Technika TDX8SS-2 User manual

Technika
Technika DX6SS-6 User manual

Technika
Technika VDW6 User manual

Technika
Technika TSDW14GG User manual

Technika
Technika TDX4SS User manual

Technika
Technika TDX8SS-5 User manual

Technika
Technika TDX6SS-3 User manual

Technika
Technika TDX7SS-6 User manual

Technika
Technika TGDW6SS User manual