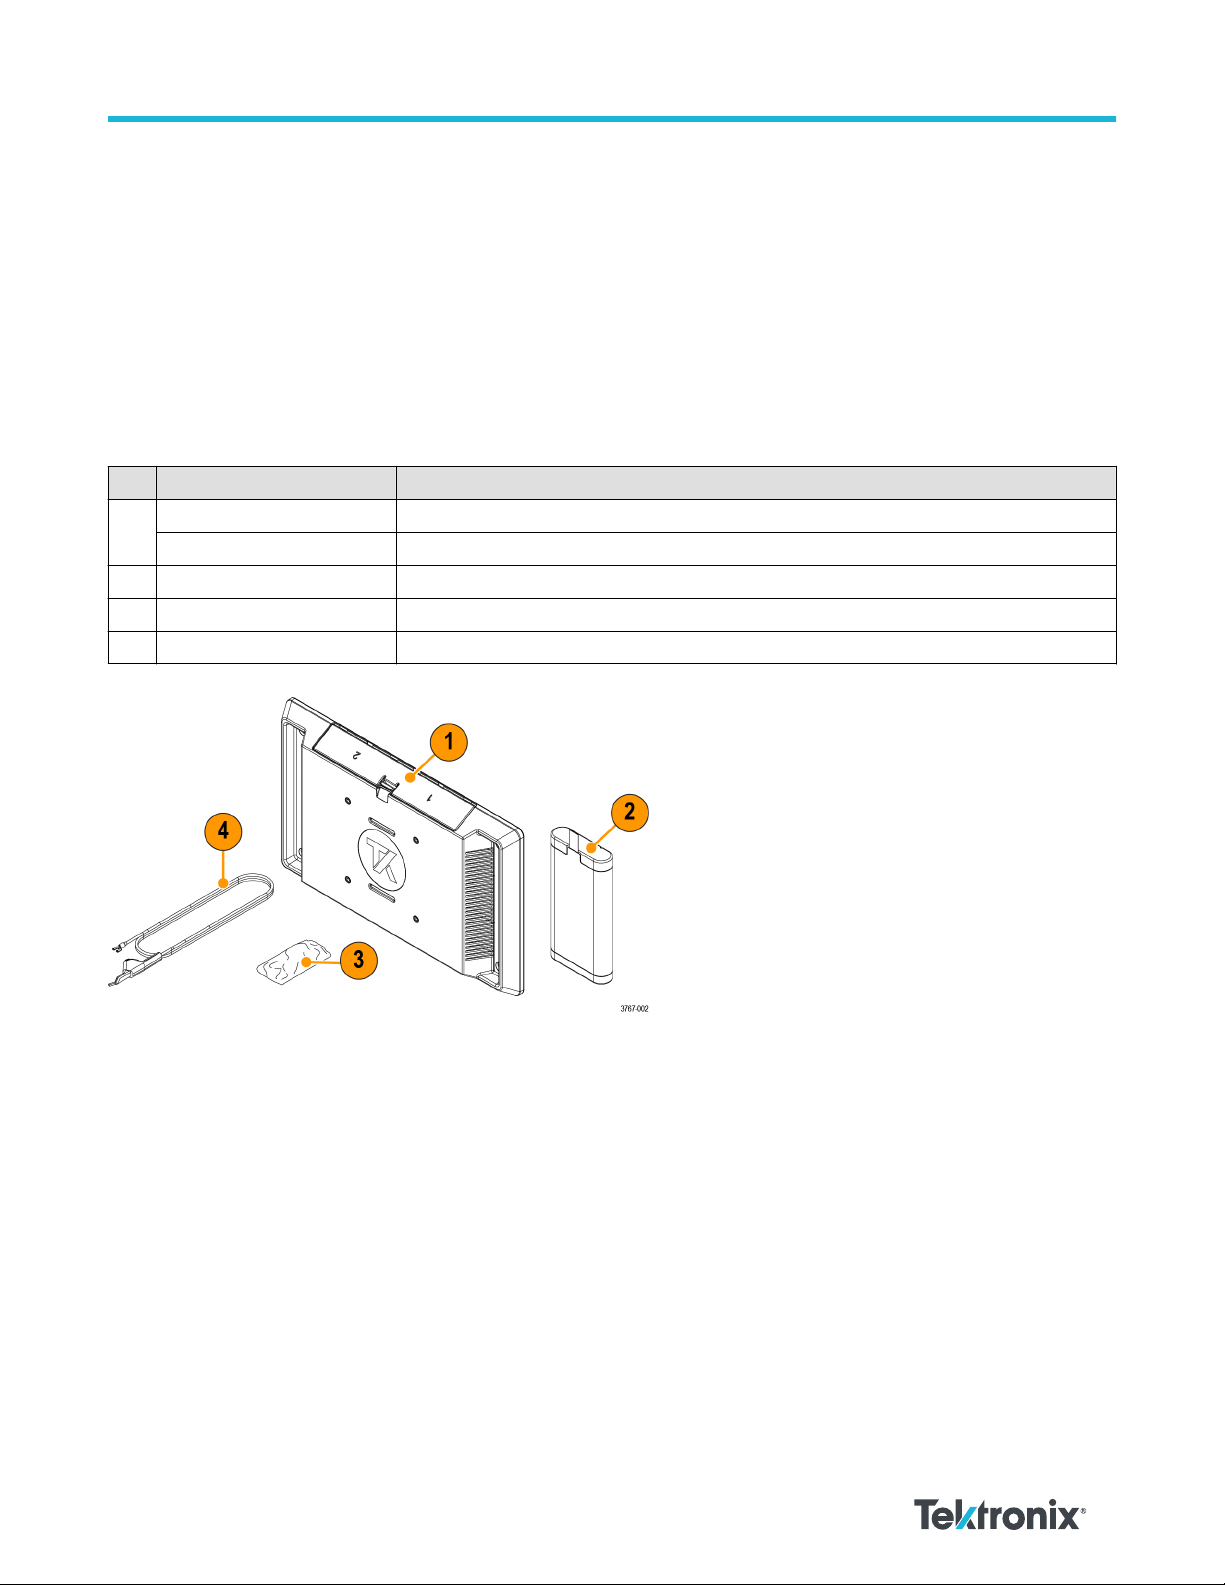
Operating safely with battery power
For safe operation, the instrument chassis should always remain at earth ground potential.
WARNING: To avoid electric shock, always use the Tektronix-provided grounding cable when the oscilloscope is operating on
battery power and not connected to the external power supply. The Tektronix-provided grounding cable is not for permanent
usage.
Without a connection between the chassis and earth ground, you may receive a shock from exposed metal on the chassis if you connect
an input to a hazardous voltage (>30 VRMS, >42 Vpk). To protect yourself against possible shock, attach the Tektronix-provided grounding
cable.
The grounding cable is necessary to provide protective bonding between the oscilloscope and a dedicated earthing terminal, in accordance
with the NEC, CEC, and local codes. Consider having a qualified electrician to approve the installation.
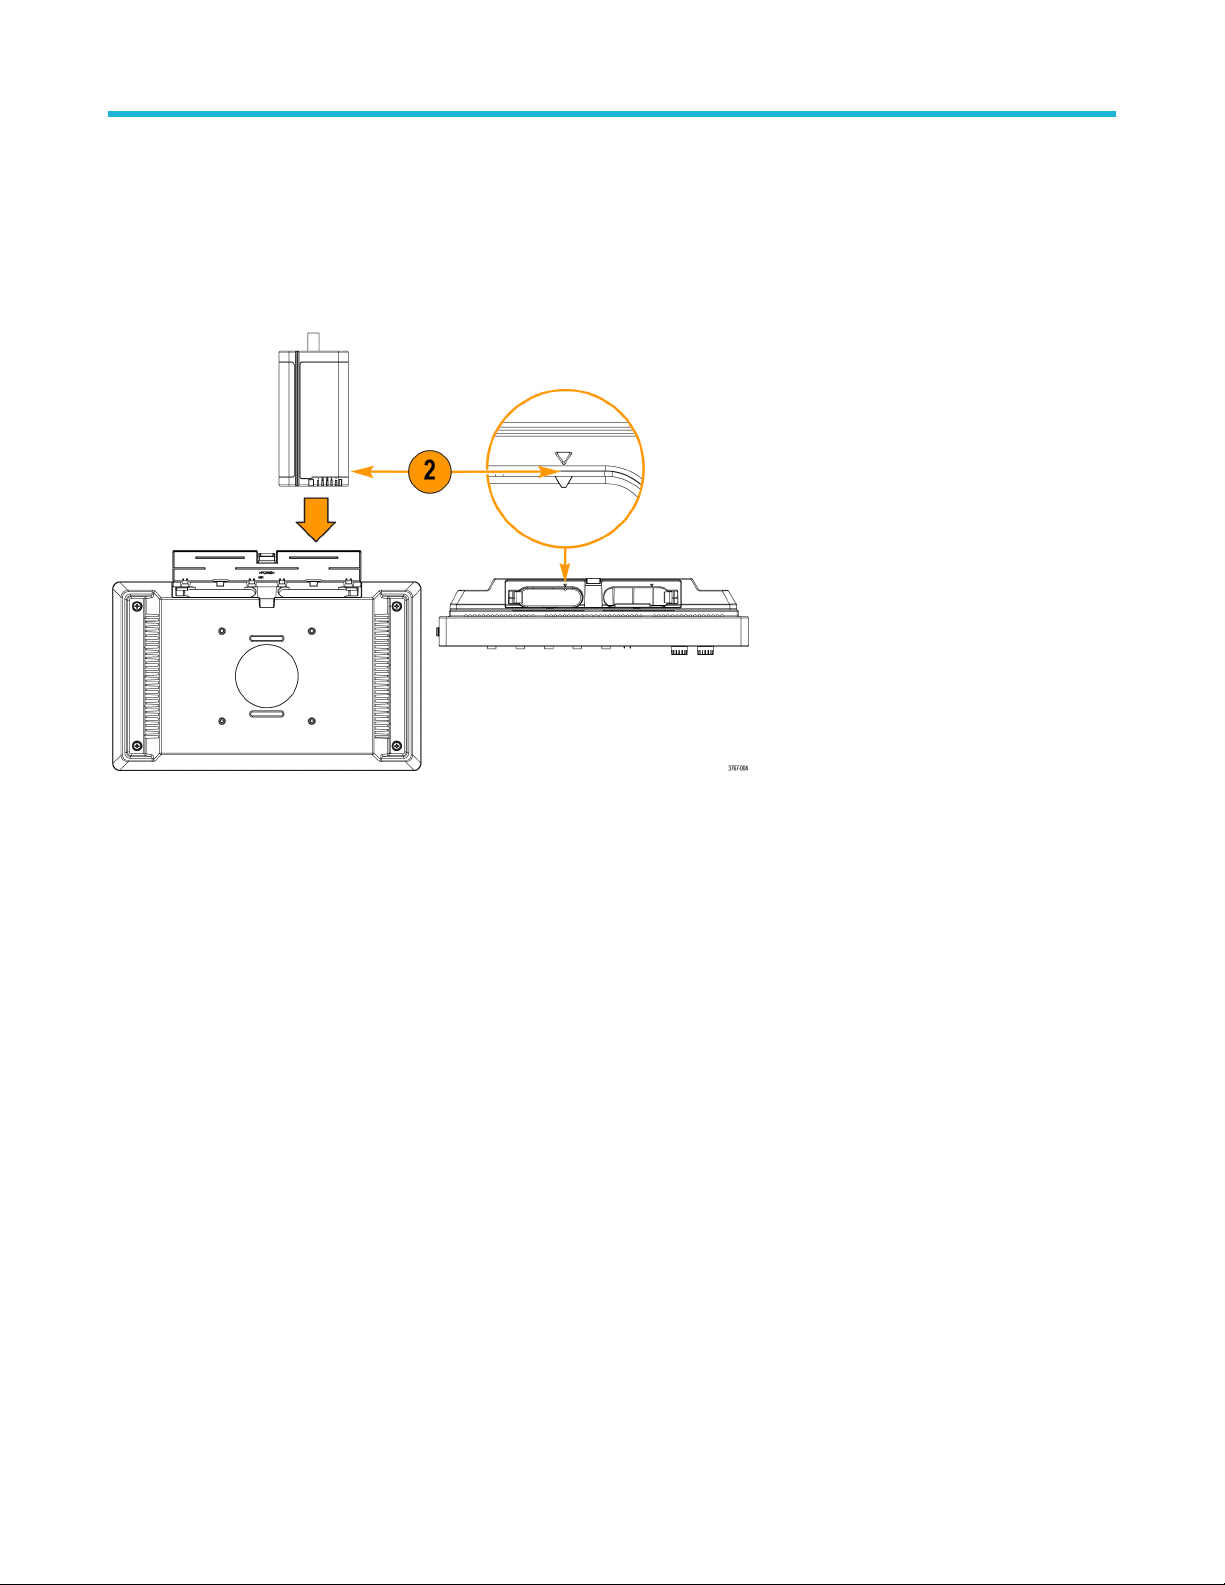
The grounding cable shall be connected before powering on the oscilloscope and before attaching the probes to any circuit. Connect the
grounding cable from the ground lug terminal on the side panel of the instrument to a dedicated earthing terminal. Make sure the teeth of
the alligator clip makes good electrical contact and is secured against slipping.
The alligator clip on the grounding cable must be connected to a dedicated earthing terminal, an earthing terminal bar, or identified
equipment grounding points (a rack cabinet for example). Make sure you have a good electrical connection to an appropriate grounding
device that is identified with a Protective Earth symbol, or the word GROUND/GND, or the color green (green ground screw/conductor). If
none of these are present, assume the connection is not earthed.
Always verify that the grounding cable is making good electrical contact by using an ohmmeter or continuity meter between the dedicated
earthing terminal and the ground lug terminal on the side panel of the oscilloscope. Verify again anytime the oscilloscope has been left
unattended.
Make sure the dedicated earthing terminal is located in close proximity to the circuit under test. Keep the grounding cable clear of
heat sources and mechanical hazards such as; sharp edges, screw threads, moving parts, and closing doors/covers. Inspect the cable,
insulation, and terminal ends for damage before use. Do not use a damaged grounding cable. Contact Tektronix for a replacement.
If you choose not to attach the grounding cable, you are not protected against electric shock if you connect the oscilloscope to a hazardous
voltage. You can still use the oscilloscope if you do not connect a signal greater than 30 VRMS (42 Vpk) to the probe tip, the BNC connector
center, or the common lead. Make sure all probe common leads are connected to the same voltage.
WARNING: Hazardous voltages may exist in unexpected places due to faulty circuitry in the device under test.
CAUTION: When operating the instrument on battery power do not connect a grounded device, such as a printer or computer, to
the oscilloscope unless the instrument grounding cable is connected to the earth ground.
Operating safely with battery power
8