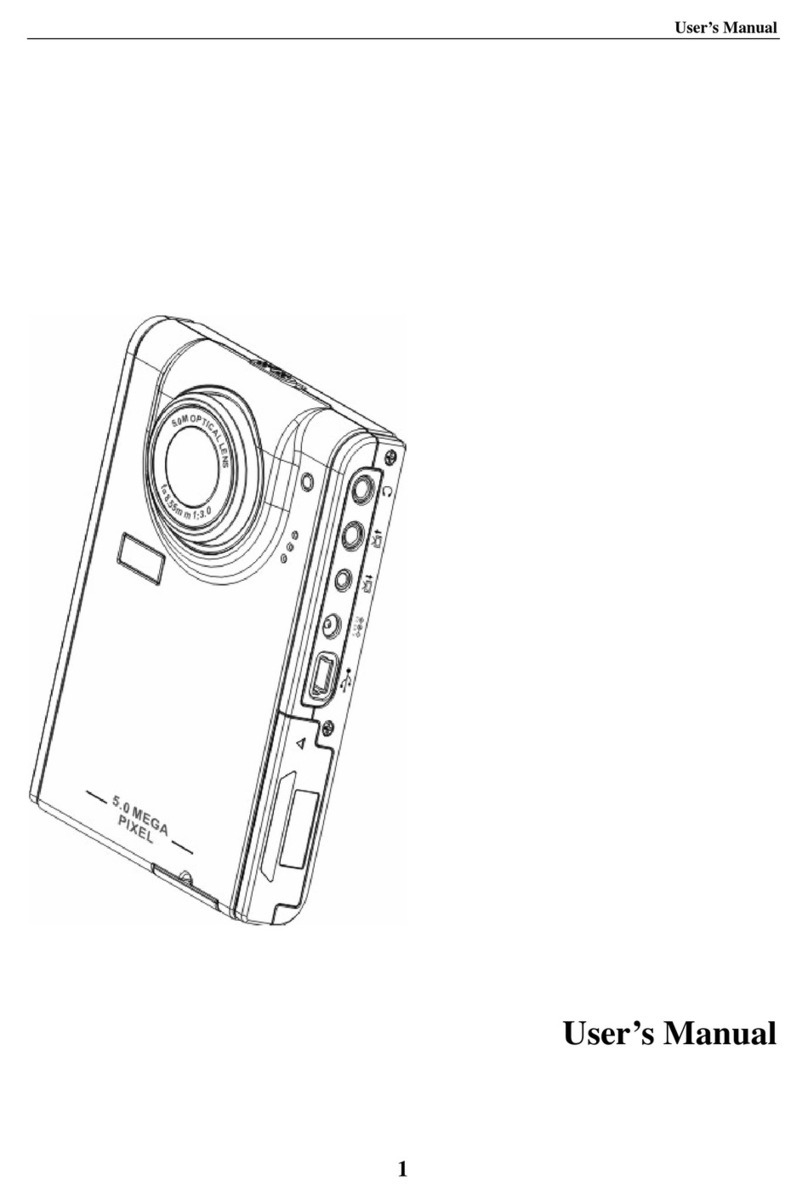
Tekxon Technology Still Camera K5 User manual

English
DIGITAL still CAMERA
DIGITAL still CAMERA
US ER S M AN UAL
US ER S M AN UAL

CONTENTS
1
E-2
E-3
E-6
E-16
ENGLISH
Basic Reference
Safety Precautions....................................................
Quick Reference.......................................................
General Information...................................................
Trouble Shooting.......................................................
Thanks for your selection of this camera.
Please read the instruction carefully before using. And
do as the followings to avoid the damages caused by
improper operations to the camera.

Safety Precautions
2
Should you evernotice smoke( ora strange smellcoming out ofthe camera) burn your
finger sound strange orany other abnormalstatus , immediatelyremove the camera's
battery.
You should be responsiblefor the damageto the cameraor materials causedby your
improper operation tothe Digital Camera.
Do not attemptto modify thisDigital Camera.
Do not openthe battery coverwhile turn onthe camera.
Do not exposethe Digital camerato moisture andmake sure nowater get intothe camera.
Turn offthe power andremove the batteryonce water getinto the camera.
Do not operatethe Digital Camerawhen you aredriving.
Do not coveror swap theDigital Camera witha cloth. Itshould be placedin well-ventilated
locations.
Do not makethe camera strickenwith hard.
If the DigitalCamera will notbe used fora long time,you would betterto remove thebattery.

3
5.1Mega Pixels CMOSsensor, andup to maximunof 12 MegaPixels by
interpolated
3.0 inch LTPS LCD Display
8 Digital Zoom
32MB flash memory, and supportsup to 4GBSDHC SD or MMCcard
10sec Self-timer 20sec Self-timer
DPS
PC-Camera
Function Characteristic

4
Package Contents
Check to makesure that allof the items
shown on thebelow are includedwith
your package.
Camera Strap
USB/TV cable
Pouch User manual
Alkaline/2xAA rechargeablebattery
CD-ROM
Getting to know your Digital Video Camera
Shutter
MENU button
Display button
SET button
Direction button
Zoom button

USB/TV
5
Getting to know your Digital Video Camera
LensFlash
Macro
Battery
cover
Busy
Charge
Shutter Mode
button playback
button
Slide cover
Sd card slot

6
Loading the battery into the camera
1.Slide the batterycover and thenswing it open.
2.Align the mark on thebattery with mark on thecamera and slidethe battery intothe
camera.
3.Close the batterycover.
[+-] [+-]
Using Memory Card
1.The Camerahas 32MB built-inmemory for recording.
2.The camerasupports up to4GB SDHC SD or MMCcard.
Note:
When there isa memory cardinserted, it willbe the toppriority for savingdata.
The camera supportsSDHC SD and MMCcard, and the range of usagespecification of
the card isfrom 32MB to4GB.
Be sure toorient the cardcorrectly when insertingit. Never try to force amemory card into
the slot whenyou feel resistance.
While the cameracannot read thememory card, pleaseclean the metal interface softly with
soft cloth andthen reload.
Never remove acard from thecamera while thecamera is working.Doing so cancause the
file save operationto fail, andeven damage the memory card.

5M
0.0
EV
2008/01/08 00:18:16
035
000
AWB
7
5M
035
000
AWB
2008/01/08
00:18:16
0.0
Capture Mode
1. Push thelens' cover andthen enter thecapture mode
2. Holding thecamera still, pointthe camera atthe subject, gentlypress button and then
compose the image.
3. Press button. When theimage shown onthe screen turningleft, indicating theimage is
recorded.
Press button you canselect the WhiteBalance EV Shift Resolution Image Quality and
so on accordingto your favouriteand then press button affirm andback to previous.
Press button again canback to standbymode for capture.
Before recording, press button can zoomin or zoomout.
Press button toswitch the flashmode Off Auto Red-eye reduction Compulsion.
Press button toselect different capturemodes such asSingle,Continuous and 10secSelf-timer.
Slide button forMacro then icon willappear on thescreen the macro rangeis
150mm to 250mm.
SHUTTER
SHUTTER
MENU
SET
MENU
W/T
Monitor Screen
Capture mode
Image Quality
Resolution
EV Shift
Flash mode
White Balance
Counter(Recorded/
Allowance)
Macro
Power Capacity
Data/Time

8
2008/01/08
00:18:16
640
001
Monitor Screen
1. Press buttonto chooseAVI icon, and press button to switchit into videomode.
2. Press button to startvideo recording andtiming, you willfind the recording symbol
(a red dot)appeared on thescreen. Press button again tostop video recording.
During the videorecording, press buttonthat scenery canbe zoom in ( pull )orzoom
out( push ).
In current mode,press button can selectWhite Balance EV shift Resolution
according to thereal environment, sameas the selectionin capture mode.
Slide button forMacro then icon willappear on the screen the macro rangeis
150mm to 250mm.
SET
SHUTTER
SHUTTER
MENU
Video mode
Video mode
Resolution
Recorded Num.
Power Capacity
Data/Time
640
START:SHUTTER
001
2008/01/08 00:18:16

9
2008/01/08
00:18:16
001
00:00:00
00:00:10
Monitor Screen
Audio mode
Audio mode
Recorded Num.
Allowance of
recording time
Power Capacity
Data/Time
001
2008/01/08 00:18:16
START:SHUTTER
00:00:00
00:00:10
1. Press buttonto choose WAV icon, and press button to switchit into audiomode.
2. Press button to startaudio recording andtiming. Press button again to
stop audio recording.
SET
SHUTTER SHUTTER

10
Playback mode
1. Press buttonto select Set up icon, press button to switchinto Setup mode.
2. In SetUPmode, selections canbe done suchas Animation Beep Frequency Default
Language Sleep TV-OUT Date etc.
SET
SET UP mode
1. Press buttonto switch intoPlayback mode.
2. Press buttonto browse theimages you want.If the file is movie orvoice, press button
to play, press button again tostop.
In Playback mode,press button to enteredit menu fordifferent operations.
In Playback mode,press button tochoose the imageor files, press button to enterZoom
mode; Andpress button to enlargeor minify theimage.
In Playback mode,press button toenter Thumbnail mode and thenchoose the fileyou want
to play quickly.
SET
SET
MENU
W/T
In USB mode, the camera canbe used as a movable disk by selecting Mass Storage Function,
or as PC-Camera by selecting PC-Camera Function.

11
You can check or proofread the versionof the hardwareand software ofthe camera.
Instructions how toinstall Mass storagedriver and PC-camera driver.
Please read thefollowing instruction carefullybefore installing driver program:
1. Please insertthe software CDinto the CD-ROM before connecting the camera to thecomputer,
( this CDis attached inthe package ) and the install program will runautomatically.( Ifthe CD
could not runautomatically, pleasedouble click Bdvdarun.Exe in the CD root folder )
2. Mass storageand PC-camera driver installation could be finished as theindication shown on the
screen.
Select the icon of Install Windows ME/2000/XPDriver , the installationcould be finishedas
the indication shownon the screen.
Turn the camerainto the PC-cameramode, connect the camera to the computer with the USB
cable attached inthe package.
The computer could recognize the camera automatically and finishthe setting. If the dialog box
appears This installing programis not authorizedby Microsoft, Go on or Not? , click the go
on installing to finish theinstallation.
If the operation systemis windows98, pleasepull out the USB cable after the installation andturn
the PC mode toMass storage, thenconnect it with the USB cable again. The systemwill identify
the camera automatically andalso finish thesetting. You can use the camera as a moveable
Flash Disk.
If there is somethingwrong with theautomatic installation, you could also finish the installation
manually according to theguide to installthe hardware. Thecorresponding driver programcould
be found in thedrivers/manual folder inthe CD root folder. Pleaseread Readme.txt help file
in this folder.
PC-Camera
Driver Installation

12
Please insert theCD into theCD-ROM driver andthe install programwill run automatically.
Please click theitem of Install Photo EditTool shown on theinstallation menu, andit
could be finishedas the indicationshown on the screen. Afterthat, you canedit the
beautiful album withyour photos.
Click the itemof Install Video Edit Tool shown on theinstallation menu, andit could be
finished as theindication shown onthe screen. After that, youcan edit thevideo and
produce your ownVCD by yourself.
Click the itemof Exit to complete installation.
Install application software on your computer
Press button toPC mode andselect the itemof Mass Storage .
Connect the camerato the computerwith the USBcable.
Photos and videofiles can befound from thepath of computer/movable disk/
DCIM/100COACH .
Photos and videofiles can besaved on the desk during connecting.
Mass Storage

13
12
Connecting with the Printer
Users can completeany operation such as browsing images
or video fileson TV.
Turn onthe camera andTV.
Connect the camerato the TV with theAV cable.
In Playback mode,browsing images andvideo files
can be doneon TV.
All functionscan be actualizedfreely on TV.
Connecting with TV
Note:
The camera canprint photos directly by connecting withthe printer.First, power on and enter
the Playback mode,select a photo to be printed,edit the menuof print function. Next, connect
the camera tothe printer with the USB cable,and then theprinting start.

14
Camera Specification

15
System Requirement
Please read thelowness requirement ofsystem for adigital camera as follows before youusing
the camera. We strongly suggestyou using abetter computer devicefor better efficiency. The
lowness system requirementas following:
operation system
CPU
Memory
CD-ROM
Disk
Others
Microsoft windows 98SE/Me/2000/XP/Vista(32bit)
Intel Pentium 166MHZor higher
More than 32MB
Fast than 4times
More than 10MBfree space
USB1.1 or USB2.0
System requirement

16
The camera couldnot power on
The camera turnsoff automatically
The SD cardis loaded, thecamera could not capture or record.
Image could notbe recorded when the shutter button is pressed.
Check if the battery's polarity mistake
Check if the battery capacity is too low.
Check if the battery goes dead. Please change the battery.
The camera is set to turn off automatically in1min or 2min when no operation performed for 1min
or 2min.
Check if the SD card is locked.
Check if the SD card has enough space to storage.
Check if the camera is set to the capture mode.
Check if the flash mode is set as Auto, Compulsion or Red-eye reduction; If the flash unit is being
charged, please wait until it finished.
Trouble Shooting

Trouble Shooting
The colour ofthe photo taken is not normal.
The flash doesnot fire.
The date displayedis not correct.
Can not printthe photos
Please reset the White Balance.
The image is too bright or too dark.Please reset the EV shift.
Check if the flash mode is set as Auto Compulsion Red-eye reduction
Please reset the date and time in Setup mode.
Check if the camera is set to Print mode. If not , please reset the camera as Print mode and then
connect the camera to the printer with the USB cable.
17

VISTA32/64 System Installation Process
VISTA32/64 System Installation Process
18
After finished the driver program inside CD,please setting the camera mode to PC camera then
connect to computer by USB line, Found New Hardware will be displayed on screen.
1. Select Locate and install driver software , as follow:
2. You will find Windows Security screen, then select Install this driver software anyway .
3. Driver installation is processing
4. Driver installation have finished.

19
After finished device driver,if you need to connect differentmodel camera to computer,please uninstall
device driver first and then re-install driverprogram, the detail step is follows:
1.Click Computer by right mouse button then select Properties ;
2. Please select &click Device Manager ;
3. Now you need to uninstall driver,select imaging devices by click right button,then select
uninstall ;
VISTA32/64 System Installation Process
Table of contents
Other Tekxon Technology Digital Camera manuals
