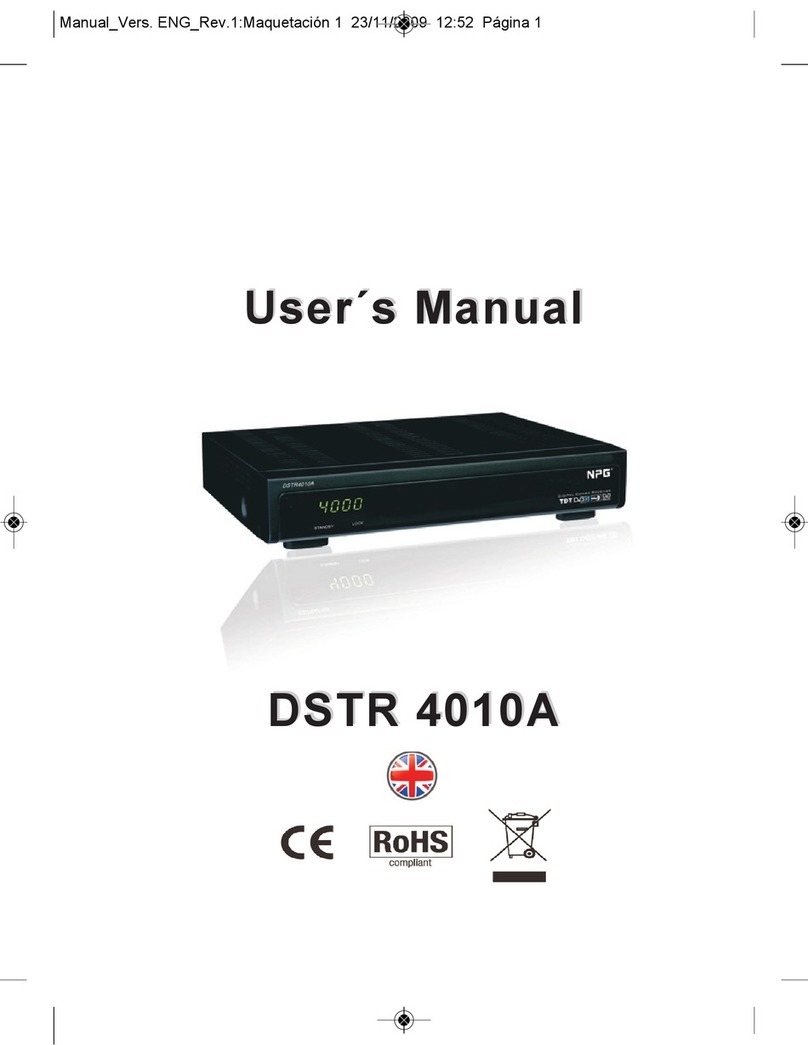
Teledelta MPR Series User manual

MPR Receiver Quick Start Guide vr1.5
MPR Receiver –Overview
TeleDelta is proudly an Australian owned company. s:\teledelta\mpr series\mpr receiver quick start guide vr1.5.docx
www.teledelta.com Page 1 of 17
Quick Start
Operation and Installation Guide
MPR Series
Multi-Purpose Receiver

MPR Receiver Quick Start Guide vr1.5
MPR Receiver –Overview
TeleDelta is proudly an Australian owned company. s:\teledelta\mpr series\mpr receiver quick start guide vr1.5.docx
www.teledelta.com Page 2 of 17
Contents
Revision ..................................................................................................................................................2
Quick Start - Getting Started Guide ........................................................................................................3
Navigation Keys Operation Instruction................................................................................................4
Confirm or Change the Default IP Address.........................................................................................4
Configuration through WEB Management..............................................................................................5
First Time Log On................................................................................................................................5
Main Interface Introduction..................................................................................................................6
Appendix 1 - Setup Example Audio Only Service (TSIMA)....................................................................7
Setting the Receiver RF...................................................................................................................7
Status page......................................................................................................................................8
Check the CA / CAM settings ..........................................................................................................9
Select Program Decryption............................................................................................................10
Select Program ..............................................................................................................................11
Appendix 2 - Setup Example VAST TV service (ABC24).....................................................................12
Setting the Receiver RF (single tuner models)..............................................................................12
Status page....................................................................................................................................13
Check the CA / CAM settings ........................................................................................................14
Select Program Decryption,...........................................................................................................15
Select Program ..............................................................................................................................16
Revision
File
MPR Receiver Quick Start Guide Vr1.5.Docx

MPR Receiver Quick Start Guide vr1.5
MPR Receiver –Overview
mpr receiver quick start guide vr1.5.docx Page 3 of 17
Quick Start - Getting Started Guide
Switch on the equipment through the back power switch, the unit is powered up and start the
initialization.
After power on the LCD screen is lights up, and displays information as follows
The initialization takes about 30 seconds to complete. The input/output indicator LEDs turn red after
the first successful initialization because the signal is not locked. After configuration of the device, the
corresponding LEDs will show the correct status.

MPR Receiver Quick Start Guide vr1.5
MPR Receiver –Overview
mpr receiver quick start guide vr1.5.docx Page 4 of 17
Navigation Keys Operation Instruction
Use the 6 navigation keys on front panel: Up / Down / Left / Right / Menu / Ok to enter the
configuration menu.
Enter “Menu”:
Press “OK” button to enter main menu.
Exit Menu/Back for parent Menu
Upon completion of configuration settings, press “OK” button until you go back
to the Parent Menu.
Enter Sub-Menu
Press OK button to enter main menu.
Select a sub-menu by pressing UP and DOWN button.
Press MENU button on the selected sub-menu.
To change a parameter
Step 1: Enter main menu by pressing OK button.
Step 2: Scroll sub-menu by pressing UP and DOWN button, and press MENU button to
change the selected sub-menu.
Step 3: To change parameter settings, press RIGHT and LEFT button to move the cursor in
which change must be made.
Press UP button and DOWN to input / select an appropriate setting, then press MENU button
to save.
Confirm or Change the Default IP Address
Note DHCP is not provided (despite the menu selection)
1. check out the IP on the LCD screen.
2. use the button on the front panel to change the IP, gateway and subnet mask The gateway
should be the same as the management PC’s. The subnet mask should be the same as the
management PC’s s. The IP and the server’s IP should be in the same subnet section.
3. reboot the device to take effect.
4. ping the new IP to check whether the device can connect to the management PC.

MPR Receiver Quick Start Guide vr1.5
MPR Receiver –Overview
mpr receiver quick start guide vr1.5.docx Page 5 of 17
Configuration through WEB Management
First Time Log On
Configuration is best performed via a web browser.
Start a browser and browse to the set ip address of the unit. The log on page will appear
The default User Name and Password are “admin”.
If you are unable to connect check for possible reasons for unsuccessful log on:
IP address/ network mask/gateway don’t match with the management PC’s
User name/password is wrong –check the caps lock - lower case is required.
The device is connected to the wrong interface

MPR Receiver Quick Start Guide vr1.5
MPR Receiver –Overview
mpr receiver quick start guide vr1.5.docx Page 6 of 17
Main Interface Introduction
After successful log on, the following screen will display:
The main interface can be divided into two areas.
1. Menu: each screen shares same 6 tabs including “Status”, “Inputs”, “Outputs”, “CA”, “System”
and “Reset”.
2. Settings: Configuration data for each function
Menu
1
Settings
2

MPR Receiver Quick Start Guide vr1.5
Appendix 1: Setup Example –Audio Only Service - TSIMA
mpr receiver quick start guide vr1.5.docx Page 7 of 17
Appendix 1 - Setup Example Audio Only Service (TSIMA)
Let’s assume that you have a dish and LNB connected and pointed correctly and you are going after
the Optus VAST TSIMA service
Setting the Receiver RF
“Zoomed In” version for TSIMA as At Oct 2013
Note: Adjust your LNB L.O. Frequency to suit (if required)
Select
Optus C1/D3
156E, use
13V for
standard
Vertical

MPR Receiver Quick Start Guide vr1.5
Appendix 1: Setup Example –Audio Only Service - TSIMA
mpr receiver quick start guide vr1.5.docx Page 8 of 17
Status page
If all these settings are correct the receiver will lock and the Status page will look similar to this:
- Check for a lock
If you have a green lock as shown here and on the front panel then continue the setup
Note –Green
for locked
signal

MPR Receiver Quick Start Guide vr1.5
Appendix 1: Setup Example –Audio Only Service - TSIMA
mpr receiver quick start guide vr1.5.docx Page 9 of 17
Check the CA / CAM settings
They should suit the speed of the CAM card you are using:
Now check the
CA settings

MPR Receiver Quick Start Guide vr1.5
Appendix 1: Setup Example –Audio Only Service - TSIMA
mpr receiver quick start guide vr1.5.docx Page 10 of 17
Select Program Decryption
All the programs are shown and from here you can route them to the CA/CI/CAM slot for the channels
that you want to de-scramble
Note: - Only have one service routed to the CI Slot if you have a single service card
Now check / set
the CA settings
Select

MPR Receiver Quick Start Guide vr1.5
Appendix 1: Setup Example –Audio Only Service - TSIMA
mpr receiver quick start guide vr1.5.docx Page 11 of 17
Select Program
Now select Program Setup for the program that you want
Change the Video Settings from AUTOMATIC as shown below:
Select
Select
Select
video
settings as
shown

MPR Receiver Quick Start Guide vr1.5
Appendix 2: Setup Example VAST TV service (ABC24)
mpr receiver quick start guide vr1.5.docx Page 12 of 17
Appendix 2 - Setup Example VAST TV service (ABC24)
Let’s assume that you have a dish and LNB connected and pointed correctly and you are going after
the Optus VAST service
Setting the Receiver RF (single tuner models)
Select
Optus C1/D3
156E, use
13V for
standard
Vertical

MPR Receiver Quick Start Guide vr1.5
Appendix 2: Setup Example VAST TV service (ABC24)
mpr receiver quick start guide vr1.5.docx Page 13 of 17
Status page
If all these settings are correct the receiver will lock and the Status page will look similar to this:
- Check for a lock
If you have a green lock as shown here and on the front panel then continue the setup
Note –Green
for locked
signal

MPR Receiver Quick Start Guide vr1.5
Appendix 2: Setup Example VAST TV service (ABC24)
mpr receiver quick start guide vr1.5.docx Page 14 of 17
Check the CA / CAM settings
They should suit the speed of the CAM card you are using:
Now check the
CA settings

MPR Receiver Quick Start Guide vr1.5
Appendix 2: Setup Example VAST TV service (ABC24)
mpr receiver quick start guide vr1.5.docx Page 15 of 17
Select Program Decryption,
All the received programs are shown and from here you can route them to the CA/CI/CAM slot for the
channels that you want to de-scramble
Now check the
CA settings
Select
Note: Check that CAM is not overloaded - only one program is set to decryption if
a “Single Service” card is used, or no more than 8 programs for the “Standard”
multi service CAM; or no more than 10 programs for the “Super Special” multi
service CAM

MPR Receiver Quick Start Guide vr1.5
Appendix 2: Setup Example VAST TV service (ABC24)
mpr receiver quick start guide vr1.5.docx Page 16 of 17
Select Program
Now select Program Setup for the program that you want
Select
Select

MPR Receiver Quick Start Guide vr1.5
Appendix 3: Trouble Shooting Guide
mpr receiver quick start guide vr1.5.docx Page 17 of 17
Appendix 3: Trouble Shooting Guide:
Problem
Check
No program –is CAM card authorised?
Select a known FTA service, (VAST service 10
on 12647MHz for example - valid as at March
2013) If audio and video is present MPR is set up
correctly –Have CAM card re-authorised
Receiver locked, CAM okay, but still no program
Check that CAM is not overloaded - only one
program is set to decryption if a “Single Service”
card is used, or no more than 8 programs for the
“Standard” multi service CAM; or no more than
10 programs for the “Super Special” multi service
CAM.
Picture but no sound
Establish audio coding type (AAC etc.,) with
service provider and check with your dealer to
confirm your MPR has this correct codec
enabled.
Sound but no Picture (COFDM variant models)
with mpeg4 H.264 source encoding
Check that TV receiver is mpeg4 H.264 receive
capable. (Not just the USB port…)
Table of contents
