Tequipment Prosaris OL1 User manual

User manual
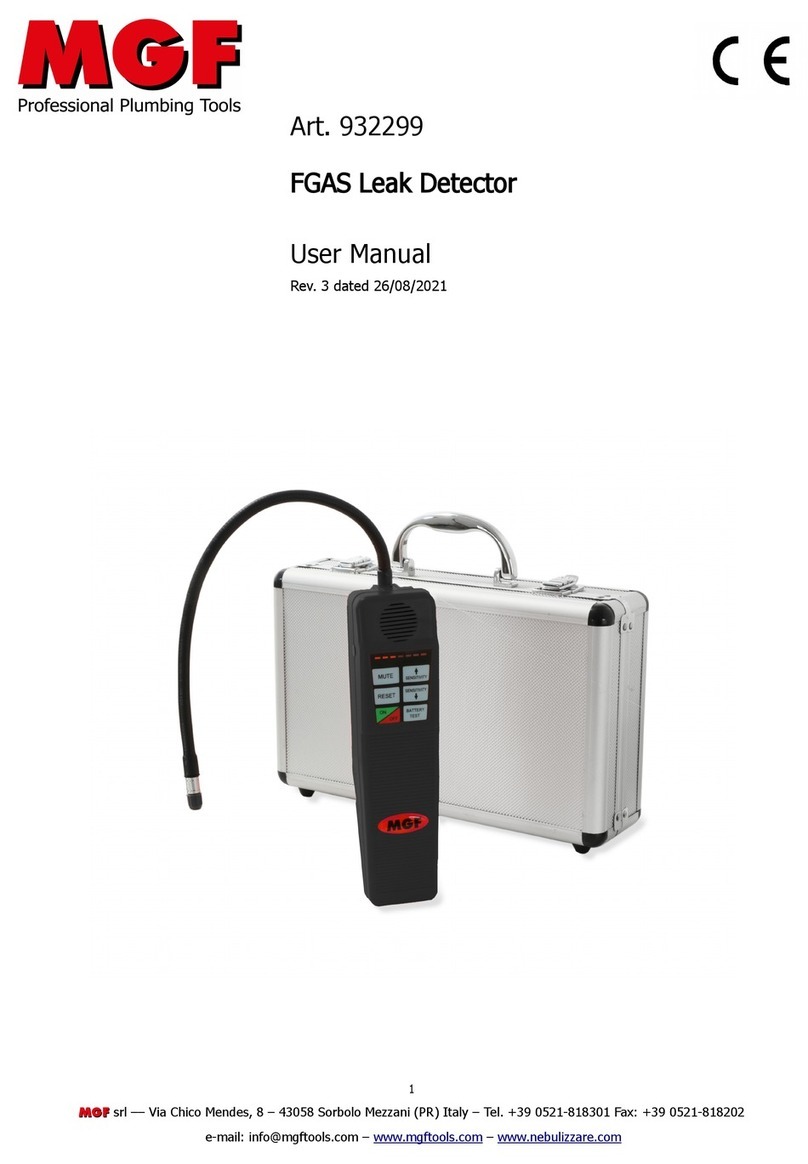
OL1 Ultrasonic Leak Detector
© 2021 Prosaris Solutions Ltd.
PRO-TEC-DOC-U0002-R02

Limited warranty and limitation of liability UL Condition
This Prosaris product will be free from defects in material
and workmanship for one year from the date of purchase.
This warranty does not cover fuses, batteries, or damage
from accident, neglect, misuse, alteration, contamination, or
abnormal conditions of operation or handling.
Resellers are not authorized to extend any other warranty
on the behalf of Prosaris. To obtain service during the
warranty period, contact Prosaris directly with a description
of the problem.
This warranty is your only remedy. No other warranties,
such as fitness for a particular purpose, are expressed
or implied. Prosaris is not liable for any special, indirect,
incidental, or consequential damages or losses, arising from
any cause or theory. Since some states or countries do not
allow the exclusion or limitation of an implied warranty or
of incidental or consequential damages, this limitation of
liability may not apply to you.
The performance of the product, such as accuracy or
functional safety, has not been evaluated and the product is
not intended to be used for life safety applications.

0Table of Contents
1 Introduction
1.1 Applications 1
2 How to contact Prosaris
3 Before you start
3.1 Package contents 3
3.2 Device overview 4
3.3 Terms to know 5
3.4 Safety 6
4 Initial setup
4.1 Charge the device 8
4.2 Download the app 8
4.3 Affix the Mounting Plate 9
5 Basic Operation
5.1 Attach the OL1 10
5.2 Connect the OL1 10
5.3 Launch the app 11
5.4 Registration 11
5.5 Logging in 11
5.6 Home screen 12
5.7 Settings menu 12
5.8 Firmware updates 13
6 Leak Detection
6.1 Begin Leak Detection 14
6.2 Enter Leak Parameters 14
6.3 Detection screen 15
6.4 Detection settings 15
6.5 Begin detection 16
6.6 Leak direction 16
6.7 Getting on-target 17
6.8 Finish leak detection 18
7 Leak Management
7.1 Creating leak records 19
7.2 Viewing leak records 20
7.3 Editing leak records 20
7.4 Leak management dashboard 21
8 Specifications

1
1Introduction
1.1 Applications
The Prosaris OL1 is a portable directional ultrasonic leak
detector primarily used to detect, locate, and measure leaks
in compressed gas and vacuum systems.
The OL1 connects with any Android device and through an
app downloaded onto the Android device, captures a live-
view image of the scanned process or industrial system.
The OL1 attaches to the back of the Android device by
magnet and connects via cable.
The OL1 has a proprietary arrangement of sensor arrays which
detect ultrasonic noise and uses this data to provide visual
direction and location of the sound source directly onto the
visual display of the area under assessment.
When provided with input data, an estimation of both leak
volumetric flow and financial loss associated with the wasted
energy related to the leak can be calculated.
The OL1 is provided with a sealed rechargeable battery which
powers the device (power is not drawn from the Android
until the OL1 is below minimum levels). An external battery
charging cable is provided with the device.
All leak event record data are stored on the Android device
and Prosaris Leak Management application backend, which is
accessible to each user (subject to subscription tier).
The OL1’s main applications are:
• Compressed air leak detection, location and
quantification
• Compressed process (non-hazardous) gas leak detection,
location, and quantification
• Vacuum leak detection
The OL1 is not intended to be used for life safety
applications.
Industries served include:

2
2How to contact Prosaris
To contact Prosaris, use one of the following email addresses
below or visit us at www.prosaris.ca.

3
3Before you start
3.1 Package contents
# Model Description
1 OL1 Ultrasonic Leak Detector
2 OL1 Soft Case Prosaris soft carrying case for the
OL1
3 OL1 Charging
Cable
Approved USB-C to USB-A
charging cable for the OL1 (45cm)
4 OL1 Connecting
Cable 1*
Approved USB-C to microUSB
cable connecting the OL1 device
to your Android device
5 OL1 Connecting
Cable 2*
Approved USB-C to USB-C cable
connecting the OL1 device to your
Android device
6 OL1 Mounting
Plate
Adhesive mounting plate for
attachment to your mobile device
* Note: Use of any other cable has not been tested or approved

4
3.2 Device overview
1. Microphone array
The OL1 has three arrays consisting of 8 MEMS
microphones each, protected by a dust and water-
resistant cover. Take care to prevent any object from
coming in contact with these covers.
2. USB-C port
The OL1 charges and connects to your device with a
single USB-C port. Take care to prevent dust or water
from accumulating in the port and to ensure that the
connection pins are not damaged.
3. Magnet
The OL1 has a neodymium magnet that allows it to
easily attach to your device. Always follow the magnet
safety guidelines in Section 3.4.
3 Before you start

5
3.3 Terms to know
Use this section to familiarize yourself with the terms that are unique to the Prosaris OL1 device and signal strength
measurements.
Loss ($/year): The Prosaris Leak Management app
estimates the compressed air dollar loss per year through
lost energy. This value is based on user defined parameters
and is an estimation only.
Decibel (dB): Decibel indicates the intensity (loudness)
of the sound and is expressed in terms of dB. During the
detection of a new leak, the Prosaris OL1 displays the dB
that is being currently measured along with the peak dB
that has been detected for a sustained period.
Distance (m or ft): The distance between the leak source
and the Prosaris OL1. Our dB estimation algorithms adjust
the measured dB to estimate what the reference dB would
be at the ideal distance. This allows you to estimate leaks
from a range of distances (up to 2m or 6.5ft).
Field-of-View (FOV): The real-world environment that is
visible through the tablet’s camera. The leak does not have
to be within the FOV to start and complete leak detection.
Flow (m3/hr or cfm): The Prosaris Leak Management app
provides an estimate of the flow escaping through from
detected leak source by using measured dB data and user
specified leak parameters.
Leak Event Record: An instance of a leak that was
detected, with its details being stored for later viewing and
editing.
Ultrasound: Equipment leaks generate sound signatures in
ultrasonic ranges (>20kHz). The human ear cannot perceive
sound in this range but the sensitive microphones in the
OL1 can.
3 Before you start

6
3.4 Safety
WARNING
To prevent personal injury and for safe operation of the
product:
• Do not put the device near heat or fire.
• Do not incinerate the Prosaris OL1 and/or battery.
• Do not disassemble or crush the device.
• Connect the charger to the power outlet before
connecting to the device.
• Only use USB AC power adapter with fixed prongs and
designed for use in the United States and Canada, or
charge via your computer’s USB port.
CAUTION
To prevent damage to the battery:
• Do not expose battery to heat sources or high- temperature
environments such as an unattended vehicle in the sun.
• Always operate in the specified temperature range.
• Do not store the device on the charger for more than 24 hours as
this may reduce battery performance and/or life.
• Do not store the device for extended periods of time in an
environment where the temperature is outside the temperature
range of -20°C to 50°C as this may reduce battery performance and/
or life.
• Store the device in a cool, dry place if it is not in use for extended
periods of time.
• Charge the battery initially for a minimum of 8 hours.
• Do not charge the battery when the ambient temperature is not in
the range of 0°C to 45°C.
The OL1 uses a 1500mAh lithium-polymer battery.
The battery charges directly from a USB power adapter or
computer (see Section 4.1).
Test Compliance - The cells comply with all UL 1642 single-
cell tests except the impact and crush tests, and IEC 62133.
3 Before you start

7
CAUTION
The OL1 uses a magnet to attach to your device.
Please take care of the following recommendations:
• Do not place the OL1 device near any sensitive magnetic
media such as computer disks, credit cards and tapes.
• Keep OL1 device away from pacemakers and any other
internal medical devices.
• Keep OL1 device away from tools and other metal
objects.
• Do not ingest or inhale the magnet. Seek immediate
medical attention if any magnet(s) are swallowed or
inhaled.
• Do not place in nose, mouth, or any other part of the
body.
• Swallowed magnets can stick to intestines causing
serious injury (necrosis) or even death.
• Keep out of reach of all children.
• Neodymium Magnets are brittle. They can break or
splinter in a collision. Broken magnets are sharp. If
the protective cover becomes damaged, cease use
immediately and contact Prosaris
3 Before you start

8
4Initial setup
4.1 Charge the device 4.2 Download the app
The OL1 ships with limited charge to preserve battery life.
Before your first use, fully charge the battery by leaving it
to charge for a minimum of 8 hours.
The Prosaris Leak Management app will indicate the battery
life of the OL1 in the upper right-hand corner of the app. Be
sure not to confuse this with your Android device’s battery
life, which may or may not be shown depending on your
device.
To charge the OL1, use the included USB-C to USB-A
charging cable. Plug the USB-C end into the device and the
other into a USB power adapter that is plugged into a wall
outlet.
Using any charger with a lower amperage rating will cause
the OL1 to charge more slowly and may decrease battery
life.
The Prosaris Leak Management app is required to operate
the OL1 and is available on the Google Play store. To
download the app, follow the below steps:
• Open the Google Play store on your Android device.
• Search for “Prosaris Leak Management” (or scan the QR
code below).
• Tap “Download” to begin the download from the store.
• The app will now be available on your device’s home
screen.
Note:
• The Prosaris Leak Management app requires a device running
Android OS (Android 7.0 or later).
• You will require a Google Play account to download the app.

9
4.3 Affix the Mounting Plate
To attach the OL1 magnetically to your device, you must
first affix the Mounting Plate.
Affix the Mounting Plate in the center of the back surface of
the device where possible, without obscuring the device’s
camera. The device must be used in landscape orientation
while using the Prosaris Leak Management app.
• Clean the location with an alcohol wipe, making sure to
remove any dirt, grime, or lint.
• When the location has dried, remove the backing and
make sure the area is clean and dry. Depending on your
device, the mounting plate may be oriented portrait or
landscape. Ensure the center is at least 2.25 inches from
the center of the device’s camera. Affix the Mounting
Plate, pressing firmly to ensure strong adhesion. Make
sure that the Mounting Plate is aligned vertically and
horizontally.
• For best performance, allow the adhesive to dry for at
least 4 hours before attaching the OL1.
4 Initial setup

10
5Basic Operation
5.2 Connect the OL15.1 Attach the OL1
Connect your tablet to the OL1 via the included cable.
Depending on your device, you may have to use a different
cable.
Ensure that the cable between the OL1 and your device
is straight, with no bends or kinks. Connect the cable to
the Android device first, and then the OL1. When you first
connect, you will have to grant permission for your device
to handle the OL1 USB UART connection. You can also
choose to have the Prosaris Leak Management app launch
automatically every time the OL1 is connected.
The OL1 attaches magnetically to your device via the
included Mounting Plate.
1. Attach the OL1 to your device by placing the magnet of
the OL1 on your device’s mounting plate.
2. Ensure that the “PROSARIS” logo on the OL1 is
Horizontal on your device when in landscape orientation.

11
5.3 Launch the app
5.5 Logging in
5.4 Registration
The Prosaris Leak Management app enables the
functionality of your OL1 device. After installing the app,
you can launch the app by tapping on the icon on your
Android device’s home screen.
When first using the Prosaris Leak Management app, you
will be asked a to allow the device to use your Android
camera. The app will still work if denied, but it will be
unable to provide a visualization of the leak location or
record pictures and video of the leak source details.
Tap “Allow” to use the Prosaris Leak Management app with
full functionality.
Next the Prosaris Leak Management app will ask permission
to use the GPS location of your Android device. This
supports the leak record management aspects of the app.
Tap “Allow” to use the app with full functionality.
You may then be asked to acknowledge that the app is
running in “Full Screen Mode” with device buttons hidden.
Acknowledge by swiping up from the bottom of the screen
and tapping “OK”.
Please enter your email and password and tap “LOGIN”. If
you do not already have a Prosaris account, tap “Register”. If
you have forgotten your password, tap “Forgot Password?”
If you do not have an account, tap “Register” to be guided
through the account registration process. You will be asked
to provide your name and email, as well as other pieces
of information to help us provide you with the best user
experience.
Once you have registered, you will be able to log in to the
app.
5 Basic operation

12
5 Basic operation
5.6 Home screen 5.7 Settings menu
Now that you have logged in, every time you reopen the app
you start from the above “Home Screen”, until you decide to
log out.
From this screen, you can start finding new leaks
immediately by tapping “FIND A LEAK”, you can view leak
records by tapping “LEAK EVENT RECORDS” (subject to
subscription tier) and change user settings by tapping the
triple bar menu in the top left corner.
This “Settings” menu contains key information about your
Prosaris app and device, as well as the information about
the signed-in user.

13
5 Basic operation
5.8 Firmware updates
The functionality of your device can be improved by
upgrading its embedded software, or firmware.
Firmware updates will be periodically pushed to your device
through the app. If a new firmware version is available and
you’re connected to the Internet, your app will automatically
download and apply the update.
Make sure that your tablet or phone does not go to sleep
or shut off its screen during the update process. You can
increase the time before sleep in the settings menu of your
tablet or phone.

14
6Leak Detection
6.1 Begin Leak Detection 6.2 Enter Leak Parameters
To start finding your leaks, tap “FIND A LEAK”. The app will take you to the “Leak Data Input” screen which
allows you to pre-populate leak parameters which are
critical to quantifying the size and impact of the leak. Use
“Flow” to enter characteristics of the gas you are interested
in. “Energy Loss” is specific to air efficiency. Use it to enter
compressor operating conditions and energy cost. For other
gases of interest, cost of gas under “Flow” enables dollar
loss.
You can switch between Metric and Imperial units using the
toggle at the top right of the screen.
Tap “Begin” to move to the leak detection screen.

15
6.3 Detection screen
The Detection screen displays key information.
dB peak and dB current measure signal strength at the point
of detection.
Flow and Loss of the leak are quantified in real-time.
The battery life of your OL1 is indicated in the top right.
The Detection Settings cog button is in the bottom left.
6 Leak detection
6.4 Detection settings
To get the most accurate readings for your environment, you
can adjust your detection settings.
Tap the “Settings” cog button to open the settings menu.
You are then able to adjust Sensitivity, Frequency, and
Distance separately.
To adjust each, select their button and drag the slider to
the desired level. Tap the X to close.

16
6 Leak detection
6.6 Leak direction
When a leak is detected and located, an arrow will appear
with the direction of the leak location
Follow the arrow and scan your area of interest for potential
leak sources.
You can return to the “Leak Parameters” screen by using
your mobile device’s “Back” button.
6.5 Begin detection
Tap the “Start” button to begin leak detection.
Your device will start searching for a leak by listening for
the ultrasonic noise that a leak emits.

17
6 Leak detection
6.7 Getting on-target
Your OL1 and app work together automatically to provide
confidence that the leak is in view and on target.
When the leak is in view, the arrow will move to the inside
of the circle.
Circle around the suspected leak source to confirm.
When you are on-target, three arrows will appear to
help you center the leak source in the circle. Enter your
approximate distance from the leak for the most accurate
readings.
Table of contents
Other Tequipment Security Sensor manuals
