TEREN OS User manual

OS Occupancy Sensor/ Detector Manual Edition:A/1
1
OS Occupancy Sensor/ Detector
Applications & Features
Suitable for passage way, corridor, toilet, basement, garage
and other public places, such as lighting, exhaust fan and
other automatic switch control. OS-W is wall-mounted type,
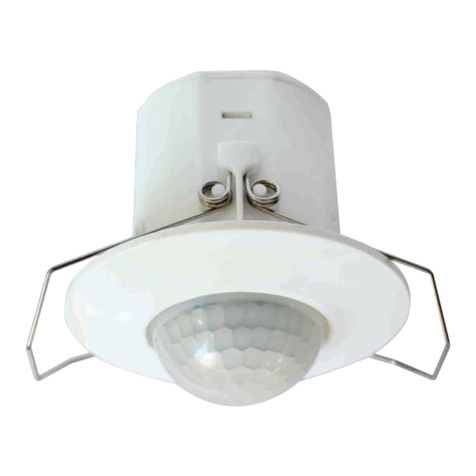
OS-C is ceiling-mounted type
Based on PIR infrared sensor and photosensitive sensor
combination technology, high sensitivity, strong reliability,
safe and convenient, intelligent energy saving
Fully automatic induction, switch on for occupancy, delay
off for vacancy automatically
Application of photosensitive automatic control, no
induction in day or high illumination circumstance,
illumination can be adjusted
Automatic random delay, switch on for occupancy and
continue to turn on if detecting activity, and delay off until
detecting no activity
Temperature compensation and anti RFI/EMI
Light and state of art housing, easy installation and using
Specifications
Sensor: PIR infrared sensor, photo resistance sensor
Power supply: 20~28VDC
Output: SPST, 10Aresistive / 4A inductive, 30VDC/250VA
Life circle: 105 times
Light control range (adjustable): OS-W: Night/Full day
(default night )
OS-C: 5~500Lux±20% (default 5Lux±20%)
Delay closing time (adjustable): OS-W:15s~20min(default
15s)
OS-C: 16~350s(default 16s±30%)
Detect area: cone angle 140°,distance 5-8m(<=24°) ,shown
as below,
Mount Height: wall mount height is about 1.5m, and ceiling
mount height is about 2~4m
Working environment: -20~50°C, 0~95%RH(Non-cond.)
Storage temperature: -30~70°C
Housing: fireproof ABS(except Fresnel lenses), IP30
Weight: OS-C:120g,OS-W:110g
Approval: CQC
Detect area diagram:
Models
Models
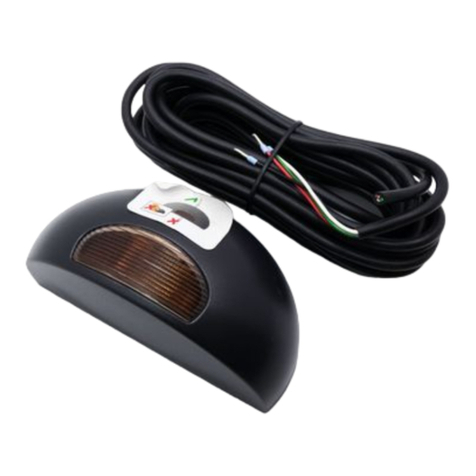
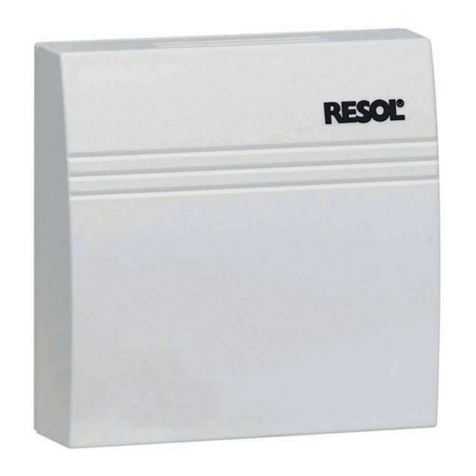
OS-W
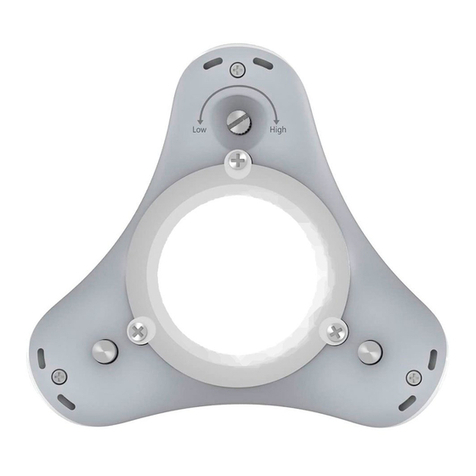
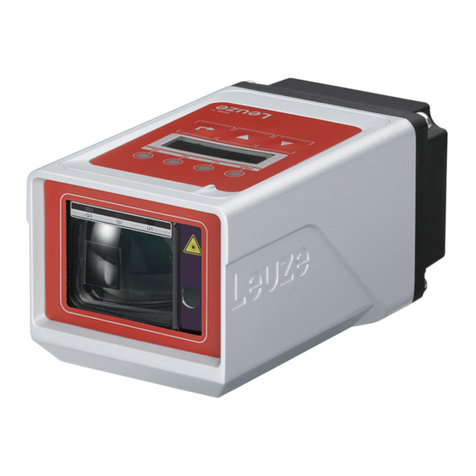
OS-C
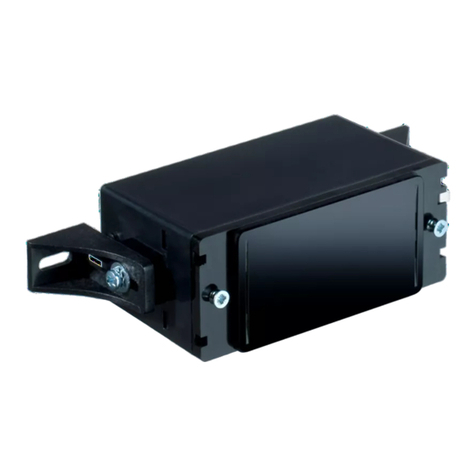
Wall mount occupancy sensor / detector
Ceiling mount occupancy sensor / detector
Connection
OS-C
OS-W
COM NO
POWER SUPPLY
24V DC
V+
V-

OS Occupancy Sensor/ Detector Manual Edition:A/1
2
Settings
Power OFF before setting the parameters, and do not operate with power on.
OS-C:
Delay setting: The delay potentiometer is factory default at the clockwise end (about 16 seconds), rotate counterclockwise to
increase the delay time, counterclockwise 180 degrees means to increase about 360 seconds.
Photosensitivity setting: The photosensitive potentiometer is factory default at the clockwise end (not sensitive when the light
is strong), rotate counterclockwise to increase the sensitivity, counterclockwise 180 degrees means to all day sensitive.
Note: The potentiometer is strictly forbidden to rotate 360°, please use a small flat-blade screwdriver to adjust it lightly, not
vigorously, so as to avoid permanent damage to the potentiometer.
OS-W:
When setting the parameters, please open the cover first to expose the setting DIP switches (Dial upward means OFF, and
downward means ON).
Delay setting: dial the 1-6 position code (1, 2, 3, 4, 5, 6) and set 6 levels of delay time
Note: Al least one position code of the 1-6 must be ON, otherwise the detector will be ON continuously.
Sensitivity setting: dial 7 position code and set 2 levels of sensing distance.
Front sensing distance≤8m (default)
Front sensing distance≤4m
Photosensitivity setting: dial 8 position code and set photosensitivity level.
All day: No matter the ambient light is strong or weak, the detector is sensitive
5 Lux: Night mode, the detector is sensitive when the ambient light is about less
than 5Lux (default)
Attention
1. Do not operate with power ON. Only after finish installation, wiring and setting, the detector can be power ON.
2. After is powered on, there will be three minutes of initialization. During the initialization time, the switch will automatically turn
on and off at intervals of 0~3 times (if the light is dark or the sensitivity is adjusted to "all day or brighter light sensitivity " status,
the detector will switch on the load after power-on), after about three minutes, the detector is in the normal monitoring status.
3. The installation position should be more than 1 meter away from the light load (the distance between the lamp with lamps
hade should be more than 50 cm), and the detector should not be installed in a place exposed to strong light or hot / cold air
inlets or outlets; there should be no other manual switches and other electrical equipment in the lighting circuit, otherwise it is
easy to cause interference and malfunction.
4. The detector installation should be far away from air conditioners, refrigerators, stoves and other places sensitive to changes
in air temperature; there should be no screens, furniture, large bonsai or other partitions within the detection area.
5. Once the detector is turned on, no matter what the ambient light is, it will always turn on when someone moves into the
sensing area, and turn off after the person leaves away.
6. The PIR detector is to detect the change of the difference between human body temperature and ambient temperature, so
the detection effect will be affected by factors such as ambient temperature, clothes worn by people, walking speed and walking
direction. In spring, autumn, winter or when the ambient temperature is low, the sensing distance is longer; but in summer or
when the ambient temperature is high, the detection distance becomes shorter, this is a normal phenomenon.
7. When applied to LED light control, it is recommended to use only one light load (due to the large instantaneous current when
the LED light switch power supply is turned on or off, it will damage the relay contacts and easily cause contact adhesion)
8. The detector adopts a Fresnel lens. When the human body walks from left to right or from right to left, the detector is sensitive;
when the human body walks from the front, from up to down or from down to up, the sensor is not sensitive or does not work.
Therefore, when installing, the left and right directions should be as parallel as possible to the direction where the human body
moves often.
9. Overload use is strictly prohibited.
10. The delay time should be adjusted reasonably according to the situation of application, otherwise the delay time will be too
long to cause the phenomenon of continuously light.
Warranty
It has limited warranty for eighteen (18) months after the production date.
Shenzhen TEREN Control Technology Co. Ltd.
Add: 3F, 2nd Industrial Zone, Nankeng, Longgang
District, Shenzhen,Guangdong,P.R.CHINA
Tel: 0755-23935155 Fax: 0755-23935156
web: www.teren.com.cn
204 Delay Potentiometer
0° 180° 0° 180°
Short Long Night All day
105 Photosensitive Potentiometer
Photosensitivity setting
8
OFF
ON
8All day
5Lux
Sensitivity setting
7
OFF
ON
7100%
50%
Delay setting
1 2 3 4 5 6
OFF
ON
1 2 3 4 5 620min
10min
5min
90s
30s
15s
TEREN website Alibaba shop
This manual suits for next models
2
