No Power
The power is on, but the DVD
player does not work
No Picture
No Sound
The playback picture is poor
The DVD player does not play back
The Remote Control does not work
properly
!
!
!
!
!
!
!
!
!
!
!
!
!
!
!
!
!
!
!
!
!
The power cord is disconnected.
No disc is inserted.
The TV is not set to receive DVD signal output.
The connected TV power is turned off.
The video cable is not connected securely.
The Video connection on the DVD is incorrect
The equipment connected with the audio cable is
not set to receive DVD signal output.
The audio cable is not connected securely.
The power of the equipment connected with the
audio cable is turned off.
The Digital Audio Output is incorrectly set.
The wrong sound format has been selected.
The disc is dirty.
No disc is inserted.
An unplayable disc is inserted.
The disc is placed upside down.
The disc is scratched
A menu is on the TV screen.
The remote control is not pointed at the remote
sensor of the DVD player.
The remote handset is too far from the DVD player.
There is an obstacle between the handset and the
DVD player.
The batteries in the remote control are exhausted.
!
!
!
!
!
!
!
!
!
!
!
!
!
!
!
!
!
!
!
!
!
Plug the power cord in and switch on at the mains.
Insert a disc. (Check that the DVD or CD indicator
in the ON Screen Display is lit.)
Select the correct video input on the TV
Turn on the TV.
Connect the video cable into the jacks securely.
Select the correct Video system on the player.
Select the correct input mode of the audio receiver
so you can listen to the sound from the player.
Connect the audio cable into the jacks securely.
Turn on all equipment connected to the audio
cable.
Set the Digital audio Output to the correct position,
then turn the DVD player off and on.
Select a supported sound format.
Clean the disc.
Insert a disc
Check the disc type, system and Regional code
Place the disc on the disc tray correctly
Try another disc
Press the SETUP key to turn off the menu screen.
Point the remote control at the remote
Operate the handset within 6m of the player
Remove the obstacle.
Replace the batteries with new ones.
TROUBLESHOOTING
If your DVD player is not working properly before returning the unit or contacting Tesco.use this guide
Before investigating a problem, always switch off the player and any connected units.
20
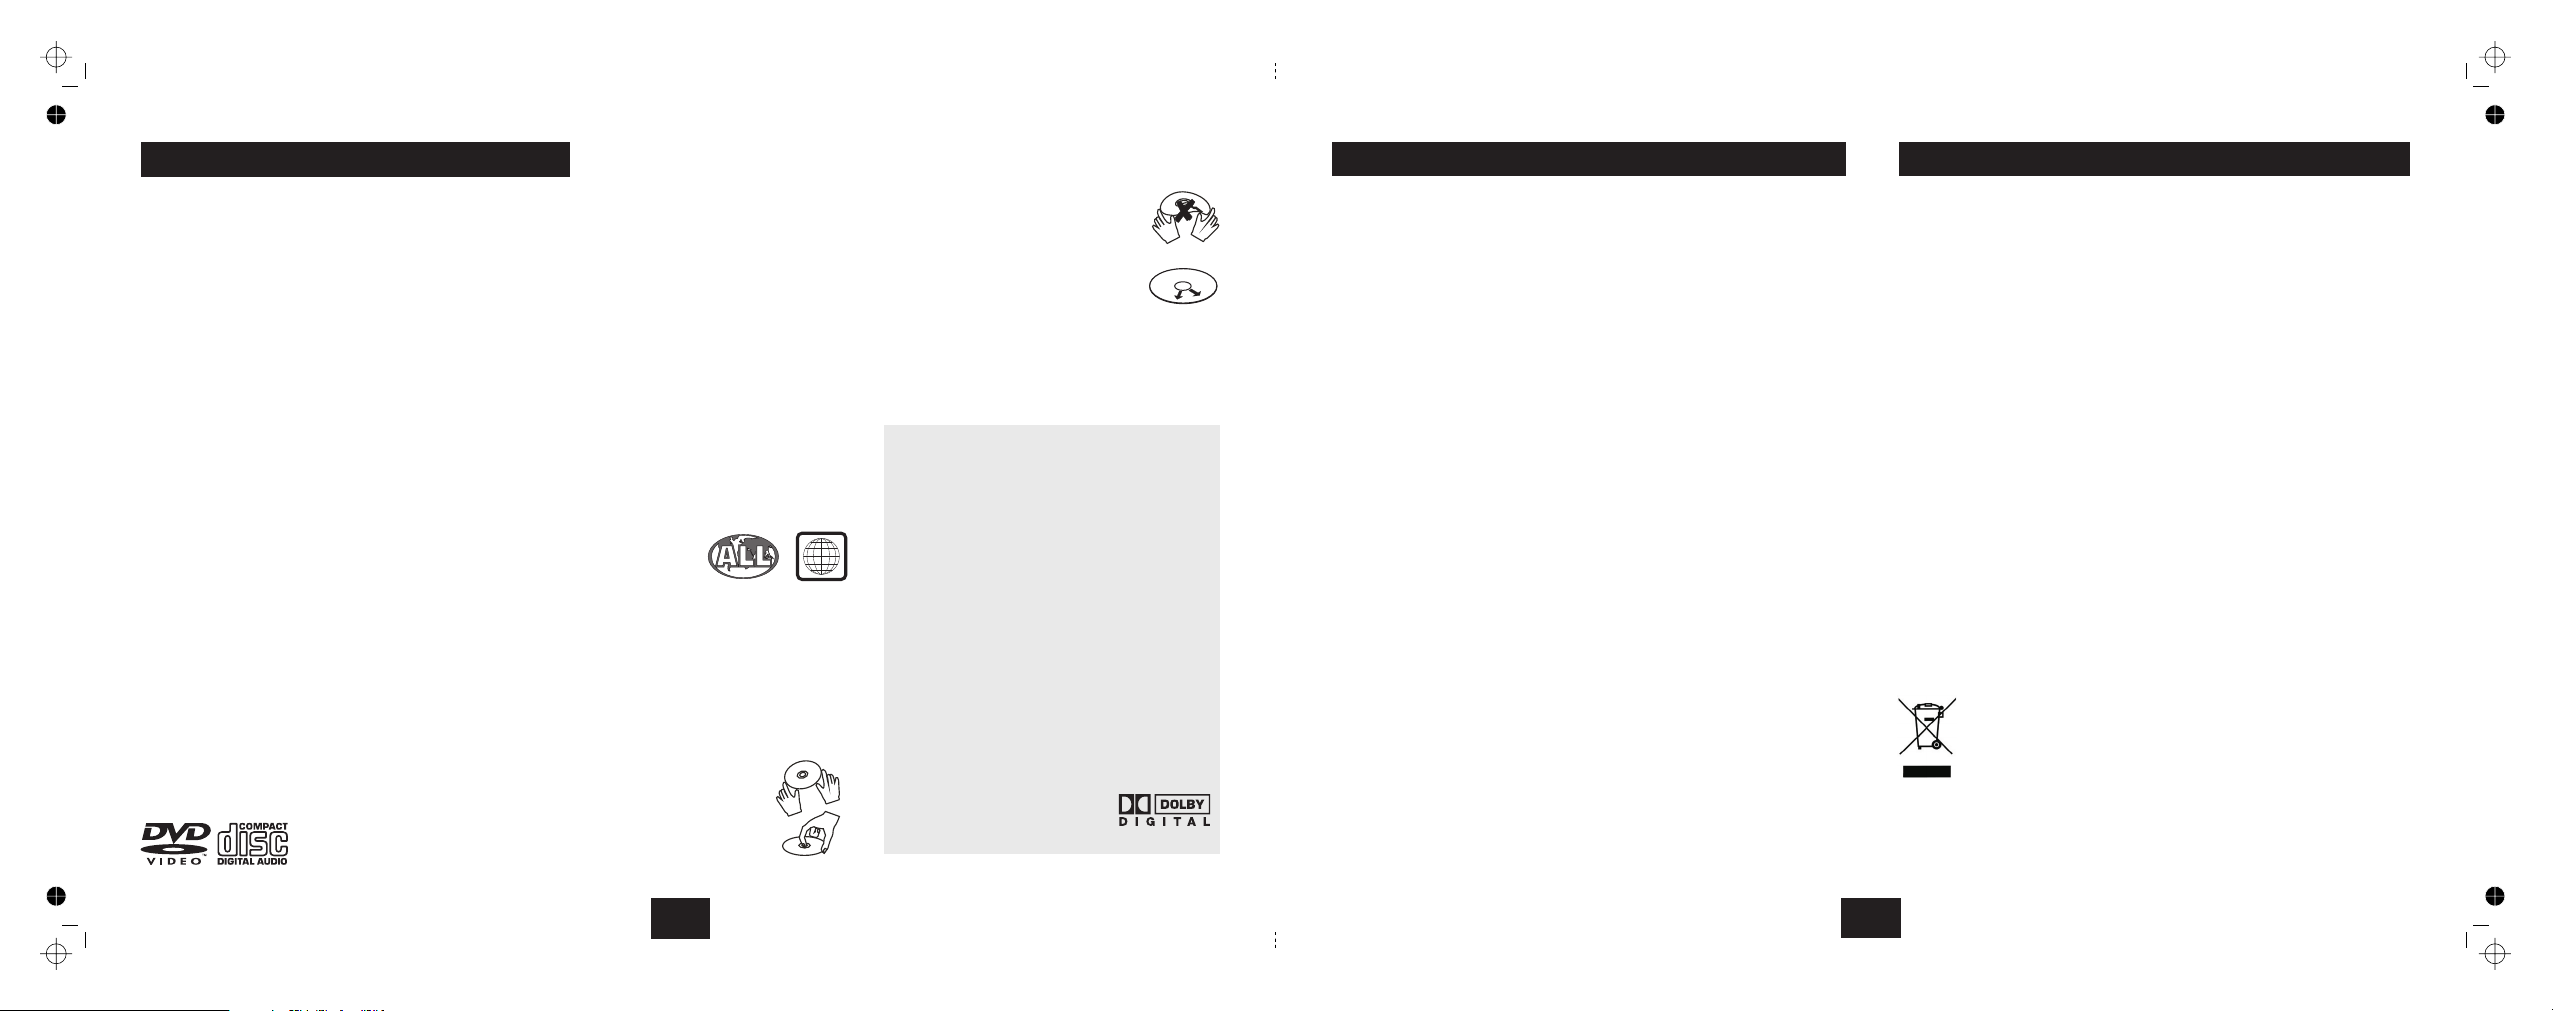
Introduction
Read this manual before using your player.
DVD, DVD+R, DVD+RW, CD-DA, CD, CD-R, CD-RW.
Your DVD player is set to play Region 2 and region free discs.
DVD discs with other region codes.
Improperly formatted CD-Rs or CD-RWs. This may include discs
which are not properly finalised.
The player has built in copyright protection technology. If a video
recorder is connected to the player, the video output image may be
distorted during recording.
The carton should contain:
The DVD Player
Remote Control
Operating Manual
If any items are missing or damaged, contact your nearest TESCO
store for a replacement. Have your receipt ready when you call.
Retain the packaging. If you dispose of it, do so having regard to any
recycling regulations in your area.
A SCART cable is not supplied with this product.
You will need to purchase two AAA batteries for the handset.
Please read the section on Pages 3 and 4 carefully to establish which
connecting leads you will need to purchase to operate the player
with your home equipment.
The player will accept the following formats (among others):
The following formats are not acceptable:
UNPACKING
!
!
!
!
!
VIDEO PLAYER USER MANUAL
1
Contents
SAFETY INFORMATION .............................................IFC
INTRODUCTION........................................................1
GENERAL INFORMATION
CONTROLS AND CONNECTORS 3
FITTING HANDSET BATTERIES 3
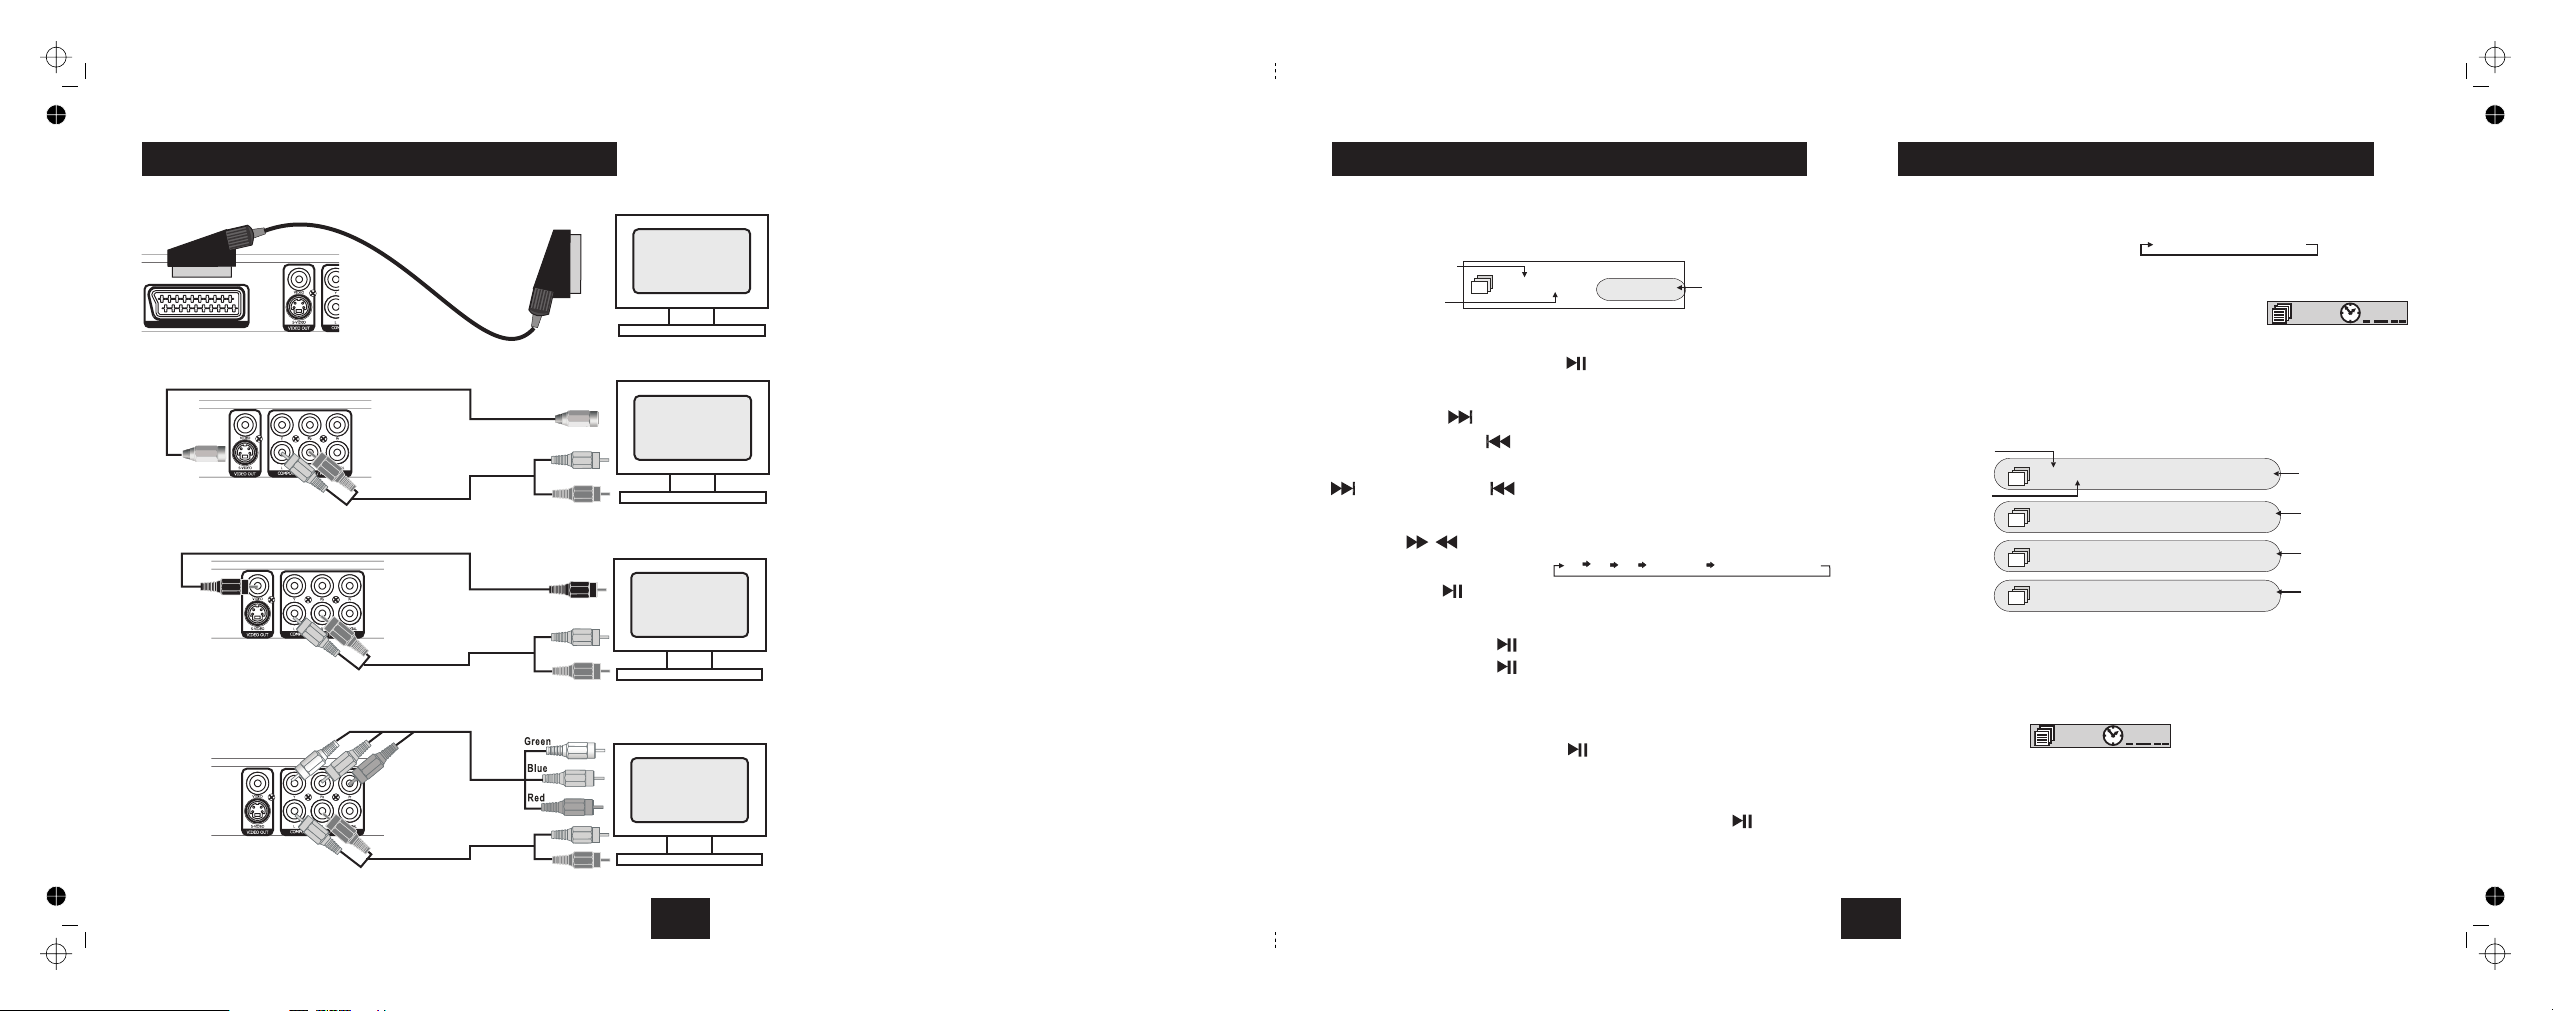
VIDEO AND TV CONNECTIONS ..................................4
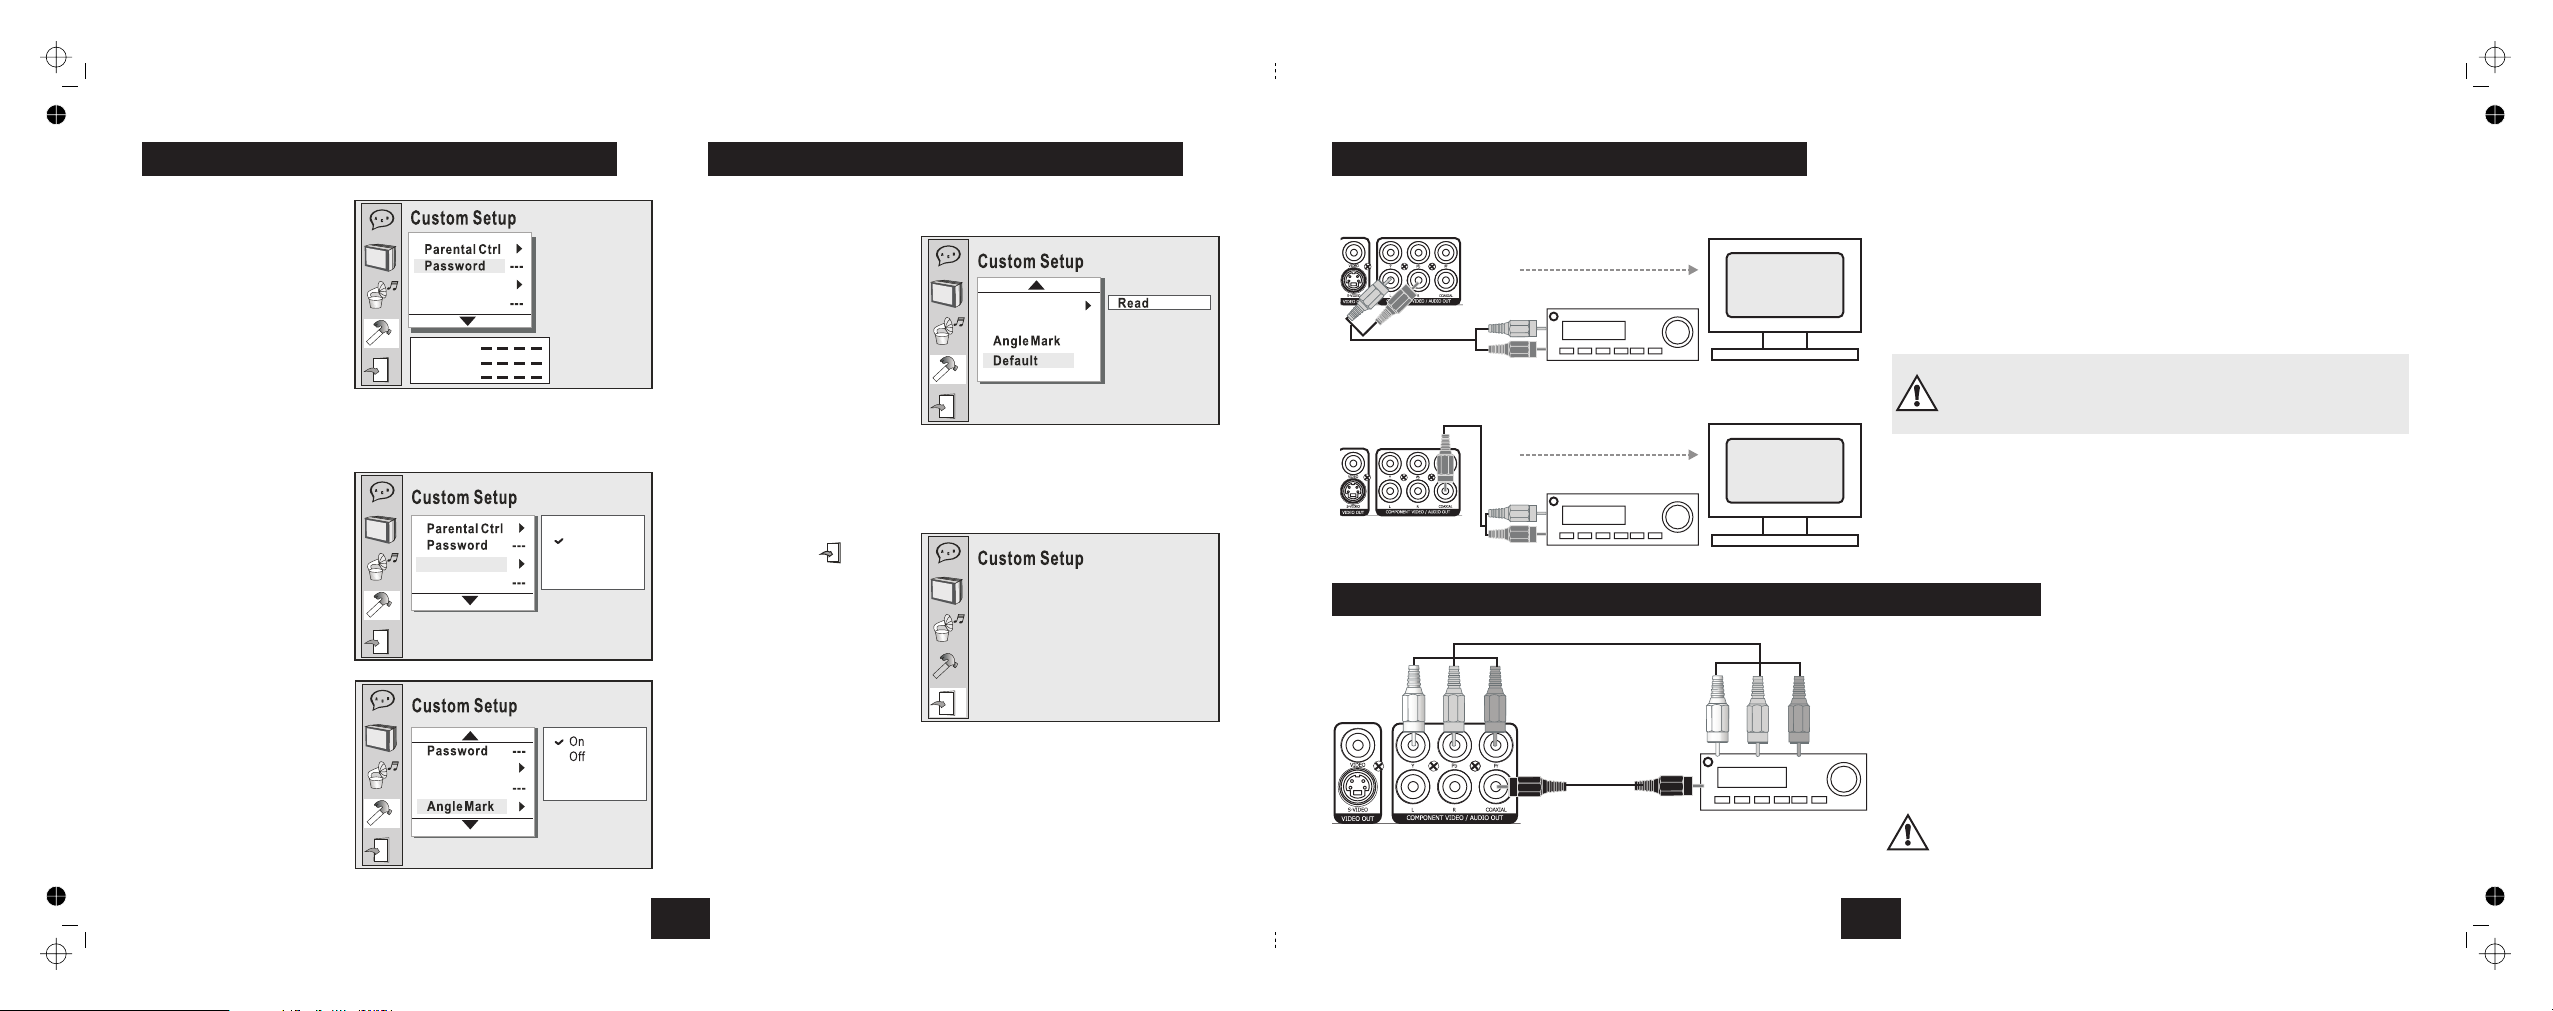
EXTERNAL AUDIO CONNECTIONS ............................5
HANDSET KEYS AND OPERATION.............................6
HANDSET KEY FUNCTIONS.......................................7
FUNCTIONS AND MENUS..........................................8
GETTING STARTED ...................................................8
PLAYING A DVD - BASIC ...........................................9
PLAYING A DVD - ADVANCED....................................10
SETTING UP THE PLAYER 13
PARENTAL CONTROL 15
PLAYING AN AUDIO CD .............................................17
PLAYING A VCD DISC ................................................18
FINAL OPERATIONS..................................................19
SERVICE AND WARRANTY........................................19
TROUBLESHOOTING ................................................20
SPECIFICATIONS ......................................................21
...............................2
........................
.........................
...............................
...................................