9
8-7. Start the engine
1. Place the unit on the ground: It must rest securely on the engine support and the hook.
2. Remove the blade guard: Check that the blade is not touching any object or the ground.
Check that nobody is standing within the working range of the trimmer.
3. Make sure you have a firm footing: hold the unit firmly against the ground with your left
hand on the tube.
4. Do not stand or kneel on the tube. This will bend the tube and result in permanent
damage to the shaft.
8.
9. TRIMMING
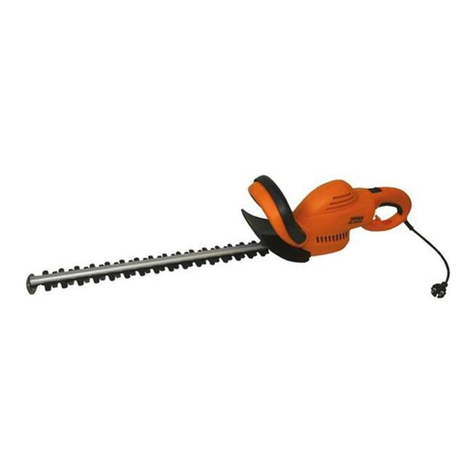
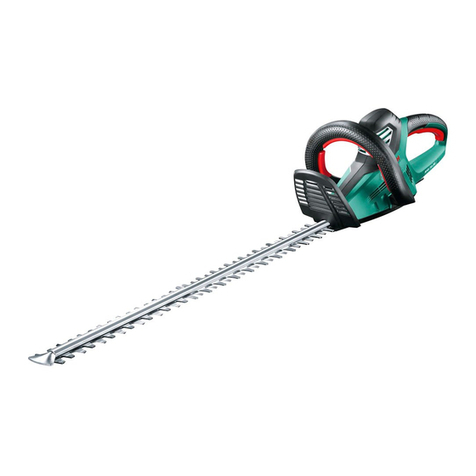
1. When working with the hedge trimmer, firmly grasp the handles with both hands.
2. Do not touch the cutter blade portion of the pole hedge trimmer during operation or when the engine is running.
3. Take extra care not to inhale exhaust gases when working with the hedge trimmer. Never operate the hedge trimmer in an enclosed room
or an area with insufficient ventilation.
4. Always wear adequate protective wear before starting to work with the hedge trimmer.
5. Stop the engine immediately if the muffler is not functioning properly.
6. Only use the hedge trimmer in good light and visibility conditions.
7. Do not operate the hedge trimmer in darkness or fog. Beware of slippery and wet areas and always ensure secure footing.
8. Never use the hedge trimmer while standing on an unstable surface or a steep slope.
9. Never use the hedge trimmer while standing on a ladder.
10. Never use the hedge trimmer while in a tree.
11. Check the working area before and during operation for wires, cord, glass or other foreign objects that could get caught in the cutter
blades.
12. Confirm that the cutter blades are at a high speed before starting to cut.
13. Always grip the hedge trimmer with both hands and maintain a firm grip when working with the machine.
14. Note that the cutter blades will remain in motion for up to two seconds after the throttle lever has been released.
15. Do not cut with the hedge trimmer at low engine speeds.
16. The speed of the cutter blades cannot be adjusted properly with the throttle lever when the engine is running at low speeds.
17. To trim the top surface of a hedge, first align the cutting tool at an angle of 15-30 degrees in the cutting direction and keep the hedge
trimmer in a horizontal position. Then start trimming the hedge using a sweeping movement, as if you were drawing half circles with the
hedge trimmer shaft.
18. To trim the sides of a hedge, align the blades parallel to the surface to be cut and start trimming with semi-circular upward movements.
19. Pay attention when trimming a hedge that has grown along a fence. Be especially careful not to allow the cutter blades to come into
contact with obstacles such as fences. Cutting into metal, stone, concrete or thick wood may damage the blades and the machine itself.
20. Do not use the hedge trimmer over an extended period of time. As a general rule, for every 50 minutes of operation, take a 10-20 minute
rest.
21. If the cutter blades come into contact with stones or other solid objects, stop the engine immediately and check the blades for damage.
Replace damaged blades.
22. If the hedge trimmer develops a problem during operation, immediately stop the engine. Do not use the machine again until the problem
has been recognized and solved.
23. Always do your utmost to keep pollution and noise emissions as low as possible when operation the pole hedge trimmer. Pay special
attention to correct carburetor adjustment and accurate petrol/oil mixture.
24. If thick branches get jammed in the cutter blades, immediately stop the engine, lay the equipment on the ground and remove the
obstruction. Check the blades for damage before using the machine again.
10. MAINTENANCE
10-1. Cleaning the air cleaner
Wash or replace the cleaner when it becomes dirty. Fig. 12
1. Detach the cleaner mounting screws and remove the cleaner cover.
2. Wash or replace the element. Fig.12
10-2. Spark plug
The spark plugs have a standard electrode-to-electrode distance of 0.6 to 0.7mm Fig. 13
The spark plug electrodes are dry and brown under optimum operating conditions.
Clean as necessary and use the spark plugs designated by the engine. Fig. 13


