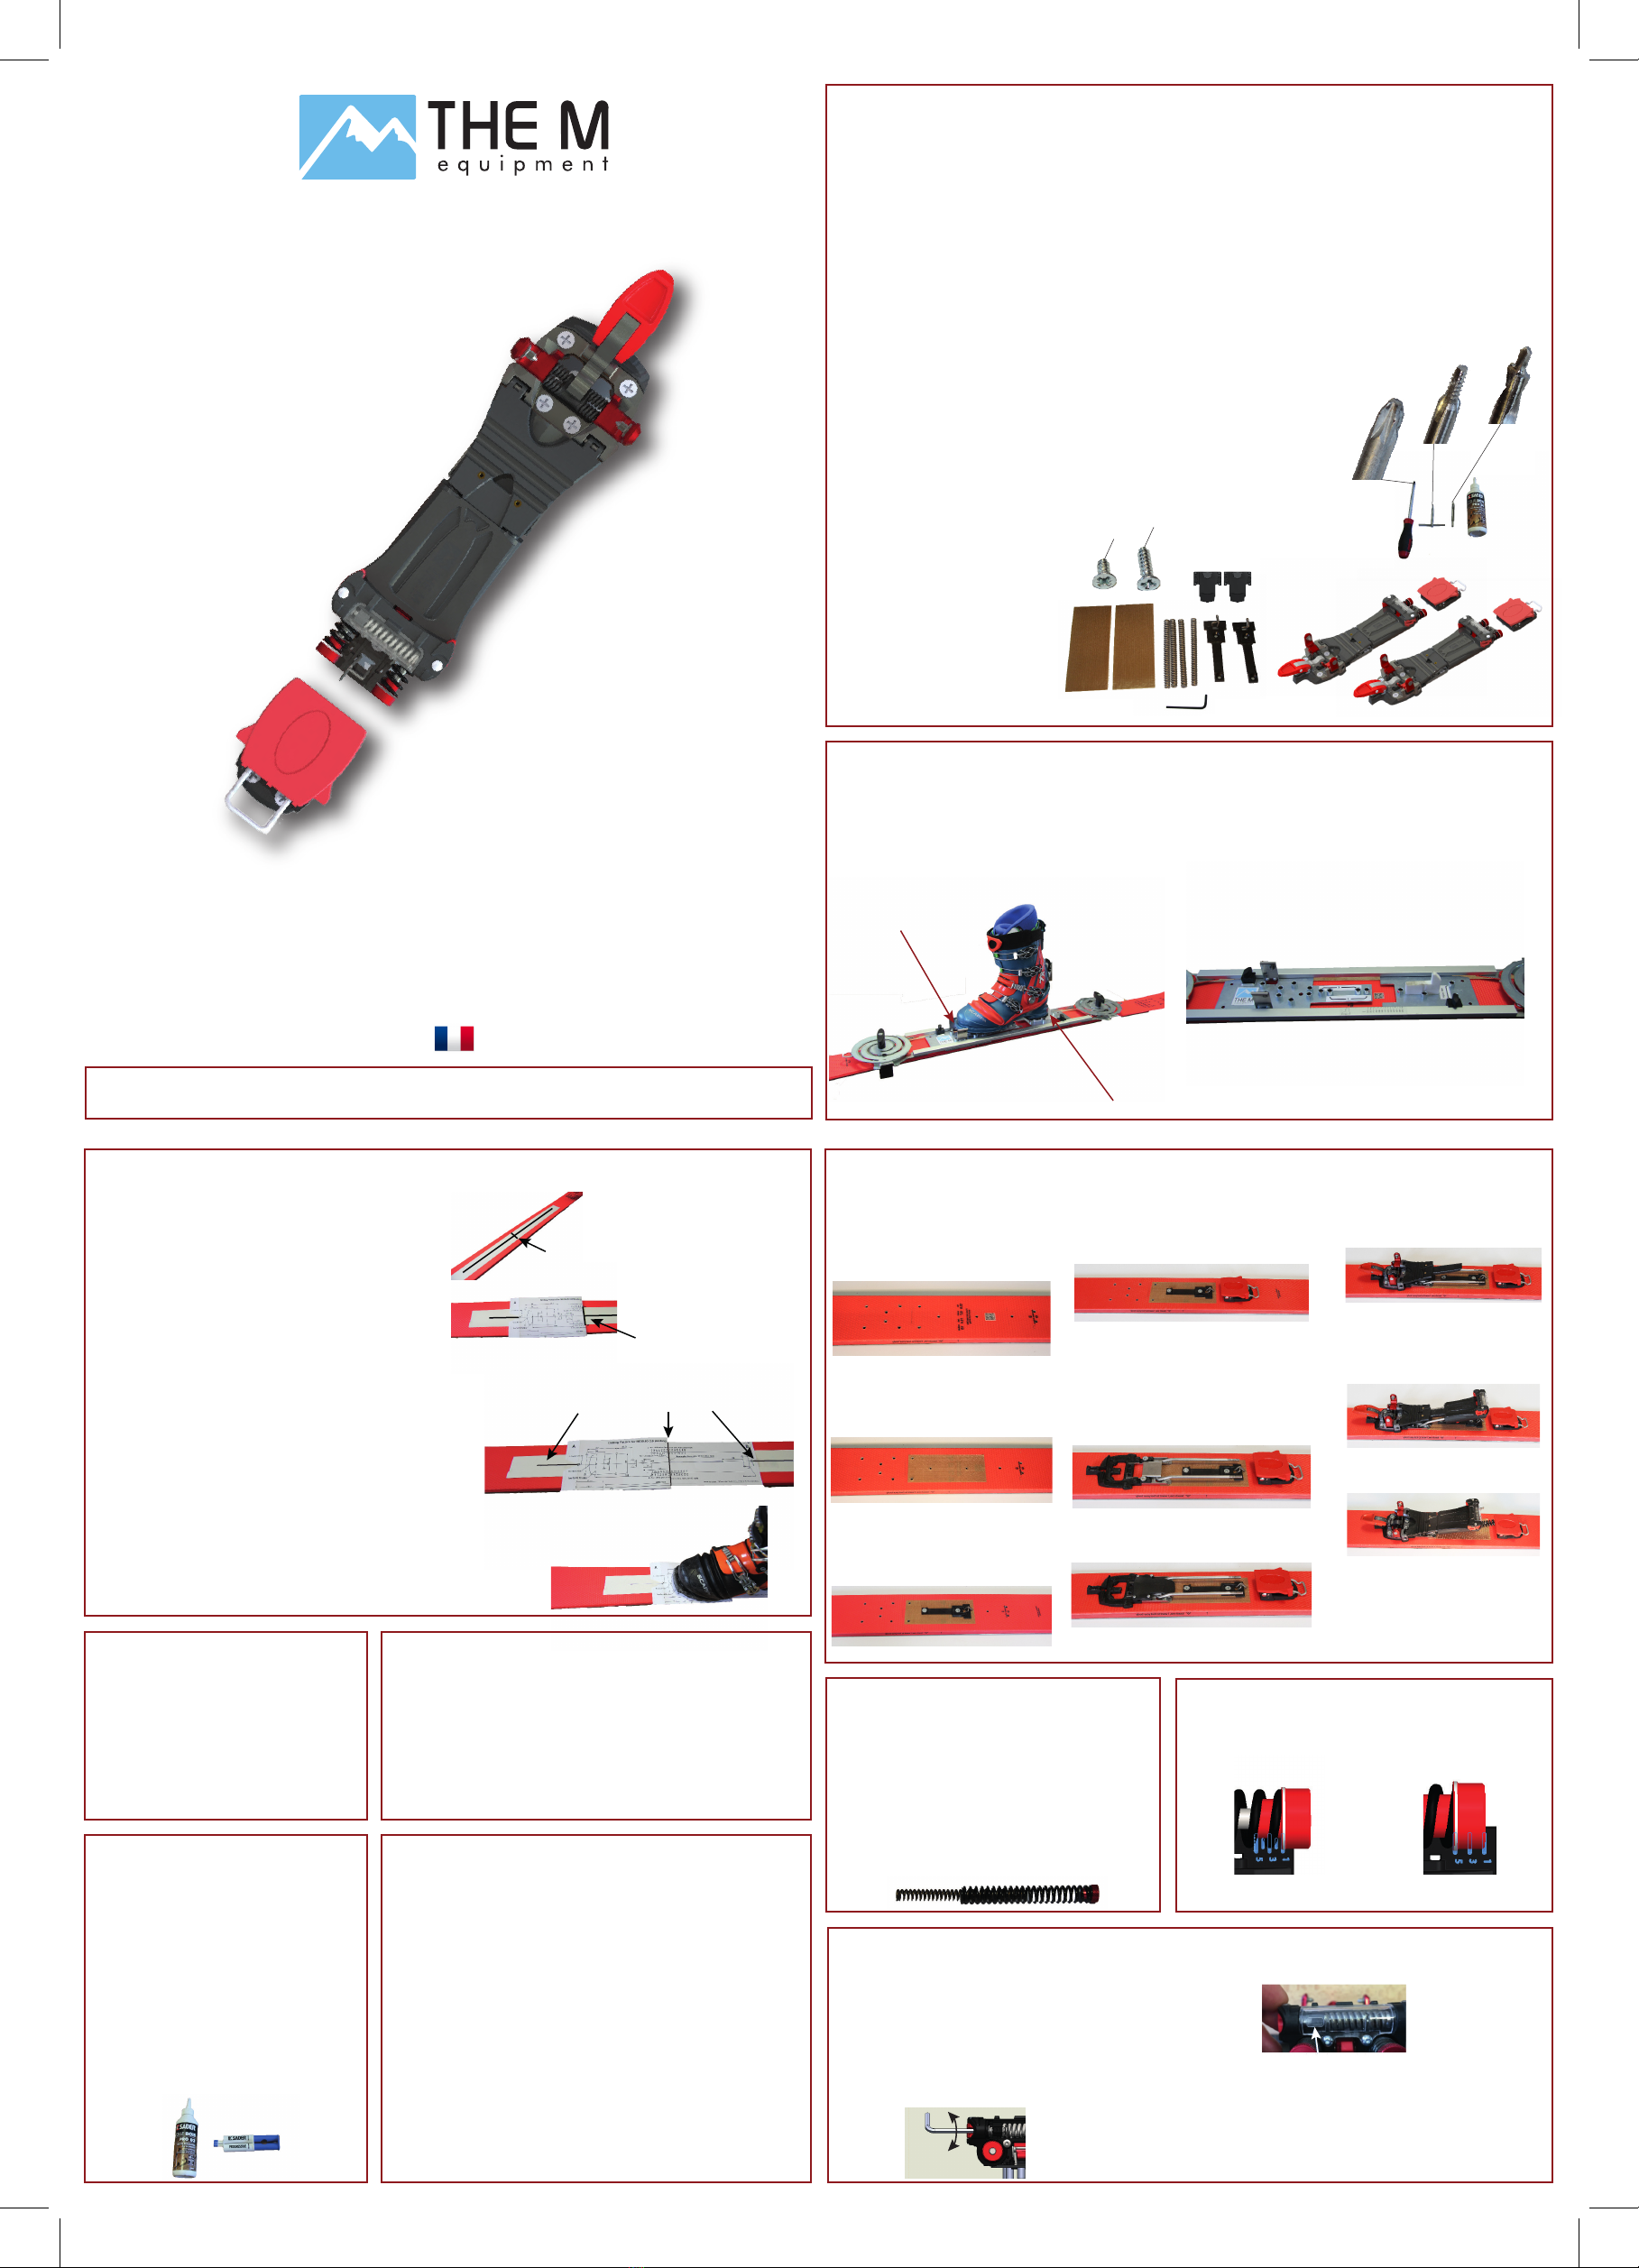
The M MEIDJO 2.1 User manual
PRÉPARATION
-
(mondopoint)) ;
-
(mondopoint)
-les chaussures soient conformes aux normes NTN (New Telemark Norm) et possèdent un insert low tech.
-le règlage du système de déchaussement soit adapté au poids et niveau du skieur.
-
Ski
-
-
-
-Bien protéger la semelle du ski avant de commencer.
NB: La société THE M equipment ne pourra être tenu responsable en cas de mauvais montage.
-
-1 foret 3,6 mm X 9
-
-1 tournevis PZ N°3
-
- 4 ressorts supplémentaires
- 12 vis 18mm
- 14 vis 11,5mm
- 1 clef Allen 3mm
pour régler le système de déchaussement, vous
pour diminuer la tension
la tension
RÉGLAGE DÉCHAUSSEMENT
Sur cee photo, le niveau de réglage est à 2
pour le télémark.
du ski et de la ligne de la taille de chaussure
É 1
- regarder sur la chaussure la taille de semelle en mm
transversale (sur un morceau de scotch par exemple)
A et B
placée sur le milieu de la ligne du centre du ski
1 - PERCER LES SKIS (avec schéma de perçage de THE M)
Attention : le perçage est diérent pour la taille S et la taille L
É 2
la taille de la chaussure
É 3
2 PERCER ET TARAUDER
N
- percer les 13 trous
3 PROPRETÉ
-
ment et ne se torde pas dès le premier engagement.
4 COLLAGE
de type Snoli.
-
en aucun cas de la colle pour caoutchouc.
-
5 VISSAGE
-
.
-
-
-
-
-
AJOUT D’UN SECOND RESSORT
(ressort noir).
-
noirs
-
-
-
AJUSTEMENT DE LA TENSION DES RESSORTS
Ajuster le ressort de tension et le système de sécurité. Aligner
ou le réglage souhaité de 1 à 5. Toujours rester entre le niveau
1 et le niveau 5.
1 - PERCER LES SKIS (avec gabarit de THE M)
Attention : le perçage est diérent pour la taille S et la taille L
INSTRUCTIONS DE MONTAGE
Ajustement au niveau 1
Ajustement au niveau 5
É
6 MONTAGE DES FIXATIONS
en faisant glisser simultanément
vis ( et ).
9 - Placer le low-tech avec 4 vis de
rando
de
N°3.
rouges
et transversale
de la chaussure alignée avec les
lignes du centre du ski
É
É
+33 (0)9 54 86 73 94
x12
x14

PREPARATION
- shoes are conform to NTN norms (New Telemark Norm)and with Low Tech insert,
Ski
-
NB: THE M equipment can not be held responsible in the event of incorrect assembly.
-
- 1 drill 3,6 mm X 9
-1 wood tap 5,5 mm
- 1 screwdriver PZ N°3
-
- 4 supplementary springs
- 12 screws 18 mm
- 14 screws 11,5 mm
- 1 Allen wrench 3mm
x12
x14
allen key.
- Turn clockwise to decrease the tension
SETTING OF THE RELEASABLE SYSTEM
On this photo the seng is on level 2.
S 1
(on a paper scotch for example)
marking (value of the length of your shoe) is placed on the mid
center line of the ski
- Take care to align the longitudinal lines
1 - DRILLING THE SKIS (with THE M drilling pattern)
Warning : the drilling is dierent for size S and size L
S 2
S 3
2 DRILLING AND TAP
N
- drill the 13 holes
- tap the 13 holes with the wood tap
- clean, carrefully, the holes
3 CLEANLINESS
Be sure to remove any dust or shards from the drilled hole.
or not.
4 GLUING
(2h) can increase your overall maximum pullout
We also recommend the use of Snoli wood glue.
holes
5 SCREWING
place, make a 1/8 turn on each screw.
- Don’t re-use old screws that have crap plug in the threads. When you screw
that into a new ski you are cutting crappy threads into the core and compromi-
sing strength.
- If you need to grind screws for some reason (e.g., the ski is thinner than the
screw design provided), be extremely careful not to leave any burrs—these will
mess with the thread cutting of the ski core.
- Don’t reverse bend the ski when applying drilling pressure. Support it from
beneath so that the screw hole is perpendicular to the ski. Even a small amount
of ex will change the angle and you'll lose full pullout strength potential.
- Don't grind out your initial hole threads by carelessly spinning the screw
without downward applied force
ADDING THE SECOND SPRING
can add the second spring.
spring
spring
ADJUST THE SPRING TENSION
Adjust the spring tension and the safety release system.
and level 5.
- Put the front of the shoe in the points
- Remove the shoe from the jig
1 - DRILLING THE SKIS (with THE M jig)
Warning : the drilling is dierent for size S and size L
- Place the jig so that shoe center line is aligned with the ski center
MOUNTING INSTRUCTIONS
Adjust to level 1
Adjust to level 5
6 MOUNTING THE BINDING
5 - Fix the touring plate with the
screwdriver.
sliding simultaneously the spring
11 - Remount the 2 springs
7 - Remove the ASP plate then place
plate with 4 screws (
).
at this step
9 - Place the low-tech with
the
screwdriver.
and transverse line
marking line the length of the
shoe aligned with the lines of
the center of the ski
8 - Put the 4 screws of the ASP plate
+33 (0)9 54 86 73 94
Table of contents
Languages:
Other The M Accessories manuals


