The Oak Bed Store CHILGROVE User manual

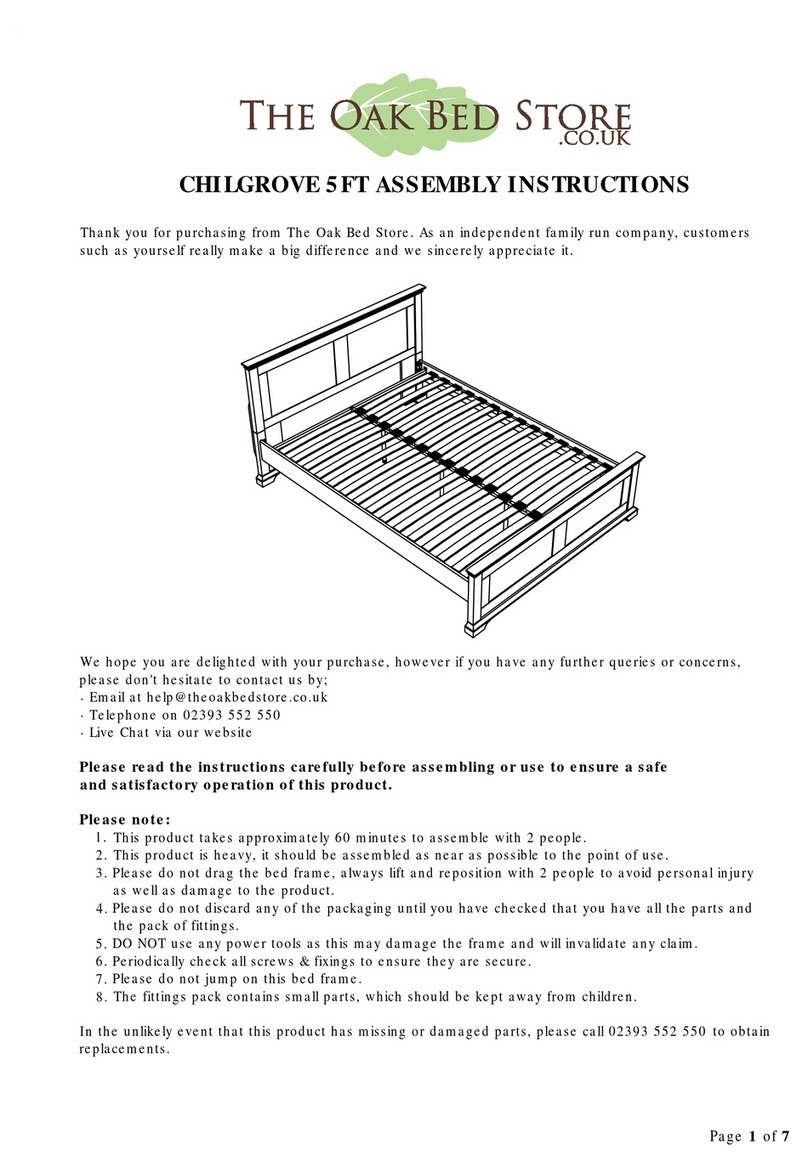
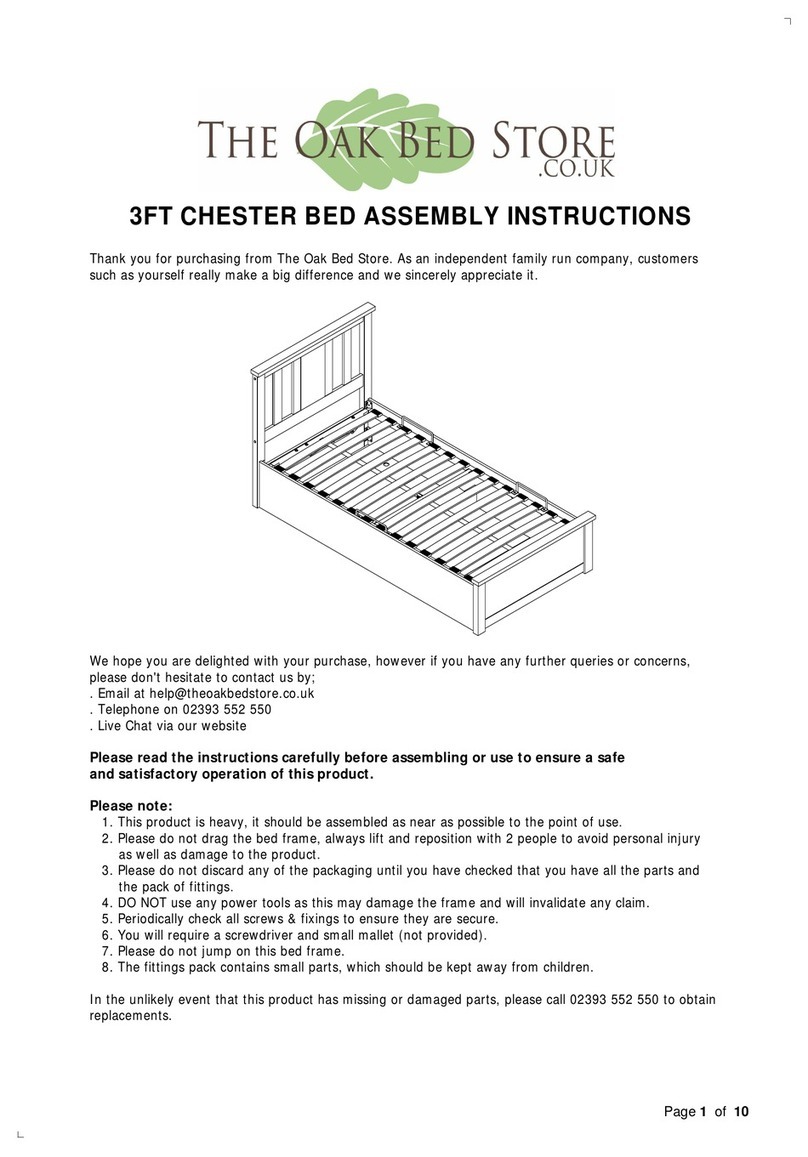
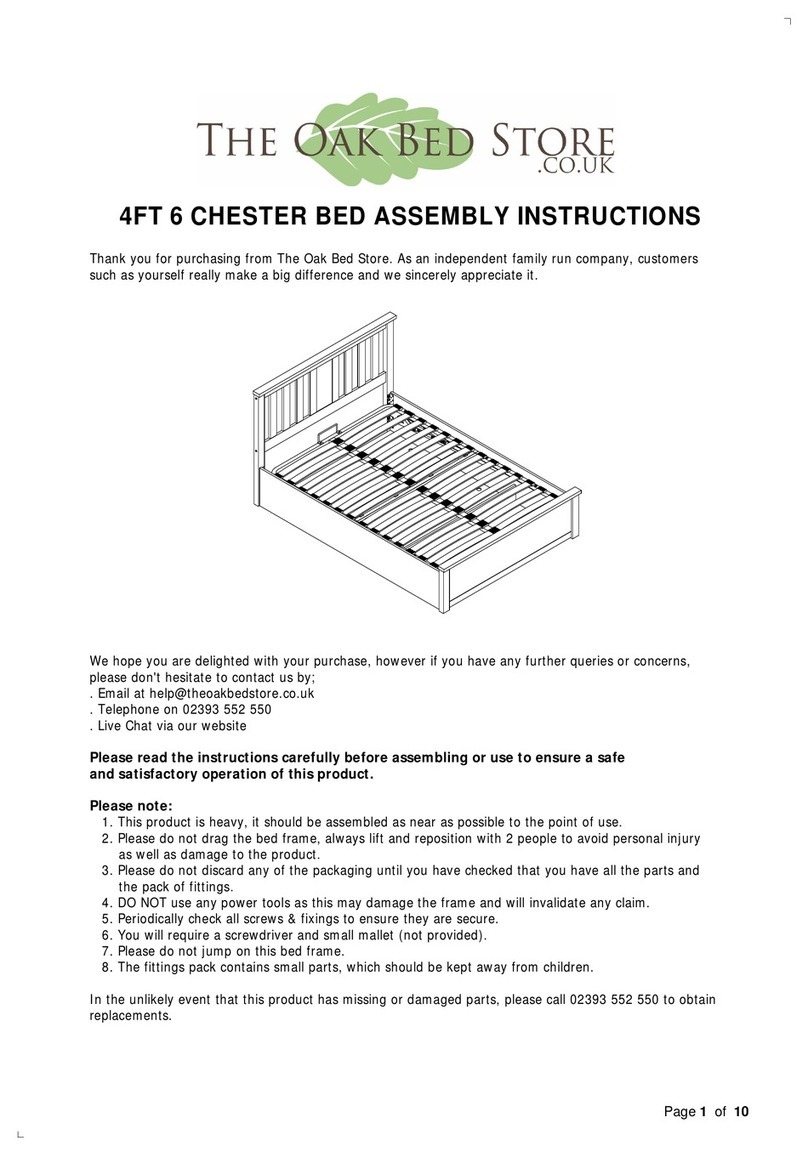
CHILGROVE 4FT6 BED ASSEMBLY INSTRUCTIONS
We hope you are delighted with your purchase, however if you have any further queries or concerns,
please don't hesitate to contact us by;
. Email at [email protected]
. Telephone on 02393 552 550
. Live Chat via our website
Please read the instructions carefully before assembling or use to ensure a safe
and satisfactory operation of this product.
Please note:
1. This product is heavy, it should be assembled as near as possible to the point of use.
2. Please do not drag the bed frame, always lift and reposition with 2 people to avoid personal injury
as well as damage to the product.
3. Please do not discard any of the packaging until you have checked that you have all the parts and
the pack of fittings.
4. DO NOT use any power tools as this may damage the frame and will invalidate any claim.
5. Periodically check all screws & fixings to ensure they are secure.
6. You will require a screwdriver (not provided).
7. Please do not jump on this bed frame.
8. The fittings pack contains small parts, which should be kept away from children.
In the unlikely event that this product has missing or damaged parts, please call 02393 552 550 to obtain
replacements.
Page 1 of 10

PART LIST
PART BOX
1
2
3
4
5
6
7
8
9
10
11
Headboard Frame
Left Wooden Post
Right Wooden Post
Footboard
Side Rail - Left
Side Rail - Right
Back Storage Panel
Small Base Panel
Large Base Panels
Center Storage Panels
Left Hydraulic Base Support
1/5
1/5
1/5
2/5
4/5
4/5
3/5
3/5
3/5
3/5
4/5
QTY
1
3
2
12
13
14
Right Hydraulic Base Support 4/5
Hydraulic Pumps
Back Bed Base
(1 x Hole Mounting)
15 Front Bed Base
(2 x Hole Mounting)
16 Wooden Slats
4/5
5/5
5/5
5/5 28
Page 2 of 10
DESCRIPTION
1
1
1
1
1
1
1
1
1
1
1
2

HARDWARE LIST ( Found in box 4 )
PART BOX
A
H
G
F
E
D
C
B
I
P
O
N
M
L
K
J
Cam Lock + Metal Screw Dowel
M8 x 30mm Wood Dowels
M8 x 35mm JCBB Bolt
ML-CB (Metal Corner Support)
M8 x 16mm JCBB Bolt
M8 x 75mm JCBB Bolt
Base Nut
M8 Flat Washer
M6 x 40mm JCBC Bolt
Base Handle
M8 x 45mm JCBB Bolt c/w Nut Bracket,
Spring & Flat Washer
Single End Plastic Cap
Double End Plastic Cap
M6 Allen Key
M8 Allen Key
M12.8 Spanner
** You will also need a screw driver (not provied).
Page 3 of 10
QTY
12
2
4
34
4
2
6
28
14
1
DESCRIPTION
5/5
5/5
5/5
5/5
5/5
5/5
5/5
5/5
5/5
5/5
5/5
5/5
5/5
5/5
5/5
5/5
1
1
4
4
4
12

Step 1: Attach the Back Storage Panel (Part 7) to the Left and Right Wooden Posts (Parts 2 & 3)
and tighten fully using hardware (A & B).
B2
A
7
BACK VIEW
3
Step 2: Attach the Headboard Frame (Part 1) to the Left and Right Wooden Posts (2 & 3) and tighten
fully using Hardware (D & O).
1
D
2
BACK VIEW
3
Page 4 of 10
- Insert Wooden Dowels (B) and Cam Lock (A) into the Back Storage Panel (Please ensure the
arrow on the Cam Lock is facing the Wooden Post). Screw the Metal Screw Dowel (A) into the
Left & Right Wooden Posts. Finally attach the Back Panel to the Left & Right Wooden Posts.
Tighten fully using a Screwdriver (Not Provided) and Do Not overtighten.
- Lay the Headboard Frame flat on the floor ensuring the inserts on the back of the headboard are
visible.Attach the Left & Right Wooden Posts to the Headboard Frame using the M8 x 35mm Bolt
(D) and tighten fully using M8 Allen Key (O).

Step 3: Attach the Left and Right Side Rails (Parts 5 & 6) to the Centre Storage Panels (Parts 10) and
tighten fully using Hardware (A & B).
B
6
A
10
510
Step 4: Attach the Headboard Frame (Part 1) to the Side Rails and tighten using Hardware (E & O).
Please repeat this step and attach the Footboard Part (4).
1
E
4
Page 5 of 10
- Ensure the Left and Right Side Rails are positioned correctly. Insert Metal Screw Dowel (A) and
tighten fully using a Screwdriver. Insert Wooden Dowels (B) and Cam Lock (A) into the Centre
Storage Panels (10). Attach both Centre Storage Panels to one of the side rails and tighten Cam Lock
(A) fully using a screwdriver taking care not to overtighten. Please repeat this step for the other side.
- Line up the Headboard to the Side Rails and Insert M8 x 16mm Bolt (E) and fully tighten using
M8 Allen Key (O). Please repeat this step to attach the Footboard.

Step 5: Attach the Metal Corner Support (C) to the Footboard (4) and Side Rails using hardware (E & O).
Step 6: Attach both Hydraulic Base Supports (11 & 12) to the Side Rails and tighten using hardware
(E & O). Fix the Hydraulic Pump (13) to the Hydraulic Base Supports (11 & 12).
11/12
13
13
13
6.3 Hydraulic Pump right installation.
12
E
6.1
11
E
6.2
Page 6 of 10
C
E
- Place Metal Corner Support (C) to the Footboard (4) and Side Rails. Insert M8 x 16mm Bolt (E) and
finger tighten. Ensure all corners are properly square (IE – At right angles) then fully tighten Bolt (E)
using M8 Allen Key (O).
- Attach the Left Hydraulic Base Support (11) to the Left Side Rail. Tighten using M8 x16mm Bolt
and M8 Allen Key (O). Please ensure you insert the centre bolt first to ensure proper alignment
and proceed to fit the remaining bolts.
- Remove the two pre-fitted nuts from the Hydraulic Base Support (11). Attach the Hydraulic Pump
(13) to the Hydraulic Base Support (11) and re-apply the nuts and tighten fully with the Spanner
(P). Refer to diagram 6.3 for the correct orientation of the Hydraulic Pump (13). Please repeat
this step for the other side.

Step 7: Assemble Front Bed Base (15) to the Back Bed Base (14) and tighten fully using hardware
(H,G,F). Attach the Base Handles (I) using hardware (J & N).
H
15
G
F
I
14 J
Step 8: Insert the Wooden Slats (16) into the Plastic Caps (L & M) and connect the slats to the Metal Base.
L16 M16 L
Page 7 of 10
- Ensure the holes for the slats are facing up on the Back Bed Base (14) and Front Bed Base (15).
Lay the two halves together and place the Base Nut (H) and M8 Flat Washer (G) on opposite sides
of the central bars and tighten using M8 x 75mm Bolt (F) using Allen Key (O). Repeat this step for
the remaining holes.
- Connect the Base Handles (I) to the Metal Base Ends using M6 x 40mm Bolt (J) and tighten with
M6 Allen Key (N).

Step 9: Insert the Small Base Panel (8) and Large Base Panels (9).
9
9
9
8
Step 10: Attach the assembled Metal Bed Base to the Hydraulic Base Supports (11 & 12) using hardware
(K & O), but don’t fully tighten the bolts. Start from headboard,then the middle and finally the footboard.
3
K
2
1
Page 8 of 10
- Fix the assembled Metal Bed Base to the Hydraulic Base Supports (11 & 12) starting at the Headboard
End using hardware (K) by placing the Spring Washer onto the M8 Bolt followed by the Flat Washer and
pass the Bolt through the Metal Bed Base and secure with the Nut Bracket on the underside of the
Hydraulic Base Support using M8 Allen Key (O).
- Please proceed to secure the Metal Bed Base in the middle and Footboard End on both sides.
- It’s important that you don’t fully tighten at this stage as we will need to adjust the Metal Bed Base in
the next step.

Step 11: Carefully lower the Metal Base using the Base Handle at the Footboard End. A moderate
amount of force will be required, if necessary place your mattress on top of the Metal Base to assist
with this.
HEADBOARD
15mm
FOOTBOARD
Page 9 of 10
- Adjust the position of the Metal Bed Base ensuring that the distance between the Footboard and
Base Handle is approximately 15mm. Once adjusted, please fully tighten all Bolt (K) on the Metal
Bed Base using M8 Allen Key (O).

CAUTION :
PLEASE USE HYDRAULIC PUMP SAFETY LOCK WHEN ACCESSING THE STORAGE AREA.
HYDRAULIC PUMP
SAFETY LOCK
(LOCK ON)
(LOCK OFF)
Page 10 of 10
PLEASE REMEMBER TO DISENGAGE THE SAFETY LOCK WHEN CLOSING THE OTTOMAN

ADDITIONAL HARDWARE LIST
PART BOX
A
H
G
F
E
D
C
B
I
K
J
Cam Lock + Metal Screw Dowel
M8 x 30mm Wood Dowels
M8 x 35mm JCBB Bolt
M8 x 16mm JCBB Bolt
M8 x 75mm JCBB Bolt
Base Nut
M8 Flat Washer
M6 x 40mm JCBC Bolt
M8 x 45mm JCBB Bolt c/w Nut Bracket,
Spring & Flat Washer
Single End Plastic Cap
Double End Plastic Cap
5/5
QTY
1
DESCRIPTION
2
2
1
1
1
1
1
1
2
1
5/5
5/5
5/5
5/5
5/5
5/5
5/5
5/5
5/5
5/5
Other manuals for CHILGROVE
1
Table of contents
Other The Oak Bed Store Indoor Furnishing manuals
Popular Indoor Furnishing manuals by other brands

Silver Cross
Silver Cross Brighton/Westport manual

Bob's Discount Furniture
Bob's Discount Furniture TOWNSEND Assembly instructions
Pacific Casual
Pacific Casual Caspian 14H051SEC-B1 Assembly instructions
Peka
Peka PLENO FIORO manual

Coaster
Coaster 206391KE Assembly instructions
Office Star
Office Star EC22070 operating instructions
