Thermix KPH 1300-B Operation manual

1
Installation & User Guide
Kitchen Plinth Heater models
KPH 1300-B
KPH 1500-C, KPH 1800-C, KPH 2100-C & KPH-2400C
KPH 1500-W, KPH-1800-W, KPH 2100-W & KPH-2400W
KPH 1500-SW, KPH-1800-SW, KPH 2100-SW & KPH-2400SW
KPH 1500-VC, KPH-1800VC & KPH 2100-VC
Classic Models Wireless Models
Alexa Models
WARNING: Read the instructions before using the product!

2
These instructions are for your safety. Please read through them thoroughly before use and retain them
for future reference.
Technical information 3
Safety warnings 4
Installer important notes 5
Pre-installation 6
Installation 7-8
Commissioning 9
Fault Finding 9
Maintenance 9
Electrical 10
Recycling 10
Warranty 11

3
Technical Informations:
Rated Voltage: 220-240V 50 Hz
Rated power (max.): 25W
Max. operating pressure: 6 Bar
Max. operating temperature: 80⁰C
Product performance table
Emergency
Familiarise yourself with the product by means of this instruction manual. Remember to follow the
safety direction to prevent risks and hazards.
1) Be alert when using this product, so that you can recognise and handle risks early. Fast
intervention can prevent serious injury and damage to property.
2) Disconnect the heater from the power supply of there is any malfunction and contact the
manufacturer before you put it into operation again.
Model
Speed
Output
@ 75°C
( watts)
Output
@ 70°C
( watts)
Output
@ 65°C
( watts)
Output
@ 60°C
( watts)
Output
@ 55°C
( watts)
Output
@ 50°C
( watts)
Output
@ 45°C
( watts)
KPH-1300B
Low
1411
1305
1200
1010
880
700
495
KPH-1500C
KPH-1500W
KPH-1500SW
KPH-1500VC
Low
1405
1260
1181
1040
850
701
490
High
1545
1450
1341
1212
1002
801
583
KPH-1800C
KPH-1800W
KPH-1800SW
KPH-1800VC
Low
1611
1505
1382
1235
993
738
513
High
1855
1702
1591
1457
1233
840
624
KPH-2100C
KPH-2100W
KPH-2100SW
KPH-2100VC
Low
1925
1669
1472
1386
1227
1039
937
High
2153
1861
1717
1556
1352
1270
1032
KPH-2400C
KPH-2400W
KPH-2400SW
Low
2035
1730
1585
1490
1335
1135
1040
High
2350
2058
1900
1685
1545
1400
1230

4
Safety warnings:
CAUTION:
This appliance is not intended for use by person (including children) with reduced physical, sensory
or mental capacities or lack of experience and knowledge of the product.
Appliance can only be operated by responsible adults after reading and understanding these
instructions.
Children shall not play with the appliance. Cleaning and maintenance shall not be made by children
without adult supervision.
Remove the packing and make sure that the appliance is intact. If there is any doubt concerning the
integrity of the heater do not the product and contact the supplier or manufacturer.
Before turning the heater on check the electrical voltage and frequency of the circuit matches to
those indicated on the technical informations.
Use the appliance only for the stated purpose( kitchen plinth heater for domestic use only)
HOT SURFACES: Don’t not touch the pipes on the side of the heater when the heating is running as
it could be damage the skin.
SAFETY INSTRUCTIONS:
The item should be only used as intended.
The product is for indoor and domestic use only.
Check item carefully before use. Do not turn on the heater with defects or damaged power cable.
The plinth heater should only be wired to earthed fused spur.
This product should be connected to rated power supply mentioned in the technical informations.
Do not use the heater near the wet area(i.e under the kitchen sink)
Do not use the heater if the power cable is damaged any way.
Any cleaning and maintenance can be only done after disconnecting the electrical power supply and
turning the central heating off.
Do not touch the heater with wet hands.
Do not insert any sharp object through any of the heater grille.
If the product becomes faulty please turn the electrical supply off immediately.
Winter precautions: This product should only be installed indoor where the ambient temperature
doesn’t go below freezing (5⁰C). If the central heating is not running during the winter period please
drain the heating system to protect the water freezing inside the heater which could cause serious
damage.

5
IMPORTANT INSTALLER NOTES
NOTES FOR THE INSTALLER / COMMISIONING ENGINEER
If you are experiencing any issues with the plinth heater not appearing to work correctly please check the
following before contacting our technical team.
NB: Wireless models come with thermostat Pre- synchronised please DO NOT attempt to resynchronise
unless there is an issue found.
Classic Models:
Check the power supply is on and the 3amp fuse is fitted.
Check the fan switch is set to either position 1 or 2
Check with your boiler running that the two pipes on the side of the heater are too hot to hold , the unit
has an internal temperature sensor that need water to be above 40 degrees before it will activate
Wireless Models:
Check the power supply is on and the 3amp fuse is fitted.
Check the thermostat is calling for heat (flame symbol on) and then look in the Pairing hole on the side of
the unit to check green power LED light is ON and red Status LED light is ON.
Check the fan switch is set to either position 1 or 2
Check with your boiler running that the two pipes on the side of the heater are too hot to hold , the unit
has an internal temperature sensor that need water to be above 40 degrees before it will activate.
Smart Wi-Fi Models:
Check the power supply is on and the 3amp fuse is fitted.
Check the thermostat is calling for heat (flame symbol on) and then look in the Pairing hole on the side of
the unit to check green power LED light is ON and red Status LED light is ON.
Check the fan switch is set to either position 1 or 2
Check with your boiler running that the two pipes on the side of the heater are too hot to hold , the unit
has an internal temperature sensor that need water to be above 40 degrees before it will activate.
NOTE: Please make sure the product is established with Wi-Fi connection via the thermostat app. (read the
thermostat manual under Smart Wi-Fi thermostat.
Voice Controlled Models
Please check Wi-Fi set up is ok as per the Thermostat manual provided and if you still having any issues
please carry out classic model checks as above.
on 01206 618080

6
Pre-Installation:
Unpack the box and check the following items are in the carton:
Product complete with pre-wired mains cable.
Flexible connecting Hoses (Not provided with KPH-1300B)
3A fuse
Fitted Grille
Fixing screws (2) with screw caps
Wireless Thermostat (KPH 1500-W & KPH-1500SW, KPH 1800-W & KPH-1800SW, KPH
2100-W & KPH-2100SW, KPH-2400W & KPH-2400SW models only)
In the event of any items missing or visibly damaged on unpacking, please contact us on email or phone
before starting any installation.
Product introduction:
This heater is intended to install behind the plinth in the space under the kitchen cupboards.
However, it can be installed in similar kind of application.
This unit is made for two pipe pumped central heating systems. Flow and return and pipes should
be connected as per drawing mentioned in page 2.This unit should not be installed in one pipe
system.
To allow enough airflow a minimum clearance of 20-25mm from the top of the unit to the any
shelving. All the models (except KPH-2400 models) in this guide will require a minimum of 370mm
between the kitchen cabinet legs. KPH-2400 models will require a minimum of 430mm between the
kitchen cabinet legs. This unit must be installed of flat solid surface to avoid vibration.
Isolating valves (not supplied) should be fitted to both pipes (flow & return) to allow easy servicing.
The flexible hose should be fitted to both pipe (flow & return) to allow easy servicing.
This unit should not be installed in bath room, high humid areas or directly under the kitchen sink.
Electrical connections should be via 3A fused spur and it should be easily accessible after the
installation.

7
Installation:
1. The heater should be installed by a qualified plumber.
We recommend the use of a knee pad when installing this
product. Cut the opening in the plinth to the size shown in
the table. Use method A or B. Note: When Method B is
used please make sure that the heater base sits on the
solid support.
Model
Width A
Height B*
KPH 1300/1500/1800/2100
456mm
97mm
KPH-2400
540mm
97mm
* The overall height of the grille is 100mm. Use care when
cutting the opening.
2. Fit isolating valves (not supplied) to the system
flow and return pipes. Failure to fit isolating valves
may mean that the product is not serviceable in
the event of failure. Remove and discard the two
rubber protection bungs in the copper pipes and
connect the flexible hoses between heating
system pipework and heater.
Open the isolating valve on the flow pipe (keep
the isolating valve on the return pipe closed) and
check for leaks.
N.B. either pipe may be used on flow or return.
3. Vent air through bleed screw if necessary
with flat blade screw driver. Once the air is
removed you can now open the isolating valve
on the return pipe to get the water flowing.
Flate heat
screw driver
Bleed Valve
I
O
II
Flow
Return
Method A
A
A
B
B
Method B

8
4. Isolate electrical supply and connect
the heater electric cable to the fused
spur (3A). Ensure the fused spur is not
directly above the heater and is
accessible after installation is complete.
Electrical works should be carried out
by a qualified electrician, in compliance
with local regulations
I
O
II
Fused Spur
5. Position heater, making sure the
flexible hoses is not kinked and the
electrical cable is not snagged.
IMPORTANT (Smart Wi-Fi and Voice
controlled models only): Please make
sure that the Wi-Fi connections
established with phone app before fixing
the product to the plinth.
6. Fix the heater to plinth using
fixing screw holes located at
either end of grille.
I
O
II
Grille to plinth securing
screw holes

9
Commissioning
Fault Finding:
(Please note the most common issue that causes the unit not to operate is due to the water temperature
at the heater and or water flow to the unit.)
Maintenance:
Due the location of these heater under kitchen plinth it could attract more dust so it is advisable to
clean the heater with brush and hoover to remove any dirt, hair dust etc.
Before you do any maintenance make sure the electrical power and the central heating is turn off.
Use a soft, moist cloth to carefully clean the exterior surface of the product (i.e. front grille).
Use a soft brush to brush off the dust, hair etc from the fan.
1. Turn on the electrical supply at the fused
spur.
2. Set the switch to either l or ll.
3. Turn on the central heating system.
4. Set any room thermostat/s to maximum.
5. Check pipework connections for leaks
6. Set the switch to l – the fan should run and
heat will flow within a few minutes if water
temperature in the system is more than 40°C.
7. Balance the central heating system if Kitchen
plinth heater is installed on the same circuit as
panel radiators.
8. When the installation is working correctly,
remember to reset any room thermostat/s to
its normal setting
1. Fan does not run on any
switch setting.
a). Check the power supply is switched ON.
b). Check fuse in fused spur.
c). Check the wiring connections at the fused spur.
d).Check the pipes on the side of the unit are hot to touch if the
pipes are not hot please check the following :
>Ensure any existing room thermostat calling for heat
>Balance the Central heating to get flow to the plinth heater
>Increase the flow speed on heating circulation pump if necessary.
10
Electrical Connections:
This heater is fixed appliance and it needs to be wired to the fused spur by qualified electrician. The wires in the
mains cable are colored in accordance with the following code:
Earth: Green and Yellow
Neutral: Blue
Live: Brown
Note: Please make sure that this unit is earthed and reduce the fuse size to 3A (use the supplied fuse).
Recycling:
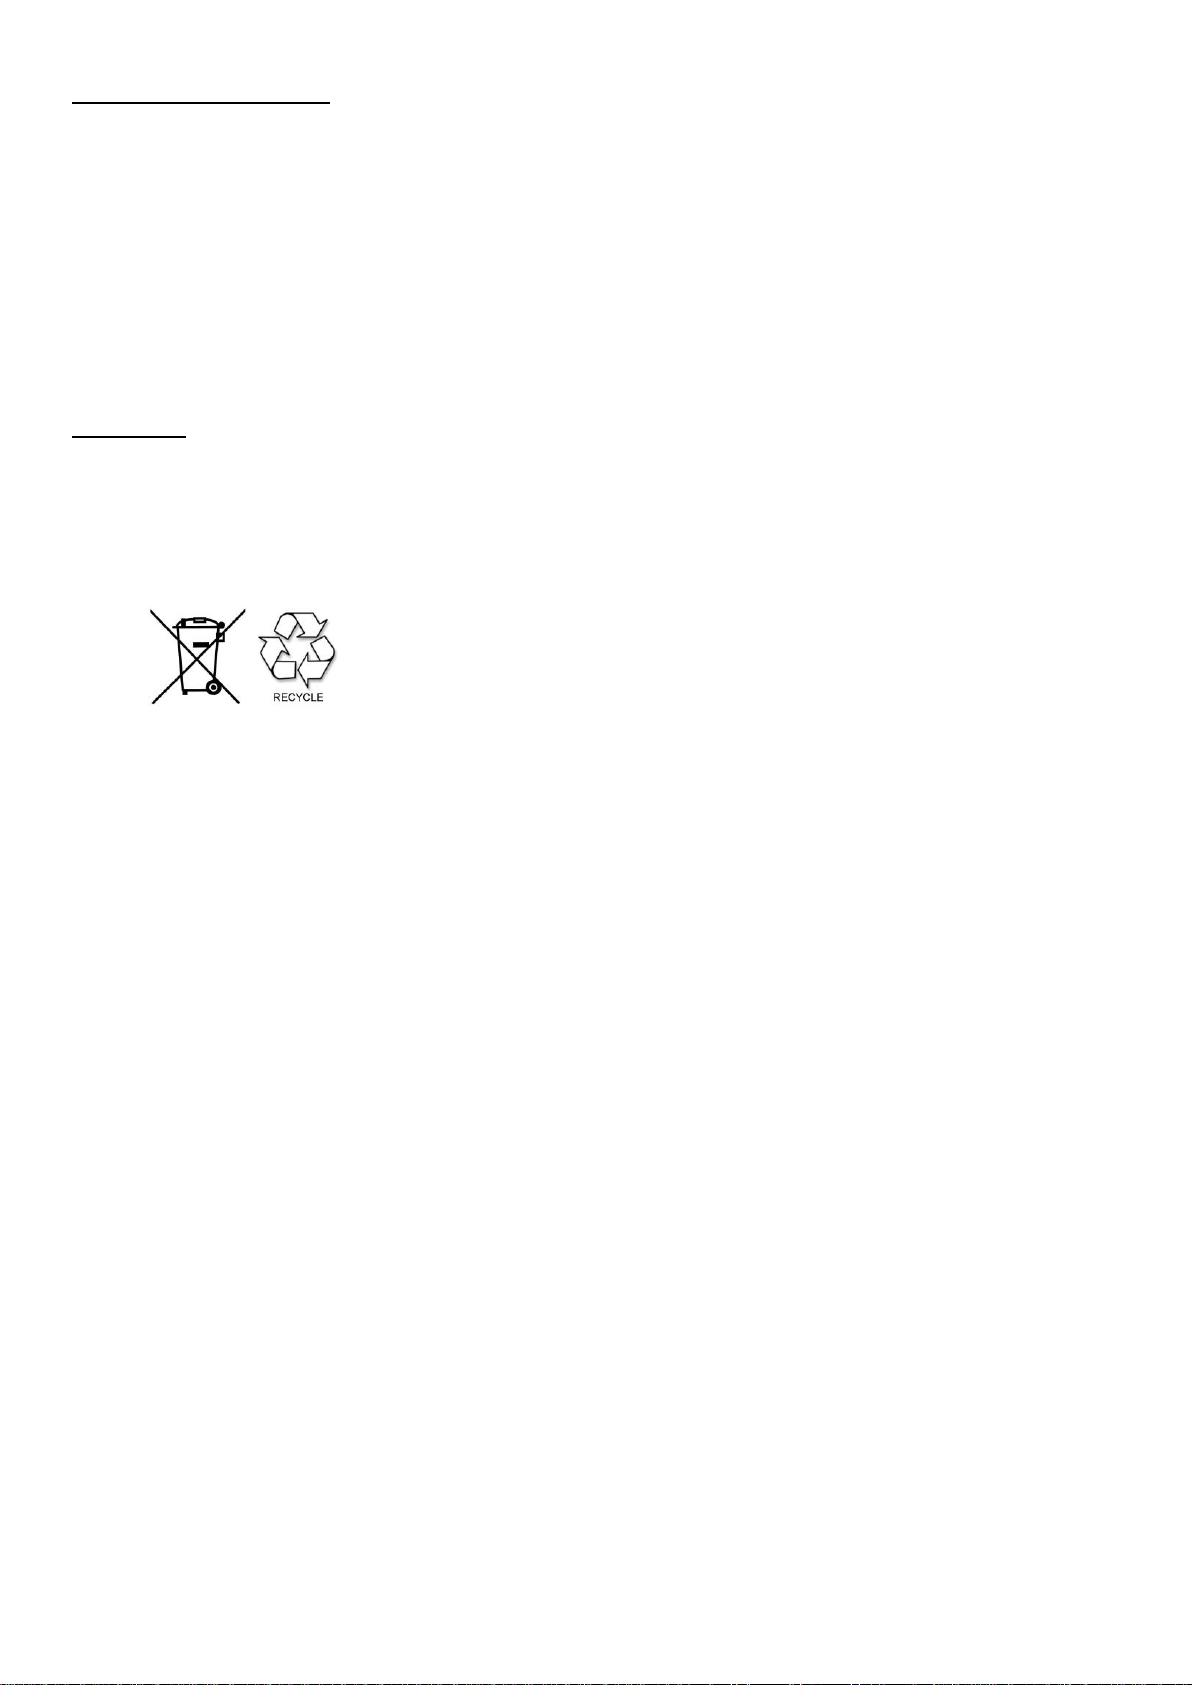
Products with this symbol (crossed out wheelie bin) cannot be disposed as household waste. Old electrical
and electronic equipment must be recycled at a facility capable of handling these products and their waste
by-products. Proper recycling and waste disposal will help conserve resources whilst preventing detrimental
effects on our health and the environment.

11

12
Warranty:
This product is covered by a standard 12 month product replacement warranty against any manufacturing
defects or workmanship. Warranty is only for the main product not for any accessories that comes with the
heater. The manufacturer reserves the right to replace or repair the product. To extend your warranty to
24 months the product must be registered online within 28 days from purchase date. See the warranty
instruction note included for more details.
This warranty will not cover:
Necessary maintenance and repair or replacement of parts due to normal wear and tear.
Transport costs, labour cost related to commissioning/decommissioning the product from the central
heating system.
Outside the UK
Misuse or abuse, lack of maintenance, failure of consumable items(such as batteries), accidental
damage
Loss of use of the goods
Thermix British built products are known and trusted for their reliability and longevity. This is relied upon
by all our kitchen installation clients, heating engineers and the end users
All Thermix heating products are supplied with a one year guarantee which can easily be extended to 2
Years by emailing your product serial number and model with your details within 28 days from purchase.
Please visit www.kitchenheaters.co.uk/warranty-registration/
Or visit www.kitchenheaters.co.uk and navigate to the footer and click “Warranty Registration”
Warranty Registration
Thermix UK Ltd
The North Colchester Business,
340 The Crescent, Colchester, CO4 9AD
web www.thermix.co.uk
email: [email protected]
This manual suits for next models
15
Table of contents
Other Thermix Heater manuals


Popular Heater manuals by other brands

REMKO
REMKO CLK Series Operating and installation instructions

Somogyi Elektronic
Somogyi Elektronic FKC 900 instruction manual

Uberhaus
Uberhaus HO-0221 owner's manual

Sea Clear
Sea Clear H Series Installation instructions and owner's manual

Optimus
Optimus H-7231RD Instruction manual and owner's guide

Warmfloor24
Warmfloor24 LDHR062-150KB-S Safety instructions and operation manual


