Thermometer 8000 User manual
BUFFER SOLUTIONS/CAPSULES
It is recommended that you use buffer solutions closest to
your expected measurement range. If you are measuring
approx. 5 pH then calibrate using 7.00 & 4.01 pH buffer
solutions.
Rinse the pH & temperature probes in de-ionised water
before placing in each buffer solution, if this is not
available tap water is acceptable. The buffer solution’s
value changes with temperature and so the instrument
automatically compensates for this during calibration.
Therefore only buffer solutions that follow the temperature
coefcients shown in the table below should be used with
these instruments for best accuracy.
WARNING: IPA and other solvents may cause damage to the
case and screen of this instrument.
ACCESSORIES
Cleaning Solution
AR005732 pH electrode cleaning solution 500 ml
Storage Solution
AR005731 pH electrode storage solution - 500 ml
Buffer Solutions
AR005735 4.01 pH buffer solution pink - 100 ml
AR004882 7.00 pH buffer solution yellow - 100 ml
AR004883 10.01 pH buffer solution blue - 100 ml
Buffer Capsules
AR005730 4 pH buffer capsules - pack of 10
AR005729 7 pH buffer capsules - pack of 10
AR005728 9 pH buffer capsules - pack of 10
AR005727 10 pH buffer capsules - pack of 10
pH Electrodes
AR004677 Budget pH electrode - 0 to 60 °C
AR004653 General purpose pH electrode - 0 to 100 °
AR005746 12 mm Spear Combination pH electrode
AR005744 6 mm Spear Combination pH electrode
AR005737 Knife probe electrode
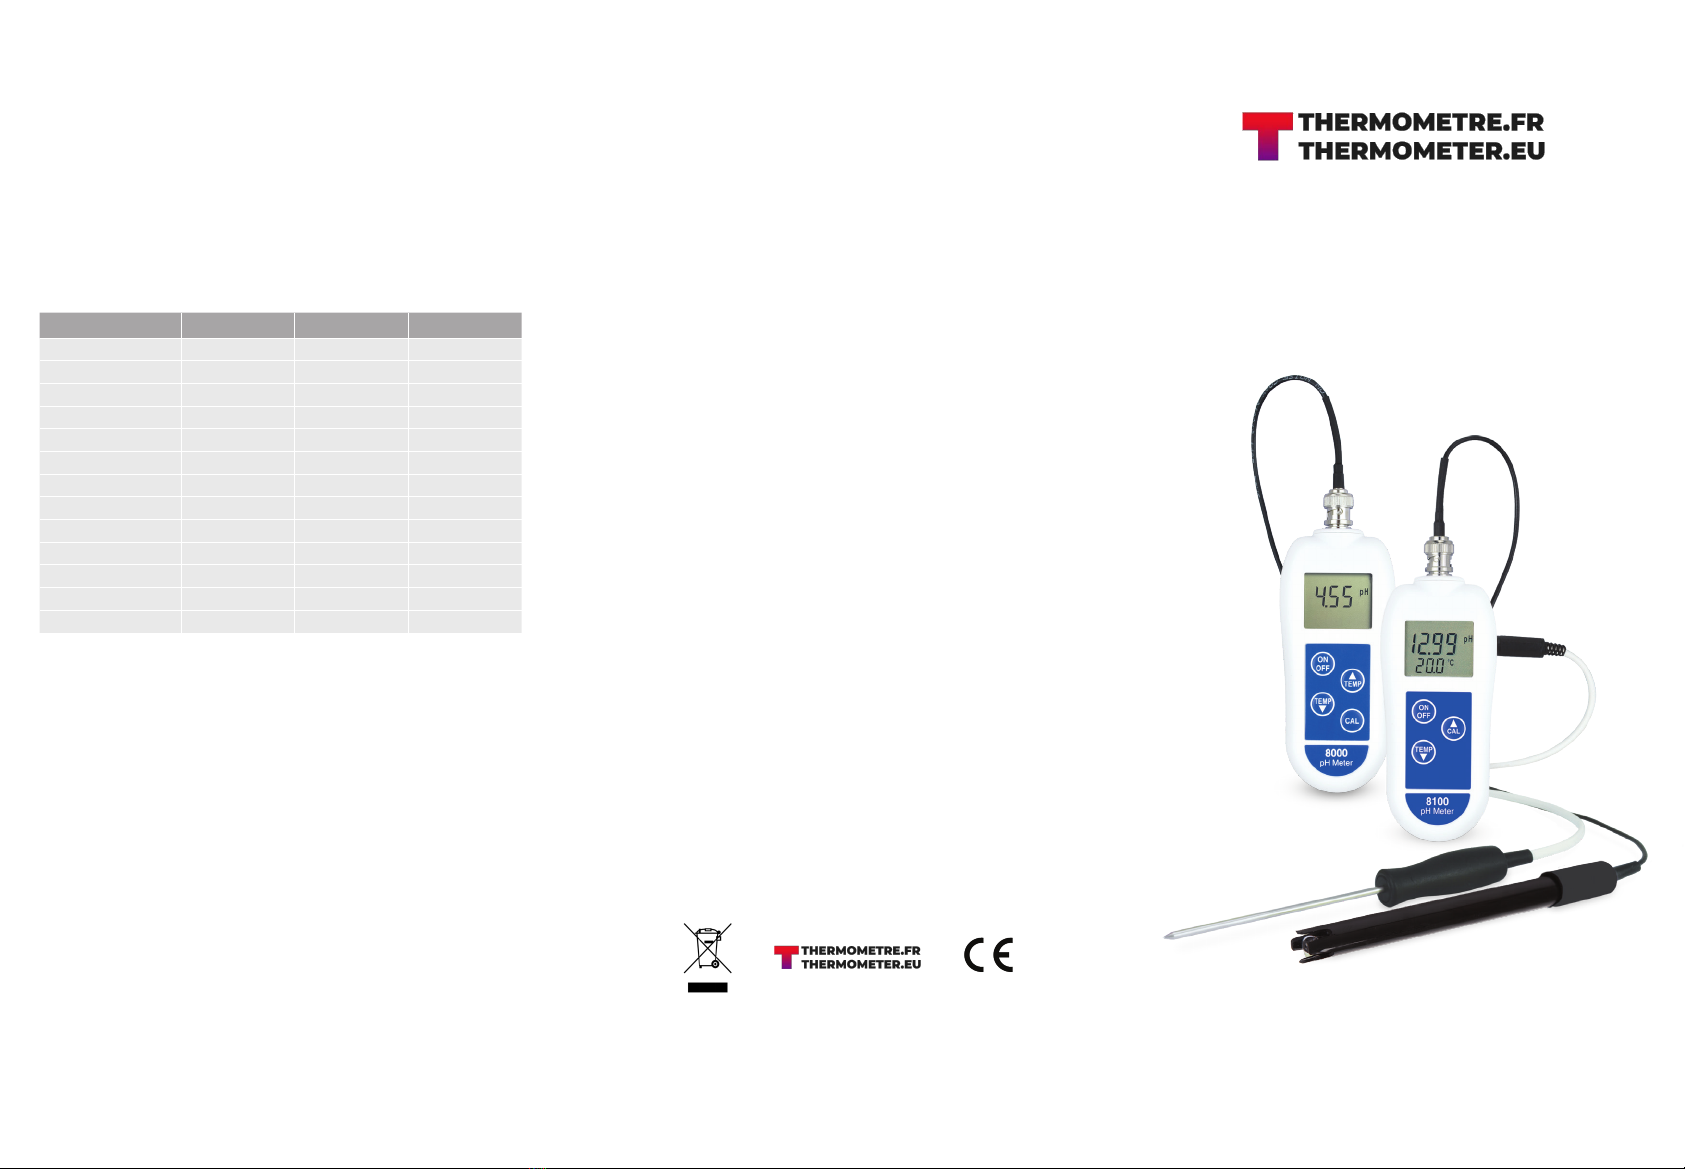
Operating Instructions
8000/8100
pH METERS
temperature 4.01pH 7.00pH 10.01pH
0 4.01 7.12 10.32
5 4.01 7.09 10.25
10 4.01 7.06 10.18
15 4.00 7.04 10.12
20 4.00 7.02 10.06
25 4.01 7.00 10.01
30 4.01 6.99 9.97
35 4.02 6.98 9.93
40 4.03 6.97 9.89
45 4.04 6.97 9.86
50 4.06 6.97 9.83
55 4.08 6.97 9.81
60 4.10 6.98 9.79
Supplied by
Thermometer
www.thermometer.eu Product Code:
AR005763
AR005762

GETTING STARTED
To begin taking measurements, connect the probe/s to the
socket/s on the instrument and remove the cap or bottle
covering the electrode. Please note: a small amount of
soaking solution is within the cap/bottle to ensure the
electrode remains in good moist condition when in storage.
White crystals may form on or around the electrode, this
is normal and can be removed with a clean damp cloth.
Calibrate the unit as per instructions in the Calibration
section. Switch the unit on and place the electrode into the
solution to be measured. The 8000 or the 8100 with probe
disconnected will display the set temperature for 10 seconds.
With the probe plugged in, the 8100 meter will display the
temperature continuously. Stir the solution and wait for
the measurement to stabilise. To prolong the life of the
electrode, please read the Care & Maintenance and Storage
& Cleaning sections.
CALIBRATION
It is recommended that you calibrate the unit daily to
achieve consistent and accurate results. Turn the meter
on and place the electrode and temperature probe into
7.00 pH buffer solution. If using the manual temperature
adjustment, rst measure the solution with a thermometer
and adjust the instrument to this reading as per the
Temperature adjustment 8000/8100 (manual) section. With
the electrode in the 7.00 pH solution allow the reading to
stabilise. Stir then press and hold down the 'CAL' button
for 3 seconds, 'CAL' will be shown in the display and the
reading displayed will ash. With the display continuing to
ash, place the electrode into 4.01 pH or 10.01 pH solution
and allow the reading to stabilise, again stir the solution
to remove air bubbles. If you are measuring approx. 5pH
then calibrate using 7.00 & 4.01 pH buffer solutions. If you
are measuring approx. 8pH then calibrate using 7.00 & 10.01
pH buffer solutions. To nish press the 'CAL' button and the
display will show the solution value that it is currently in. To
abort calibration at any point press the 'ON/OFF' button - the
meter will revert back to any previous calibration values.
INSTRUMENT FUNCTIONS
Auto-Off - The instrument will switch off automatically
after 10 minutes. To disable the auto-off function press and
hold the '' button whilst switching on the unit – auto-off
disabled will scroll across the screen to conrm this. Please
note: when the unit is turned off the auto-off function will
be re-enabled.
C/F Selection - With the unit switched off, press and hold the
'ON/OFF' button for 5 seconds to switch the units between
C and F.
Temperature adjustment 8000/8100 (manual) - To
manually adjust the temperature hold down the 'TEMP'
button for 3 seconds until 'Set' is displayed. Press or hold the
'' or '' button to adjust the temperature in whole degrees.
Press the 'ON/OFF' button to store the temperature change.
Please note: Manual temperature adjustment on 8100
requires the temperature probe not to be plugged in. To
view the set temperature, press the 'TEMP' button and the
temperature will be displayed for 10 seconds on screen.
Temperature adjustment 8100 (ATC only) - When the
temperature probe is connected to the 8100 meter it will be
automatically detected and on connection the temperature
is displayed continuously. Please note that with the probe
attached the meter can measure from 0 to 100 °C (32
to 212 °F). If the probe is removed from the meter the
temperature is displayed for 10 seconds. If the temperature
probe is not used with the meter please refer to the manual
temperature adjustment.
ERRORS
Calibration - 'Err' will be shown if you do not calibrate at
7.00 pH rst. If the electrode & buffer solution’s combined
error is greater than 1 pH then 'Err' will be displayed and
calibration aborted. If the electrode & buffer solution’s
combined slope error is greater than 0.5 pH 'Err' will be
displayed. To abort calibration press the 'ON/OFF' button -
the meter will revert back to any previous calibration values.
pH Electrode - The pH electrode is connected via the BNC
connector; if this is not connected the readings displayed are
meaningless. If 'Hi' is displayed the readings are higher than
14 pH and if 'Lo' is displayed the readings are below 0 pH. 'Err'
is displayed if readings are more signicantly outside of the
specied measurement range or the electrode is damaged.
Temperature Probe - 'Hi' is displayed if the readings
are above 100 ºC (212 °F) and 'Lo' is displayed if readings are
below 0 °C (32 °F). Please note: ATC only works between 0 °C
(32 °F) and 60 °C (140 °F).
CARE & MAINTENANCE
This pH meter and electrode should give years of service
as long as the electrode is maintained correctly. Over time
the electrode sensor will degrade but regular calibrating,
cleaning and storage of the unit will prolong its life. If the
electrode readings are slow or erratic, place the sensor into
cleaning solution or 7.00 pH solution for at least half to one
hour before testing again.
ELECTRODE STORAGE & CLEANING
Ensure that the electrode glass bulb is kept wet by
replacing the storage cap after each use. Storage solution
can be used in the cap/bottle.
Always rinse the pH electrode with cleaning solution or
de-ionized water before next use. If this is not available tap
water can be used. Do not touch the glass bulb or clean
with harsh materials.
BATTERY REPLACEMENT
Replace the battery when battery icon is displayed. This
meter will continue to measure accurately but after further
usage the meter will display “at bat” and shutdown.
Unscrew the screw on the back of the meter and replace
with three AAA batteries, ensuring the polarities are correct.
EMC/RFI
Reading may be affected if the unit is operated within
radio frequency electromagnetic eld strength of greater
than 1 volt per metre. Performance of the instrument will not
be permanently affected.
This manual suits for next models
3
Popular Measuring Instrument manuals by other brands


BGS technic
BGS technic 1941 instruction manual

Center
Center 252 instruction manual

Endress+Hauser
Endress+Hauser Proservo NMS80 Brief operating instructions

Electronic
Electronic 63 quick start guide

Preventice Solutions
Preventice Solutions Heart Aide Mini Patient Instruction Manual

Konica Minolta
Konica Minolta CM3610D brochure