Thompson RBSVAC-SC1D11 User manual

Instruction Manual
คู่มือการใช้งาน
CORDLESS STICK VACUUM CLEANER


-1-
A
B
CD
E
F
G
H
I
J
K

-2-
A.
B.
C.
D.
E.
F.
G.
I.
J.
K.

-3-
1.
2.
3.
4.
5.
6.
7.
8.
9.
10.
11.
12.
13.
14.

15.
16.
17.
18.
19.
20.
1.
-4-
2.
-5-
3.
1.
2.

-6-
3.

-7-
1.

-8-
2.
3.
-9-
RBSVAC-SC1D11

-10-
-
-
-
-
-
-
-
-
-
-
-

-11-
A
B
CD
E
F
G
H
I
J
K

English
-12-
We are delighted that you have chosen these coedless stick vacuum cleaner.
Before using the device for the rst time, please read the instructions through carefully
and store them in a safe place. If the device is given to someone else, it should always
be accompanied by these instructions. The manufacturer and importer do not accept any
liability if the information in these instructions is not complied with! We reserve the right
to modify the device, packaging or enclosed documentation at any time in conjunction
with our policy of continuous development.
Please note : Before charging and using, Please read the instructions.
Dear Customer,
This appliance can be used by children aged from 8 years and above and persons
with reduced physical, sensory or mental capabilities or lack of experience and
knowledge if they have been given supervision or instruction concerning use of the
appliance in a safe way and understand the hazards involved. Children shall not play
with the appliance. Cleaning and user maintenance shall not be made by children
without supervision
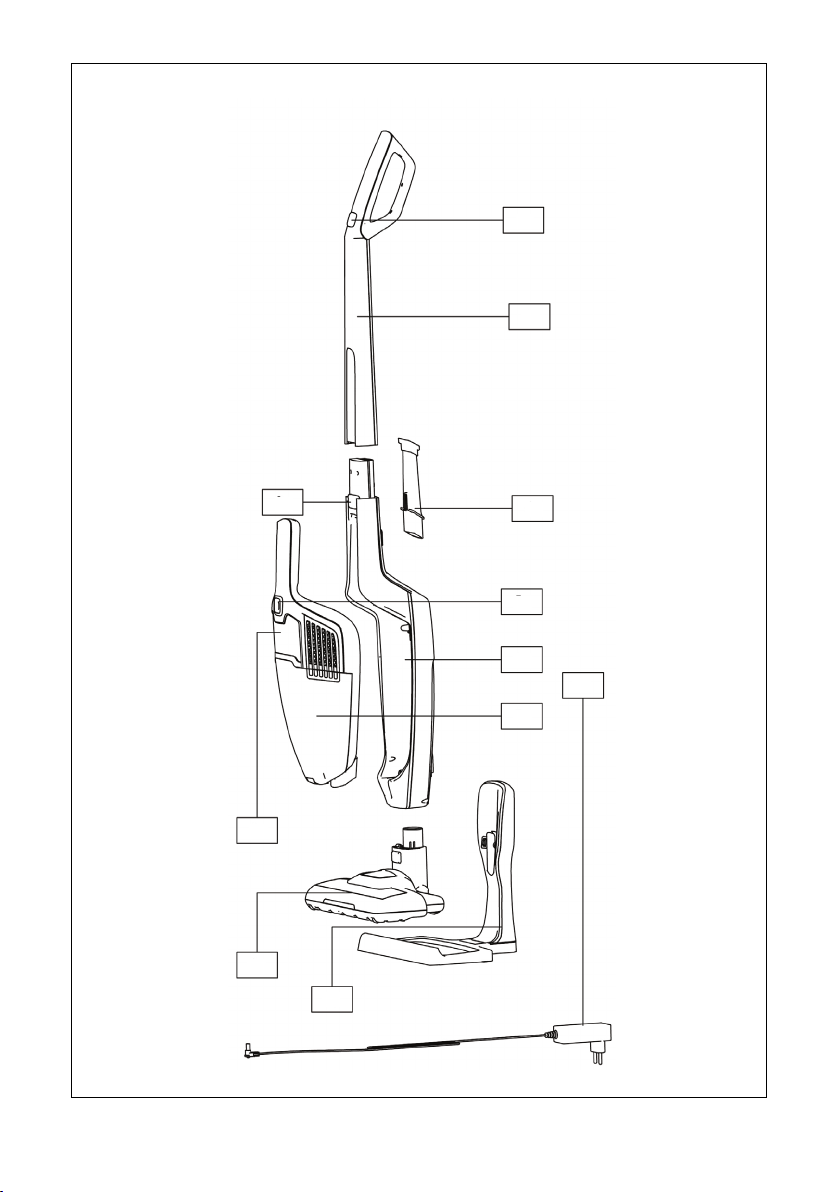
1.
A.
B.
C.
D.
E.
F.
G.
H.
I.
J.
K.
Switch button on handle
Handle assembly
Release button of handy vac
Accessories
Switch button on handy vac
Body assembly
Dust cup
Front decorative block on handy
Electrical brush assembly
Charging base
Charger
CORDLESS STICK VACUUM CLEANER
MODEL : RBSVAC-SC1D11
DESCRIPTION
SAFETY PRECAUTION

-13-
This appliance is designed for domestic use only.
Do not pull on the connection cord, but rather on the plug, to separate the appliance
from the mains.
Do not use outdoor.
Do not leave the appliance unattended when it is switched on, as this may be a
source of danger.
Stand the appliance on a table or at surface.
If the supply cord is damaged, it must be replaced by the manufacturer, its service
agent or similarly qualied persons in order to avoid a hazard.
Following objects are strictly banned, otherwise the vacuum cleaner will be damaged
or re calamity will be caused, which bring such accidents as human body injuries :
* Don’t pick up large or sharp broken such as glasses,
* Don’t pick up harming or erodent liquids (solvent, corrosive, detergent…),
* Don’t pick up inammable or explosive substance such as gasoline or alcohol.
Check the device and connections regularly for visible damage. The device must not
be used if the housing is damaged or other damage is present.
Never attempt to open the device or the mains charger yourself or to replace the
connecting cable. Always have repairs to the device carried out by a specialist
workshop. There is considerable danger to the user if repairs are faulty.
Do not trap the mains charger cable and when using the charger, pay attention to
where the cable is to prevent any danger of tripping over it. Keep the cable away
from heated surfaces (e.g. cooker surfaces).
Do not touch the mains charger and cable with wet hands.
Do not point the vacuum cleaner at persons or animals when in operation.
Only use the mains charger on dry surfaces in buildings.
Only use the device with the accessories supplied.
Please keep these instructions in a safe place. Use only with the provided charger.
The appliance must only be supplied at safety extra low voltage corresponding to the
marking on the appliance.
This appliance includes Li-ion batteries; do not incinerate the batteries or expose to
high temperatures, as they may explode.
This appliance is only charged with the charger delivered together.
The appliance is only to be used with the power supply unit provided with the
appliance.
2.
3.
4.
5.
6.
7.
8.
9.
10.
11.
12.
13.
14.
15.
16.
17.
18.
19.
20.

-14-
OPERATING INSTRUCTION
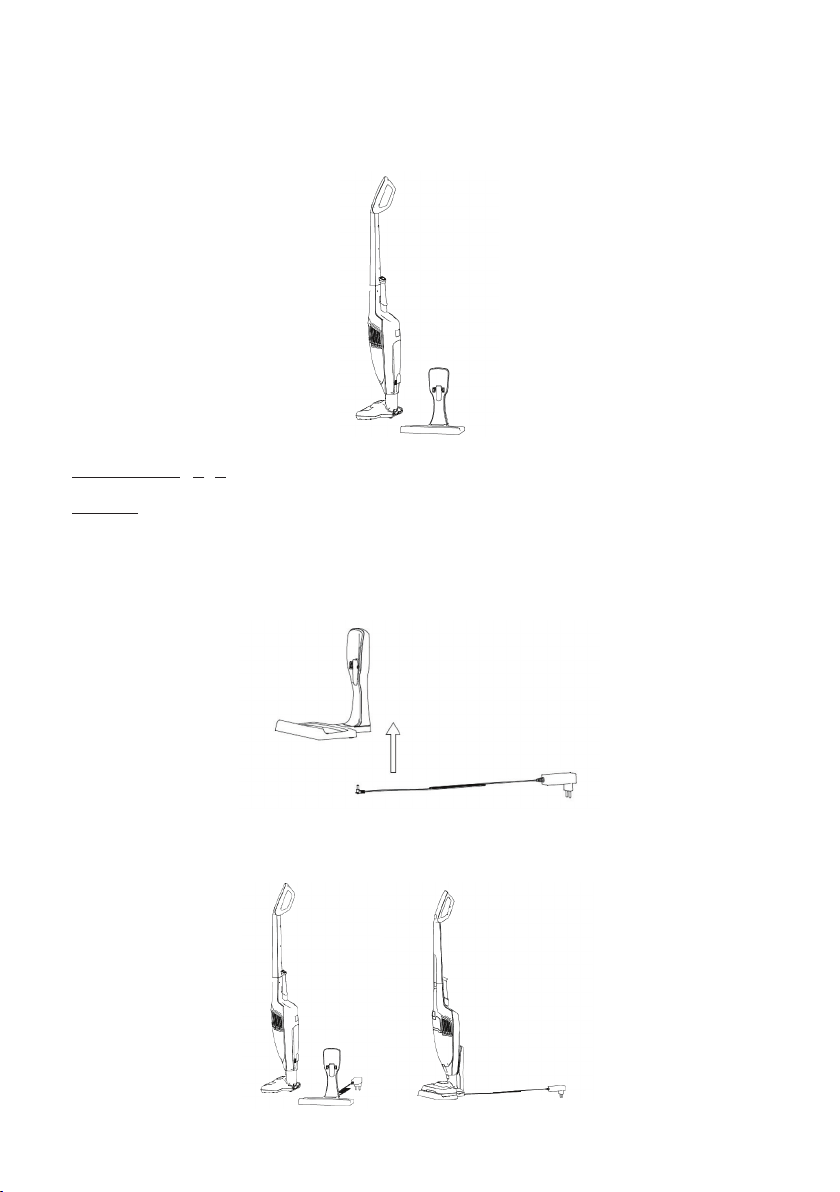
Unpacking and assembling
Check that all the parts as page 12 shown in the box.
Install the charging station closely.
Install the electrical brush by carefully inserting it into the vacuum compartment.
1.
2.
Position the charging station close to a mains socket (well away from heat sources
or wet places). Insert the adaptor into the mains socket and connect the charging
station.
3.
-15-
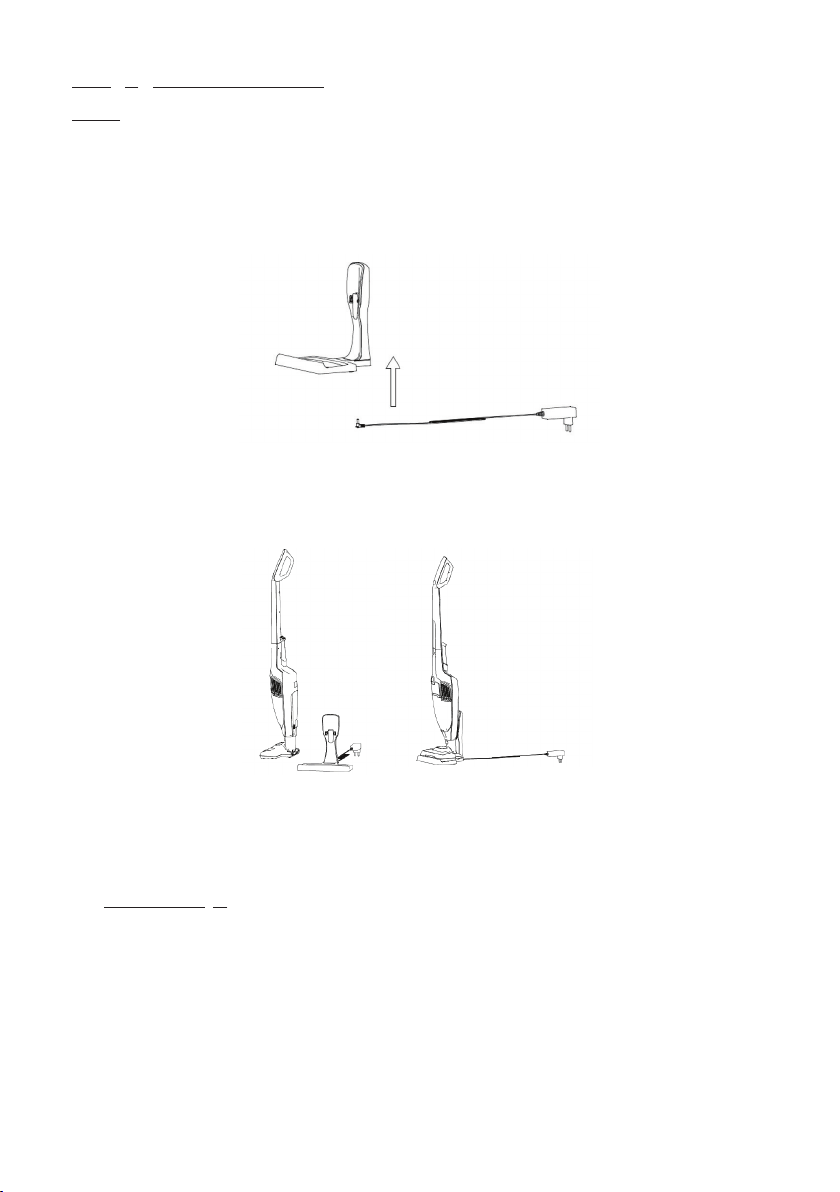
Charging the vacuum cleaner
Notes : Before using your vacuum cleaner for rst time, charging the vacuum cleaner for
approximately 5hours. A fully charged battery will give approximately 30~50mins of
continuous vacuum cleaning.
Put the base on a at, horizontal, stable surface that is not exposed to direct sunlight
or humidity, and far from any heat source.
1.
Make sure the appliance is set to off, put the charger into base, then, plug it into a
wall socket.
The LED light on the handy vac will start blinking to show that the battery is charging,
when the battery is fully charged, the LED indicator light should glow solid white (No
longer blink)
Notes and tips
* The Charger might warm up during charging, this is normal, it will cool down as
soon as the charging process is over
* When you notice the motor is turning less quick, it means that the battery needs to
be charged completely.
* It can be useful from time to time (Once a month) to completely discharge the battery,
and then completely recharge it, to maintain optimal performance.
* Recharge after every use
2.
3.

Once your appliance is fully charged. Remove it from the base, hold it by it’s handle.
Switch it on by pressing Switch button on handle or handy vac for cleaning job. After
complete the cleaning job, press the switch button on handle or handy vac to switch off
the appliance, before putting it back into the charging base.
Notes : there are two working speed for this appliance, after rst switch on, it will run at
low speed. After twice pressing the switch button, the appliance will run at high speed.
-16-
When start to charge the battery, The LED Light start ash, after the electricity is full,
the three lights will keep bright for 50 seconds, afterwards, the LED lights will turn off
automatically.
During Charging process, If the battery surface temperature is beyond 55°C or lower
than 0°C , the battery will enter into self-protection procedure, battery will stop
charging till battery surface temperature goes back to 0~45°C.(During charging
process, the battery surface temperature is not beyond 55°C, when need to recharge
the battery, the battery surface temperature shall lower than 45°C at least).
The lights are shining when full charged, when the battery is discharged, the lights will
turn off gradually till last one light extinguished.
Notice : the last one light will blink around 60~90S to remind that battery power is
fully discharged, it means you need to quick the cleaning job and to charge the
battery again. If the light is red color, it means the brush or dust cup is blocked, you
need to clean the brush or dust cup.
During discharging process, If the battery surface temperature exceeds 70°C, the light
will keep blinking for 5 seconds, afterwards, the battery will enter into self-protection
procedure, battery will cut off the electricity to main vacuum cleaner. When the battery
surface temperature goes back to 65°C, the battery could work again.
Notice About Charging
Notice About Discharging
-
-
-
-
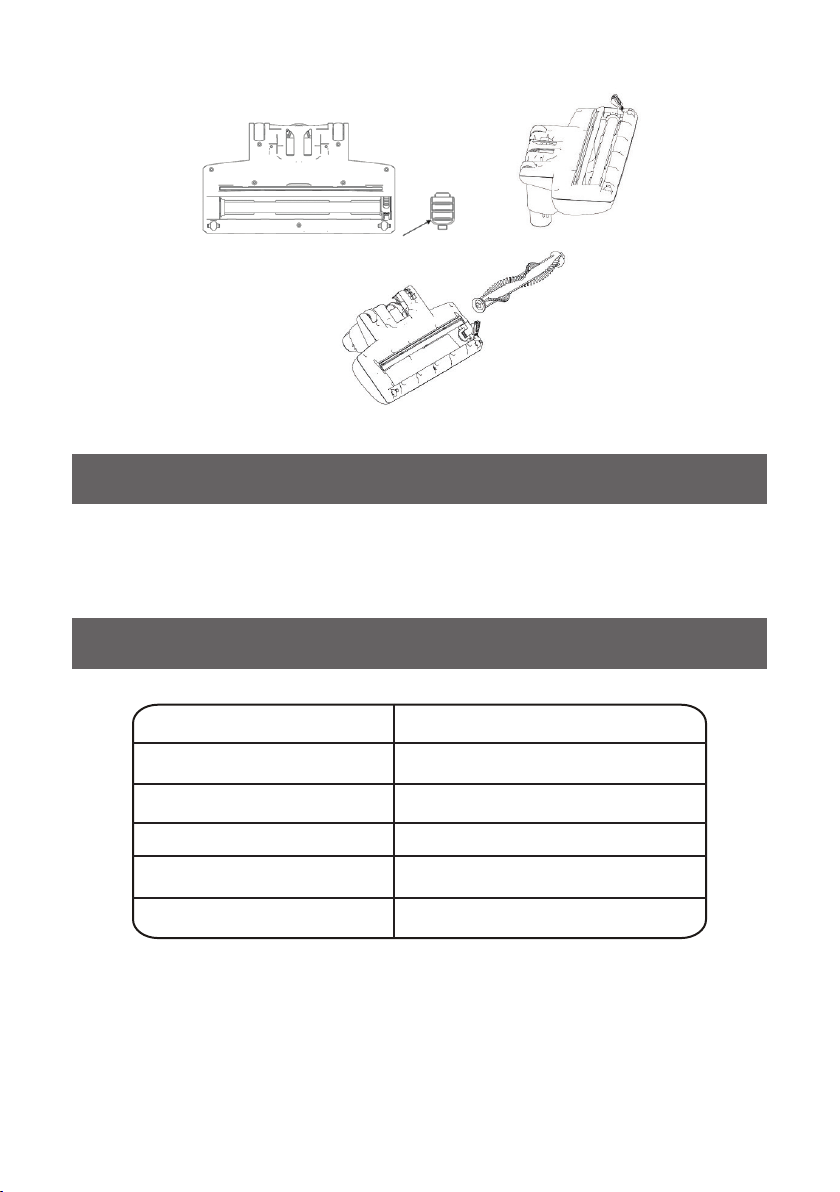
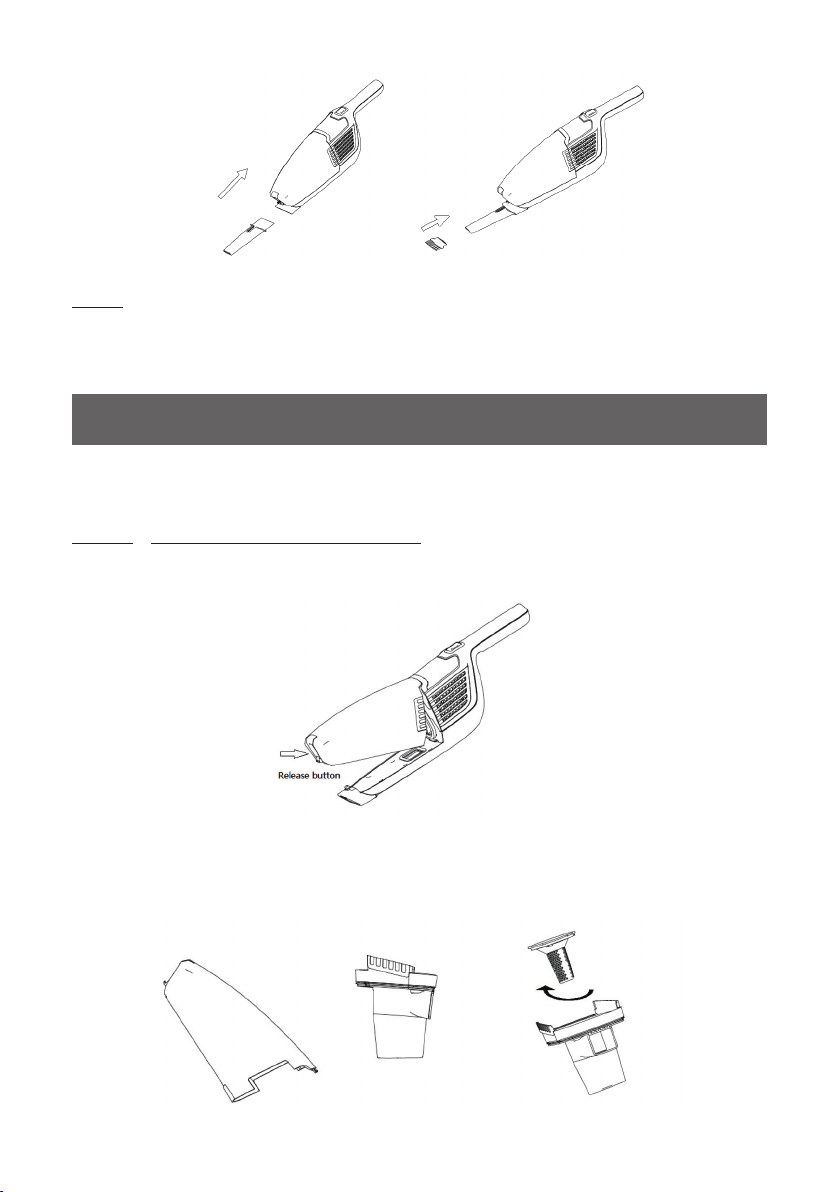
Using the vacuum cleaner
Using the acessories
Use the motorized brush to clean oors and carpets. There are crevice nozzle and
small brush as accessories at the backside of handle part, install the nozzle rstly,
then install the small brush into crevice nozzle as below picture for cleaning narrow,
hard to reach places etcs. You should regularly check that brush and accessories are
cleaning after next time using.
Cleaning the dust container, lters and brush after each use is extremely important as it
allows for optimal use of your appliance and eliminates the unpleasantness of bad smells.
-17-
CLEANING AND CARE
Cleaning of the dust container and lters
Notes : Remove accessories before attempting to place the vacuum cleaner back into
it’s base, after use, you can store the accessories into their storage on the back side of
the body.
Remove the whole dust container by pressing the release button.
Pulling out the lters and emptying the contents of the dust container into dust bin
properly. (The lters can be rinsed by warm water if necessary. Make sure that lters
are completely dry before assembled again.)
1.
2.
Table of contents
Languages:
Other Thompson Vacuum Cleaner manuals


