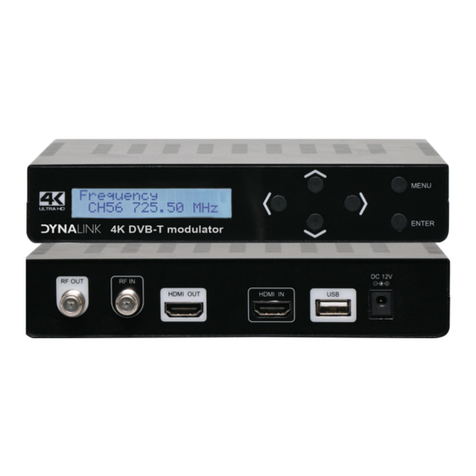
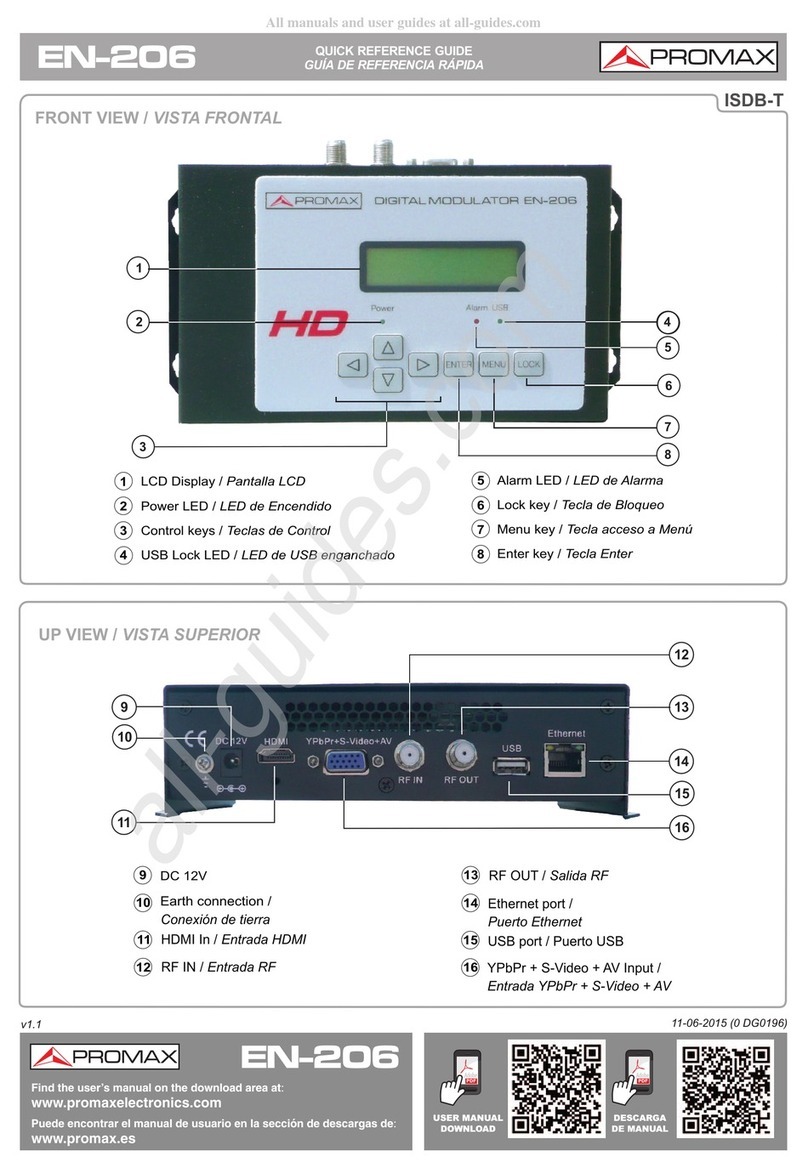
Thor Fiber H-AC3-CMOD-QAM-LL User manual

1
FIBER
H-AC3-CMOD-QAM-LL
Single Channel HDMI
Encoder/Modulator

H-AC3-CMOD-QAM-LL
2
A Note from Thor About
This Manual
Intended Audience
This user manual has been written to help people who have to use, integrate and to
install the product. Some chapters require some prerequisite knowledge in electronics
and especially in broadcast technologies and standards.
Disclaimer
No part of this document may be reproduced in any form without the written permission
of Thor Broadcast.
The contents of this document are subject to revision without notice due to continued
progress in methodology, design and manufacturing. Thor shall have no liability for any
error or damage of any kind resulting from the use of this document.
Copy Warning
This document includes some confidential information. Its usage is limited to the
owners of the product that it is relevant to. It cannot be copied, modified, or translated
in another language without prior written authorization from Thor Broadcast.

H-AC3-CMOD-QAM-LL
3
Directory
CHAPTER 1............................................................................................................... 4
Introduction ............................................................................................................ 4
General Description ................................................................................................ 4
Principle Drawing .................................................................................................... 5
CHAPTER 2............................................................................................................... 7
Safety Instruction and Installation .......................................................................... 7
Safety Instructions................................................................................................... 7
Installation............................................................................................................... 8
Operation and Management................................................................................. 12
Chapter 4............................................................................................................... 18
Record TS and Play TS through USB Disk............................................................... 18
Appendix ............................................................................................................... 21

H-AC3-CMOD-QAM-LL
4
CHAPTER 1
Introduction
General Description
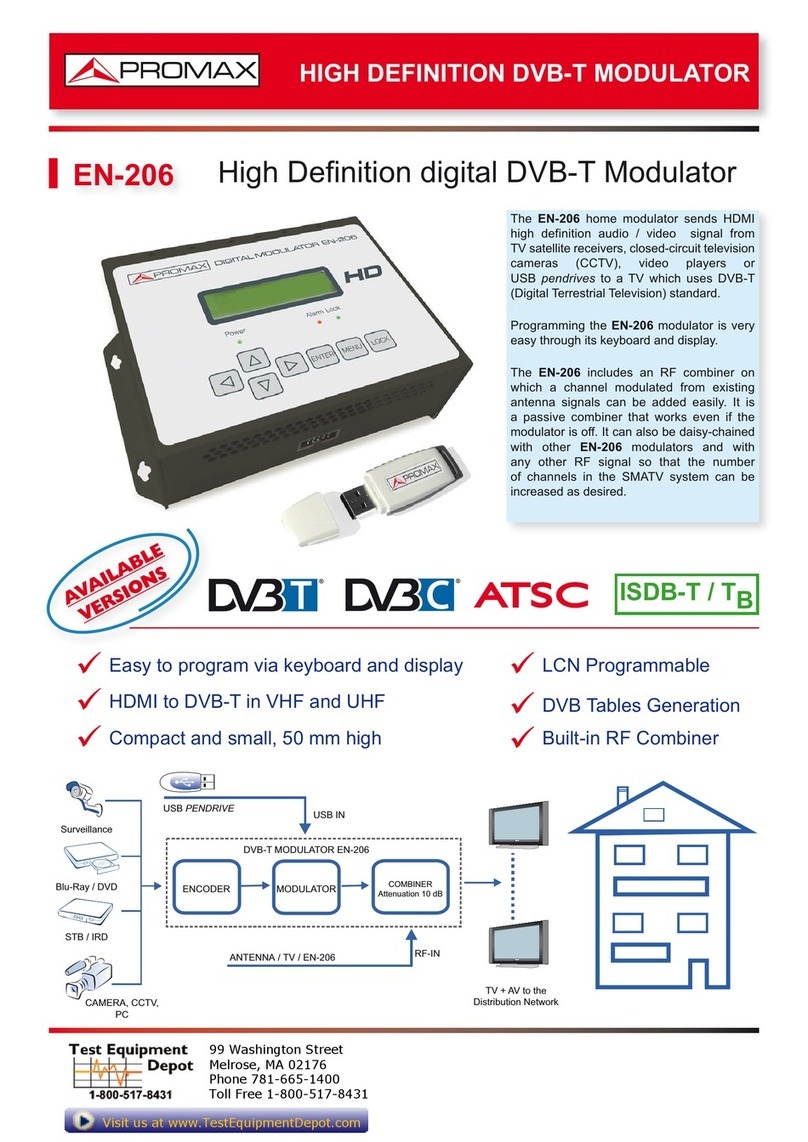
The Thor H-AC3-CMOD-QAM-LL encoder & modulator is a portable part of the popular CMOD series of digital
HDTV encoder modulator systems formally known as VQAM. Like all CMOD systems, this platform is available
in three versions for use with over 95% of the world’s broadband TV systems. Advances in technology have
reduced component size to the scale that Thor can now integrate every system and component necessary for a
digital HDTV headend into a single handheld unit. CMOD systems are combination devices that bundle a real
time MPEG hardware encoder, DTV transport stream generator, and agile RF frequency modulator in a single
enclosure. Any HDMI live video source can now be converted to an open TV channel for insertion and
distribution over cable & antenna TV coax systems. The generated program can be viewed natively on any
television set with its built in tuner.
Control Buttons and LCD Window
Composite Video Input via RCA (CVBS)
Component Video Input via RCA (YPbPr)
HDMI Input
Left/Right Audio Input

H-AC3-CMOD-QAM-LL
5
Principle Drawing
Encoder
DVD
Monitor
Camera
STB/IRD
Closed Circuit TV
PC
Modulator Combiner
VQAM-HD Encoder Modulator
RF in
RF out
TV+AV to the
distribution
network
SAT
Attenuation:
10dB
Signal input
TS
DC 12V Power in
RF out
RF in
USB Port for Video Record, Save,
Playback and System Upgrade

H-AC3-CMOD-QAM-LL
6
Encoding Section
HDMI
Video
Encoding
MPEG-2, MPEG-4 AVC/H.264
Interface
HDMI*1
Resolution
1920*1080_60P,1920*1080_50P (for MPEG-4 AVC/H.264 only)
1920*1080_60i, 1920*1080_50i;
1280*720_60p, 1280*720_50P
Bit rate
1.000~19.000 Mbps
Audio
Encoding
MPEG1 Layer II, MPEG2-AAC, MPEG4-AAC, Dolby Digital
Interface
HDMI
Sample rate
48KHz
Bit rate
64, 96,128, 192, 256, 320, 384kbps
YPbPr/
CVBS
Video
Encoding
MPEG-2, MPEG-4 AVC/H.264
Interface
CVBS *1, YPbPr*1
Resolution
CVBS: 720x576_50i (PAL);720x480_60i (NTSC)
YPbPr: 1920*1080_60i, 1920*1080_50i;1280*720_60p, 1280*720_50P
Bit rate
1.000~19.000 Mbps
Audio
Encoding
MPEG1 Layer II, MPEG2-AAC, MPEG4-AAC
Interface
1*Stereo /2 mono
Sample rate
48KHz
Bit rate
64, 96,128, 192, 256, 320, 384kbps
Modulator Section
Standard
J.83A (DVB-C)
J.83B
J.83C
Constellation
16/32/64/128/256QAM
64/ 256QAM
64/ 256QAM
Bandwidth
8M
6M
6M
MER
≥43dB
RF frequency
30~960MHz, 1KHz step
RF output level
-16~ -36dbm(71~91 dbµV), 0.1db step
Symbol rate
5000-9000 Ksps
System
Management
Local control: LCD + control buttons
Language
English
LCN Insertion
yes
General
Power supply
DC 12V
Dimensions
144*238*52mm

H-AC3-CMOD-QAM-LL
7
Weight
Approx 1kg
Operation temperature
0~45℃
CHAPTER 2
Safety Instruction and Installation
Safety Instructions
WARNING:To prevent fire or electrical shock, do not expose the device to rain or
moisture.
The encoder modulator is powered with a voltage of 12VDC. Please do not use
with any other power source or it can cause serious harm to the unit and will void
the warranty provided by Thor Fiber.
Therefore: Follow these simple rules
Do not replace power supply with a voltage greater than 12VDC.
Do not connect the device to the power unit if the power cord is damaged.
Do not plug the device into anything until it has been correctly installed
Do not cut the cord.
Avoid placing thedevice next to central heating components and in areas of high
humidity.
Do not cover the devicewith elements that obstruct the ventilation slots.
If the encoder modulator has been kept in cold conditions for a long time, keep it in a warm
room for a minimum of 2 hours before plugging it into a socket.
Mount the device in a vertical position with the connectors located on the top side.
If replacement parts are required, be sure the service technician has used replacement parts
specified by Thor. Unauthorized substitutes may result in fire, electric shock or other hazards.
Safety check- Upon completion of any service or repairs to this device, ask the service
technician to perform safety checks to determine that the device is in proper condition.

H-AC3-CMOD-QAM-LL
8
Installation
Follow these simple steps to avoid damaging the unit
Do not open the unit. Do not connect the unit to the powersupply before or during
assembly.Connect the unit as shown below
5 Steps for Success
1. Mount and tighten the screws and plugs
to securethe unit to the wall. Leave 10
cm of free space around from each unit.
2. Connect the signal input in the
respective connectors. The
signal source can be from a
surveillance monitor, DVD,
set-top box, CCTV and etc.
3. Optionally, connect the
loop-through RF inputcoaxial
cable.
4. Connect cable to RF output to
STB/TV.
5. Powersupply connection: a)
Connect the earth cable; b)
Connect the power plug to
2
3
4
5
1

H-AC3-CMOD-QAM-LL
9
the unit mains connector; c)
Connect the power plug to
the socket.
Cascade Installation
H-AC3-CMOD-QM-LL unit has 1 TV
signal to RFoutput encoded as
DVB-C DigitalTV signal.
Several units can be
cascaded in order to increase the
capacity. The maximum capacityof
a series of N units is 1xN.You can
stack as many inputs as you like
and use the loop out feature or for
larger installations you can also
use a combiner.

H-AC3-CMOD-QAM-LL
10

H-AC3-CMOD-QAM-LL
11

H-AC3-CMOD-QAM-LL
12
CHAPTER 3
Operation and Management
H-AC3-CMOD-QM-LL is controlled and managed through the key board and LCD display.
LCD Display –It presents the selected menuand the parameter settings. The backlight in the
display is on when the power source is plugged in.
LED –These lights indicate the status of the unit
Power: It lights on when the power supply is connected.
Alarm: It lights on when there is an error, such as signal loss.
Lock: It lights on when the signal source connected and goes off when the signal is lost.
Left/Right/Up/Down buttons –Use these buttons to turn the screen pages, shift the target
items by moving the triangle, or change the parameter settings in the program mode.
Enter –Use this button to enter a submenu or save a new setting after adjustment; press it to
start adjusting the value of certain itemswithUp/Down buttons when the corresponding
underline flash;
Hue
1
Hue
+001
Hue
+001
Hue
+002
Enter ►
►
►
►
Press it to activate the hidden selections and change the setting with Up/Down (or Left/
Right) buttons.

H-AC3-CMOD-QAM-LL
13
Audio Bit rate
128
Audio Bit rate
*128
Audio Bit rate
►128
Audio Bit rate
►192
Enter
►
►
Enter
Menu –Press this button to step back
Lock –Locking the screen / cancelling the lock state, and entering the main menu after the
initialization of the device. After pressing lock key, the system will question the users to save
present setting or not. If not, the LCD will display the current configuration state.
When the power is connected, the LCD will start to initialize the program. The LCD menu
goes as below chart.

H-AC3-CMOD-QAM-LL
14
Main Menu
Modulator Modulator
Standard
Modulator
Constellation
Modulator
Symbol Rate
Modulator
RF Frequency
Modulator
RF Level
Modulator
RF On
Modulator
Bit Rate
Standard
►J.83A(DVB-C)
Constellation
►64QAM
Code Rate
5936 ksps
RF Frequency
650.000 MHz
RF Level
-10.0 dBm
RF On
Off *On
Bit Rate(act/max)
6.986M/31.668M
7
8
9
10
11
12
13
Initializing
DVB-C 650.000M U
1080i 6.93Mbps
Lock
Enter Menu
1
Up Down
Main Menu
Status Status
Alarm 2
Status
Uptime 3
6
Main Menu
Encoder Encoder
Video
Encoder
Audio
Encoder
Program Info
4
Audio
Audio Bitrate
Audio Format
Video
Interface
Video In Status
Resolution
Video Bitrate
Video Format
Brightness
Contrast
Saturation
Hue
Program Info
Program Output
Program Name
Service Provider
Program Number
PMT PID
PCR PID
Video PID
Audio PID
LCN
EIT Event
VCN
5

H-AC3-CMOD-QAM-LL
15
Main Menu
System System
Save Config
System
Load Saved CFG
System
Lock Keyboard
System
Product ID
System
Version
Save Config?
Yes ►No
Load SavedCFG?
Yes ►No
Lock Keyboard
Yes ►No
0035564905656
70ec8f7b0000f
Encoder Modulator
SW:1.12 HW:1.4C
Main Menu
Stream Stream
TSID
Stream
ONID
Stream
NIT NIT
Network ID
Network Name
LCN Mode
Private Data
NIT Insert
Stream
EIT EIT
Language
EIT Insert
System
Factory Reset
System
LCD Time-out
Reset all sets?
Yes ►No
LCD Time-out
►30 s
System
Key Password Set Password
000000
Main Menu
USB Device USB Device
Record TS
USB Device
Play TS
USB Device
Disk Usage Total: xx.xxx GB
Free: xx.xxx GB
USB Device
Update
USB Device
Remove device
Record TS
Start Record
Advanced Config
Play TS
File browse
Play mode
Software update?
Yes ►No
Remove device?
Yes ►No
25
26
27
28
29
30
14
15
16
18
19
20
31
21
22
23
24
Stream
VCT VCT
Modulation mode
VCT insert 17

H-AC3-CMOD-QAM-LL
16
1) DVB-C: modulating standard; XX.XXX MHz: the current output frequency;U: symbol of the
USB disk insertion; 1080i: video resolution of signal source; X.XX Mbps: the current encoding
bit rate
2) Alarm Status: For example, if the signals lost, it will give alarm and display error type under
this menu. For example: Video 1 Not Lock
3) Uptime: It displays the working time duration of the device. It times upon powering on.
4)Video Parameters: User can enter the items respectively to set video parameters.Interface:
select the right interface type from theoptions provided. The device can automatically search
the signal and starts to encode. Resolution: signal source resolution, read-only. Video Bit
rate:adjust in range of 1.000~19.000 Mbps. Video Format:this unit supports mpeg2 and
h.264 video encoding format in CBR/VBR bitrate control mode. User can also adjustvalues of
rest items (Brightness & Contrast & Saturation: 0-255; Hue: -128 - +127)
5) Audio Bit rate: Select audio bit rate among 64, 96, 128, 192, 256, 320, 384 kbps.
Audio Format:Select audio format among MPEG2, MPEG2-AAC and MPEG4-AAC.
6)Program Information: User can enable or disable the program output under menu Program
Output. User can also enter the other items to edit the Service Name, Program Name,
Program Number, and PIDs of PMT, PCR,VideoandAudio, andedit LCN (Logical channel
number). EIT Event –User can enter this menu to setup EIT (Event Information Table) for the
current and next program event. The EIT containsStart Year, Start Time, Duration, and Event
Nameof the event. All the EIT information can be displayed on the TV screen on condition
that the EIT is chosen to insert (see explanation 18.). VCN–User can enter its submenus to
setup the VCN (Virtual Channel Number) information.
7) Standard: Used for selecting the modulating standard. This unit contains 3 modulating
standards –J.83A (DVB-C), J.83B and J.83C.
8) Constellation: DVB-C modulator contains 3 modulating standards. Different standard
involves different modulating constellations. See the specification table for details.
9) Symbol Rate: adjust the symbol rate at the range of 5000-9000 Ksps.
10) RF Frequency: Adjust it at range of 30 to 999 MHz. Set it according your regional situation
or inquire your local service.
11) RF Level: Adjust it at range of -16~ -36dBm.

H-AC3-CMOD-QAM-LL
17
12) RF On: User can choose to turn on or turn off the RF under this menu.
13) Bit Rate: User can read the current modulating bit rate and the maximum bit rate
14) TSID: (Transport Stream ID) User can view or adjust after enter this menu.
15) ONID: (Original Network ID)-User can view or adjust after enter this menu.
16) NIT: (Network Information Table)NIT table is a very important table for describing the
network and TS.User can enter the submenus displayed and edit the values or select the LCN
(Logical channel number) mode, and choose whether to insert the NIT. If user chooses to
insert the NIT, information (Network ID, Network Name, LCN Mode, Private Data and LCN
number of the program mentioned in explanation 6) will be added to the transport stream.
NOTE: when the Private Data is set as 0*0, it is invalid.
17) VCT: Virtual Channel Table. This menu contains two sub-menus, Modulation Mode and
VCT Insert. User can edit modulation mode at the range of 0-255. Choose to insert the VCT
when J.83B is applied as the modulation standard.
18) EIT: EIT Insert - As mentioned above (6), the event information table can be chosen
whether to insert into the TS or not under this menu. If yes, the EIT information set above (6)
will be displayed on the TV screen. Language Code –to set the EIT language For example,
code of the English language is eng. If you set the code as eng, the EIT displayed will be in
English language.
19)-23) Please refer to Chapter 4 for details.
24) Save Config: Yes/No-to save/give up the adjustment of setting.
25) Load Saved CFG: Yes/No-to load/ not to load the saved configuration.
26)Factory Reset: Yes/No-choose/not choose the factory’s default configuration.
27) LCDTime out: A time limit that LCD will light off. Choose among 5s, 10s, 45s, 60s, 90s and
120s (seconds).
28) Key Password: to set a 6-digit password for unlocking the keyboard.
29) Lock Keyboard: Choose Yes to lock the keyboard, then the keyboard will be locked and
cannot beapplicable. It is required to input the password to unlock the key board. This
operation is one-off. (Password forgotten, please use the universal code“005599”.)

H-AC3-CMOD-QAM-LL
18
30)Product ID: User can view the serial number of this device. It is read-only and unique
31) Version: It displays the version information of this device. Encoder Modulator: the name
of the device; SW: software version number; HW: hardware version number. User can also
press ENTER again to view the published time of this device.
Chapter 4
Record TS and Play TS through USB Disk
The H-VQAM-HD encoder modulator can play video/audio off a usb disk
1. *.ts Video Creation
2. TS Record and Save
Main Menu
USB Device USB Device
Record TS Record TS
Start Record
Record TS
Advanced Config
Start Record
►Yes No
Advanced Config
File size
Filter Null PKT
File save mode
File name
Automatic record
1) Connect the signal source, enter “Start Record”and choose “Yes”to start recording the
encoded TS.
2) Advanced Config:
File size: users can set the file size for the *.ts to be recorded. A single file can be
maximum 2000Mb in size.
Filter null PKT: Users can decide whether to filter the null packet for the *.ts files to be
recorded.
File save mode: there are 3 modes provided: “single file”(For example, when the file
size is set as 1000M and the *.ts is recorded up to 1000M, it automatically stops
recording TS.). “Segmented file”(For example, when the file size is set as 1000M and
the *.ts is recorded up to 1000M, it automatically saves the files and continues to record
TS and save it to next file until the USB memory is full.) . “Loop record”: (it automatically
saves the files and continues to record TS and save it to next file. When the USB

H-AC3-CMOD-QAM-LL
19
memory is full, it replaces the previous files.)
File name: Users can enter this menu to edit name for the *.ts files to be recorded. For
example, if users name it “Record-”, it will give name to the saved *.ts files
“Record-001.ts”, “Record-002.ts”…“Record-00N.ts”.
Automatic Record: Users can choose whether to set Encoder record the TS
automatically or manually.
3. TS Playback
USB Device
Play TS
Main Menu
USB Device Play TS
File Browse
Play TS
Play Mode
►Record-001.ts
Record-002.ts
Play mode
Play all
Loop all
Single file
Single loop
1) File browse: There is a video list under this menu, choose one file and press “Enter”
button to start play.
2) Play mode: User can select a play mode for the saved *.ts files as needed before playing
the *.ts file.
When the *.ts is being playing, Encoder LCD will present a playing interface as shown
below.
DVB-C 650.000MHz
xx.x% xx.xxM
DVB-C 650.000M
Record-001.ts
File name being playing
The played percentage of the
current file The size of the current file
Symbol of play-mode
single loop;
A
play all;
A
loop all;
1
single file
At this time, the key board also plays a different rule
Select file
Rewind/Forward
Play/Pause
Stop Playing
Step back to
main menu
4. Disk Usage

H-AC3-CMOD-QAM-LL
20
USB Device
Disk Usage Total: xx.xxx GB
Free: xx.xxx GB
Main Menu
USB Device
Users can enter this menu to view the USB disk’s capacity left.
5. Update
Main Menu
USB Device USB Device
Update Software Update?
Yes ►No
Choose “Yes”to update the Encoder- with the update file stored in the USB disk.
6. Remove Device
Main Menu
USB Device USB Device
Remove device Remove device?
Yes ►No
Choose “Yes”to safely remove the USB disk. Encoder- will then automatically resume
encoding and playing the program input from the encoder module.
Table of contents
