manuals.online logo
Brands
  1. Home
  2. •
  3. Brands
  4. •
  5. Tiger
  6. •
  7. Garden House
  8. •
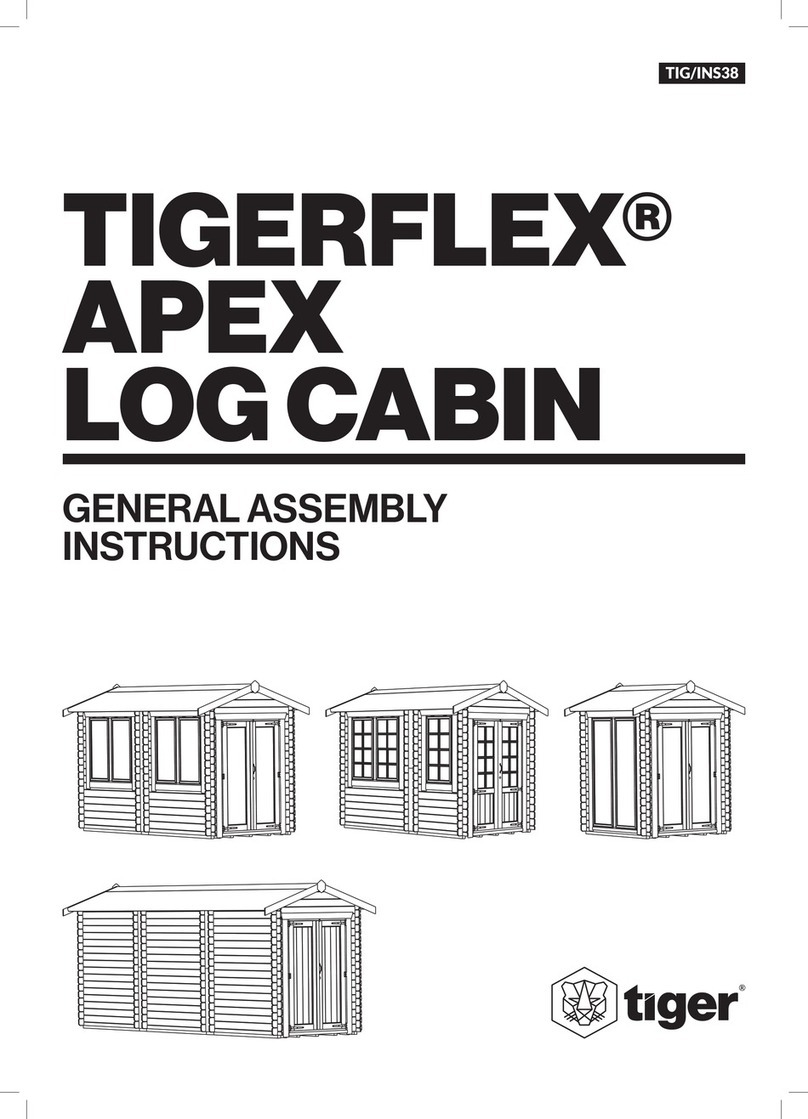
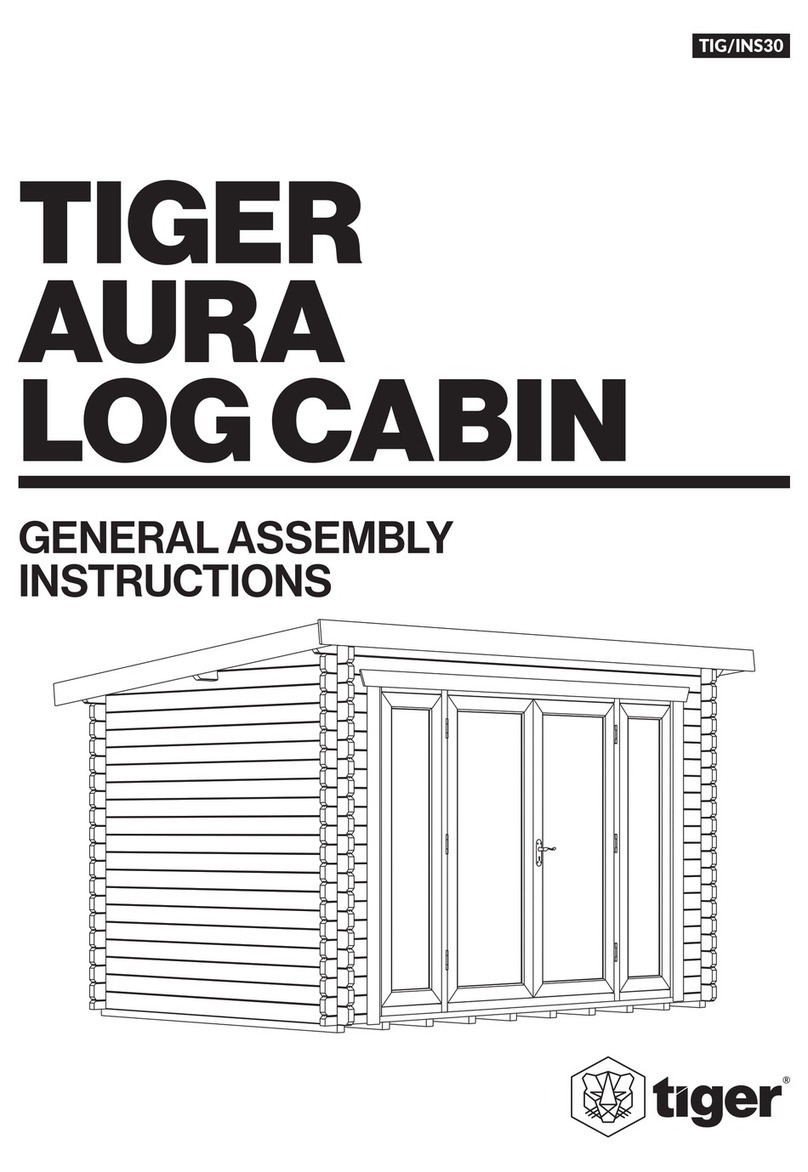
  9. Tiger SHERE TIG/INS16 User manual

Tiger SHERE TIG/INS16 User manual

TIGER
SHERE
LOG CABIN
GENERAL ASSEMBLY
INSTRUCTIONS
TIG/INS16
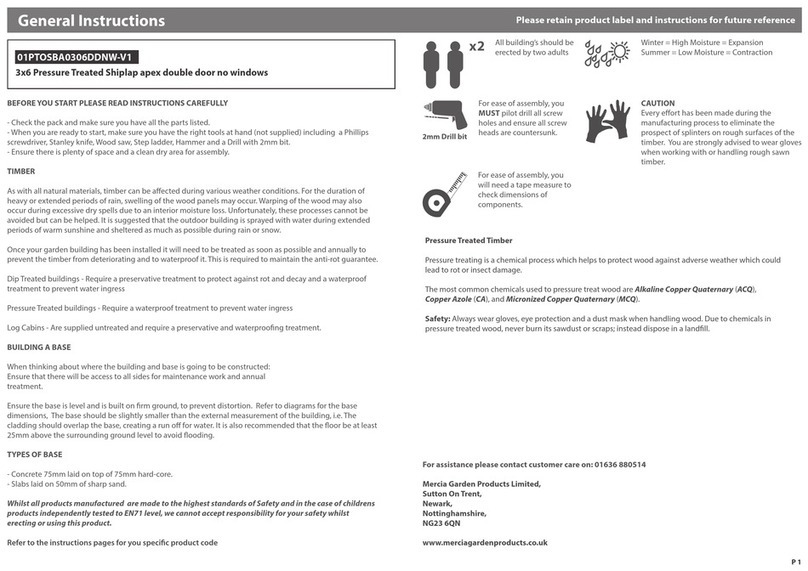
BEFORE YOU GET STARTED
02 gersheds.com 0113 205 4189 sales@gersheds.com
PLEASE READ INSTRUCTIONS CAREFULLY
• Checkthepackandmakesureyouhaveallthepartslisted.
• Whenyouarereadytostart,makesureyouhavetherighttoolsathand(notsupplied).
• Ensurethereisplentyofspaceandacleandryareaforassembly.
TIMBER
Aswithallnaturalmaterials,mbercanbeaectedduringvariousweathercondions.Fortheduraonof
heavyorextendedperiodsofrain,swellingofthewoodlogsmayoccur.Warpingofthewoodmayalsooccur
duringexcessivedryspellsduetoaninteriormoistureloss.Unfortunately,theseprocessescannotbeavoided
butcanbemigated.Itissuggestedthattheoutdoorbuildingissprayedwithwaterduringextendedperiodsof
warmsunshineandshelteredasmuchaspossibleduringrainorsnow.
Pleasedonotpaintortreatyourcabinmbersbeforeassemblyastheymuststaydryforasnugtongueand
groovet.Tovalidateyourguaranteeandensurelongevityoftheproduct,itisESSENTIALthatyourbuildingis
treatedwithanappropriatehigh-qualityoilorsolventbasedpreservaveAFTERassembly,bothinternallyand
externally,thenannuallythereaer.
BUILDING A BASE
Caremustbetakentoensuretheproductisplacedonasuitablebase.Whenthinkingaboutwherethebuilding
andbaseisgoingtobeconstructed,ensurethattherewillbeaccesstoallsidesformaintenanceworkand
annualtreatment.
Ensurethebaseisrmandlevelandisbuiltonrmground,topreventdistoron.
Theconstructedbasemustbeatleastthesizeoftanalisedoorbearersasreferencedinsuppliedconstruct
diagram.Itisalsorecommendedthattheoorbeatleast25mmabovethesurroundinggroundleveltoavoid
ooding.
TYPES OF BASE
• Durableplascgrid*.
• Concrete75mmlaidontopof75mmhard-core.
• Slabslaidon50mmofsharpsand.
• Timberbase-Selfconstructed/Buypre-made.
*We recommend a Fastt EcoBase for your building. It is durable, lightweight, exible, and easy to put in place.
Please see gersheds.com for details.
WOOD WARPING
MAY OCCUR
WINTER
EXPANSION
SUMMER
CONTRACTION
PLASTIC BASE TIMBER BASE BROKEN SLABS BARE SOIL LOOSE GRAVELCONCRETE BASE SLAB BASE
Pleaseretaininstruconsforfuturereference
CAUTION:
Allbuildingsshouldbeerected
bytwocompetentadults.
CAUTION:
Itisadvisabletowearsafety
glovesduringbuildinginstallaon.
Whilst all products manufactured are made to the highest standards of safety, we cannot accept responsibility for your safety whilst erecng or
using this product.
GO WITH THE PRO!:
Weunderstandhowbusylifecanbe.OurPro-Installaonservicecantakethestressandstrainoutofassemblingyour
qualityTigerbuildingforyou.Werecommendusingprofessionalanddedicatedinstallerstoerectyourbuilding.Withtheir
knowledgeandexperience,theywillensurethatyourcabinisputproperlyinplacereadyforyoutoenjoyyourspacefor
yearstocome.
IfyouhavenotbookedourPro-Installaonserviceandwouldliketoarrangeaninstallaon,pleasecontactourfriendly
customersupportteamon0113 205 4189(Mon–Fri9am-5pm)oremailsales@gersheds.com.
•Thepro-installteamwillcontactyoutoarrangeasuitablemeanddatefortheng.
•Sitback,relaxandletourprofessionalhomeinstallaonservicedoallthehardworkforyou!
•PleaseviewourProInstallaonpageonourwebsiteforfulltermsandcondions.
MADE IN THE UK SINCE 1913.
Wehavebeenmakingourhighquality,
greatvaluegardenbuildingsherein
Britainfordecades.
03
BEFORE YOU GET STARTED
TOOLS REQUIRED
Werecommendusingthefollowingtools(notsupplied):
SCREWDRIVER +
Unpacking supplied cabin.
• Removeallwrappingfromdelivery.Fromtoptoboom,cutbandingholdingallcomponentstogetherand
 removethecabincomponents.
NOTE: PARTS MAY HAVE BECOME LOOSE OR MOVED DURING TRANSPORTATION.
•Laycomponentsonadry,horizontalsurface.
RUBBER MALLET DRILL LADDER TAPE MEASURE SHARP KNIFE SPIRIT LEVELHAMMER
WOOD SAW
FIXING KIT CONTENTS:
SPANNER
04 gersheds.com 0113 205 4189 sales@gersheds.com
C20
CloutNails(20mm Galvanised - QTY 300)
N40
Nails(40mm Galvanised - QTY 30)
N65
Nails(65mm Galvanised - QTY 300)
S40
Screws(40mm - QTY 30)
S60
Screws(60mm - QTY 8)
S80
Screws(80mm - QTY 16)
CB40
M6CoachBolts(40mm - QTY 8)
BA40
Nails(40mm Bright Annular - QTY 400)
Pleaseretaininstruconsforfuturereference
ASSEMBLY
• Assemblyisstraighorwardifyoufollowthesestep-by-stepinstrucons.
• Werecommendgengeverythingalignedproperlybeforescrewingtogetherandthat
 screwholesshouldbepre-drilledtoavoidsplingthember.(Donotcomepre-drilled).
IMPORTANT
• Beforeassembly,pleasemakesureyouhaveasuitablebasereadytoerectyourbuildingon.
• YourbaseMUSTbermandleveltoensurethatthebuildingisassembledproperlyandissquare.
• Pleasecarefullyremovethepackagingandunpackthecomponentsinyourdelivery.
NOTE: ADDITIONAL TIMBER MAY BE INCLUDED AS PACKING MATERIALS.
• DO NOTstartyourbuildunlyouhavecheckedthatallthepartsofyourbuildingarepresentandinasuitablecondion.
• Ifyouareorganisingathirdpartytoinstallyourbuilding,itisbestpraccenottoschedulethisimmediatelyonreceiptof
 yourorder,togiveyoumetocheckyourdelivery.
BUILDING PACK CONTENTS:
ForfulldetailsofwhatshouldbeincludedpleaseseetheProductConstructDiagramanditemisedcunglist
thatissuppliedwiththedelivery.TheyarealsoavailableonrequestinpdfformfromourhelpfulCustomer
Supportteam–pleasecall0113 205 4189orusetheItemsDeliveredQueryformatgersheds.com/contact.
05
TO VIEW GENERAL ASSEMBLY
GUIDE FOR APEX ROOF CABIN
TIGER SHERE LOG CABIN GENERAL INSTRUCTIONS
Step 1:
UNPACKING CABIN COMPONENTS:
• Unpackallcomponentsfromyoursuppliedcabinpack(s)andplaceeachindividualcomponentinthecorrect
 orderusingthesuppliedconstructdiagramandpartslistasaguide.Ensureallcomponentsarepresentandin
 thecorrectposionbeforebeginningassembly.
• Eachloginterlocksinastaggeredpaern.
NOTE: SOME LOGS FEATURE ADDITIONAL FULL NOTCHES & HALF NOTCHES.
• Beforesecuring,ensurethatthelogsareedproperlyintheirrespecvetongueandgrooves,gently
 tappingdownwithamallet.(Detail A1 & A2)
TOP TIP
Use packing materials to protect when
tapping logs into place.
A1 A2
06 gersheds.com 0113 205 4189 sales@gersheds.com
Pleaseretaininstruconsforfuturereference
Step 2:
DOUBLE DOOR ASSEMBLY
• Forcabinswithdoubledoors,buildupdoorframeusingthefourdoorcomponentsprovided.
 Removesuppliedkey.Thisisusuallystapledoverkeyhole.
• Arrangethedoorframingontoarmandlevelsurface,withhingestotheground.Slotthedoorsill(base)
 thenthedoorheadintoplace.Securethe4seconstogetherthroughthejointsusing1xS60percorner.
(Detail B)
NOTE: HOLES FOR FRAMING ARE PRE-DRILLED IN THE FACTORY.
NOTE: THIS IMAGE IS FOR ILLUSTRATIVE PURPOSES AND DOOR STYLE MAY DIFFER FROM YOUR
SUPPLIED PRODUCT.
NOTE: 14 CABINS COME SUPPLIED WITH SINGLE PIECE HEADER FASCIAS FOR DOORS AND
WINDOWS. SEE STEP 15 FOR INSTALLATION.
B
DOOR HEAD
DOOR SILL (BASE)
S60
07
Step 3:
LAY DOWN TANALISED BEARERS
• Refertotheoorplanofyourconstructdiagram,posionthetanalisedbearersonpreparedbase.
• Spreadoutthetanalisedbearersequallyatapprox.400mmcentres.(Detail C For Orientaon)
NOTE: ON LARGER CABINS, TANALISED BEARERS MAY BE SUPPLIED IN MORE THAN 1 PIECE.
PLEASE REFER TO YOUR CONSTRUCT DIAGRAM FOR THIS.
TIGER SHERE LOG CABIN GENERAL INSTRUCTIONS
C
08 gersheds.com 0113 205 4189 sales@gersheds.com
Pleaseretaininstruconsforfuturereference
Step 4:
BEGIN BUILDING WALLS
• Place1stlayeroflogsontheedgesofthebearers.Ensurehalflogsareputdownrst.
 Seeconstructdiagramforbuildorder.
• Measurecornertocornerdiagonallytomakesurecabinoorissquare.Ifbothvaluesareequal,yourframeis
 square.Realigntheoorunlsquare.Donottrim.
• Screwlogsintotanalisedbearersusing3xS80perlog.(1xS80incentre,1xS80perendnotch)
• Forxingthroughnotches.(Detail D1)
• Forxingthroughhalflog.(Detail D2 & D3)
• Checkthatoorislevelusingaspiritlevel.
D1 D2 D3
S80 S80 S80
1 2
12
09
TIGER SHERE LOG CABIN GENERAL INSTRUCTIONS
Step 5:
SECURING FLOOR
• Checkoorboardsarecorrectsize.Donotmixupwithroofboards.
• Lay5oorboardsinposionandtackinplace.Leaveapprox.2.5mmgapbetweentheedgeofthe
 oorboardsandtheinsideofexternalwalls.(Detail E)
NOTE: DO NOT FULLY SECURE AS THESE ARE ONLY TO KEEP THE FLOOR SQUARE WHILE BUILDING
THE LOG CABIN.*
• *Forcabinswithinternalparon,theoorboardswillneedtobefullyinstalledatthisstagetoallow
 paronbaselogstobeinstalled.PleasejumptoStep14fordetails.
E
Step 6:
CONTINUE TO BUILD WALLS
• Usingconstructdiagramasaguide,begintobuildupthewallsbyinterlockingthelogslayerbylayerunl
 3logshigh.
• Atthispoint,storeremainingoorboardsinsidethecabinreadyforinstallaon.Youmaynotbeabletot
 oorboardsthroughthedooroncecabinhasbeenbuilt.
10 gersheds.com 0113 205 4189 sales@gersheds.com
Pleaseretaininstruconsforfuturereference
Step 7:
INSTALL DOORS & WINDOWS
• Taketheassembleddoorsandframeandslideoverthelogsunlfullyinserted.
• Posioncentrallywithinopening.Thiswillleaveagapeithersideforseling.(Detail F1)
NOTE: DOORS ARE VERY HEAVY, PLEASE TAKE CARE WHEN LIFTING INTO PLACE.
• Fixsupplieddoorhandletoenableaccesstothecabin.(Detail F2)
F2
F1
• Connueaddingmorelayersoflogsunlyou
 reach3logspastwindowheight,before
 slongthewindowsintoposion.(Detail F3)
• Posioncentrallywithinopening.Thiswill
 leaveagapeithersideforseling.
NOTE: WINDOWS CAN BE VERY HEAVY,
PLEASE TAKE CARE WHEN LIFTING INTO
PLACE.
NOTE: IF YOUR BASE IS NOT FIRM AND
LEVEL THEN THIS CAN CAUSE THE DOORS
AND WINDOWS TO TWIST OR TO GO OUT
OF SQUARE. USE A SPIRIT LEVEL TO
CHECK.
NOTE: DO NOT FIX THE DOORS OR
WINDOWS IN PLACE AT THIS STAGE
• Connuetobuildupyourcabintoeaves
 height.(Detail F4)
F3
EAVES HEIGHT
F4
11
TIGER SHERE LOG CABIN GENERAL INSTRUCTIONS
Step 8:
INSTALL GABLE TOPS
• Placeontopoftheeavesheightlogs.
NOTE: LARGER CABINS MAY HAVE ADDITIONAL TRUSSES TO SUPPORT ROOF.
PLEASE REFER TO YOUR CONSTRUCT DIAGRAM.
Step 9:
INSTALL PURLINS
• Posionthepurlinswiththeangledcutstotheboom.(Detail G1)
 Ensurenotchesinpurlinslineupwithgabletops.
• Securethepurlinsintothegabletopsusing2xN65perpurlinpergabletop.(Detail G2)
• Repeatforallpurlinandgabletopjoins.
STANDARD PURLIN
STANDARD PURLIN WITH EXTRA NOTCH(ES)
G1
G2
N65
N65
12 gersheds.com 0113 205 4189 sales@gersheds.com
Pleaseretaininstruconsforfuturereference
H1 H2 H3
N65
N65
N65
Step 10:
INSTALL ROOF BOARDS
• Beforeinstallingtheroofboards,checkthatthecabinissquarebothvercally&horizontally.
 Adjustifrequired.
• Posionatongue&grooveroofboardushwithpurlinatoneendofroof.
 • Fixthroughapexpurlinusing2xN65perboard.(Detail H1)
 • Fixthroughoneaddionalpurlinusing2xN65perboard.(Detail H2)
 • Fixthroughsidetoplogsusing2xN65perboard.(Detail H3)
• Connueworkingacrossroof,repeangthestepsabove.
• Thenalroofboardmayneedtrimmingtositushwithpurlinatend.
CRITICAL!: ALL ROOF BOARDS MUST HAVE 2X N65 PER FIXING POINT AS OUTLINED ABOVE.
Step 11:
INSTALL ROOF BATTEN AND SKIRTING
• Fixroofbaenontotheundersideofroofboardsonlowsideusing6xN40,evenlyspacedalonglength.
 Finishwithapieceofskirng,aachedusing6xN40,evenlyspacedalonglength.(Detail I1 & I2)
NOTE: ROOF BATTENS AND SKIRTING MAY COME IN MORE THAN 1 SECTION.
I2I1
N40
N40
13
TIGER SHERE LOG CABIN GENERAL INSTRUCTIONS
Step 12:
FELT THE ROOF - MEASURE AND CUT BEFORE INSTALLING FELT
• Rollfeltoutontoacleanatsurface30minutesbeforeyouneeditsoithasachancetoaenout.
• Measurelengthofroofandallow75mmoverhangateachend.Cuteachstripoffelttosize.
 Useastraightedgetoguidecung.
• Rollcutfeltpiecealonglowsideofroof,Secon1,leavingsucientoverhangtofolddownontoroofedge.
 Donotfoldunderneathroof.(Detail J1 & J2)
• Oncefeltisrolledout,xtoroofusingCN20bothends,makingsurefeltisstraight.Securethroughskirng
 usingCN20atapprox.100mmintervals.(Detail J2)
 Ensurethefeltisght,securethetopsideoffeltusingCN20atapprox.100mmintervals.(Detail J3)
• Repeatforremainingfelt,workingfromthelowsideofrooftothehighside,overlappingthefeltby75mm
 unltheroofisfullycovered.(Detail J3)
• Foldtheoverhangingfeltatendsunderroofboardandtackinplace.
J1 J2 J3
INCORRECT FELT CORRECT FELT
CN20
CN20
CN20
ROOF BOARD
14 gersheds.com 0113 205 4189 sales@gersheds.com
SECTION 1
Pleaseretaininstruconsforfuturereference
Step 13:
ATTACH ROOF FASCIA BOARDS (BARGEBOARDS) & FINIAL
• Aachrooffasciasusing4xN40perfasciaboard.Nailthroughtoppurlinandboomroofbaen.
 Completethelookwithnialsoverthejoinatapex.Secureusing2xN40pernial.
NOTE: THERE ARE NO BARGEBOARDS SUPPLIED FOR LOW SIDE OF ROOF AS THIS WILL PREVENT
EFFECTIVE WATER DRAINAGE.
Step 14:
LAY FLOORBOARDS
• Starttolaytheoorboards.Thereshouldbea2.5mmgapbetweentheedgeoftheoorboardsandtheouter
 logstoallowforexpansionandcontracon.
• Nailtheoorboardstothetanalisedbearersbelowwith2xBA40evenlyspacedperoorboardper
 tanalisedbearer.
• Thelastboardwillneedcungdowntosize.Ifinstallinganyparons,pleasereturntoStep6.
FASCIA FASCIA
FINIAL
15
CUT FLOORBOARD TO SIZE
TIGER SHERE LOG CABIN GENERAL INSTRUCTIONS
Step 15:
FIXING DOORS AND WINDOWS
• Checkthedoorsaresquareandscrewthefasciaboards,bothinternallyandexternally,intothelogsbehind
 with6xS40evenlyspacedasshown.(Detail K1)
• Repeatprocessforallremainingdoorsandwindowsinyourcabin.
Timber is a natural product; any log or board can expand and contract. This may cause slight gapping in the
log cabin which can be reced by un-screwing and re-screwing fascia boards over the course of the year.
S40 S40
S40 S40
S40 S40
K1
16 gersheds.com 0113 205 4189 sales@gersheds.com
Pleaseretaininstruconsforfuturereference
N40 N40 N40 N40
K2
K3
N40
K4
S40
Step 15b:
FOR 14FT CABINS WITH SINGLE PIECE HEADER FASCIAS
• Checkthedoorsaresquare.
• Aachsinglepieceheaderfasciatodoorandwindowframesasshownusing2xN40perframe.(Detail K2 & K3)
• Secureintologsbehindusing4xS40evenlyspacedpersinglepieceheaderfascia.(Detail K4)
• Repeatforinternalsinglepieceheaderfascia.
• Securetheremainingfasciaboards,bothinternallyandexternally,intothelogsbehindwith6xS40evenly
 spacedasshownfordoorsandwindows.(Detail K1)
17
N40 N40
TIGER SHERE LOG CABIN GENERAL INSTRUCTIONS
Step 17:
FIT INTERNAL SKIRTING
• Arrangetheskirngaroundtheoutsideedgeofoor(internally),measureandcutdownifrequiredtobest
 matchtheinternalspace.
• Secureeachskirngseconintoplaceusing3xS40evenlyspacedalongthelength.(Detail M1 & M2)
NOTE: DO NOT FIX THE SKIRTING TO THE FLOORBOARDS.
M1 M2
S40
SKIRTING
Step 16:
INSTALL INTERNAL ROOF BATTENS
• Fixinternalroofbaenstothetopsidelogsusing4xS40evenlyspacedalongthebaenasshown.(Detail L)
• Thesewillsealroofandsidewalls.
L
S40
18 gersheds.com 0113 205 4189 sales@gersheds.com
Pleaseretaininstruconsforfuturereference
Step 18:
ATTACH STORM BRACES
• Fixstormbracestotheinsideofgableswith2xCB40provided.AlwaysleavetheboomCB40slackenough
 toletthestormbracemoveasthecabinexpandsandcontracts.(Detail N1 & N2)
NOTE: ENSURE THE STORM BRACES ARE SECURED INTO THE GABLE TOP ON EACH SIDE.
N1 N2
STORM BRACE
19
TIG/INS16
Head Oce
CalverleyLane,
Rodley,
Leeds,
WestYorkshire,
LS131NP
Telephone: 0113 205 4189
Website:gersheds.com
Email:customersupport@gersheds.com
TO SEE GENERAL ACCESSORY &
INSTALLATION VIDEO LIBRARY
TO VIEW GENERAL ASSEMBLY
GUIDE FOR APEX ROOF CABIN

Other Tiger Garden House manuals

Tiger Caspian User manual

Tiger

Tiger Caspian User manual

Tiger SHIPLAP APEX WINDOWLESS SHED User manual

Tiger

Tiger SHIPLAP APEX WINDOWLESS SHED User manual

Tiger OPTIMA User manual

Tiger

Tiger OPTIMA User manual

Tiger Tigercub Magic Mansion User manual

Tiger

Tiger Tigercub Magic Mansion User manual

Tiger INS32 User manual

Tiger

Tiger INS32 User manual

Tiger TIGERFLEX Elysia User manual

Tiger

Tiger TIGERFLEX Elysia User manual

Tiger ALPHA BARN User manual

Tiger

Tiger ALPHA BARN User manual

Tiger PANTHERA User manual

Tiger

Tiger PANTHERA User manual

Tiger PETHOUSE & RUN User manual

Tiger

Tiger PETHOUSE & RUN User manual

Tiger Delta User manual

Tiger

Tiger Delta User manual

Tiger LOG STORE User manual

Tiger

Tiger LOG STORE User manual

Tiger PRESSURE TREATED OCTAGONAL Configuration guide

Tiger

Tiger PRESSURE TREATED OCTAGONAL Configuration guide

Tiger GARDEN STUDIO User manual

Tiger

Tiger GARDEN STUDIO User manual

Tiger Aura User manual

Tiger

Tiger Aura User manual

Tiger RAYNER User manual

Tiger

Tiger RAYNER User manual

Tiger TIGERFLEX MODA User manual

Tiger

Tiger TIGERFLEX MODA User manual
Tiger Tigercub Crazy Cottage User manual

Tiger

Tiger Tigercub Crazy Cottage User manual

Tiger BLAKE User manual

Tiger

Tiger BLAKE User manual

Tiger MALAYAN User manual

Tiger

Tiger MALAYAN User manual

Tiger LAKRA User manual

Tiger

Tiger LAKRA User manual

Tiger KERR User manual

Tiger

Tiger KERR User manual

Tiger Tigercub Groovy Garage User manual

Tiger

Tiger Tigercub Groovy Garage User manual

Tiger KIPLING LOG CABIN User manual

Tiger

Tiger KIPLING LOG CABIN User manual

Tiger ROSEN User manual

Tiger

Tiger ROSEN User manual

Popular Garden House manuals by other brands
Best Barns Arlington II Assembly Book

Best Barns

Best Barns Arlington II Assembly Book

Forest garden SUMMERHOUSE instructions

Forest garden

Forest garden SUMMERHOUSE instructions

VISSCHER Vista Leisure Series manual

VISSCHER

VISSCHER Vista Leisure Series manual

Forest garden BCSHSL77 quick start guide

Forest garden

Forest garden BCSHSL77 quick start guide

Cello Vetlanda 502256881 instruction manual

Cello

Cello Vetlanda 502256881 instruction manual

Solid S8377 manual

Solid

Solid S8377 manual

Lemeks Palmako Connect Bianca PA120-5930-10 Assembly, installation and maintenance manual

Lemeks

Lemeks Palmako Connect Bianca PA120-5930-10 Assembly, installation and maintenance manual

megiw HA28001-4163162451-21-0000-20 manual

megiw

megiw HA28001-4163162451-21-0000-20 manual

Vision S-8070-A owner's manual

Vision

Vision S-8070-A owner's manual

Bear County Infinity CI4005 manual

Bear County

Bear County Infinity CI4005 manual

Solid Build ASPEN Assembly instructions

Solid Build

Solid Build ASPEN Assembly instructions

Project Timber My Den Metal Roof Building instructions

Project Timber

Project Timber My Den Metal Roof Building instructions

Forest garden CSHSL66 quick start guide

Forest garden

Forest garden CSHSL66 quick start guide

Palmako EL12-1817-1 installation manual

Palmako

Palmako EL12-1817-1 installation manual

Mercia Garden Products 04LEAN0804-V1 General instructions

Mercia Garden Products

Mercia Garden Products 04LEAN0804-V1 General instructions

NewGarden FRB28-3030FSC installation manual

NewGarden

NewGarden FRB28-3030FSC installation manual

tradetested GS503-V1 manual

tradetested

tradetested GS503-V1 manual

tradetested GS511-V1 Owner's manual and assembly instructions

tradetested

tradetested GS511-V1 Owner's manual and assembly instructions

manuals.online logo
manuals.online logoBrands
  • About & Mission
  • Contact us
  • Privacy Policy
  • Terms and Conditions

Copyright 2025 Manuals.Online. All Rights Reserved.