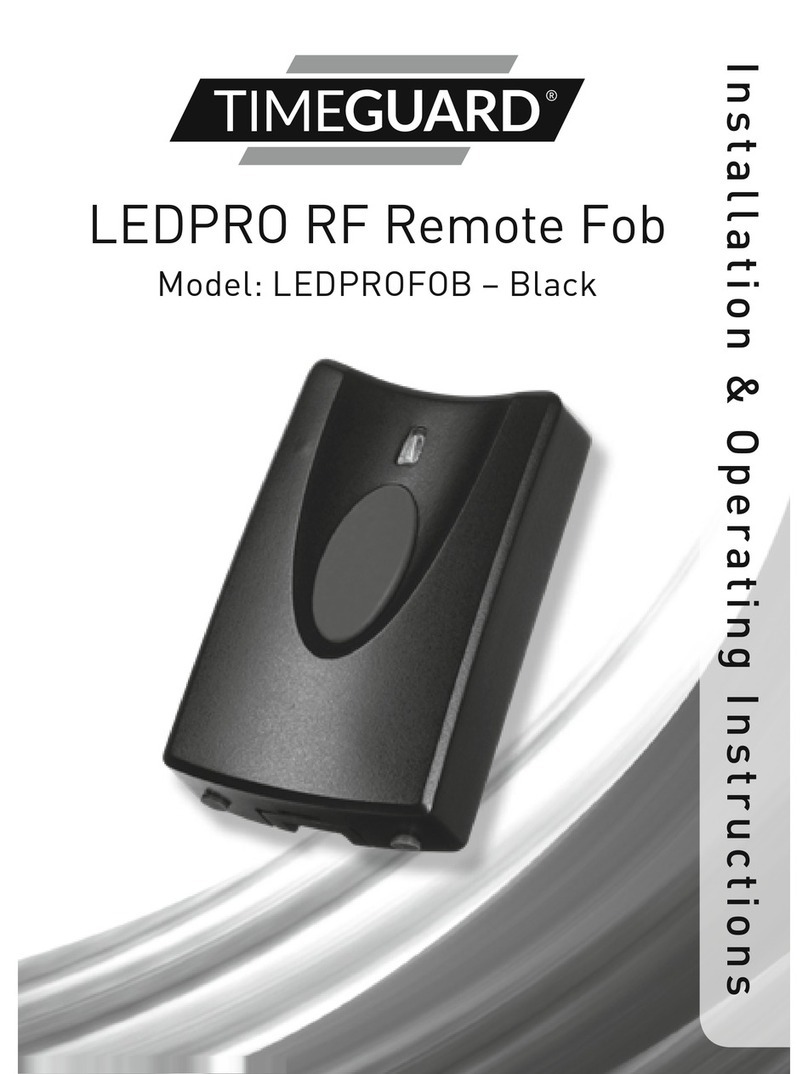
Timeguard TLTXK2 Manual

INSTALLATION & OPERATING
INSTRUCTIONS
R.F. REMOTE
CONTROLLER
Cat No. TLTXK2
iTLTK2_Instructions.qxd 28/4/06 3:57 pm Page 8

1
Introduction
The TLTXK2 R.F. Remote Controller is part of the
Timeguard range of PIR products which
communicate by radio frequency (r.f.) signals.
This enables substantial amounts of wiring to be
eliminated which is particularly useful in long runs
and coverage of outbuildings.
It is a battery powered r.f. transmitter. It transmits
(sends) a signal to receivers in the system that have
been programmed to respond to its coded signal
causing their lights to turn on.
In the following instructions products with
catalogue numbers including TX (ones that send
information about PIR detection) are referred to as
Tx units and products with catalogue numbers
including RX (ones that receive information about
PIR detection) are referred to as Rx units.
AB
Top
Cover
fixing
screw
Screwdriver
slot
iTLTK2_Instructions.qxd 28/4/06 3:57 pm Page 1

2
Parts included
• Remote Light Control Tx and wall plate.
• Instruction manual. Please keep safe for future
reference.
• Accessory Pack
• 1 x CR2032 “coin cell” lithium battery.
Tools and parts needed
• Electric/hand-held drill & bits.
• Terminal or Electricians screwdriver
Selecting a location
This transmitter unit can be used in conjunction
with the wall plate included, this must be
mounted within 100m (free air space) of the
receivers it is to be used with. It can be used hand
held again within 100m.
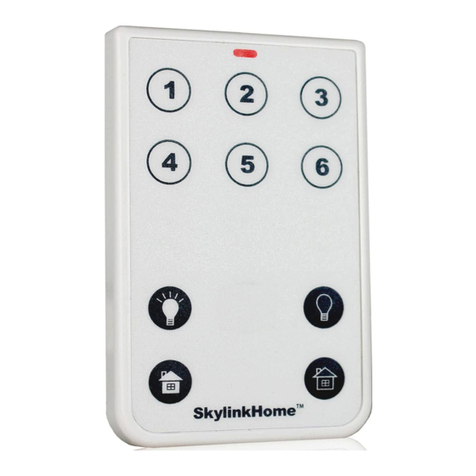
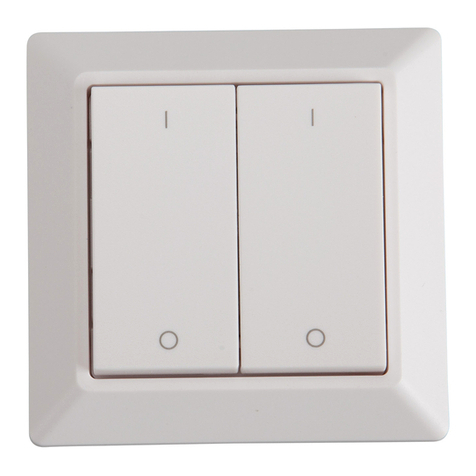
Pressing the ‘1’ button brings a previously
programmed Rx units light on continuously and
pressing the ‘O’ button turns the light off.
(Rx waiting for a PIR transmission to turn on again).
C
Battery
Battery
Holder
Keyring Slot
LED
OFF ON
DC
iTLTK2_Instructions.qxd 28/4/06 3:57 pm Page 2

3
Please note that surrounding structures and metal
work will reduce this optimum range. Ensure
your receiver is within range of your receiver
before permanently mounting the units.
If you prefer to carry this unit on your keyring,
ensure that your intended receiver activates from
the location you require.
Please note that you will achieve optimum
transmission distance if the transmitter is held as
shown in diagram E and pointed in the general
direction of your intended receiver.
Installation
Remove the transmitter from the wallplate by
sliding the transmitter upwards and out of the slot.
Using the wallplate as a template, mark the
position of the fixing holes. See diagram A.
Fix the mounting plate to the wall. Take care not to
overtighten the screws to prevent damage to the
mounting plate. If using a power screwdriver, use
the lowest torque setting. See diagram B.
Remove the fixing screw on the back of the
transmitter and using a small screwdriver in the
slot provided, gently open the back cover. See
diagram B.
Insert the CR2032 battery (included) into the
battery holder. See diagram C.
Ensure correct polarity, the “+” sign should be
facing up.
Press the battery firmly into the holder.
Replace rear cover and refasten the fixing screw.
iTLTK2_Instructions.qxd 28/4/06 3:57 pm Page 3

4
Programming
To be operated by the Remote Light Control, the
Timeguard Wireless Receivers must learn the
Transmitters unique code. This programme is
achieved automatically by the following procedure.
1. Press the Rx units PROGRAM button for 1 to 2
seconds while Rx unit is powered. Be careful not to
hold any longer than 2 seconds or you may erase
all existing memorised codes. The light will go ON
indicating it is in PROGRAM MODE and will
remain on up to 5 minutes. (If programming a
Chime Receiver it will make a “beep” and the LED
will flash indicating it is program mode)
2. Press the Remote Light Control`s ON (1) button
to send its coded signal to the intended receiver.
(Its LED will light for 1 second). Transmitter will
send its coded signal to the Receiver and the light
will go off. (if using a Chime receiver a “beep” will
sound indicating it has been coded with the sensors
signal).
E
For optimum range hold
transmitter as shown.
Point this end of the
transmitter towards
target monitor
iTLTK2_Instructions.qxd 28/4/06 3:57 pm Page 4

5
If programming a Floodlight Rx the light will
remain off for a short period (approx 1 minute),
after that the light will come ON to indicate the
programming period has began. The Rx unit
indicates that it has received the unique coded
signal by turning its light off.
You have approximately 5 minutes to program your
TLTXK2 to control the Rx unit in PROGRAM
MODE.
3. The Rx unit is now programmed to respond to
the Hand Held Transmitter. No other Tx unit can
activate this RX unit unless it is programmed to
do so.
4. If the lights did not go OFF or the Chime did not
“beep” the Rx is not picking up a signal. Check the
radio signal path between the Remote Controller
and Receiver for any metal obstructions (walls,
support beams, chain link fences etc).These can
block radio signals and interfere with signal
transmission.
PLEASE NOTE:- PLEASE SEE THE SEPARATE
INSTRUCTION MANUALS FOR THE RECEIVER
PRODUCTS TO UNDERSTAND HOW TO
PROGRAM AND ADJUST THAT SPECIFIC
Rx UNIT.
Low Battery Indication
The LED will not turn on when a button is pushed.
Replace the battery as soon as possible.
iTLTK2_Instructions.qxd 28/4/06 3:57 pm Page 6

6
Possible Cause/Solution
1. Light switch is turned off.
2. Check Light bulb, it may
be loose or burned out.
3. Photocell determines it is
daylight.
Move away from light source.
4. Hand Held Transmitter is
too far from Receiver.
Move closer.
1. Receiver is in Manual
Override mode.
Flip wall switch off then on
again within 2 seconds to
place back in Auto Mode.
1. Hand Held Transmitter is
too far from Receiver.
Move closer.
Problem
• Light will not activate
when button is pressed.
• Light Stays on at night.
• Beam/light activates and
de-activates irregularly
when button is pressed.
Power Supply:
Environmental Protection:
Transmission Range:
Conforms to Directive:
1 x 3V CR 2032 lithium
battery
Suitable for use in dry
conditions only
Up to 100m (varies with
surrounding structures)
89/336/EEC
Troubleshooting guide
Technical specifications
iTLTK2_Instructions.qxd 28/4/06 3:57 pm Page 7

HELPLINE
020-8450-0515
For a product brochure please contact:
Timeguard Ltd.
Victory Park, 400 Edgware Road,
London NW2 6ND
020-8452-1112
or email csc@timeguard.com
5 Year Guarantee
In the unlikely event of this product becoming faulty due to
defective material or manufacture within 5 years of the date
of purchase, please return it to your supplier in the first year
with proof of purchase and it will be replaced free of charge.
For years 2 to 5 or any difficulty in the first year telephone
the helpline on 020 8450 0515.
FIVE YEAR
GUARANTEE
5
iTLTK2_Instructions.qxd 28/4/06 3:57 pm Page 5
Table of contents
Other Timeguard Remote Control manuals
