TimeKeeping GUARD1 PLUS User manual

Installation Guide
Systems, Incorporated

Installation Guide
Systems, Incorporated
© Copyright 2005TimeKeeping Systems, Inc. •GUARD1 PLUS and THE PIPE are trademarks of TimeKeeping Systems, Inc.
30700 Bainbridge Road • Cleveland, Ohio 44139 USA
Phone 216-595-0890 •Fax 216-595-0991

Contents
Unpack Your System 1
Connect the Downloader 3
Windows Plug and Play 4
Install GUARD1 PLUS Software 5
GUARD1 PLUS Quick Tour 6
Set Up Your Hardware in GUARD1 PLUS 12
Add Clients or Facilities 13
Set Up Your Buttons 15
Read Download Data 18
View or Print Your Data 19
Where to go from here... 22
Installation Guide Contents ••i

GUARD1 PLUS Installation Guide
This Installation Guide shows you how to install your equipment and software. It shows you how
to get started using G
UARD
1 P
LUS
.
This guide is only an overview, to enable you to get started quickly with G
UARD
1 P
LUS
. Detailed
information about all of G
UARD
1 P
LUS
's many features can be found in the online documentation
in G
UARD
1 P
LUS
Help.
1Unpack Your System
Remove the contents from the box and confirm that you have received every-
thing. The standard system (part number G1PLUS-COMPLETE) includes the
following components:
Part Number Description
G1PLUS-PROG-CD
G
UARD
1P
LUS
Program on CD-ROM
G1PLUS-SETUP Quick Set Up Card (Qty 10)
G1PLUS-GUIDE Installation Guide (this manual)
PIPE-TKS THE PIPE Touch Button Reader
PIPE-HOLSTER Nylon Belt Holster for THE PIPE
Installation Guide Unpack Your System ••1

DL-DIRECT-PNP Direct Downloader with Power Adapter
CBL-DL-PNP-PC Serial Cable for Direct Downloader
SW-28A6300-101 Driver Disk for Direct Downloader
PIPE-BUTTON-F5 Touch Memory Buttons (Qty 100)
PIPE-DOT Adhesive Foam Disks (Qty 100)
PIPE-F5-MOUNT Plastic Wall-Mount Button Holder
(Qty 100)
PIPE-SCREW-PH Phillips Head Drywall Screws
(2 Packages of 55)
PIPE-WALLET Leather Button Wallet
PIPE-KEYRING Keyring Button Holder (Qty 2)
PIPE-BTN-COVER Cover for Wall Mount Button Holder
(Qty 4)
2 ••Unpack Your System Installation Guide
TEST
DATA
POWER

2Connect the Downloader
1. Turn off your computer.
2. Position the downloader near your computer.
3. Find the serial port on the back of your computer. Most computers have
9-pin serial ports. Your port probably looks like this:
4. Connect the downloader cable (part number CBL-DL-PNP-PC) to your
serial port.
5. Connect the other end of the downloader cable to your Direct Downloader.
6. Connect the power adapter to the downloader and plug it into a convenient
electrical outlet. The power and test LEDs should be lit:
Installation Guide Connect the Downloader ••3
POWER
DATA
TEST
POWER

3Windows Plug and Play
1. Turn on your computer.
2. After Windows starts, you should see a message indicating that Windows has
found a new hardware device. Windows will start the Add New Hardware
Wizard. Follow the instructions on your screen. (Note: Different versions of
Windows do this differently.)
3. If Windows does not automatically recognize the Downloader, click Start |
Settings | Control Panel | Add New Hardware, and follow the steps in the Add
New Hardware Wizard.
4. If Windows asks for a disk, use the Direct Downloader Driver Disk (floppy disk)
provided with your system.
4 ••Windows Plug and Play Installation Guide

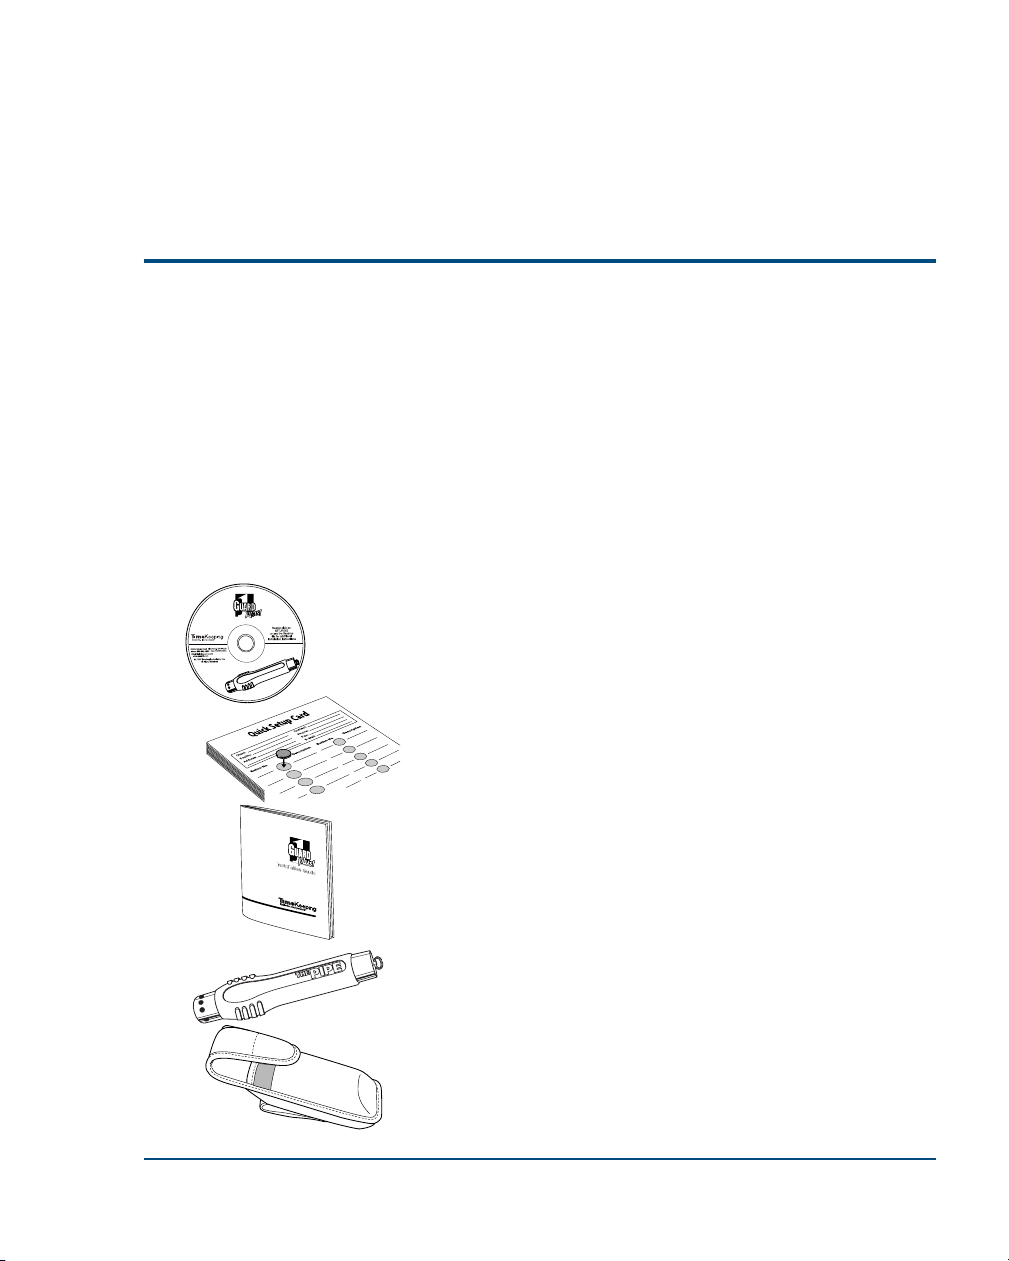
4Install GUARD1 PLUS Software
1. Before installing G
UARD
1 P
LUS
, make a note of the six-character Product
Code. The product code can be found on the disc or disc package.
2. Insert the G
UARD
1 P
LUS
CD-ROM in your computer.
3. The installation program should start automatically. If it does not, click Start |
Run, then enter D:SETUP (be sure to use the correct letter if your CD drive is
not drive D:).
4. After the installation wizard starts, follow the instructions on the screen. After
completing the installation, the wizard may need to reboot your computer.
5. When installation is complete, you are ready to run G
UARD
1 P
LUS
. To start
G
UARD
1 P
LUS
, double click on the G
UARD
1 P
LUS
icon on your desktop, or
select Start | Programs | Guard1 Plus | Guard1 Plus.
G
UARD
1 P
LUS
is enabled for thirty days after it is installed. To enable
G
UARD
1 P
LUS
after thirty days, you must obtain an activation number from
TimeKeeping Systems. Detailed information about activation can be found in
G
UARD
1 P
LUS
help.
Installation Guide Install GUARD1 PLUS Software ••5

5GUARD1 PLUS Quick Tour
Here are some highlights of G
UARD
1 P
LUS
. More detailed information is found in
the online documentation in G
UARD
1 P
LUS
Help.
6 ••GUARD1 PLUS Quick Tour Installation Guide
Click here to learn more
about the Welcome
Screen and software acti-
vation process.
Click here to start
GUARD1 PLUS.
If this button is
disabled (“grayed
out”) click the Help
button for activation
instructions.
Click here to activate (purchase)
one or more software modules.
When you start GUARD1 PLUS, the Welcome Screen appears. It shows the status of
your 30-day trial, registration status, if you have purchased any modules (compo-
nents) and the status of your technical support subscription.

Installation Guide GUARD1 PLUS Quick Tour ••7
The Tip of The Day window offers helpful information and tips
about using the GUARD1 PLUS.
GUARD1 PLUS's main screen is organized into two sections. Tabs on the left side provide
easy access to your information. Tabs on the right side provide detailed information about spe-
cific items.

8 ••GUARD1 PLUS Quick Tour Installation Guide
The Buttons tab shows all location, incident,
and officer buttons.
The Keypads tab supports numeric input. It is
useful when you have many incident codes, or
many locations such as room numbers in a
hotel.
The Facilities tab organizes information
about each client, facility, and location in a
tree format.

Installation Guide GUARD1 PLUS Quick Tour ••9
The System tab displays information about
your hardware and software. The Downloads tab shows each download by
date and time.
The Reports tab lists all of the standard and cus-
tom reports available.

10 ••GUARD1 PLUS Quick Tour Installation Guide
GUARD1 PLUS includes a sample data file. Learn about the program’s features or try something
new, then switch back to the master database to use your own data. To open the sample data-
base, select File | Use Sample Data from the menu bar.
At ease... Looking for a reader... Found a reader!
The Attendant manages downloading for GUARD1 PLUS. It detects THE PIPE and other devices
automatically and indicates the program’s status. The Attendant can be set to download when
GUARD1 PLUS is not running, so that officers who do not have access to GUARD1 PLUS can still
download their readers.
The Attendant is always located in the system tray of the Windows taskbar. To
configure the Attendant, double click on it.

Installation Guide GUARD1 PLUS Quick Tour ••11
GUARD1 PLUS features extensive on-line documentation. Select Help from anywhere in the
program to get detailed information and “how-to” instructions. To select Help, click on the
button on the toolbar or press F1.
You can also start help from outside GUARD1 PLUS. Select Start | Programs | Guard1 Plus | Help.

6Set Up Your Hardware in GUARD1 PLUS
If you are using T
HE
PIPE and a Plug-and-Play Direct Downloader, G
UARD
1 P
LUS
will recognize your hardware automatically.
If you have an older Direct Downloader, a Mobile or Modem Downloader, or if you
are using equipment from another manufacturer, use the Add Devices Wizard to
identify your hardware and add it to G
UARD
1 P
LUS
. To run the Add Devices
Wizard, select System | Add Devices Wizard from the menu bar, then follow the
instructions on your screen.
12 ••Set Up Your Hardware in GUARD1 PLUS Installation Guide
To determine if you have a Plug-and-Play
Direct Downloader, look at the product
label.
Once a reader or downloader is added to GUARD1
PLUS, it will appear on the System tab.
GUARD1 PLUS automatically detects Plug-and-Play Direct
Downloaders. If you have a Plug-and-Play Direct Downloader,
this dialog should appear briefly the first time you run GUARD1
PLUS.

7Add Clients or Facilities
G
UARD
1 P
LUS
makes it easy to organize your information, whether you are a
guard company or a corporate security department, and whether you have one
site or many. You organize your information in the same way you organize your
operations. The online documentation in G
UARD
1 P
LUS
Help provides detailed
information about clients, facilities, groups, and related topics.
Installation Guide Add Clients or Facilities ••13
Information about
one or more
contacts can be
associated with a
related client or
facility. Here, Chris
Woodruff is the
contact for GEM
Manufacturing's
main offices.
This example is
taken from the sam-
ple data file. It
shows information
for a guard firm with
multiple clients.
A facility is a site or
building. In this
case it is related to
a client, GEM
Manufacturing.
Custom reports are
associated with a
related client, facility
or group.
Unassociated locations
are buttons which have
been defined but not yet
associated with a client,
facility, or group.
Information can be
organized in groups
to support various
patrol requirements.
In this example,
there are groups for
a Building Tour and
a Fire Extinguisher
Tour.
If you are not a
guard firm, facilities
and groups do not
have to be related
to a client.
A client can have
multiple facilities.
This client,
Metropolitan Clinic,
has three.

If you are a guard company with corporate clients, add your clients first.
1. Select the Facilities tab to bring it to the front.
2. Right-click the Clients node.
3. Select New Client… The New Client Wizard will start. Follow the
instructions on the screen.
4. With the New Client Wizard, you can also enter information about
one or more facilities or groups for this client.
If you are a security department for a corporation or other organization, add your
facilities — sites or buildings — first. (It's a good idea to do this even if you only
have a single facility.)
1. Select the Facilities tab to bring it to the front.
2. Right-click the Facilities node.
3. Select New Facility… The New Facility Wizard will start. Follow the
instructions on the screen.
4. With the New Facility Wizard, you can also create new groups for
this client.
14 ••Add Clients or Facilities Installation Guide

8Set Up Your Buttons
This section explains how to add buttons for officers, locations, and incidents.
To learn more about these topics, or if you have equipment from another manu-
facturer, consult the online documentation in G
UARD
1 P
LUS
Help.
There are two ways to add buttons to G
UARD
1 P
LUS
.
Method 1 - Reading buttons with the Direct Downloader
1. Touch a button to the touch port of the Direct Downloader.
2. The New Button Wizard will start. Follow the instructions on your
screen.
3. Locate the button appropriately:
•
Mount officer buttons on an officer's ID badge, at a main desk,
or other place.
Installation Guide Set Up Your Buttons ••15

•
Use the Setup Card and adhesive foam disks to keep track of
location buttons, until you can mount them in their final loca-
tions. Mount the buttons with the foam disks, the button
mounts, or both.
•
You will probably want to keep incident buttons in the button
wallet provided with the G
UARD
1 P
LUS
system. You can order
additional wallets and make duplicate sets as needed.
16 ••Set Up Your Buttons Installation Guide
Method 2 - Reading buttons with T
HE
PIPE
Before using this method, you must
clear T
HE
PIPE.
1. Place T
HE
PIPE in the Direct
Downloader.
2. Select the System tab.
3. Right click on the PIPE you
want to clear.
4. Select Clear.
This method can be used when
buttons are already mounted in the
field, or with buttons you intend to
mount later.

To add buttons by reading with T
HE
PIPE:
1. Read each button with T
HE
PIPE.
2. Carefully record the description of each button you read, in the cor-
rect order.
3. Place T
HE
PIPE in the downloader. Downloading should be auto-
matic.
4. The Assign Names Wizard will start. Follow the instructions on your
screen. For each button, the wizard will ask you to specify a type
(location, incident, or officer) and a description.
Installation Guide Set Up Your Buttons ••17
Table of contents