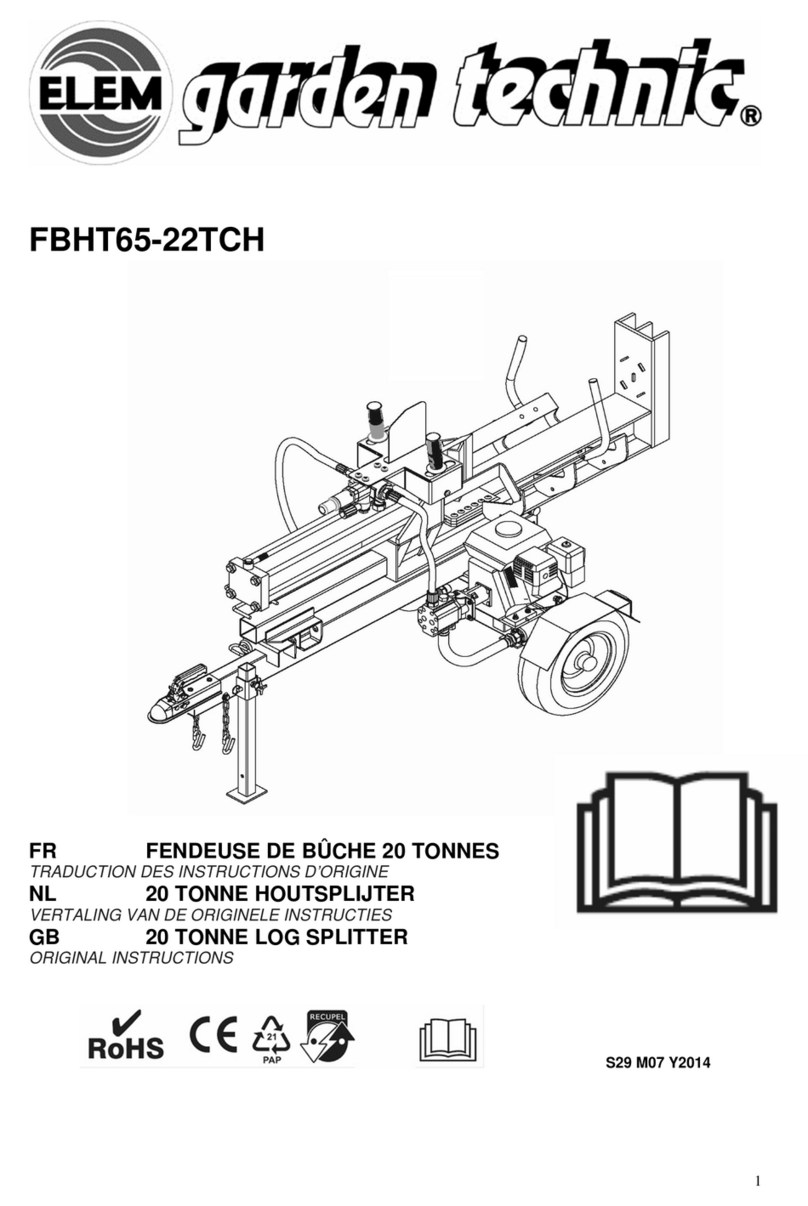
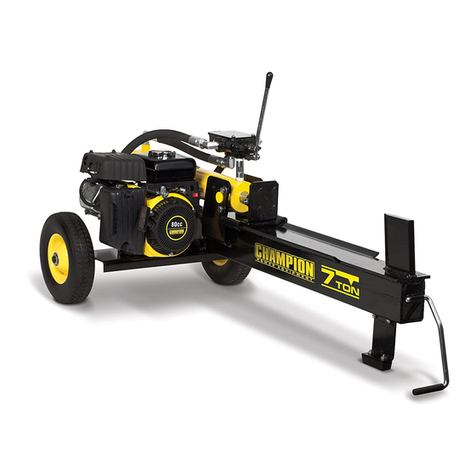
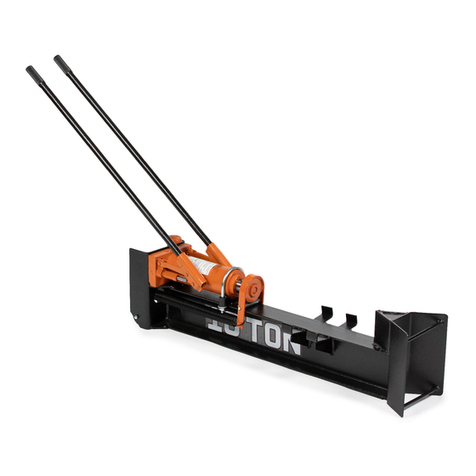
Titan TOWMLS12 User manual

12 TON LOG SPLITTER
TOWMLS12
198376
Operator’s Manual
Read the Operator’s Manual entirely. When you see this
symbol, the subsequent instructions and warnings are
serious follow without exception. Your life and the lives
of others depend on it!
Cover photo may show optional equipment not supplied
with standard unit. For an Operator’s Manual and Decal
Kit in French or Spanish Language, please see your dealer.

2
GENERAL WARNINGS
READ and UNDERSTAND this manual completely before using 3PT Hitch 25 Ton Log Splitter.
Operator must read and understand all safety and warning information, operating instructions,
maintenance, and storage instructions before operating this equipment. Failure to properly operate
andmaintain the log splitter could result in serious injury to the operator or bystanders.
OPERATION WARNINGS
•Do not at any time have people, sit, or stand on the log splitter.
•Do not allow children to play on, stand upon or climb on the log splitter.
•Never carry any cargo or wood on your log splitter
•Always inspect the log splitter before using to assure it is in good working condition.
•Replace or repair damaged or worn parts immediately.
•Check for hydraulic fluid leaks by passing a piece of paper or cardboard underneath or over
thearea of the leak. Do not check for leaks with your hand.
•Always check and tighten hardware and assembled parts before operation.
•Do not adjust the hydraulic valve. The pressure relief valve on the log splitter is preset at
thefactory. Only a qualified service technician should perform this adjustment.
•Do not exceed equipment maximum load capacity of 25 tons.
•Do not alter the log splitter in any manner. Any alteration will void the warranty and could
cause thelog splitter to be unsafe to operate.
•Always operate the log splitter on clear and level ground.
•Do not operate the log splitter at night, only during daylight hours.
CRUSH AND CUT HAZARDS
•Always keep hands and feet clear from moving parts while operating the equipment.
•Always clear and keep work area clean and free of debris when operating.
•Always wear safety gear, eye protection, gloves and work boots when operating the log splitter.
ASSEMBLY IS REQUIRED
This product requires assembly before use. See “Assembly” section for instructions. Because of the weight
and/or size of the log splitter, it is recommended that another adult be present to assist with the assembly.
INSPECT ALL COMPONENTS closely upon receipt to make sure no components are missing or damaged.
.
WARNING
The warnings, cautions, and instructions outlined in this instruction manual cannot cover
allpossible conditions or situations that may occur. It must be understood by the operator
that common sense and caution are factors which cannot be built into this product and
must besupplied by the operator.
PROP 65 WARNING
This product can expose you to chemicals including lead and lead compounds which are known
to the State of California to cause cancer and birth defects or other reproductive harm. For more
information, go to www.P65Warnings.ca.gov.
3
HAZARD SIGNAL WORD DEFINITIONS
ABOUT YOUR 12 TON MANUAL LOG SPLITTER
This 12-ton hydraulic log splitter is made of heavy-duty steel and is designed to split some of the most
difficult logs from Oak, Elm, Walnut and Cherry to name a few. With only a few pumps this powerful log
splitter makes a difficult job easy. It is portable, lightweight and can be operated both indoors/outdoors.
Never exceed the rated load capacity of 12 tons when operating the log splitter as it may damage the
log splitter.
Technical specifications on the log splitter are provided in the “Specifications” section of this manual.
This is the safety alert symbol. It is used to alert you
to potential personal injury hazards. Obey all safety
messages that follow this symbol to avoid possible
injury or death.
DANGER DANGER indicates an imminently hazardous
situation which, if not avoided, will result in death
or serious injury.
WARNING
WARNING indicates a potentially hazardous
situation which, if not avoided, could result in
death or serious injury.
CAUTION
CAUTION indicates a potentially hazardous
situation which, if not avoided, may result in minor
or moderate injury.
CAUTION
CAUTION used without the safety alert symbol
indicates a potentially hazardous situation which,
if not avoided, may result in property damage.

4
Read this owner’s manual before operating the equipment. Familiarize yourself with the location
andfunction of the controls and features. Save this manual for future reference.
1. Operating Handles – Move handles back and forth to move the ram forward.
2. Hand Wheel – Turn knob to retract ram.
3. Tire –Do not exceed the maximum towing speed of 5MPH
4. Hydraulic Pump – Do not exceed rated capacity of 12 Tons.
5. Log Cradle – Holds log in place during splitting.
6. Splitting Wedge – Splits wooden log.
7. Support Leg – Use to maneuver the log splitter.
CONTROLS AND FEATURES IDENTIFICATION
1
2
4
6
5
7
3

5
CAUTION
Read and follow all instructions for assembly and operation. Failure to properly assemble this
equipment could result in serious injury to the user or bystanders, or cause equipment damage.
12 TON HYDRAULIC LOG SPLITTER ASSEMBLY
Take all parts out of the shipping crate and inspect components to ensure there are no missing
pieces before starting to assemble the log splitter.
STEP 1: ATTACH WHEELS TO THE BEAM
1. Insert the Wheel Axle to the beam, fix the flat free tire to the wheel axle, secure with Flat
Washer Ø16 and R Pin. Fix the other side too.
ASSEMBLY INSTRUCTIONS

6
STEP 2: ATTACH THE SUPPORT LEG
1. Fix the Right and Left Support Leg to the front of beam by using two sets of Hex Bolt M8x25,
Steel Flat, Flat Washer Ø8 and Lock Nut M8. Do not tighten the hardware.
2. Secure both Support Leg with two sets of Hex Bolt M8x25, Flat Washer Ø8 and Lock NutM8.
3. Tighten all hardware.
STEP 3: ADJUST THE TOW HITCH
1. Insert Hitch Pin to Tow Hitch and secure with R Pin Ø2x60.
2. The Tow Hitch can be adjusted by using Long Hitch Pin and R Pin Ø2x60. You can pull the tow
hitch under beam when in working position and pull out for towing.
STEP 4: OPERATION HANDLE
1. Put the Operation Handle to Handle Base on both sides of beam when in towing position.

7
SPLITTING OPERATION / ADDITIONAL SAFETY INSTRUCTIONS
1. When loading or positioning a log always use the bark side, never the ends. Never place your
hands or body parts between the log and the splitter.
2. Never load or unload logs while the ram is moving.
3. Do not pile logs to be split in a place where you need to reach across the splitter to load them.
4. Log ends need to be cut square, so they do not slide out while splitting and cause a safety
hazard or excessive force to the log splitter components. Use a chainsaw (not included) to cut
the logs ends square before attempting to split them.
5. Never attempt to split more than one log at a time. A piece of a log can unexpectedly be thrown
from the machine, causing personal injury.
6. Do not use if there is any indication of damage to the hydraulic cylinder.
7. Do not use the splitter to split logs across the grain. Doing so will damage the log splitter and
could cause log pieces to be thrown, injuring the operator or bystanders.
USING YOUR 10TON LOG SPLITTER
1. Grip one handle in each hand and pump the handles back-and-forth stroke motion. This
action will force the log against the wedge.
2. Remove the split pieces
3. Turn the hand wheel counterclockwise, no more than one full turn to retract the ram.
4. Turn the hand wheel clockwise unit it is snug.
5. When finished splitting turn the hand wheel counterclockwise one turn to relieve the pressure.
WARNING
Before using the log splitter, review the instructions below and all safety information. Failure to
follow these instructions may result in property damage or injury to the operator or bystanders.
WARNING
Accidents occur when there is more than one person involved in loading and operating the log
splitter. Only one person should operate the splitter, if a second person is assisting in loading the
splitter, NEVER allow an assistant to hold the log in place while the operator is using the working the
handles.
OPERATION INSTRUCTIONS

8
HOW TO REMOVE A STUCK LOG
If a log gets stuck on the wedge base or the wedge becomes embedded in the log and will notcompletely split and
separate the log. Follow the directions below to remove the log:
1. Fully retract the ram.
2. Remove the stuck log from the wedge manually with a pry bar.
3. IMPORTANT: Be extremely careful as log pieces may fly off as they separate from the wedge.
4. Do not attempt to re-split a stuck log once it has been removed from the wedge.
5. Manually split the log with a maul or cut it with a chainsaw.
HOW TO BLEED THE LOG SPLITTER
1. Extend the ram to its maximum length.
2. Remove the Oil Plug.
3. Turn the hand wheel counterclockwise as fast as possible. The piston rod will retract into the hydraulic
pump and push the air out of the cylinder via the oil plug hole.
4. Add oil and make sure the oil level is full. If needed add more hydraulic oil to the hydraulic pump.
5. Check the oil level again and if need add more hydraulic oil.
6. Replace the oil plug and repeat steps 1-5 as needed.
7. To add oil, remove the oil plug and add oil to just below the fill plug.
8. Then replace the oil plug.
WARNING
NEVER attempt to remove a stuck log from the splitter. If there is a stuck log never do the following:
Using the hydraulic force of the log splitter to split the log, never modify the log splitter or add
attachment to the log splitter.
OPERATION INSTRUCTIONS

9
MAINTENANCE
•Periodically check all fasteners for tightness.
•Annually clean and lightly lubricate parts.
•Use a glossy enamel spray paint to touch up scratched or worn painted metal surfaces.
•Never exceed load capacity rating of 12 tons it will damage the log splitter.
IMPORTANT:
If a part needs replacement, only use parts that meet the manufacturer’s specifications. Replacement
parts that do not meet specifications may result in a safety hazard or poor operation.
STORAGE
•Before storing make sure the log splitter is clean and dry for years of trouble-free service.
•The hydraulic pump needs to be in the released position before storing.
•Lightly lubricate all metal surfaces before storing.
•Store indoors or protected area during severe weather and winter months.
Load Capacity ……………………………………………………………………….… 12 Ton
Material …………………………………………………………………………………... Steel
Max. Log Length ……………………………………………………………………….17 5/8 inches
Max. Log Diameter........................................................................... 12 inches
WARNING
Improper maintenance and storage of the log splitter may void your warranty.
WARNING
Periodically apply a light coat of rust resistant oil to the springs to keep them in good working order.
MAINTENANCE AND STORAGE
SPECIFICATIONS

10
PARTS DRAWING & PARTS LIST

11
REF#
DRAWING NO.
DESCRIPTION
QTY
1
MS10-30022
Operation Handle
2
2
N390-00002
Hitch Pin Bracket
1
3
N180-00013-DX
Hitch Pin
1
4 9201-08045-DX8.8 Hex Bolt M8x45 2
5
MS12-06000
Support Leg (right)
1
7
MS12-03000
Tension Plate
1
8 MS12-00007 Handle 1
9
MS12-00001-DX
Hinge Pin
2
10 MS12-05000 Ram Plate 1
11 N57F-00007-DX R Pin 2
12
9301-16000-DX
Flat Washer Ø16
4
13
MS12A-00001
10” Flat Free Wheel
2
14
9105-08030-FH
Screw M8x30
2
15
MS12-01000
Ram
1
16
MS12-00008-DX
Spacer
2
18
9306-08000-DX
Lock Washer Ø8
2
19
MS12-00009-FH
Latch Spring
2
20 MS12B-00001-DX Wheel Axle 1
21 MS12-02000 Beam 1
22 9206-01000-DX Nylon Lock Nut M10 2
23 9119-10040-FH Eyelet Bolt M10x40 2
24 MS12-00002-FH Torsional spring 2
25
9206-08000-DX
Nylon Lock Nut M8
10
26 MS12-04000 Support Leg (left) 1
27 MS12-00005 Foot strap 2
28
9101-08025-DX8.8
Hex Bolt M8x25
6
29
MS12-00004-DX
Long Hitch Pin
1
30
9301-08000-DX
Flat Washer Ø8
10
31
MS12-00003
Tow Bar
1
32
N580-00015-DX
R Pin Ø2x60
2
33
MS12-03100
Tension Plate 2
1
34
MS12-00010
Steel Flat
2
PARTS DRAWING & PARTS LIST

12
ACKNOWLEDGEMENT OF RISK AND RELEASE OF LIABILITY
The use of any equipment, including this one, involves the potential risk of injury. Apart from any warranty
claim that might be presented for a claimed defect in material or workmanship of the product, you accept
and assume full responsibility for any and all injuries, damages (both economic and non-economic), and
losses of any type, which may occur, and you fully and forever release and discharge Titan, its insurers,
employees, officers, directors, associates, and agents from any and all claims, demands, damages,
rights of action, or causes of action, present or future, whether the same be known or unknown,
anticipated, or unanticipated, resulting from or arising out of the use of said equipment.
This equipment must be used with care by capable and competent individuals under supervision,
if necessary.
WARNING
Sharp objects may be involved.
Use protective cover during maintenance.
TITAN LIMITED WARRANTY: TERMS, EXCLUSIONS AND LIMITATIONS OF REMEDIES
This product comes with a one (1) year limited warranty that can be found at
www.palletforks.com/warranty.html.Please review the same for all details regarding the
Titan Limited Warranty.
THE TITAN LIMITED WARRANTY FOUND AT WWW.PALLETFORKS.COM/WARRANTY.HTML
IS EXCLUSIVE AND IS IN LIEU OF ALL OTHER WARRANTIES, EXPRESS OR IMPLIED, INCLUDING ANY
IMPLIED WARRANTY OF MERCHANTABILITY AND/OR FITNESS FOR A PARTICULAR PURPOSE, EACH
OF WHICH IS HEREBY DISCLAIMED.
This manual suits for next models
1
Table of contents
Other Titan Log Splitter manuals
Popular Log Splitter manuals by other brands

Forest-Master
Forest-Master FM5 manual

Xtreme Power
Xtreme Power 196CC Owner's manual and safety instructions

SpeeCo
SpeeCo LS401105 owner's manual

Hyundai
Hyundai HYV8T-550E manual

Scheppach
Scheppach HL800 Translation from the original instruction manual

Xtreme Power
Xtreme Power 65061-XP Owner's manual and safety instructions