E91.713
E91.723
E91.716
3A
3A
16A
6PRG:Set day off mode
Press + or - to choose day off
5/2 day mode,6/1day mode,7 day mode
Re-press manu key to enter to next step.
Modify Modify
Temp.
Temp.
1
2
3
4
5
6
1
2
20℃
15℃
15℃
15℃
22℃
15℃
22℃
15℃
06:00
08:00
11:30
12:30
17:00
22:00
08:00
23:00
DS/MRD-06-091124
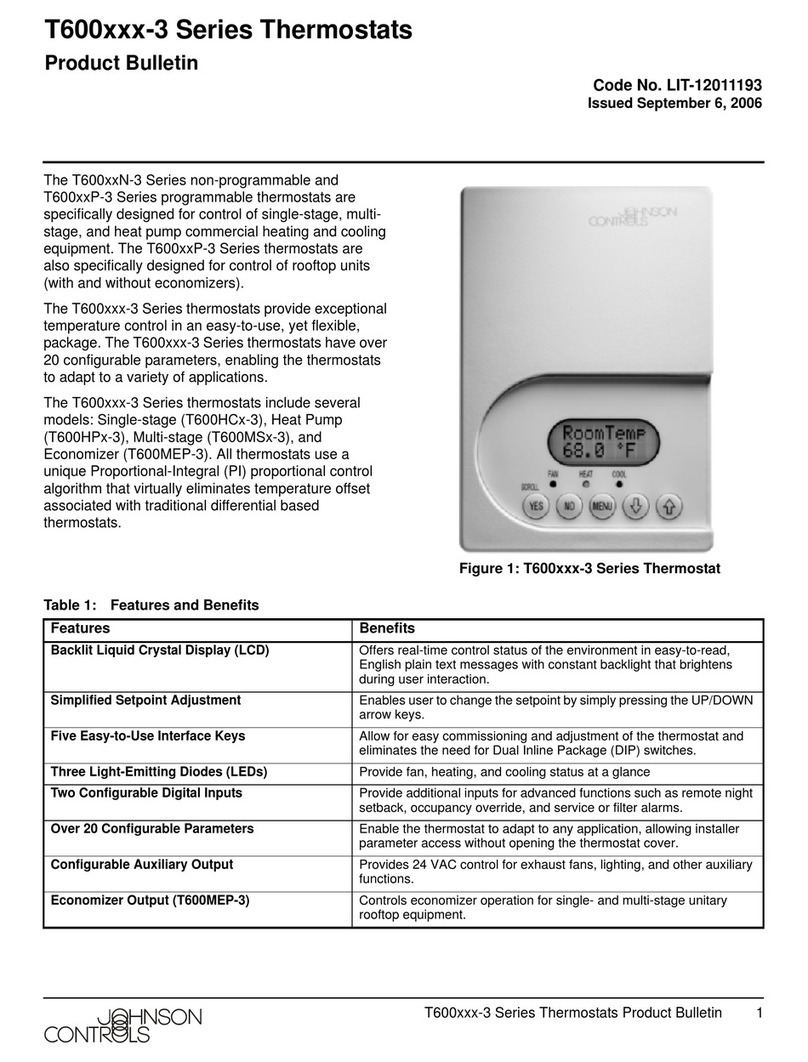
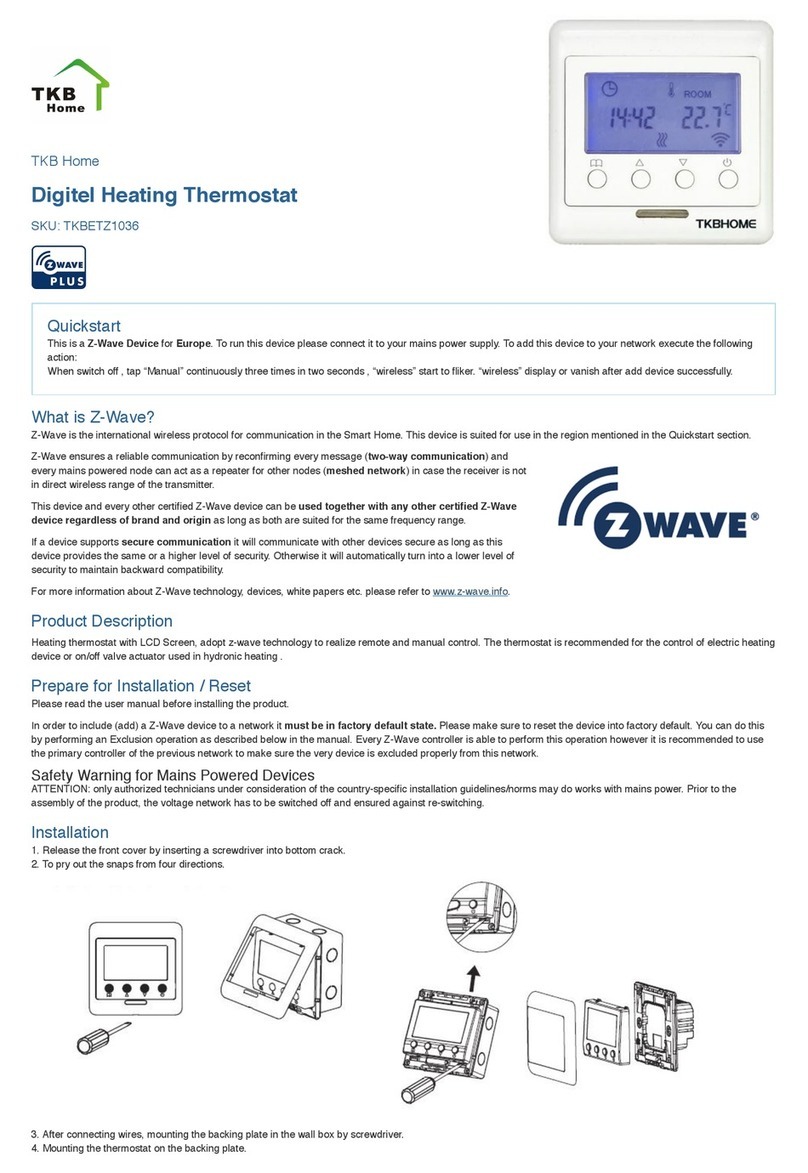
Weekly circulation digital programming thermostat
with LCD touch screen,which has 6-event everyday.
Manual mode and programme mode could be selec-
ted.The thermostat is recommended for control of
electric heating devices or on/off valve actuator used
in hydronic floor heating.
E91...Touch Screen Programming Thermostat
Selection Table:
Model
Current
Application
Built-in&floor sensor,floor limit sensor
weekly programme
Built-in&floor sensor,floor limit sensor
weekly programme
Built-in&floor sensor,floor limit sensor
weekly programme,a potential-free output
Parameter:
Voltage:220V/230V
Power comsuption:2W
Setting range:5~90℃(can adjust to 35-90?)
Ambient temperature:-5~50℃
Protective houseing:IP20
Housing material: anti-flammable P C
Limitation setting:5...60?
(Factory setting:35?)
User operation:
Function:
Manual modeManual mode
Clock-controlled
programme mode
Clock-controlled
programme mode
Heating onHeating on
Wake-up,event 1Wake-up,event 1
Leave(am),event 2Leave(am),event 2
Return(am),event 3Return(am),event 3
Leave(pm),event 4Leave(pm),event 4
Return(pm),event 5Return(pm),event 5
Sleep,event 6Sleep,event 6
Programming:
Press Manu key for 5 seconds to start programmingPress Manu key for 5 seconds to start programming
Key Event Symbol Time
Event
Time
1-5
6-7
Note:
1) The pre-programmed setpoint(15℃) for event 3&4 is the same
as event 2,please reset it according to your individual requirement.
2)Symbol“OFF”will be displayed if the setpoint reaches the
minimum set value and the thermostat is switch off in this event.
Usually finished at mounting thermostat.
Press key simultaneously press power on key when in
power off.
1ADJ:Temperature calibration
Press or key to adjust present checked
value,adjustable scale:9.9℃.
Re-press manu key to enter to next step.
2SEN:Sensor mode
Pressorkey to choose senor working mode
IN:built-in,OUT:floor sensor,
ALL:both sensors,floor sensor is the limit sensor
Re-press manu key to enter to next step.
3LIT: Modify li mition value
Pressorkey t o modify the t emp.
Limit valuel imition rang e:5~60
Re-press man u key to enter to next step.
4DIF:Switch differential setting
Pressorkey to change switch defferential
Setting range:0.5~10.
Re-press manu key to enter to next step.
5LTP:Start anti-frozen function in power off
Pressorkey to change the present anti-
frozen function
Re-press manu key to enter to next step.
7RLE:Potential-free output and main
power output in same/different way.
Pressorkey to change the present
linkage state.
00:in same way,01:in defferent way?
Re-press manu key to enter to next step.
8DLY:Delay time of potential-free output
Pressorkey to change linkage delay time
Range:0-5min.
Re-press manu key to enter to next step.
9HIT:Max. Temperature setting
Pressor key to change the Max.value
Range:35-90?
Re-press manu key to enter to next step.
AFAC:Reset to factory setting
Presskey for 5seconds till showing ---
Reset to factory setting
Swithch off for saving setting
INSTRUCTIONS
Switch differential:0.5-10? adjustable
factory setting1?
Day
Day
Advanced setting(qualified person preferred):
1)
2)At clock-controlled programme mode,press“ ”or“ ”
enter to temporary control.
3)UP“ ”,DOWN“ ”to adjust the temperature value.
4)press clock “ ”key for 5 seconds,then enter to clock set,
choose modified item by pressing clock“ ”,press
UP/DOWN“ ”to modify the date and clock,then switch off
to quit.
5)press manu“ ”to choose manual mode or programme
mode.
6)set temperature and clock display alternately,room tem-
perature can be read out directly.
7)press both “ ”“ ”for five seconds to engage/dise-ngage
key-lock function key-lock on shows“ ”
(“ ”this symbol dispeared that shows key-lock off)
on/off.“ ”


