For best results, check garmentlabelsfor the temperature andsteam setting recommended bythe
fabricmanufacturer,orconsulttheenclosedgarment caretipspamphletforadditionalinformation.
To prevent damaging garments from too hot of an iron, it is best to first iron garments that require
a low temperature. If you should need to switch from a high setting to a lower temperature, for
example Cotton to Silk, allow the iron about 5 minutes to reach the lower
temperature.
Tips: If you are unsure of a garment’s fabric content, start on a low setting and test the iron on an
area of the garment that does not show, such as a seam. Gradually increase the heat setting until
wrinkles remove without damaging the fabric.
To freshen up garments made of velvet, felt, suede or velour, hold the steaming iron horizontally
2 inches above the fabric for a gentle steaming. Make sure the iron does not come in contact with
the fabric.
To prevent shine, iron dark garments or those made of silk, acetate or rayon inside out.
63
PATENTED AUTOMATIC SAFETY SHUT-OFF
This iron has two kinds of safety shut-off mechanisms. One is a patented, touch-sensitive “brain”
in the handle which turns the iron onor off when it is inthe horizontal position. The other is a timer
which automatically shuts the iron off if left on its heel in the upright position for more than 15
minutes.
Horizontal Position: When the iron is plugged in and in the horizontal position, it will remain on
as long as your hand is making contact with the handle. Once you take your hand off the handle,
the iron automatically turns itself off. For example, if you are ironing and leave the iron down on the
ironing board to answer the phone, the iron will automatically begin to de-energize. It will turn back
on as soon asyou grip the handle and resume ironing. Important: To return the iron to the desired
temperature, allow it to rest in the upright position until the red POWER ON/READY light goes off.
Upright Position: When the iron is plugged in and resting on its heel, it will remain on for 15
minutes, allowing ample time to reposition garments during the ironing process. If the iron is left
resting for more than 15minutes, it willautomatically shut-off.Tobeginironing again after thetimer
has shut off the iron, pick it up by the handle. The green and red lights will come on. Turn
temperature dial todesired setting andreturn iron toits upright position. When temperature setting
has been reached, the red POWER ON/READY light will go out — you are ready to iron.
DIAGRAM 2
HEATING
AUTO
SHUT-OFF
POWER ON/READY
When iron is heating
up or temperature
setting has been
adjusted, the red light
will come on.
When temperature
setting has been
reached, red light will
go off.
AUTO OFF/ON
Whenironison,thegreen
light will come on.
Whenironisoff,thegreen
light will go off.
SELF-CLEANING/FLUSHING
Flushing the iron is advised after every 5 usages to prevent harmful mineral build-up that can clog
the iron and prevent it from heating and steaming properly. To flush the iron:
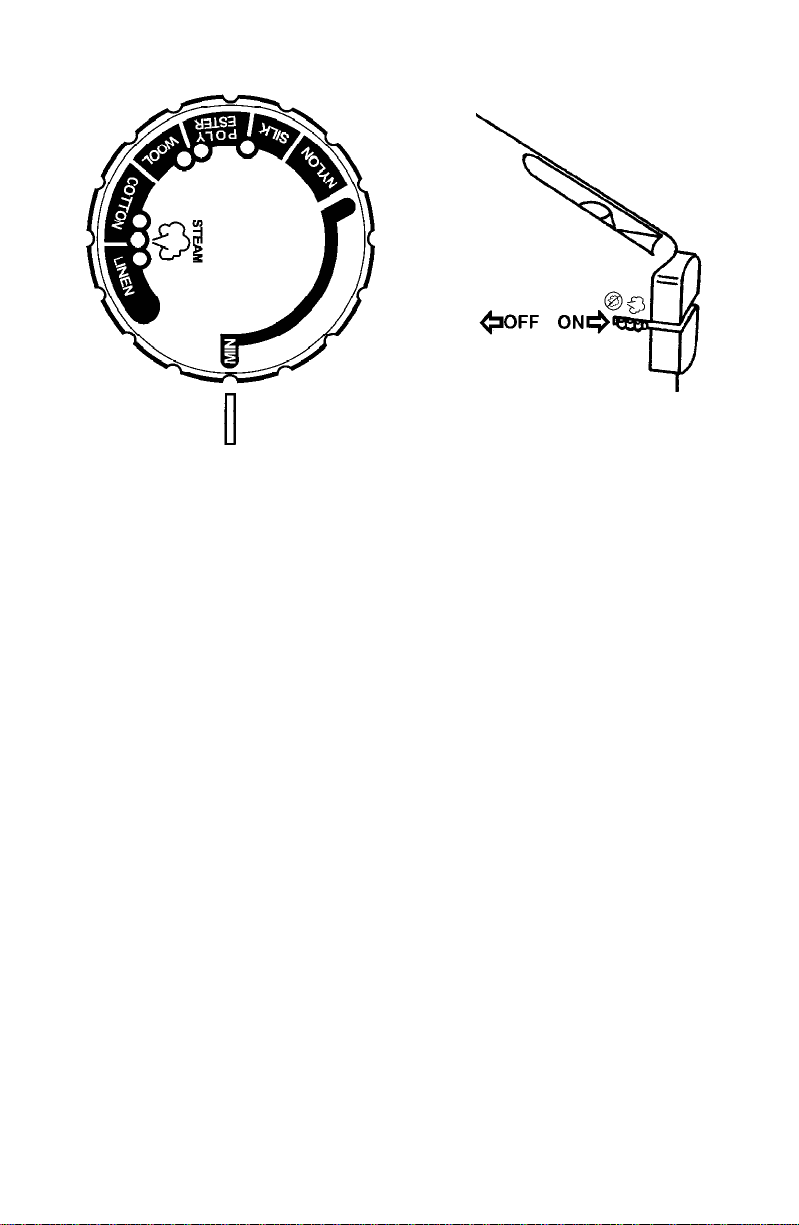
1. Position temperature control dial to MIN, lowest setting. Diagram 3.
2. Shift the steam switch to the NO STEAM position. Diagram 4.
3. Fill the iron’s water tank to its maximum fill line. Diagram 6.
4. Plug the iron in and set the temperature control dial to its highest setting or linen. Let
it heat for 2 minutes.
5. Set the steam switch to the STEAM position.
6. Place a hand towel over the ironing surface.
7. Holding the iron horizontally 2 inches above the towel, depress the blast of steam button
several times, remembering to pause at least 5 seconds between blasts to allow the iron to
reheat.
8. Pass the iron over a damp cloth to clean the soleplate or use Faultless
®
Hot Iron Cleaner.
9. When finished, turn temperature control dial to MIN, lowest setting and unplug. Diagram 3.
Allow to cool before cleaning or storing.
STORING THE IRON
Remove the cord from the outlet by grasping the plug rather than pulling the cord and allow iron
tocool.EMPTYthewatertankaftereachuse,thenwrapthecordaround thecooledironasshown.
Diagram5. AllowtheirontoCOOLCOMPLETELYbeforeputtingitaway.Toprotectthesoleplate,
place the iron in an upright position on its heel.
CLEANING AND CARE
CAUTION: Unplugthe iron from theelectrical outlet before cleaning. Never immerse an appliance
in water.
To protect the soleplate from scratching, avoid ironing over snaps, zippers, metal buttons, etc.
Also, do not place the iron on metal or rough surfaces. If starch or other residues cling to the
soleplate, use FAULTLESS
®
Hot Iron Cleaner according to directions. Hot Iron Cleaner is
available at mass merchandise, discount or hardware stores. If these stores are not convenient,
you may order by mail by calling 1-800-892-8022.
Note: DO NOT put any chemical cleaning agents or solvents in the water tank.
IMPORTANT: Any servicing that requires disassembly must be performed by an authorized
service center.
SERVICE INFORMATION
Please refer to warranty statement to determine if in-warranty service applies.
This appliance must be serviced by a Toastmaster authorized service center. Unauthorized
service will void warranty. Consult your phone directory under “Appliances-Household-Small-
Service and Repair”, or call 1-800-947-3744.
If an authorized service center is not available locally, your appliance may be returned postage
prepaid to our National Service Center at the address shown in the warranty statement. Products
must be adequately protected to avoid shipping damage. Surround your appliance with three
inches of protectivepadding and include a note explaining the problem you haveexperienced.We
recommend insuring your package. No C.O.D. shipments accepted.