Micro Spotlight Instructions Page 2
Suggested panel thickness for installation
is .078"- 1.22". For use on at surfaces only.
Micro Spotlight Series includes Fixtures, Socket Assemblies and Power Supplies.
Mounting Socket Assembly
Provide a 5/8" diameter hole in the mounting surface. Insert
the socket assembly through the hole and secure with the
nut and washer provided.
mounting surface
washer
nut
Power Supply/AC Adaptor
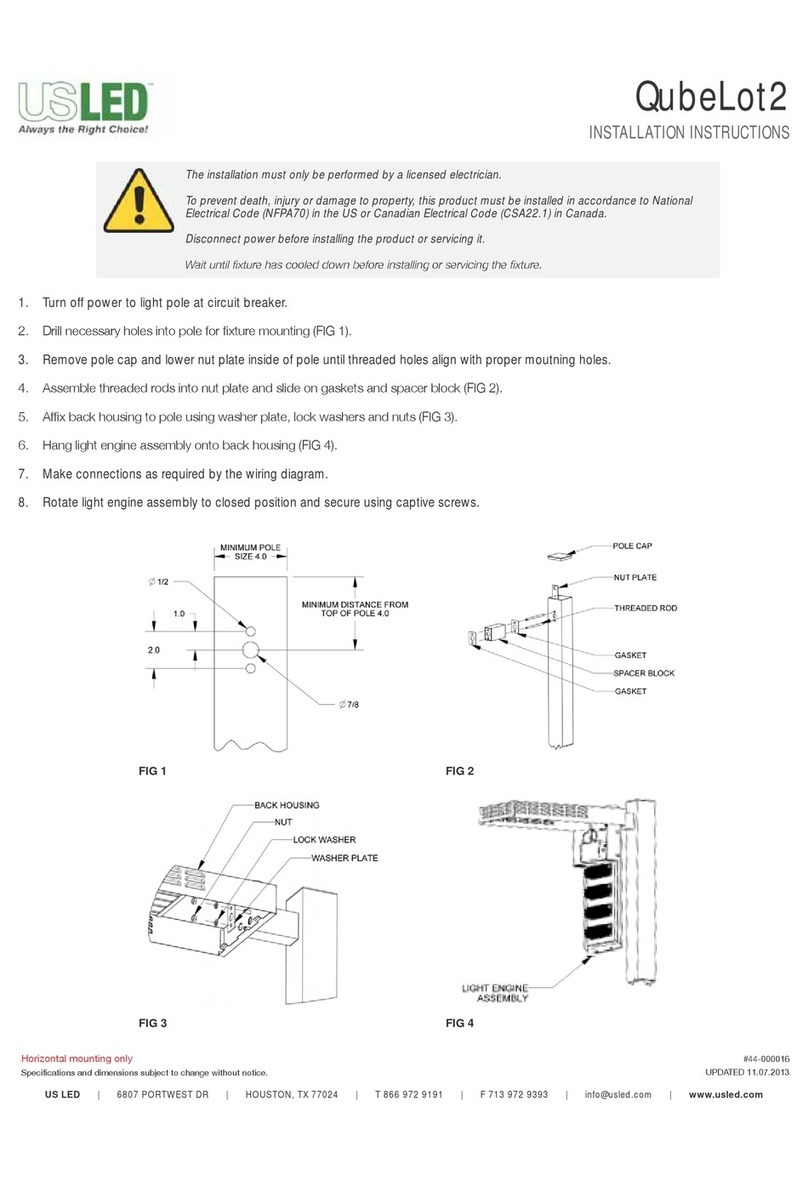
Connect up to 6 xtures to the LPS-350-6CH Distribution
Box. Next plug AC Adaptor into the LPS-350-6CH, and
then into wall outlet.
Position Fixture
Do not bend the shaft or rotate the xture head
beyond the indicated range.
Fixture Assembly
Insert xture into socket assembly until base of xture is
ush with top of socket assembly.
Dimming (Optional)
An LPSDM-350-6CH Distribution Box may have been
supplied with the Micro Spotlight xtures. This unit can
be used with 0/1-10VDC Dimming, or it may be dimmed
using the Self-Dimming Dial.
The base of the xture
must be ush with the top
of the socket assembly.
Up to 6 Micro Spot fixtures may be connected to 1 Power Supply.
AC Adaptor
LPS-350-6CH
LPSDM-350-6CH Dimming Distribution
Do Not Rotate the Fixture Head
Beyond 135˚
Fixture Head rotation
(side view)
Axis
135˚
Socket - Part#: MSP-SKT-S/B
lead wire
78"
1.88"
.78"ø
1.26"ø
.102"
.394"
.945"
washer
nut
Accessories: nut, washer, cover
0/1-10VDC
Dimming Input
Self-Dimming
Dial
To adjust the light
direction, the shaft
can be rotated 360˚.
360˚


