4
www.topvehicletech.com
1. Take the steering wheel control interface in hand and connect both the 12-way stereo patch lead and
the 14-way steering wheel harness connectors to the corresponding sides.
2. Connect the bullet connector from the stereo patch lead to the ‘steering wheel remote input’ on the
back of the new stereo.
3. Connect the DAB antenna’s SMB connector to the back of the new stereo.
FITTING GUIDE
STEREO INSTALLATION
4. Aach the USB retenon lead between the vehicles pre-exisng connecons and the new stereo.
5. Aach the addional wiring on the harness to the back of the stereo:
Pink - Speed Pulse Green - Park Brake Purple - Reverse Blue - Amp Remote Turn On
6. When all the above wires (and any addional accessories) have been connected, nally make the
connecons between the stereo and the vehicles pre-exisng connector.
2. Aach the spacer and plate combinaon to the corresponding side of the stereo using the screws that
come with the stereo. Test this set up outside of the dashboard by sliding into the radio cage.
3. Take the fascia in hand, and place it atop the caged radio combinaon. If the depth/alignment of the
stereo hangs out too much/is reccessed to far, use the radio removal keys (Fig 3.) to release the stereo
from the cage and repeat the process.
6. Aach the extended fan shas to the back of the fascia panel and test that they match up to the “U”
styled brackets aside the new cage.
5. Place the foam pads below the cage in the dashboard. Then proceed to place the new cage to test the
t, when ready to t completely, ulise the vehicles pre-exisng screws.
FASCIA PLATE SET-UP CONT’D.
4. With the stereo brackets aligned, move onto the prep of the dashboard. Once you have modied the
vents, aach the “U” brackets (facing each other) to the open vent shas, this will re-direct the air ow
away from the back of the new stereo (refer to the images below for conguraon of new fans).
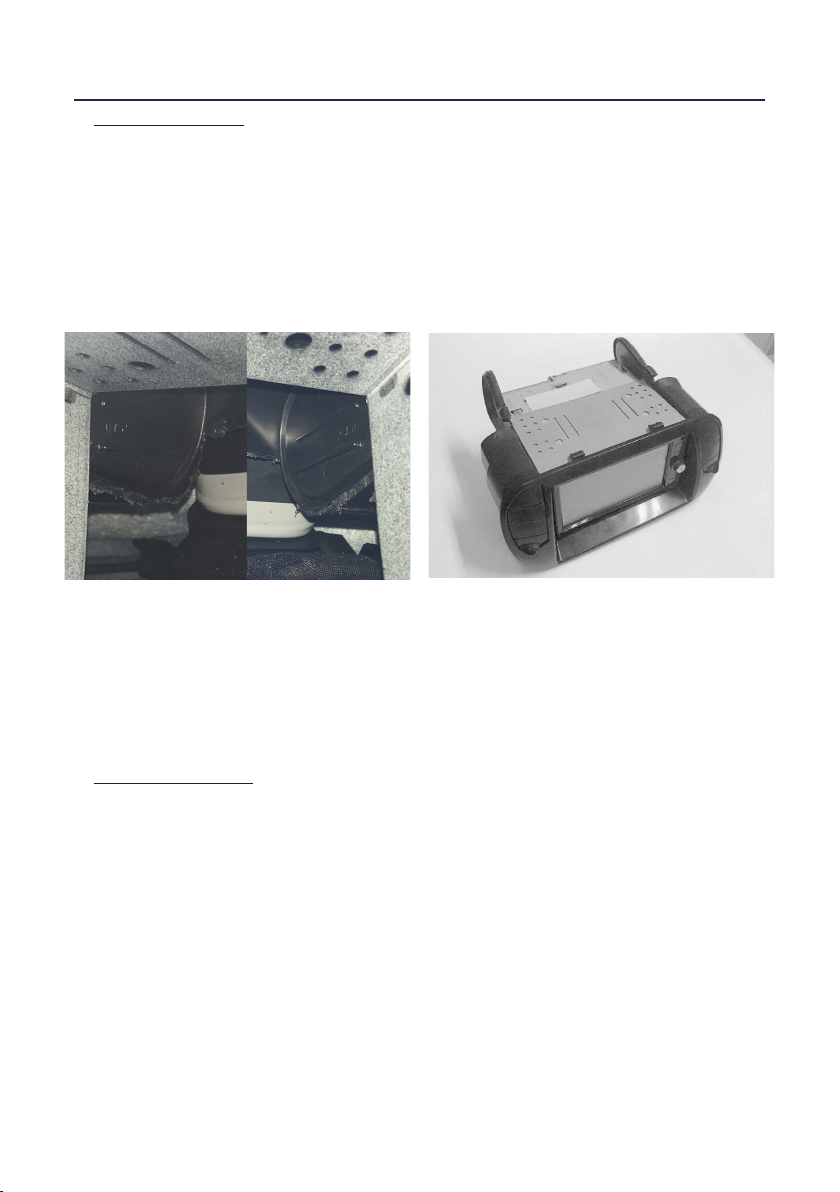
With the fans modied, the new “U” shaped inserts
must be placed like so on either side of the new cage,
this will re-direct the airow to the new fans.
RightLe
This is what your new radio set up will look like with
the new air vents/bracketry assembled correctly.