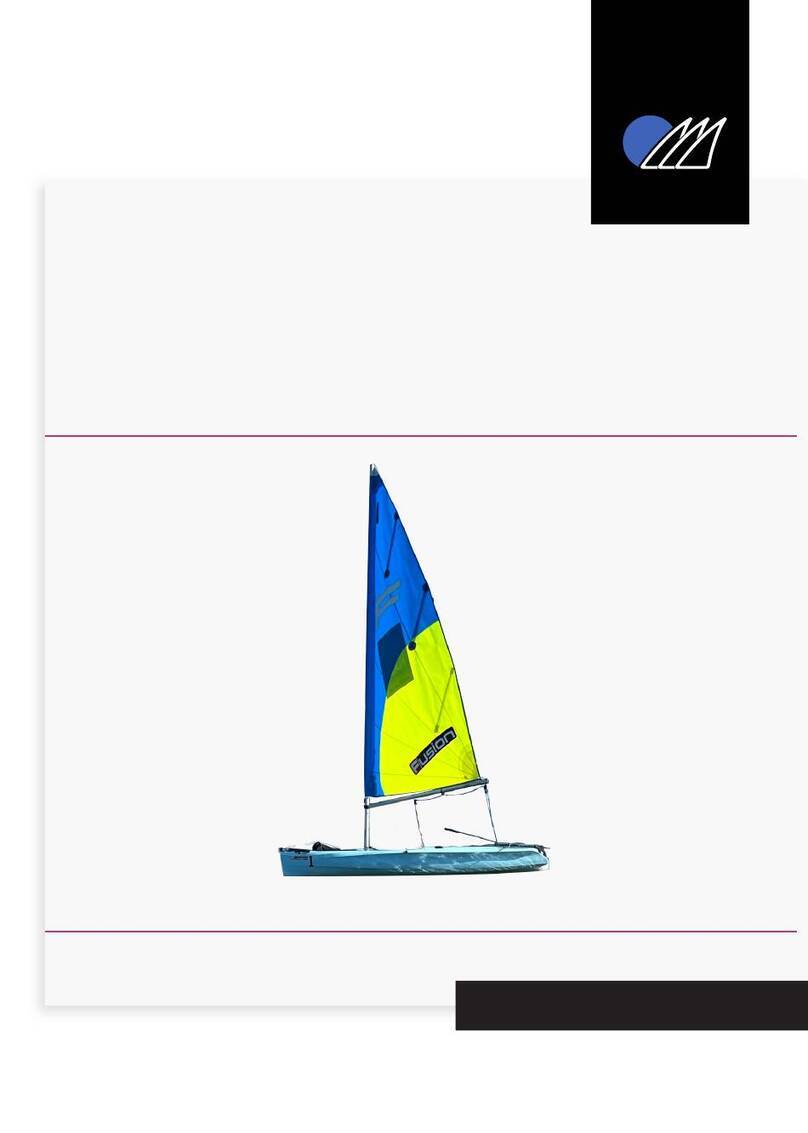
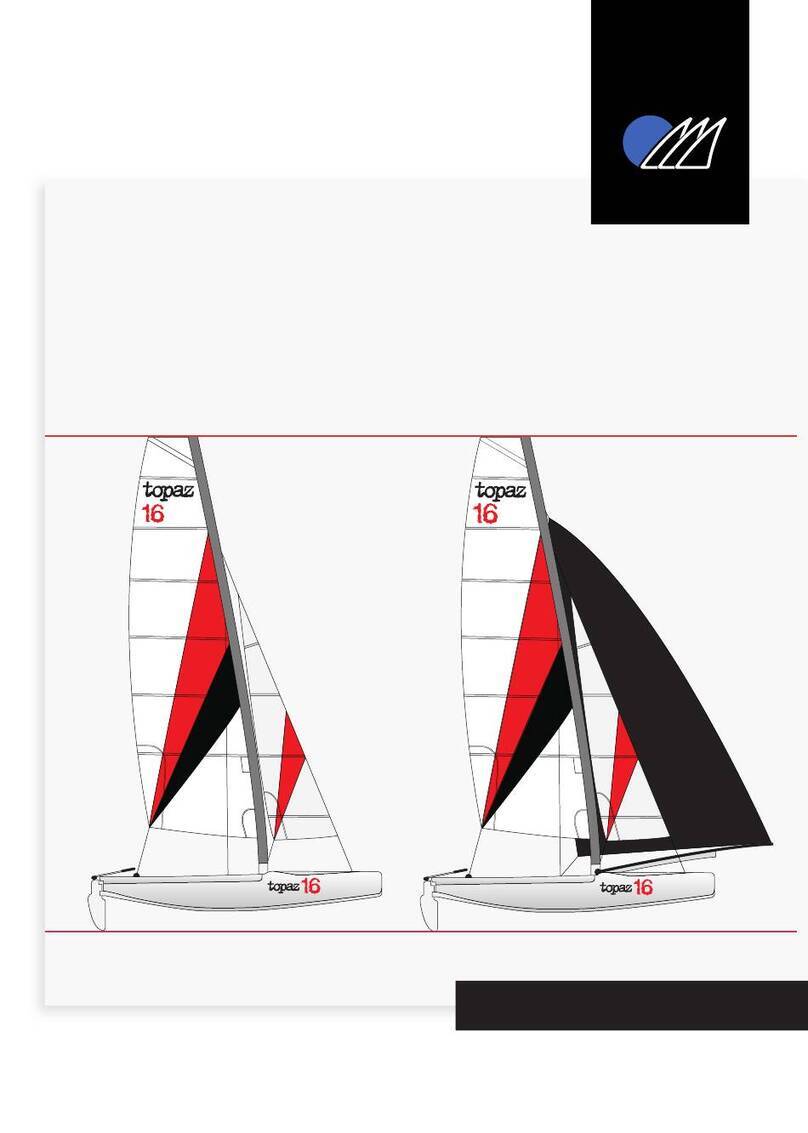
Topaz uno tres x Quick start guide

topaz
topaz uno tres x
»Rigging Instructions
www.toppersailboats.com

1
»Introduction
»Manufacturers Details
»Maintenance
»Glossary
»Raising the Mast
»Attaching the Boom & Gnav
»Attaching the Jib
»Rigging the Gennaker Kit
»Bowsprit - Gennaker Pole
»Rigging the Gennaker Sail
»Raising the Mainsail
»Tip
1
1
2 - 3
4 - 5
6 - 7
7 - 8
9
10
11
11 - 12
13 - 14
15 - 16
contents
introduction
For further information, spares and
accessories, please contact the
manufacturer:
TOPPER INTERNATIONAL LTD,
Kingsnorth Technology Park,
Wotton Road, Ashford, Kent TN23 6LN
Telephone +44 (0) 1233 629186
email info@toppersailboats.com
These RIGGING INSTRUCTIONS have been compiled to
help you to rig your Topaz UNO TRES X sailing dinghy.
Please also ensure that you refer to your TOPAZ OWNERS
MANUAL.
The OWNERS MANUAL has been compiled to help you to
operate your craft with safety and enjoyment. It contains
systems and information on its operation and maintenance.
Please read it carefully and familiarise yourself with the craft
before using it.
you are not familiar with, for your own comfort and safety,
please ensure that you obtain handling and operating
experience before assuming command of the craft. Your
dealer or national sailing federation or yacht club will be
pleased to advise you of local sea schools, or competent
instructors.
PLEASE KEEP THE RIGGING INSTRUCTIONS AND THE OWNERS
MANUAL IN A SECURE PLACE AND HAND THEM OVER TO THE
NEW OWNER WHEN YOU SELL THE CRAFT.

2
The Topaz is designed to require very little maintenance, but there are some simple ways
to keep your boat in rst-class condition.
Mainsheet
Rudder
Sails
Furl the jib as soon as you hoist it (even in light airs). Try to get into the habit of furling it while launching and
recovering the boat, between races and when you capsize in windy conditions!
it hoisted for extended periods on the shore.
Be as gentle as you can with the asymmetric. Drops have to be fast but if the crew canpull smoothly the sail will last
longer.
Always rinse the sails and boat after sailing in salt water.
RELEASE JIB TENSION WHEN NOT BEING SAILED.
maintenance

3
Foils
your boat vibrates or hums it is usually due to minor damage to the foils.
Hull and ttings
NOT to melt the hull); for more substantial repairs refer to Topper International.
them out if they have been exposed to salt water.
When not using the Tres, leave the plug out to allow air to circulate and to prevent excess
Ropes
Replace any ropes showing signs of wear immediately. Too many championships have
maintenance (...)

4
glossary / useful terminology
hull
spars
foils
Nose:
Painter:
Transom:
Fore:
Aft:
Mast Step:
Rail:
Port:
Starboard:
Leeward:
Windward:
Gudgeon:
Mast:
Mast Heel:
Boom:
Outhaul:
Vang:
Cunningham:
Sheet:
Daggerboard
Rudder:
Pintle:
Front of the hull
Rope from the nose of the hull used for towing or tying the board to a jetty, buoy or trolley
Forward
Rearward
Integral tube where the mast heel/foot of the mast locates
Upper/outermost edge of a hull
Direction away from the wind
Direction from which the wind is coming
Fitting on the transom used to hang the rudder
Main vertical spar supporting the rig/sail
Lower edge/foot of the mast
Spar at the bottom of the mainsail
Purchase system on the boom for tightening the lower edge/foot of the sail
Purchase system for tightening the rear/aft edge (leech) of the sail
Rope for controlling the inward/outward position of the mainsail
Blade found in the middle of the hull used to counteract leeward slippage
Blade found at the transom used for steering
The male part (pin) of the rudder hanging system

5
sails
Mainsail:
Jib:
Tack:
Clew:
Head:
Leach:
Lu:
Foot:
Batten:
Sail aft/rearward of the mast (Larger of the two)
Sail forward of the mast (Smaller of the two)
Forward lower corner of a sail
Rear lower corner of a sail
Upper corner of sail
Rear edge of the sail
Forward edge of the sail
Bottom edge of the sail
glossary / useful terminology (...)

6
rigging instructions
raising the mast
Position the boat head to wind away from any overhead
power lines or other obstructions.
Attach the spreaders as per the settings on the supplied
sheet.
Lay the mast along the centre line of the boat.
1
Un-tape all of the ropes attached to the foot of mast.
Attach shroud adjusters to the shroud eye each side -
approximately the 4th hole down.
Fix the base of the mast to the mast step on the cross beam
with the pin and ring from the mast step.
2
3

7
raising the mast
attaching the boom & gnav
Ensure all halyards are in place at foot of mast.
You may now pull the rig up using the forestay. You may
require someone to lift the top of the mast.
Having pulled the mast upright, secure the forestay to the
eye on the front of the bow plate.
4
Now attach the trapeze wires to the elastic retaining line.
Pull the loop through the small eye at the top of the trapeze
5
Attach the boom onto the mast with the pin on the lower of
Remember to put the pin in from the top and fold the drop
nose end of the pin over.
1

8
attaching the boom & gnav (...)
NB: ensure the toggle is correctly orientated.
Fix the gnav strut to the carriage on the top of the boom.
2
3
the gnav control line. This comes out the underside of the
boom at the front, and feed through the Ronstan cleat on
the mast.
1. Attach main halyard to end of boom.
TIP: You can tie a stopper knot in halyard by the mast to support
the boom while you rig the main sheet.
2. Finally you can thread the mainsheet. Starting from the
4
5

9
attaching the jib
the front of the boat.
1. Attach the clew of the jib to the jib sheets by passing
push a small loop of it through the clew cringle.
2. Pass both the tails through this loop and pull tight. If you
will always be able to release the jib sheet (as shown).
3.
TIP: It is not advisable to leave jib up overnight.
REMEMBER TO TAKE THE JIB TENSION OFF WHEN NOT
BEING SAILED
is through the head of the sail.
1
4
2
1.
2.
3.
base of the mast.
3

10
rigging the gennaker kit
straight on to the head of the sail while the tail passes down
the side of the mast.
1
1.
beam.
2.
pole out).
3.
beam
1.
2.
2
3
TIP: Remove a batten from the mainsail and feed this through the
sock and use this to pull the halyard through.
4

11
bowsprit - gennaker pole
The lines should be pre-set to the correct position - i.e. the
If you need to adjust any of these remember that they are all
TIP: Bear in mind the fact that, the rope may stretch initially, so
you may need to adjust the knot after the rst time you sail.
rigging the gennaker sail
including the clevis pin and split ring under the roller furler
catch on anything it will!
Ensure that the sail is not twisted.
1.
using a bowline.
2.
1
2

12
rigging the gennaker sail (...)
embarrassing if you get it wrong - especially if you do not
BOTH sheets.
near the foot, and a webbing loop near the head.
mouth.
Pass the end through the eye in the bottom ring.
Then put one of the red bobbles on the halyard before you
the top patch using a bowline. This stops your bowline
getting caught in the middle ring.
and in front of both sheets.
4
chute, ensuring that it does not snag around the pole-end or
under the bow.
TIP: When dropping the gennaker. Pull gennaker halyard from
block NOT direct from chute. This will prevent wear and tear at
chute opening.
5
TIP: The neatest way to do this is to nd the centre of the gennaker
sheet and push a small loop of it through the clew cringle. Pass both
the tails through this loop and pull tight. If you tie the ends together
with a sherman’s knot the crew will always be able to release the
gennaker sheet. This hitch is small and will therefore slip around the
jib lu easily when gybing or you can pass the sheets through the eye
and tie a gure of eight Knot (as shown). Remember to thread the
sheets through auto ratchet in the correct direction.
3

13
The sail is supplied with all 4 battens inserted but they may
not be fully tensioned. Ensure that the forward ends are
tension to remove all of the creases.
battens
raising the mainsail
TIP: Oset the sail to the port side of the boat to avoid jamming.
allowing you to pull the sail right to the top of the mast
TIP: Use a ball on the end of the line (1) Make a loop (2) Feed
through the eye at the top of the sail (3) Feed ball through loop (4)
and tighten..
1
2
3

14
raising the mainsail (...)
straight from its exit from the top of the mast, the halyard
TIP: Check the wear on the halyard regularly, particularly where
it goes over the masthead sheave. You can prevent excessive
wear by moving the knot at the head every so often by adding
additional overhand knots further and further down the halyard.
When you have done this a few times you will have to trim the
excess knotted line to save windage.
4
pulley in the boom-end.
end.
When sailing upwind you will nearly always have the outhaul
pulled quite tight but you may wish to loosen it for the
the foot is pulled tight. This means you simply have to
5
6
7
the cunningham

15
Upwind
For a medium wind (crew sitting out hard, but able to sheet the mainsail to the centreline) you should be able to
use maximum power.
increases, reduce the power in the mainsail by pulling down on the cunningham progressively until the boat feels
In light airs, use little or no gnav to allow the leech to open.
Tacking
degrees and then point up again once the boat has regained speed.
battens across.
Downwind
the wind strength. In light airs, at displacement speeds, where sailing higher will not result in a great increase in
In marginal planing conditions, sailing higher will allow the boat to plane and the consequent increase in speed
increases.
to call the pressure.
tips

16
Gybing
Ideally you should always gybe when the boat is travelling at maximum speed as there is less pressure on the
positive and gybe smoothly and at speed.
In strong winds you will probably bear-away so that, although the apparent wind still shows a broad reach, you are
in fact running directly before the true wind. If you then try to gybe through your normal angle you will gybe on to
a reach and be overpowered! So in strong conditions remember to gybe through a smaller angle.
across.
Boat Tips
- Do not step mast near any overhead cables.
- Tape all rigging pins and spreader ends, inboard and outboard.
- Ensure the rudder retaining device is in position.
- Ensure rudder is fully down when sailing.
- Never fold Mylar sails.
- Roll mainsail gently after use and leave battens in place.
Towing
When towing your Topaz ensure that it is securely strapped down with a strap over the middle and the bow
board to conform with local regulations.
tips (...)

TOPPER INTERNATIONAL LTD
Wotton Road
Ashford
T: +44(0) 01233 629186
E: [email protected]om
Test sails available on request
topaz
topaz
dinghy range
topaz uno tres x
Table of contents
Other Topaz Boat manuals