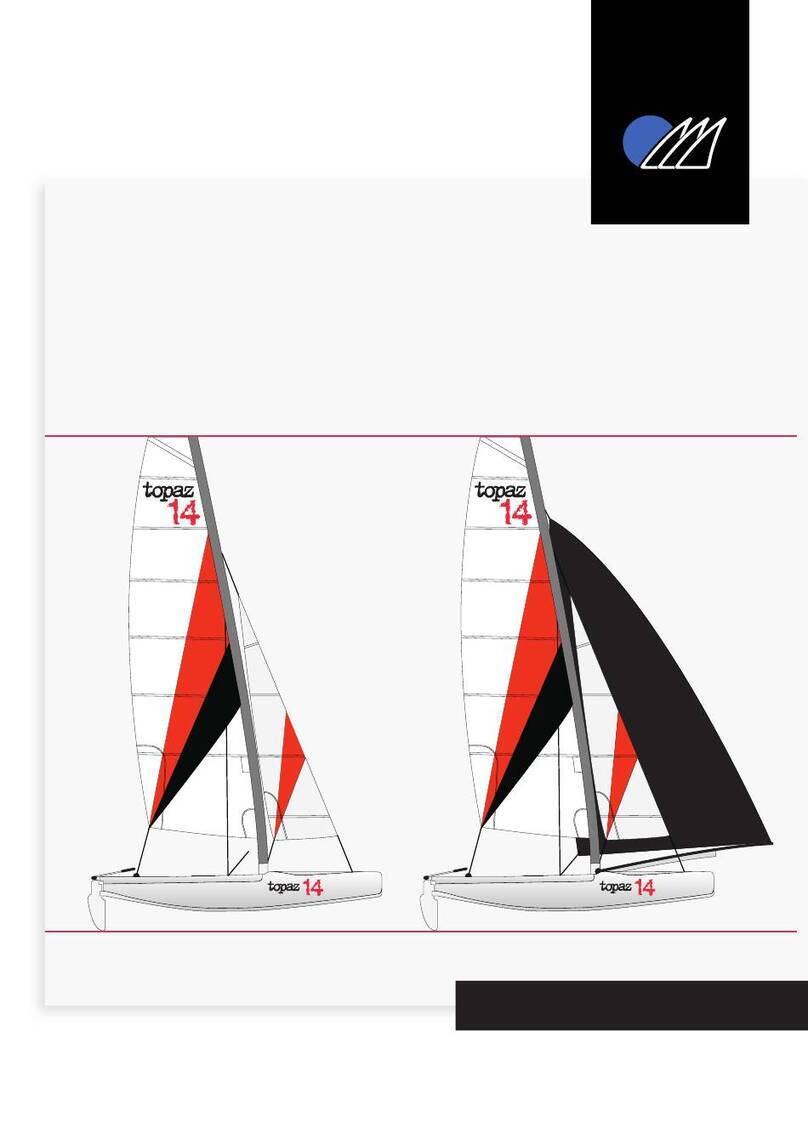
Topaz 16 Quick start guide

topaz
topaz 16
»Rigging Instructions
www.toppersailboats.com

1
»Introduction
»Manufacturers Details
»Maintenance
»Glossary
»Beams
»Trampoline
»Jib Blocks
»Mast
»Trapeze
»Downhaul/Kicker System
»Spinnaker
»Jib & Jib Sheets
»Mainsail
»Mainsheet
1
1
2
3 - 4
5
5 - 10
10 - 11
12 - 14
15
15
19
16 - 21
24
24 - 25
contents
introduction
For further information, spares and
accessories, please contact the
manufacturer:
TOPPER INTERNATIONAL LTD,
Kingsnorth Technology Park,
Wotton Road, Ashford, Kent TN23 6LN
Telephone +44 (0) 1233 629186
email info@toppersailboats.com
These RIGGING INSTRUCTIONS have been compiled to
ensure that you refer to your TOPAZ OWNERS MANUAL.
The OWNERS MANUAL has been compiled to help you to
operate your craft with safety and enjoyment. It contains
systems and information on its operation and maintenance.
Please read it carefully and familiarise yourself with the craft
before using it.
you are not familiar with, for your own comfort and safety,
please ensure that you obtain handling and operating
experience before assuming command of the craft. Your
dealer or national sailing federation or yacht club will be
pleased to advise you of local sea schools, or competent
instructors.
PLEASE KEEP THE RIGGING INSTRUCTIONS AND THE OWNERS
MANUAL IN A SECURE PLACE AND HAND THEM OVER TO THE
NEW OWNER WHEN YOU SELL THE CRAFT.

2
maintenance
boat in the best condition.
Rudder
Never launch your boat without checking that the retaining clip has clicked into place beneath the
Sails
Although the battens protect the mainsail to a certain extent, do not leave the mainsail hoisted for
extended periods of time.
Raise and drop the spinnaker as smoothly as possible, as this will extend the life of the sail. Avoid
trawling the spinnaker through the water, this can damage the sail and get the spinnaker stuck
around the bow of the boat.
Remove the spinnaker from the chute after sailing; if the sail is left it can attract mice that damage
the sail.
Always dry the sail before folding and packing it away.
Always rinse the sails and the boat after sailing in salt water.
ALWAYS RELEASE JIB TENSION WHEN NOT SAILING
Foils
between the stock when down. Any movement between the blade and the stock, or the stock and
the hull may cause steering problems.
Small dents can be repaired by gently warming the hull with a hot air blower (take care not to melt
the hull). For any more substantial repairs refer to Topper Sailboats.
after salt water exposure.
Always remove the bung to empty any water after sailing, and when not sailing leave the bung out to
Ropes
Always replace any ropes that are showing any signs of wear immediately.

3
glossary / useful terminology
hull
spars
foils
Nose:
Painter:
Transom:
Fore:
Aft:
Mast Step:
Rail:
Port:
Starboard:
Gudgeon:
Mast:
Mast Heel:
Boom:
Outhaul:
Vang:
Cunningham:
Sheet:
Daggerboard
Rudder:
Pintle:
Front of the hull
Rope from the nose of the hull used for towing or tying the board to a jetty, buoy or trolley
Back of the hull
Forward
Rearward
Integral tube where the mast heel/foot of the mast locates
Upper/outermost edge of a hull
Left side of the hull when looking forward
Right side of the hull when looking forward
Direction away from the wind
Direction from which the wind is coming
Fitting on the transom used to hang the rudder
Main vertical spar supporting the rig/sail
Lower edge/foot of the mast
Spar at the bottom of the mainsail
Purchase system on the boom for tightening the lower edge/foot of the sail
Purchase system for tightening the rear/aft edge (leech) of the sail
Rope for controlling the inward/outward position of the mainsail
Blade found in the middle of the hull used to counteract leeward slippage
Blade found at the transom used for steering
The male part (pin) of the rudder hanging system

4
sails
Mainsail:
Jib:
Tack:
Head:
Leach:
Foot:
Batten:
Sail aft/rearward of the mast (Larger of the two)
Sail forward of the mast (Smaller of the two)
Forward lower corner of a sail
Rear lower corner of a sail
Upper corner of sail
Rear edge of the sail
Forward edge of the sail
Bottom edge of the sail
glossary / useful terminology (...)

5
rigging instructions
beams
trampoline
This will hold the hulls in the correct position to connect to
the main and rear beam.
8 x lock nuts, washers and 8mm x 15mm s/s bolts are
supplied.
You wll require assistance to bolt the beams into the hulls.
snugly into the front socket of the hulls. The rear beam is
smaller with a traveller attached and a row of small plastic
into the rear beam sockets with the white plastic wheels
facing aft.
Feed the bolts into the holes in the hulls going through the
washer and then attach lock nut and tighten.
Remove the beam end cap from the main beam.
Remove slugs from front beam.
1
2

6
trampoline (...)
Ensure that the 5mm glass tube is inserted into the sleeve
that runs along the front of the trampoline.
Insert 5mm glass tube and trampoline into the main beam.
Then slide across the length of the beam until the
trampoline is positioned centrally.
3
Re-insert slugs to the right and left of the trampoline
to hold it in position.
4

7
lacing the trampoline
Tie loop on end of trampoline lacing line using a
bowline knot.
Then slide the loop on the lacing line over the last (far right)
nylon wheel on the rear of the rear beam (1). You can then
begin to lace the trampoline onto the rear beam.
Feed the line under rear beam, up through far right hole in
trampoline (2).
1
2
3
Then, over and around the glass rod (3), then under the
beam and back to the nylon wheel (4).
Over the top of the 1st nylon wheel (5), on to next wheel, over
the top of 2nd wheel (6), then forward under the beam (7),
and up through the eye in the rear of the trampoline around
the 10mm rod (8), then back under beam (9)...
4

8
lacing the trampoline (...)
attach trampoline to front beam
Then repeat along the entire rear beam, so, over the top
of the 2nd wheel and on to 3rd wheel. Then continue lacing
the rear beam.
Tie the front end of trampoline onto slug on front beam.
Then tighten the loop between the second and third and so
on. G. With the tail of the rope, feed line under rear beam,
up through last hole in trampoline, over and around the
glass rod then back to last nylon wheel. Pull tight and tie
onto any of the nylon wheel.
Note; the trampoline lacing will need to be re-Tightened from
time to time to ensure that the Trampoline
remains taut.
Pull tight, so end pulley wheel is tight in the back end of
the trampoline.
stop it slipping.
1
1
2
2

9
attach trampoline to rear beam
(1) Attach trampoline tensioning lines to the deck eye on
rear beam.
(2) Feed forward & through pulley wheel at the rear of
the trampoline.
1
2
(3) Back through deck eye. Tension as tight as possible.
Then repeat process, this time through the stainless steel
(6) Back through deck eye. Again, tension as tight as
Then repeat on opposite side. Ensure trampoline is as taut as
3

10
tighten centre of trampoline
jib blocks
Tighten centre of trampoline by (1) feeding rope through
deck eye left-to-right, then (2) up to and through right
trampoline eyelet, (3) through left eyelet and back down (4)
through deck eye (left to right).
The jib block set includes (1) 2x rubber boots, (2) 2x jib blocks
and (3) a shackle.
(5-6) Then feed right hand tail up through right trampoline
eyelet and left hand tail up through left trampoline eyelet,
Tidy tail ends by tucking back down through eyelets.
1
1
2
3

11
To attach the two jib blocks to main beam,
Then, Place over bottom of jib block.
2
jib blocks (...)
Attach shackle to left eye (4) on the front beam.
Tighten shackle.
Fold rubber boot back over the eye.
Repeat, to attach second jib block to the right eye on the
front beam.
3
4
5

12
mast
Lay mast section along centre of boat with the top of the
mast pointing towards the back of the boat.
Attach the rigging to the mast using the large bow shackle(1).
The rigging includes;
1x set of shrouds (coated in white plastic)
2x trapeze wires
1x forestay (metal ring and pulley).
located on the front of the mast section. It is important to
tighten this shackle.
Then you need to tidy the rigging lines in readiness for
erecting the mast.
Attach the shroud wires (coated in white plastic) onto the
chain plates on either side of the boat (3) Use the third hole
from the bottom of the chain plates. (4) Then secure chain
plates to the hull as shown.
1
2
3
Lay trapeze wires to either side of the mast, so that they are
roughly in the correct position ready to be attached once the
mast is upright.
Next is the jib halyard, this comes in two parts (5).
Ensure one section is fed through ring (6) and small pulley (7)
on forestay.
4

13
mast (...)
Then feed end of spinnaker halyard through the small pulley
at the top of the mast (8).
Attach striker bar (9) (front cross bar) between the hulls at
the front of boat.
ENSURE THAT THE STERN OF THE BOAT IS FACING INTO
THE WIND. ENSURE THAT THE MAST IS CLEAR OF ANY
OVERHEAD CABLES OR OBSTRUCTIONS!
Re-tidy all of the rigging.
You are now ready to raise the mast. This is a two person job.
Take spinnaker halyard to foot of mast tying ends together to
create a loop.
Position mast so that the foot of the mast is on the ball joint
on the front beam and secure in place with pin.
5
7
8
6

14
mast (...)
Person One (1) should be positioned towards the front of the
boat holding the trapeze wires.
Person Two (2) should support the top of the mast behind
the boat and then walk mast forward until it is upright.
9
Once mast is vertical, person 2 can remove the pin from the
ball joint allowing the mast to rotate freely.
Person 2 should then securely but loosely attach forestay to
striker bar shackle. You can then remove the mast lock pin.
Now tighten forestay and re-attach to striker bar shackle.
10
11

15
trapeze
downhaul/kicker system
Attach shock cord and rope with adjustment stop to
trapeze handle.
And feed through trapeze wire eye (1).
Then take other end of cord. Feed line under trampoline to
other side of the boat then up and through trapeze wire
eyelet and handle as before.
1
2
You can now attach the downhaul system to the foot of
the mast.

16
spinnaker kit
Feed (2) spinnaker sock into (3) chute mouth groove.
1
You are now ready to attach the spinnaker sock and pole to
the boat.
Ensure sock is fed over the striker bar.
2

17
spinnaker kit (...)
Attach velcro straps around spinnaker pole.
Then attach back of spinnaker sock around either side of the
base of the mast.
(4) One line attaches to the mast foot. (5) The second line
attaches through loop on front of trampoline (next to the
capsize line pocket.)
3
4
Tie loop (6) in spinnaker pole bridle rope, (7) feed through
eye on front hull by main bridle. (8) Take rope back through
Repeat on other side and pull tight till there is a slight bend
in the spinnaker pole.
5

18
spinnaker kit (...)
spinnaker halyard
on the front of the hull.
6
To secure one end of the spinnaker halyard, tie to bridle
for time being.
Take other end of spinnaker halyard down mast and through
pulley on back of spinnaker pole running from back of boat
forwards.
Remove the rope that is securing the double block to the
spinnaker pole (this is for shipping purposes only).
1
(1) Feed spinnaker halyard forward and (2) through double
block and then (3) back to double cleat on front crossbeam
aside mast foot.
2

19
spinnaker halyard (...)
Attach ring on shockcord through back/ centre of
centre.
1
Feed spinnaker halyard (4) back along trampoline, through
steel ring.
(8) Feed end of spinnaker halyard through the spinnaker
chute until the tail comes out the front of the chute.
TIP: it is easier to do this by shing the spinnaker halyard out of
the chute with a tiller arm or similar long object.
2
5
Then forward (5) to the guide pulley (6) on trampoline front
(by capsize line pocket).
Then forward (5) to the guide pulley (6) on trampoline front
(by capsize line pocket).
3
4
Table of contents
Other Topaz Boat manuals
Popular Boat manuals by other brands

Baja
Baja Performance 245 owner's manual

Quicksilver
Quicksilver Activ 755 Open owner's manual

Sea-doo
Sea-doo XP DI 2003 Operator's guide

Cobalt Digital Inc
Cobalt Digital Inc 273 CUDDY CABIN owner's manual

Pro-Line Boats
Pro-Line Boats 20 EXPRESS 2009 owner's manual

Anacortes Yacht Charters
Anacortes Yacht Charters AEROKNOT Operation manual