Toro Groundsmaster 4300-D User manual

FormNo.3417-913RevA
Groundsmaster®4300-DTraction
Unit
ModelNo.30864—SerialNo.401341117andUp
Registeratwww.Toro.com.
OriginalInstructions(EN)*3417-913*A

ThisproductcomplieswithallrelevantEuropean
directives;fordetails,pleaseseetheseparateproduct
specicDeclarationofConformity(DOC)sheet.
WARNING
CALIFORNIA
Proposition65Warning
Thisproductcontainsachemical
orchemicalsknowntotheStateof
Californiatocausecancer,birthdefects,
orreproductiveharm.
Dieselengineexhaustandsomeofits
constituentsareknowntotheStateof
Californiatocausecancer,birthdefects,
andotherreproductiveharm.
ItisaviolationofCaliforniaPublicResourceCode
Section4442or4443touseoroperatetheengineon
anyforest-covered,brush-covered,orgrass-covered
landunlesstheengineisequippedwithaspark
arrester,asdenedinSection4442,maintainedin
effectiveworkingorderortheengineisconstructed,
equipped,andmaintainedforthepreventionofre.
Pleaserefertotheenginemanufacturer’sinformation
includedwiththemachine.
Introduction
Thismachineisaride-on,rotary-bladelawnmower
intendedtobeusedbyprofessional,hiredoperators
incommercialapplications.Itisprimarilydesigned
forcuttinggrassonwell-maintainedlawnsinparks,
sportselds,andoncommercialgrounds.Itisnot
designedforcuttingbrush,mowinggrassandother
growthalongsidehighways,orforagriculturaluses.
Readthisinformationcarefullytolearnhowtooperate
andmaintainyourproductproperlyandtoavoid
injuryandproductdamage.Youareresponsiblefor
operatingtheproductproperlyandsafely.
YoumaycontactT orodirectlyatwww.Toro.com
forproductsafetyandoperationtrainingmaterials,
accessoryinformation,helpndingadealer,orto
registeryourproduct.
Wheneveryouneedservice,genuineT oroparts,or
additionalinformation,contactanAuthorizedService
DealerorToroCustomerServiceandhavethemodel
andserialnumbersofyourproductready.Themodel
andserialnumbersareonaplatemountedonthe
leftsideoftheframeunderthefootrest.Writethe
numbersinthespaceprovided.
ModelNo.
SerialNo.
Thismanualidentiespotentialhazardsandhas
safetymessagesidentiedbythesafety-alertsymbol
(Figure1),whichsignalsahazardthatmaycause
seriousinjuryordeathifyoudonotfollowthe
recommendedprecautions.
g000502
Figure1
1.Safety-alertsymbol
Thismanualuses2wordstohighlightinformation.
Importantcallsattentiontospecialmechanical
informationandNoteemphasizesgeneralinformation
worthyofspecialattention.
©2017—TheToro®Company
8111LyndaleAvenueSouth
Bloomington,MN554202
Contactusatwww.Toro.com.
PrintedintheUSA
AllRightsReserved

Contents
Safety.......................................................................4
GeneralSafety...................................................4
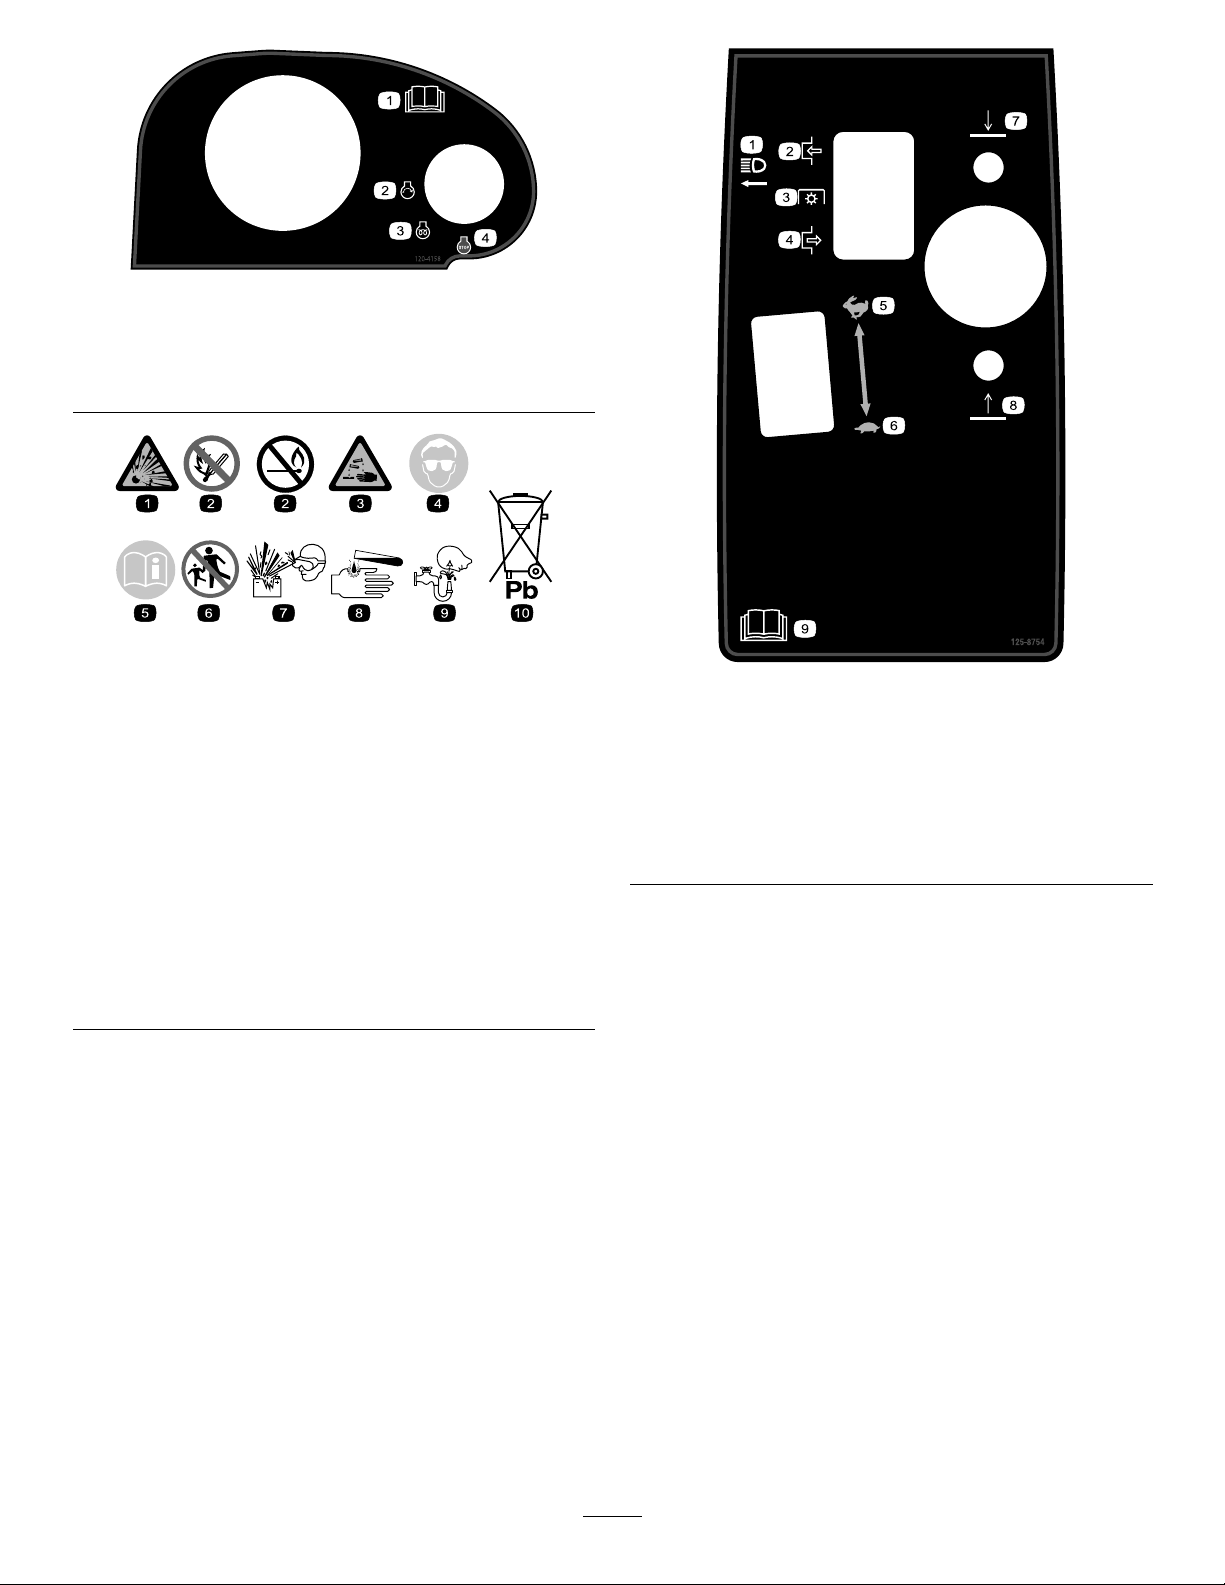
SafetyandInstructionalDecals..........................4
Setup........................................................................9
1AdjustingtheControlArmPosition...................9
2RemovingtheShippingBlocksand
Pins.................................................................9
3AdjustingtheRollerScraper
(Optional)......................................................10
4InstallingtheMulchingBafe
(Optional).......................................................11
5PreparingtheMachine....................................11
ProductOverview...................................................12
Controls...........................................................12
Specications..................................................19
CuttingUnitSpecications................................20
Attachments/Accessories.................................20
BeforeOperation.................................................21
BeforeOperationSafety...................................21
FillingtheFuelTank..........................................21
CheckingtheEngine-OilLevel..........................23
CheckingtheCoolingSystem...........................23
CheckingtheHydraulicSystem........................23
DrainingtheWaterSeparator...........................23
CheckingtheTirePressure...............................23
CheckingtheTorqueoftheWheel-Lug
Nuts..............................................................23
AdjustingtheHeightofCut...............................24
CheckingtheSafety-InterlockSwitches............25
BurnishingtheBrakes.......................................25
SelectingaBlade..............................................25
UnderstandingtheDiagnosticLight..................26
ChangingtheCounterbalanceSettings............26
ChoosingAccessories......................................27
DuringOperation.................................................28
DuringOperationSafety...................................28
StartingandShuttingOfftheEngine.................29
CuttingGrasswiththeMachine........................29
DieselParticulateFilterRegeneration...............30
OperatingTips.................................................42
AfterOperation....................................................43
AfterOperationSafety......................................43
IdentifyingtheTie-DownPoints........................43
PushingorT owingtheMachine........................43
HaulingtheMachine.........................................44
Maintenance...........................................................45
RecommendedMaintenanceSchedule(s)...........45
DailyMaintenanceChecklist.............................46
ServiceIntervalChart.......................................47
Pre-MaintenanceProcedures..............................47
Pre-MaintenanceSafety...................................47
RaisingtheMachine.........................................48
Lubrication..........................................................48
GreasingtheBearingsandBushings................48
EngineMaintenance...........................................50
EngineSafety...................................................50
ServicingtheAirCleaner..................................50
ServicingtheEngineOil....................................51
ServicingtheDiesel-OxidationCatalyst
(DOC)andtheSootFilter..............................53
FuelSystemMaintenance...................................53
ServicingtheFuelFilter....................................53
UsingtheFuel-PickupTube..............................53
ServicingtheWaterSeparator..........................54
ServicingtheFuelSystem................................54
ElectricalSystemMaintenance...........................55
ElectricalSystemSafety...................................55
LocatingtheFuses...........................................55
CheckingtheBatteryCondition.........................55
ChargingtheBattery.........................................56
DriveSystemMaintenance..................................56
AdjustingtheTractionDriveforNeutral.............56
AdjustingtheRearWheelToe-in.......................57
CoolingSystemMaintenance..............................57
CoolingSystemSafety.....................................57
CheckingtheCoolingSystem...........................57
CleaningtheCoolingSystem............................58
BrakeMaintenance.............................................59
AdjustingtheParkingBrakes............................59
AdjustingtheParking-BrakeLatch....................59
BeltMaintenance................................................60
ServicingtheAlternatorBelt.............................60
HydraulicSystemMaintenance...........................60
HydraulicSystemSafety...................................60
CheckingtheHydraulic-FluidLevel...................60
ChangingtheHydraulicFluid............................62
ReplacingtheHydraulicFilters.........................62
CheckingtheHydraulicLinesand
Hoses............................................................63
TestingthePressureintheHydraulic
System..........................................................63
HydraulicValveSolenoidFunctions..................63
CuttingDeckMaintenance...................................64
SeparatingtheCuttingDecksfromthe
TractionUnit..................................................64
MountingtheCuttingDeckstotheTraction
Unit...............................................................64
BladeMaintenance..............................................65
BladeSafety.....................................................65
ServicingtheBladePlane.................................65
RemovingandInstallingaBlade.......................66
InspectingandSharpeningtheBlade................67
MiscellaneousMaintenance.................................68
ServicingtheFrontRoller.................................68
Storage...................................................................69
PreparingtheMachineforStorage...................69
StoringtheCuttingDeck...................................69
3

Safety
Thismachinehasbeendesignedinaccordancewith
ENISO5395:2013andANSIB71.4-2012.
Important:ForCErequiredregulatorydata,refer
totheDeclarationofConformitysuppliedwith
themachine.
GeneralSafety
Thisproductiscapableofamputatinghandsand
feetandofthrowingobjects.Alwaysfollowallsafety
instructionstoavoidseriouspersonalinjury.
Usingthisproductforpurposesotherthanitsintended
usecouldprovedangeroustoyouandbystanders.
•Readandunderstandthecontentsofthis
Operator’sManualbeforestartingtheengine.
•Donotputyourhandsorfeetnearmoving
componentsofthemachine.
•Donotoperatethemachinewithoutallguards
andothersafetyprotectivedevicesinplaceand
workingonthemachine.
•Keepclearofanydischargeopening.Keep
bystandersandpetsasafedistanceawayfrom
themachine.
•Keepchildrenoutoftheoperatingarea.Never
allowchildrentooperatethemachine.
•Stopthemachineandshutofftheenginebefore
servicing,fueling,oruncloggingthemachine.
Improperlyusingormaintainingthismachinecan
resultininjury.Toreducethepotentialforinjury,
complywiththesesafetyinstructionsandalwayspay
attentiontothesafety-alertsymbol,whichmeans
Caution,Warning,orDanger—personalsafety
instruction.Failuretocomplywiththeseinstructions
mayresultinpersonalinjuryordeath.
Youcanndadditionalsafetyinformationwhere
neededthroughoutthisOperator’sManual.
SafetyandInstructionalDecals
Safetydecalsandinstructionsareeasilyvisibletotheoperatorandarelocatednearanyarea
ofpotentialdanger.Replaceanydecalthatisdamagedormissing.
decal93-6681
93-6681
1.Cutting/dismemberment—hazard,fan-stayawayfrom
movingparts.
decal93-6689
93-6689
1.Warning—donotcarrypassengers.
decal93-7272
93-7272
1.Cutting/dismembermenthazard;fan—stayawayfrom
movingparts.
decal93-7818
93-7818
1.Warning—readtheOperator'sManualforinstructionson
torquingthebladebolt/nutto115to149N∙m(85to110
ft-lb).
decal106-6754
106-6754
1.Warning—donottouchthehotsurface.
2.Cutting/dismembermenthazard,fanandentanglement
hazard,belt—stayawayfrommovingparts.
4

decal106-6755
106-6755
1.Enginecoolantunder
pressure.
3.Warning—donottouchthe
hotsurface.
2.Explosionhazard—read
theOperator'sManual.
4.Warning—readthe
Operator'sManual.
decal110-0986
110-0986
1.Pressthebrakepedalandparking-brakepedaltoengage
theparkingbrake.
2.Pressthebrakepedaltoapplythebrake.
3.Pressthetractionpedaltomovethemachineforward.
4.PTOenabledmode
5.Transportmode(NoPTO)
decal110-8921
110-8921
1.Tractionunitspeed
2.Slow
3.Fast
decal117-2718
117-2718
decal117-0169
117-0169
1.ReadtheOperator'sManual.
2.Powerpoint(10A)
3.Headlights(10A)
4.Power(10A)
5.Enginestart(15A)
6.Optionalairrideseatsuspension(20A)
7.EnginecomputermanagementC(7.5A)
8.EnginecomputermanagementB(7.5A)
9.EnginecomputermanagementA(7.5A)
decal117-4764
117-4764
1.Thrownobjecthazard—keepbystandersasafedistance
awayfromthemachine.
2.Cuttinghazardofhand,mowerblade—stayawayfrom
movingparts,keepallguardsandshieldsinplace.
3.Cuttinghazardoffoot,mowerblade—stayawayfrom
movingparts,keepallguardsandshieldsinplace.
5

decal120-4158
120-4158
1.ReadtheOperator’s
Manual.
3.Engine—preheat
2.Engine—start4.Engine—shutoff
decalbatterysymbols
BatterySymbols
Someorallofthesesymbolsareonyourbattery
1.Explosionhazard6.Keepbystandersasafe
distanceawayfromthe
battery.
2.Nore,opename,or
smoking
7.Weareyeprotection;
explosivegasescan
causeblindnessandother
injuries.
3.Causticliquid/chemical
burnhazard
8.Batteryacidcancause
blindnessorsevereburns.
4.Weareyeprotection.9.Flusheyesimmediately
withwaterandgetmedical
helpfast.
5.ReadtheOperator's
Manual.
10.Containslead;donot
discard
decal125-8754
125-8754
1.Headlights6.Slow
2.Engage7.Lowerthecuttingunits
3.Powertake-off(PTO)8.Raisethecuttingunits
4.Disengage9.ReadtheOperator’s
Manual.
5.Fast
6

decal125-2927
125-2927
1.ReadtheOperator’sManualformaintenanceinformation.
decal104-1086
104-1086
1.Heightofcut
7

decal133-2930
133-2930
1.Warning—readtheOperator'sManual;donotoperatethis
machineunlessyouaretrained.
4.Tippinghazard—slowthemachinebeforeturning;donotturn
athighspeeds;onlydriveonslopeswiththecuttingunits
lowered;alwayswearaseatbelt.
2.Warning—wearhearingprotection.5.Warning—donotparkonslopes;locktheparkingbrake,shut
offtheengineandremovetheignitionkeybeforeleavingthe
machine.
3.Thrownobjecthazard—keepbystandersasafedistance
awayfromthemachine.
6.Warning—readtheOperator'sManual;donottowthe
machine.
decal133-2931
133-2931
Note:Thismachinecomplieswiththeindustrystandardstabilitytestinthestaticlateralandlongitudinaltestswiththemaximum
recommendedslopeindicatedonthedecal.Theoperatormustreviewtheinstructionsforoperatingthemachineonslopesinthe
Operator’sManualandreviewtheconditionsinwhichthemachineisbeingoperatedtodeterminewhetherthemachinecanbeoperated
intheconditionsonthatdayandatthatsite.Changesintheterraincanresultinachangeinslopeoperationforthemachine.Ifpossible,
keepthecuttingunitsloweredtothegroundwhileoperatingthemachineonslopes.Raisingthecuttingunitswhileoperatingon
slopescancausethemachinetobecomeunstable.
1.Warning—readtheOperator'sManual;donotoperatethis
machineunlessyouaretrained.
4.Tippinghazard—donotdriveacrossordownslopesgreater
than15degrees;onlydriveonslopeswiththecuttingunits
lowered;alwayswearaseatbelt
2.Warning—wearhearingprotection.5.Warning—donotparkonslopes;locktheparkingbrake,shut
offtheengineandremovetheignitionkeybeforeleavingthe
machine.
3.Thrownobjecthazard—keepbystandersasafedistance
awayfromthemachine.
6.Warning—readtheOperator'sManual;donottowthe
machine.
8

Setup
LooseParts
Usethechartbelowtoverifythatallpartshavebeenshipped.
ProcedureDescriptionQty.Use
1Nopartsrequired–Adjustthecontrolarmposition.
2Nopartsrequired–Removeshippingblocksandpins.
3Nopartsrequired–Adjusttherollerscraper(optional).
4Nopartsrequired–Installthemulchingbafe(optional).
5Nopartsrequired–Preparethemachine.
MediaandAdditionalParts
DescriptionQty.Use
Operator'sManual1
Engineoperator'smanual1
Partscatalog1
Operatortrainingmaterial1
Reviewthesematerialsbeforeoperatingthemachine.
Note:Determinetheleftandrightsidesofthe
machinefromthenormaloperatingposition.
1
AdjustingtheControlArm
Position
NoPartsRequired
Procedure
Thecontrolarmpositioncanbeadjustedforyour
comfort.
1.Loosenthe2boltssecuringthecontrolarmto
theretainingbracket(Figure2).
g031681
Figure2
1.Controlarm3.Bolts(2)
2.Retainingbrackets
2.Rotatethecontrolarmtothedesiredposition
andtightenthe2bolts.
9

2
RemovingtheShipping
BlocksandPins
NoPartsRequired
Procedure
1.Removeanddiscardtheshippingblocksfrom
thecuttingdecks.
2.Removeanddiscardtheshippingpinsfromthe
cuttingdecksuspensionarms.
Note:Theshippingpinsstabilizethecutting
decksduringshipping;removethepinsbefore
operatingthemachine.
3
AdjustingtheRoller
Scraper(Optional)
NoPartsRequired
Procedure
Theoptionalrearrollerscraperisdesignedtowork
bestwhenthereisanevengapof0.5to1mm(0.020
to0.040inch)betweenthescraperandroller.
1.Loosenthegreasettingandthemounting
screw(Figure3).
g011346
Figure3
1.Rollerscraper3.Greasetting
2.Mountingscrew
2.Slidethescraperupordownuntilagapof0.5to
1mm(0.020to0.040inch)isachievedbetween
therodandtheroller.
3.Torquethegreasettingandscrewto41N∙m
(30ft-lb)inanalternatingsequence.
10

4
InstallingtheMulching
Bafe(Optional)
NoPartsRequired
Procedure
1.Thoroughlycleandebrisfromthemounting
holesontherearwallandleftsidewallofthe
chamber.
2.Installthemulchingbafeintherearopening
andsecureitwith5ange-headbolts(Figure4).
g011347
Figure4
1.Mulchingbafe
3.Verifythatthemulchingbafedoesnotinterfere
withthetipofthebladeanddoesnotprotrude
insidethesurfaceoftherearchamberwall.
DANGER
Thehigh-liftblade,ifusedwiththe
mulchingbafe,couldbreak,resultingin
personalinjuryordeath.
Donotusethehigh-liftbladewiththe
mulchingbafe.
5
PreparingtheMachine
NoPartsRequired
CheckingtheTirePressure
Checkthetirepressurebeforeuse;refertoChecking
theTirePressure(page23).
Important:Maintainpressureinalltiresto
ensureagoodqualityofcutandpropermachine
performance.Donotunderinatethetires.
CheckingtheFluidLevels
1.Checktheengine-oillevelbeforestartingthe
engine;refertoCheckingtheEngine-OilLevel
(page51).
2.Checkthehydraulic-uidlevelbeforestarting
theengine;refertoCheckingtheHydraulic
System(page23).
3.Checkthecoolingsystembeforestartingthe
engine;refertoCheckingtheCoolingSystem
(page57).
GreasingtheMachine
Greasethemachinebeforeuse;refertoGreasingthe
BearingsandBushings(page48).Failuretoproperly
greasethemachineresultsinprematurefailureof
criticalparts.
11

ProductOverview
Controls
SeatAdjustingKnobs
Theseat-adjustinglever(Figure5)allowsyoutoadjust
theseatforwardandrearward.Theweight-adjusting
knobadjuststheseatforyourweight.Theweight
gaugeindicateswhentheseatisadjustedtoyour
weight.Theheight-adjustingknobadjuststheseat
foryourheight.
g003954
Figure5
1.Weightgauge3.Height-adjustingknob
2.Weight-adjustingknob4.Adjustinglever(forward
andrearward)
TractionPedal
Thetractionpedal(Figure6)controlstheforwardand
reverseoperation.Pressthetopofthepedaltomove
forwardandthebottomtomoverearward.Ground
speeddependsonhowfaryoupressthepedal.For
noload,maximumgroundspeed,fullypressthepedal
whilethethrottleisintheFASTposition.
Tostopthemachine,reducefootpressureonthe
tractionpedalandallowittoreturntothecenter
position.
Mow-SpeedLimiter
Whenthemow-speedlimiter(Figure6)isippedup,it
controlsthemowspeedandallowsthecuttingdecks
tobeengaged.Eachspaceradjuststhemowing
speedby0.8km/h(0.5mph).Themorespacersyou
haveonthetopofthebolt,theslowerthemachine
moves.T otransportthemachine,ipbackthemow
speedlimiterformaximum-transportspeed.
BrakePedal
Pressthebrakepedal(Figure6)tostopthemachine.
ParkingBrake
Toengagetheparkingbrake,(Figure6)pushdown
thebrakepedalandpressthetopforwardtolatch.T o
disengagetheparkingbrake,pressthebrakepedal
untiltheparking-brakelatchretracts.
g003955
Figure6
1.Tractionpedal4.Brakepedal
2.Mow-speedlimiter5.Parkingbrake
3.Spacers6.Tilt-steeringpedal
Tilt-SteeringPedal
Totiltthesteeringwheeltowardyou,pressthefoot
pedal(Figure6)down,andthesteeringtowertoward
youtothemostcomfortableposition,andreleasethe
pedal.
Engine-SpeedSwitch
Theengine-speedswitch(Figure7)has2modesto
changetheenginespeed.T aptheswitchtoincrease
ordecreasetheenginespeedin100rpmincrements.
Holdtheswitchdowntoautomaticallymovethe
enginetoHighorLowidle,dependingonwhichend
oftheswitchthatyoupress.
12

g021208
Figure7
1.Lowermow/raisecontrol
lever
4.Enable/disableswitch
2.Keyswitch5.Engine-speedswitch
3.InfoCenter6.Headlightswitch
KeySwitch
Thekeyswitch(Figure7)has3positions:OFF,
ON/PREHEAT,andSTART.
LowerMow/RaiseControlLever
Thislever(Figure7)raisesandlowersthecutting
decksandalsostartsandstopsthemowerswhenthe
mowersareenabledinthemowmode.Whenstarting
thedecksinthedownposition,thisleverwillturnthe
decksonifthePTOandthemowspeedlimiterare
engaged.
HeadlightSwitch
Pivottheswitchdownwardtoturnontheheadlights
(Figure7).
Enable/DisableSwitch
Usetheenable/disableswitch(Figure7)inconjunction
withthelowermow/raisecontrollevertooperatethe
mowers.Youcannotlowerthemowerswhenthe
mow/transportleverisintheTRANSPORTposition.
InfoCenter
TheInfoCenterLCDdisplayshowsinformationabout
yourmachinesuchastheoperatingstatus,various
diagnosticsandotherinformationaboutthemachine
(Figure7).
Hydraulic-Filter-Restriction
Indicator
Withtheenginerunningatnormaloperating
temperature,viewtheindicator(Figure8),itshouldbe
inthegreenzone.Whentheindicatorisinthered
zone,changethehydrauliclters.
g031683
Figure8
1.Hydraulic-lter-restrictionindicator
PowerPoint
Thepowerpointisa12Vpowersupplyforelectronic
devices(Figure9).
g031682
Figure9
1.Powerpoint
UsingtheInfoCenterLCDDisplay
TheInfoCenterLCDdisplayshowsinformationabout
yourmachine,suchastheoperatingstatus,various
diagnosticsandotherinformationaboutthemachine
(Figure10).Thereisasplashscreenandmain
informationscreenoftheInfoCenter.Youcanswitch
betweenthesplashscreenandmaininformation
screenatanytimebypressinganyoftheInfoCenter
buttonsandthenselectingtheappropriatedirectional
arrow.
13

g020650
Figure10
1.Indicatorlight3.Middlebutton
2.Rightbutton4.Leftbutton
•LeftButton,MenuAccess/BackButton—pressthis
buttontoaccesstheInfoCentermenus.Youcan
useittoexitanymenuthatyouarecurrentlyusing.
•MiddleButton—usethisbuttontoscrolldown
menus.
•RightButton—usethisbuttontoopenamenu
wherearightarrowindicatesadditionalcontent.
•Beeper—activatedwhenloweringthecuttingunits
orforadvisoriesandfaults.
Note:Thepurposeofeachbuttonmaychange
dependingonwhatisrequiredatthetime.Each
buttonislabeledwithanicondisplayingitscurrent
function.
InfoCenterIconDescription
SERVICEDUEIndicateswhenscheduledservice
shouldbeperformed
Hoursremaininguntilservice
Resettheservicehours
Thestatusoftheenginespeed(rpm)
Infoicon
Maximumtractionspeedsetting
Fast
Slow
Thefanisreversed.
Stationaryregenerationisrequired.
Theair-intakeheaterisactive.
Raisetheleftcuttingunit.
Raisethecentercuttingunit.
Raisetherightcuttingunit.
Theoperatormustsitintheseat.
Theparkingbrakeisengaged.
Therangeishigh.
Neutral
IdentiestherangeasLow
Coolanttemperature(°Cor°F)
Temperature(hot)
TractionorTractionPedal
Notallowed
14

InfoCenterIconDescription(cont'd.)
Starttheengine.
ThePTOison.
Thecruisecontrolison.
Shutofftheengine
Engine
Keyswitch
Cuttingunitsarelowering
Cuttingunitsareraising
PINcode
Hydraulicuidtemperature
CANbus
InfoCenter
Badorfailed
Center
Right
Left
Bulb
OutputofTECcontrollerorcontrol
wireinharness
Overtheallowedrange
Undertheallowedrange
/
Outofrange
Switch
Operatormustreleaseswitch
InfoCenterIconDescription(cont'd.)
Operatorshouldchangetoindicated
state
Symbolsareoften
combinedtoform
sentences.Some
examplesareshown
below
Operatorshouldputmachinein
neutral
Enginestartisdenied
Engineshutdown
Enginecoolantistoohot
Hydraulicuidistoohot
DPFashaccumulationnotication.
RefertoServicingtheDiesel
ParticulateFilter(DPF)inthe
maintenancesectionfordetails
Reset-standbyregenerationrequest
Parkedorrecoveryregeneration
request
Aparkedorrecoveryregenerationis
processing.
Highexhausttemperature
Thepowertake-offisdisabled.
Sitdownorengagetheparking
brake.
AccessibleonlybyenteringPIN
15

UsingtheMenus
ToaccesstheInfoCentermenusystem,pressthe
menuaccessbuttonwhileatthemainscreen.This
bringsyoutothemainmenu.Refertothefollowing
tablesforasynopsisoftheoptionsavailablefrom
themenus:
MainMenu—MenuItemDescription
FaultsContainsalistoftherecent
machinefaults.Referto
theServiceManualoryour
authorizedTorodistributorfor
moreinformationontheFaults
menuandtheinformation
containedthere.
ServiceContainsinformationonthe
machinesuchashoursofuse,
counters,andothersimilar
numbers
DiagnosticsDisplaysthestateofeach
machineswitch,sensor,and
controloutput.Youcanuse
thistotroubleshootcertain
issuesasitquicklytellsyou
whichmachinecontrolsare
ONandwhichareOFF.
SettingsAllowsyoutocustomizeand
modifycongurationvariables
ontheInfoCenterdisplay.
AboutListsthemodelnumber,serial
number,andsoftwareversion
ofyourmachine.
Service—MenuItemDescription
HoursListsthetotalnumberofhours
thatthemachine,engine,and
PTOhavebeenon,aswell
asthenumberofhoursthe
machinehasbeentransported
andservicedue
CountsListsnumerouscountsthe
machinehasexperienced.
DPFRegenerationThedieselparticulatelter
regenerationoptionandDPF
submenus
InhibitRegenUsetocontrolreset
regeneration
ParkedRegenUsetoinitiateaparked
regeneration
LastRegenListsthenumberhourssince
thelastreset,parked,or
recoveryregeneration
RecoverRegenUsetoinitiatearecovery
regeneration
Diagnostics—MenuItemDescription
CuttingUnitsIndicatestheinputs,qualiers,
andoutputsforraisingand
loweringthecuttingunits
Hi/LowRangeIndicatestheinputs,qualiers,
andoutputsfordrivingin
transportmode
PTOIndicatestheinputs,qualiers,
andoutputsforenablingthe
PTOcircuit
EngineRunIndicatestheinputs,qualiers,
andoutputsforstartingthe
engine
Settings—MenuItemDescription
UnitsControlstheunitsusedonthe
InfoCenter(EnglishorMetric)
LanguageControlsthelanguageused
ontheInfoCenter*
LCDBacklightControlsthebrightnessofthe
LCDdisplay
LCDContrastControlsthecontrastofthe
LCDdisplay
ProtectedMenusAllowsapersonauthorized
byyourcompanywiththe
PINcodetoaccessprotected
menus
ProtectSettingsAllowstheabilitytochange
thesettingsintheprotected
settings
CounterbalanceControlstheamountof
counterbalanceappliedtothe
cuttingdecks
ProtectedunderProtectedMenus—accessibleonly
byenteringPIN
About—MenuItemDescription
ModelListsthemodelnumberofthe
machine
SNListstheserialnumberofthe
machine
MachineControllerRevisionListsthesoftwarerevisionof
themastercontroller
InfoCenterRevisionListsthesoftwarerevisionof
theInfoCenter
CANBusListsthemachine
communicationbusstatus
16

ProtectedMenus
Thereare2operatingcongurationsettingsthatare
adjustablewithintheSettingsMenuoftheInfoCenter:
autoidletimedelayandcounterbalance.Tolock
thesesettings,usetheProtectedMenu.
Note:Atthetimeofdelivery,theinitialpassword
codeisprogrammedbyyourdistributor.
AccessingProtectedMenus
Note:ThefactorydefaultPINcodeforyoumachine
iseither0000or1234.
IfyouchangedthePINcodeandforgotthecode,
contactyourauthorizedTorodistributorforassistance.
1.FromtheMAINMENU,usethecenterbuttonto
scrolldowntotheSETTINGSMENUandpressthe
rightbutton(Figure11).
g028523
Figure11
2.IntheSETTINGSMENU,usethecenterbuttonto
scrolldowntothePROTECTEDMENUandpress
therightbutton(Figure12A).
g028522
Figure12
3.ToenterthePINcode,pressthecenterbutton
untilthecorrectrstdigitappears,thenpress
therightbuttontomoveontothenextdigit
(Figure12BandFigure12C).Repeatthisstep
untilthelastdigitisenteredandpresstheright
buttononcemore.
4.PressthemiddlebuttontoenterthePINcode
(Figure12D).
WaituntiltheredindicatorlightoftheInfoCenter
illuminates.
Note:IftheInfoCenteracceptsthePINcode
andtheprotectedmenuisunlocked,theword
“PIN”displaysintheupperrightcornerofthe
screen.
Note:RotatethekeyswitchtotheOFFpositionand
thentotheONpositionlockstheprotectedmenu.
Youhavetheabilitytoviewandchangethesettingsin
theProtectedMenu.OnceyouaccesstheProtected
Menu,scrolldowntoProtectSettingsoption.Usethe
rightbuttontochangethesetting.SettingtheProtect
SettingstoOFFallowsyoutoviewandchangethe
settingsintheProtectedMenuwithoutenteringthe
PINcode.SettingtheProtectSettingstoONhidesthe
protectedoptionsandrequiresyoutoenterthePIN
codetochangethesettingintheProtectedMenu.
AfteryousetthePINcode,rotatethekeyswitchOFF
andbacktotheONpositiontoenableandsavethis
feature.
17

ViewingandChangingthe
ProtectedMenuSettings
1.IntheProtectedMenu,scrolldowntoProtect
Settings.
2.Toviewandchangethesettingswithoutentering
apasscode,usetherightbuttontochangethe
ProtectSettingstoOFF.
3.Toviewandchangethesettingswitha
passcode,usetheleftbuttontochangethe
ProtectSettingstoON,setthepasscode,and
turnthekeyintheignitionswitchtotheOFF
positionandthentotheONposition.
SettingtheCounterbalance
1.IntheSettingsMenu,scrolldownto
Counterbalance.
2.Presstherightbuttontoselectcounterbalance
andchangebetweenthelow,medium,andhigh
settings.
SettingtheAutoIdle
1.IntheSettingsMenu,scrolldowntoAutoIdle.
2.Presstherightbuttontochangetheautoidle
timebetweenOFF,8S,10S,15S,20S,and30S.
18

Specications
Note:Specicationsanddesignaresubjecttochangewithoutnotice.
g193881
Figure13
19

DescriptionFigure13
reference
DimensionorWeight
OverallheightA217.2cm(85-1/2inches)
Wheeltread(tirecentertocenter)rearB184.5cm(72.6inches)
Overallwidth(transportposition)C231cm(91inches)
Overallwidth(mowingposition)D246.5cm(97inches)
WheelbaseE152.4cm(60inches)
Overalllength(transportposition)F315cm(124inches)
Overalllength(mowingposition)G315cm(124inches)
Fuel-tankcapacity51L(13.5USgallons)
Transportspeed0to16km/h(0to10mph)
Mowingspeed0to13km/h(0to8mph)
Netweight(withcuttingdecksanduids)1492kg(3,289lb)
CuttingUnitSpecications
Length86.4cm(34inches)
Width86.4cm(34inches)
Height24.4cm(9.6inches)tocarriermount
26.7cm(10–1/2inches)at3/4inchheightofcut
34.9cm(13–3/4inches)at4inchheightofcut
Weight88kg(195lb)
Attachments/Accessories
AselectionofT oroapprovedattachmentsandaccessoriesisavailableforusewiththemachinetoenhance
andexpanditscapabilities.ContactyourAuthorizedServiceDealerorDistributororgotowww.Toro.comfora
listofallapprovedattachmentsandaccessories.
TobestprotectyourinvestmentandmaintainoptimalperformanceofyourT oroequipment,countonToro
genuineparts.Whenitcomestoreliability,T orodeliversreplacementpartsdesignedtotheexactengineering
specicationofourequipment.Forpeaceofmind,insistonT orogenuineparts.
20
Other manuals for Groundsmaster 4300-D
5
This manual suits for next models
1
Table of contents
Other Toro Lawn Mower manuals

Toro
Toro 2656 User manual

Toro
Toro T4240 User manual

Toro
Toro 74227 User manual

Toro
Toro 22203TE User manual

Toro
Toro Reelmaster 5510-D User manual

Toro
Toro 20959 User manual

Toro
Toro Wheel Horse 78218 User manual

Toro
Toro ProLine 44448 User manual

Toro
Toro 04054 Greensmaster 800 User manual

Toro
Toro Groundmaster Series User manual
Popular Lawn Mower manuals by other brands

American Lawn Mower Co.
American Lawn Mower Co. 50514 owner's manual

Craftsman
Craftsman 917.370710 owner's manual

Simplicity
Simplicity 1221 Mower parts manual

MTD
MTD 116-062A Owner's operating service instruction manual

Craftsman
Craftsman 247.203710 Operator's manual

Craftsman
Craftsman 502.255060 owner's manual