manuals.online logo
Brands
  1. Home
  2. •
  3. Brands
  4. •
  5. Toro
  6. •
  7. Lawn Mower
  8. •
  9. Toro Greensmaster 3000 Series Manual

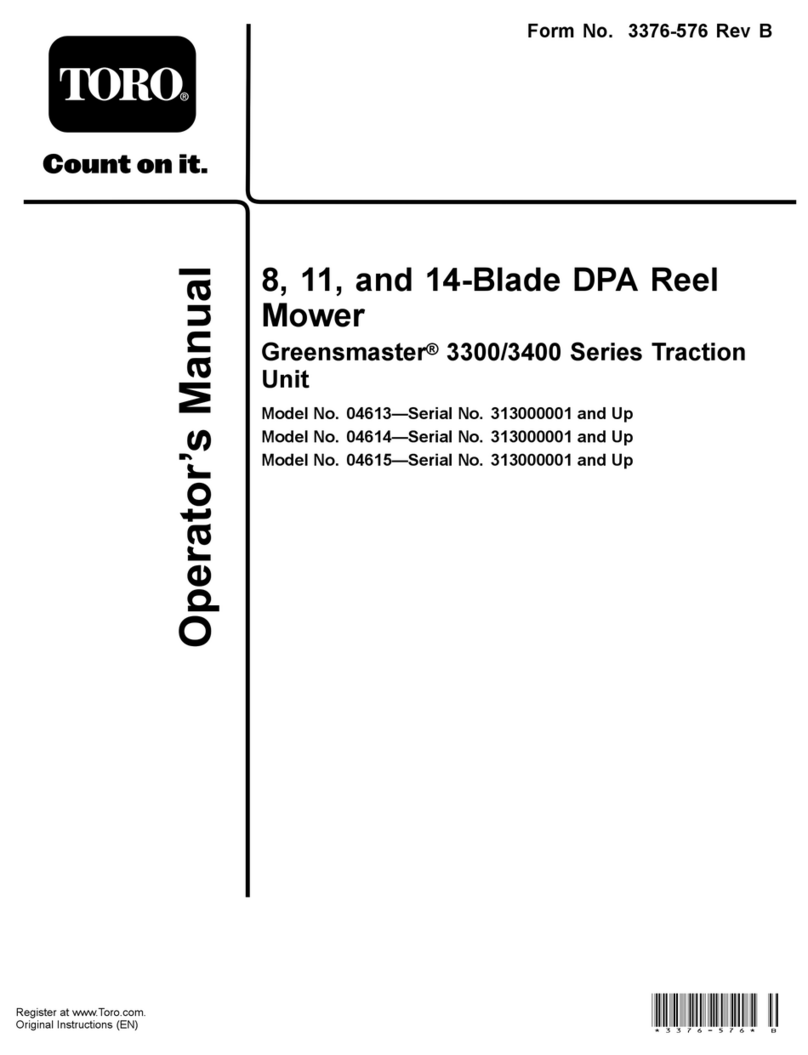
Toro Greensmaster 3000 Series Manual

Other manuals for Greensmaster 3000 Series

2

This manual suits for next models

2

Other Toro Lawn Mower manuals

Toro TimeCutter SS 4200 74720 User manual

Toro

Toro TimeCutter SS 4200 74720 User manual

Toro 22198 User manual

Toro

Toro 22198 User manual

Toro Groundsmaster 3500-D User manual

Toro

Toro Groundsmaster 3500-D User manual

Toro 30316 User manual

Toro

Toro 30316 User manual

Toro GROUNDSMASTER 30753 User manual

Toro

Toro GROUNDSMASTER 30753 User manual

Toro 74212 User manual

Toro

Toro 74212 User manual

Toro GrandStand 74534 User manual

Toro

Toro GrandStand 74534 User manual

Toro 22280 User manual

Toro

Toro 22280 User manual

Toro 30301TC User manual

Toro

Toro 30301TC User manual

Toro Super Recycler 20383 User manual

Toro

Toro Super Recycler 20383 User manual

Toro iMow 30050 User manual

Toro

Toro iMow 30050 User manual

Toro GrandStand 74534 User manual

Toro

Toro GrandStand 74534 User manual

Toro LX425 User manual

Toro

Toro LX425 User manual

Toro TimeCutter 77301 User manual

Toro

Toro TimeCutter 77301 User manual

Toro Recycler 21131 User manual

Toro

Toro Recycler 21131 User manual

Toro Groundsmaster 4500-D User manual

Toro

Toro Groundsmaster 4500-D User manual

Toro Recycler S53VST User manual

Toro

Toro Recycler S53VST User manual

Toro GrandStand 134-3259 User manual

Toro

Toro GrandStand 134-3259 User manual

Toro 30722 Groundsmaster 300 User manual

Toro

Toro 30722 Groundsmaster 300 User manual

Toro 74582 User manual

Toro

Toro 74582 User manual

Toro ProCore 648 User manual

Toro

Toro ProCore 648 User manual

Toro 26638 User manual

Toro

Toro 26638 User manual

Toro 74657 User manual

Toro

Toro 74657 User manual

Toro 73580 User manual

Toro

Toro 73580 User manual

Popular Lawn Mower manuals by other brands

Global garden products 72 Workshop manual

Global garden products

Global garden products 72 Workshop manual

EINHELL 01045 operating instructions

EINHELL

EINHELL 01045 operating instructions

Baroness LM315GC Owner's operating manual

Baroness

Baroness LM315GC Owner's operating manual

GreenWorks Tools 25157 user manual

GreenWorks Tools

GreenWorks Tools 25157 user manual

Etesia MVEHH user manual

Etesia

Etesia MVEHH user manual

Husqvarna LTH125 owner's manual

Husqvarna

Husqvarna LTH125 owner's manual

Gravely 915034 - ZT1640 Owner's/operator's manual

Gravely

Gravely 915034 - ZT1640 Owner's/operator's manual

Jacobsen 63281 Technical manual

Jacobsen

Jacobsen 63281 Technical manual

GreenWorks Pro MO802524 Operator's manual

GreenWorks Pro

GreenWorks Pro MO802524 Operator's manual

Deutz-Allis 3000 Series parts manual

Deutz-Allis

Deutz-Allis 3000 Series parts manual

Craftsman 917.9998C owner's manual

Craftsman

Craftsman 917.9998C owner's manual

jobmate YT9108 user manual

jobmate

jobmate YT9108 user manual

Yard force GM R40A instructions

Yard force

Yard force GM R40A instructions

Husqvarna R 419TsX AWD Operator's manual

Husqvarna

Husqvarna R 419TsX AWD Operator's manual

STERWINS ELM2-36P-3W.4 Assemby - Use - Maintenance Manual

STERWINS

STERWINS ELM2-36P-3W.4 Assemby - Use - Maintenance Manual

Craftsman 917.378770 owner's manual

Craftsman

Craftsman 917.378770 owner's manual

Partner M6556SMD Repair parts manual

Partner

Partner M6556SMD Repair parts manual

Craftsman 25913 instruction manual

Craftsman

Craftsman 25913 instruction manual

manuals.online logo
manuals.online logoBrands
  • About & Mission
  • Contact us
  • Privacy Policy
  • Terms and Conditions

Copyright 2025 Manuals.Online. All Rights Reserved.

 2004—TheToro Company
8111 Lyndale Ave., Bloomington, MN 55420, USA Printed in the USA
All Rights Reserved Original Instructions (EN)
Register your product at www.Toro.com
8 and 11 Blade DPA Reel Mowers
Greensmaster 3000 Series
Model No. 04610—230000001 and Up
Model No. 04611—230000001 and Up
Form No. 3351-557
Setup Instructions
Attention!
You must perform the following procedures on the designated traction units before you
install the cutting units.
Greensmaster 3050 Serial No. 230001501 & Prior
Greensmaster 3100 Serial No. 220001501 & Prior
Greensmaster 3150 Serial No. 230001000 & Prior
Mounting the Pull Arm
Bumpers
Order (6) Bumpers, Part No. 94-4548 and (6) Washer
Head Self Tapping Screws, Part No. 32144-44 from your
local Toro Distributor. Bumper may have already been
mounted to pull frame.
1. Using the dimensions shown in Figure 1, locate, mark,
and drill two .221 in. diameter holes in the underside
of each pull frame cross tube.
Note: Holes may already be present in the cross tubes.
1
19.43 in.
3.54 in. 0.75 in.
Figure 1
1. Pull frame cross tube
2. Mount the 2 recessed bumpers to the underside of each
pull frame cross tube with 2 washer head self tapping
screws (1/4 x 3/4 in.) (Fig. 2).
1
Figure 2
1. Recessed bumper
Modifying the Baskets
1. Locate and mark cut-off lines on each side of basket,
as shown in Figure 3.
1
Figure 3
1. Cut-off line
2
2. Using a sharp knife or similar cutting tool, cut off
material at marks.
3. Repeat procedure on all baskets.
Greensmaster 3250 Serial No. 230001500 & Prior
Modifying the Baskets
1. Using dimensions shown in Figure 4, locate and mark
cut–off lines on each side of basket.
.50”
2.00”
1
.50”
radius
Figure 4
1. Cut–off line
2. Using a sharp knife or similar cutting tool, cut off
material at marks.
Important Do not make a sharp corner; cut to form
a radius of approximately 1/2 in.
3. Repeat procedure on all baskets.
Replacing the Pull Arm
Extension
Order (6) Pull Arm Extensions, Part No. 99-4270 from
your local Toro Distributor.
1. Lower cutting units to the ground.
2. Loosen jam nuts and remove existing pull arm
extension from pull arms and ball joint receivers on all
carrier frames (Fig. 5).
1
3
2
Figure 5
1. Pull link extension
2. Pull arm 3. Ball joint receiver
3. Install new longer pull arm extensions to pull arms and
ball joint receivers (Fig. 6).
4. Adjust pull arm extensions to attain dimension shown
in Figure 6. Tighten jam nuts.
5. Mount the basket onto the carrier frame.
6. Adjust the pull links until there is 1/4 to 3/8 in. (6 to
9 mm) clearance between the lip of the basket and the
reel blades. Make sure the basket lips are equidistant
from the reel blades all the way across the reel blades.
1
6.62 in. (168 mm)
Figure 6
1. Pull link extension