FormNo.3456-222RevA
21inRecycler®/RearBaggingLawnMower
ModelNo.21321—SerialNo.400000000andUp
Operator'sManual
Introduction
Thisrotary-blade,walk-behindlawnmowerisintended
tobeusedbyresidentialhomeowners.Itisdesigned
primarilyforcuttinggrassonwell-maintainedlawnson
residentialproperties.Usingthisproductforpurposes
otherthanitsintendedusecouldprovedangerousto
youandbystanders.
Readthisinformationcarefullytolearnhowtooperate
andmaintainyourproductproperlyandtoavoid
injuryandproductdamage.Youareresponsiblefor
operatingtheproductproperlyandsafely.
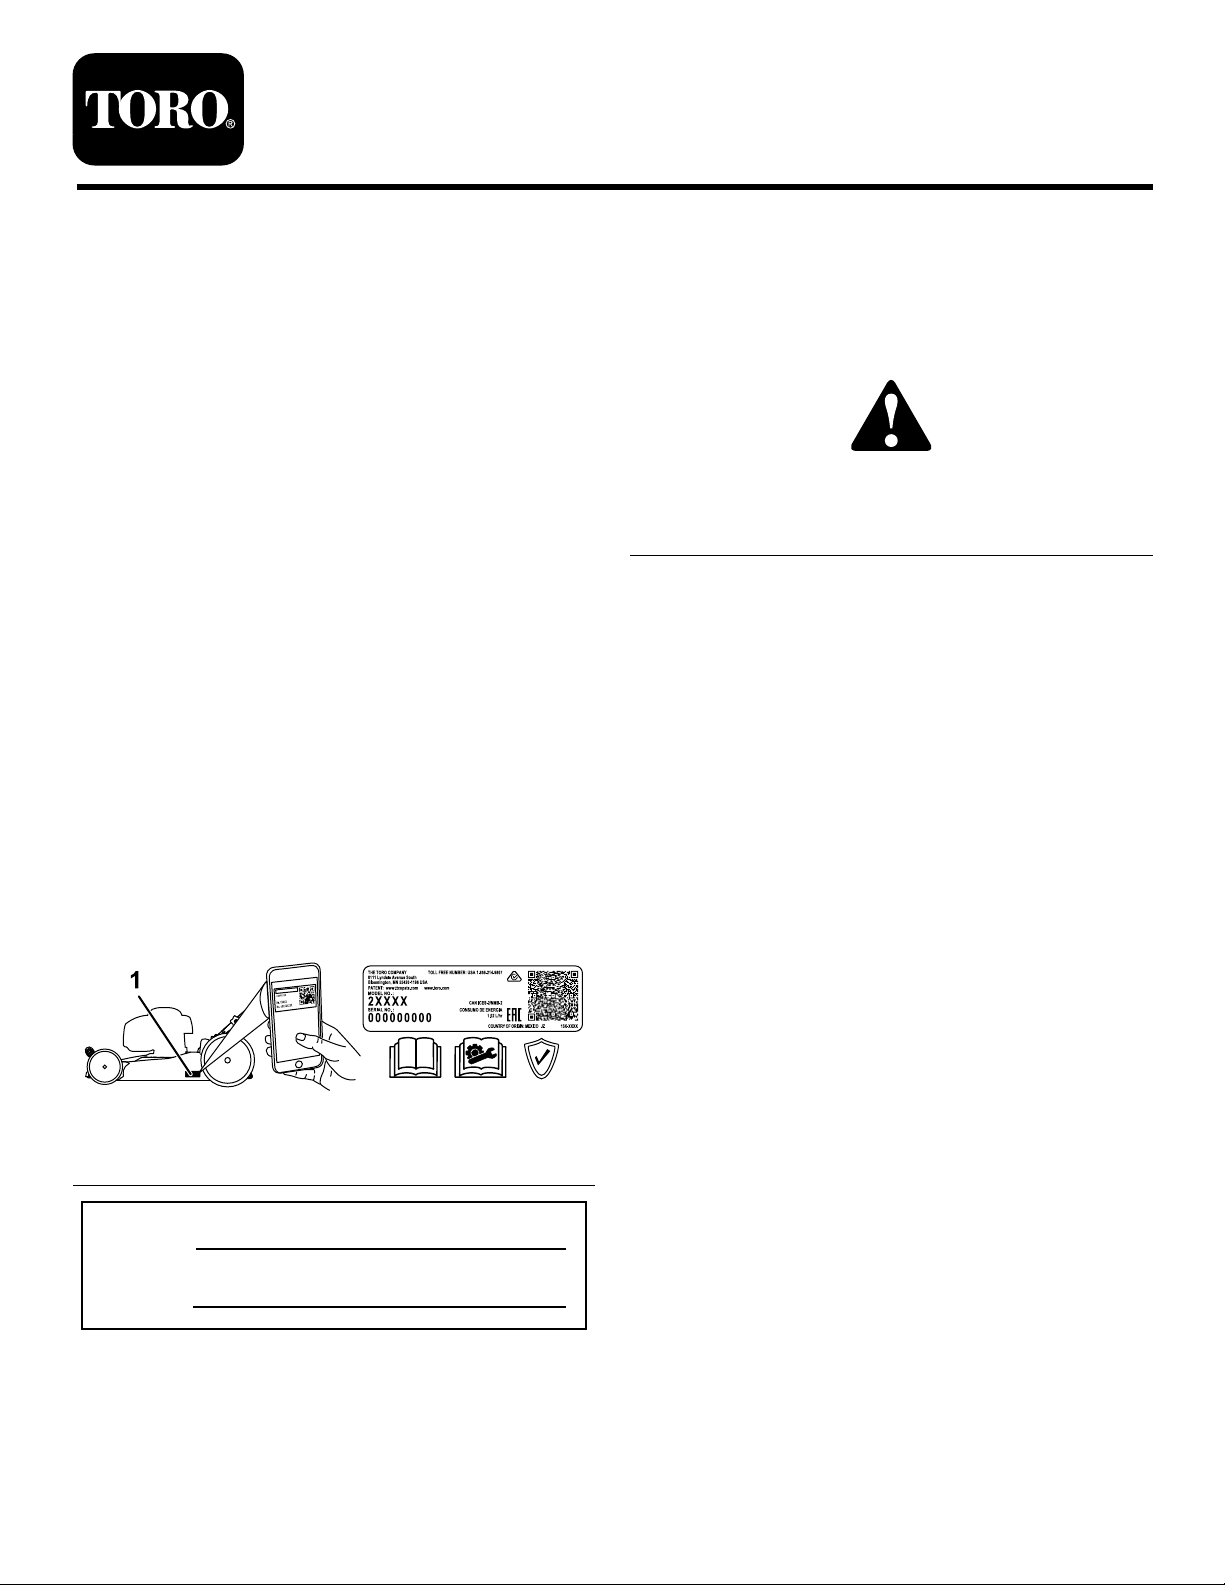
Visitwww.Toro.comformoreinformation,including
safetytips,trainingmaterials,accessoryinformation,
helpndingadealer,ortoregisteryourproduct.
Wheneveryouneedservice,genuineToroparts,or
additionalinformation,contactanAuthorizedService
DealerorToroCustomerServiceandhavethemodel
andserialnumbersofyourproductready.Figure1
identiesthelocationofthemodelandserialnumbers
ontheproduct.Writethenumbersinthespace
provided.
Important:Withyourmobiledevice,youcan
scantheQRcodeontheserialnumberdecal(if
equipped)toaccesswarranty,parts,andother
productinformation.
g283232
Figure1
1.Modelandserialnumberlocation
ModelNo.
SerialNo.
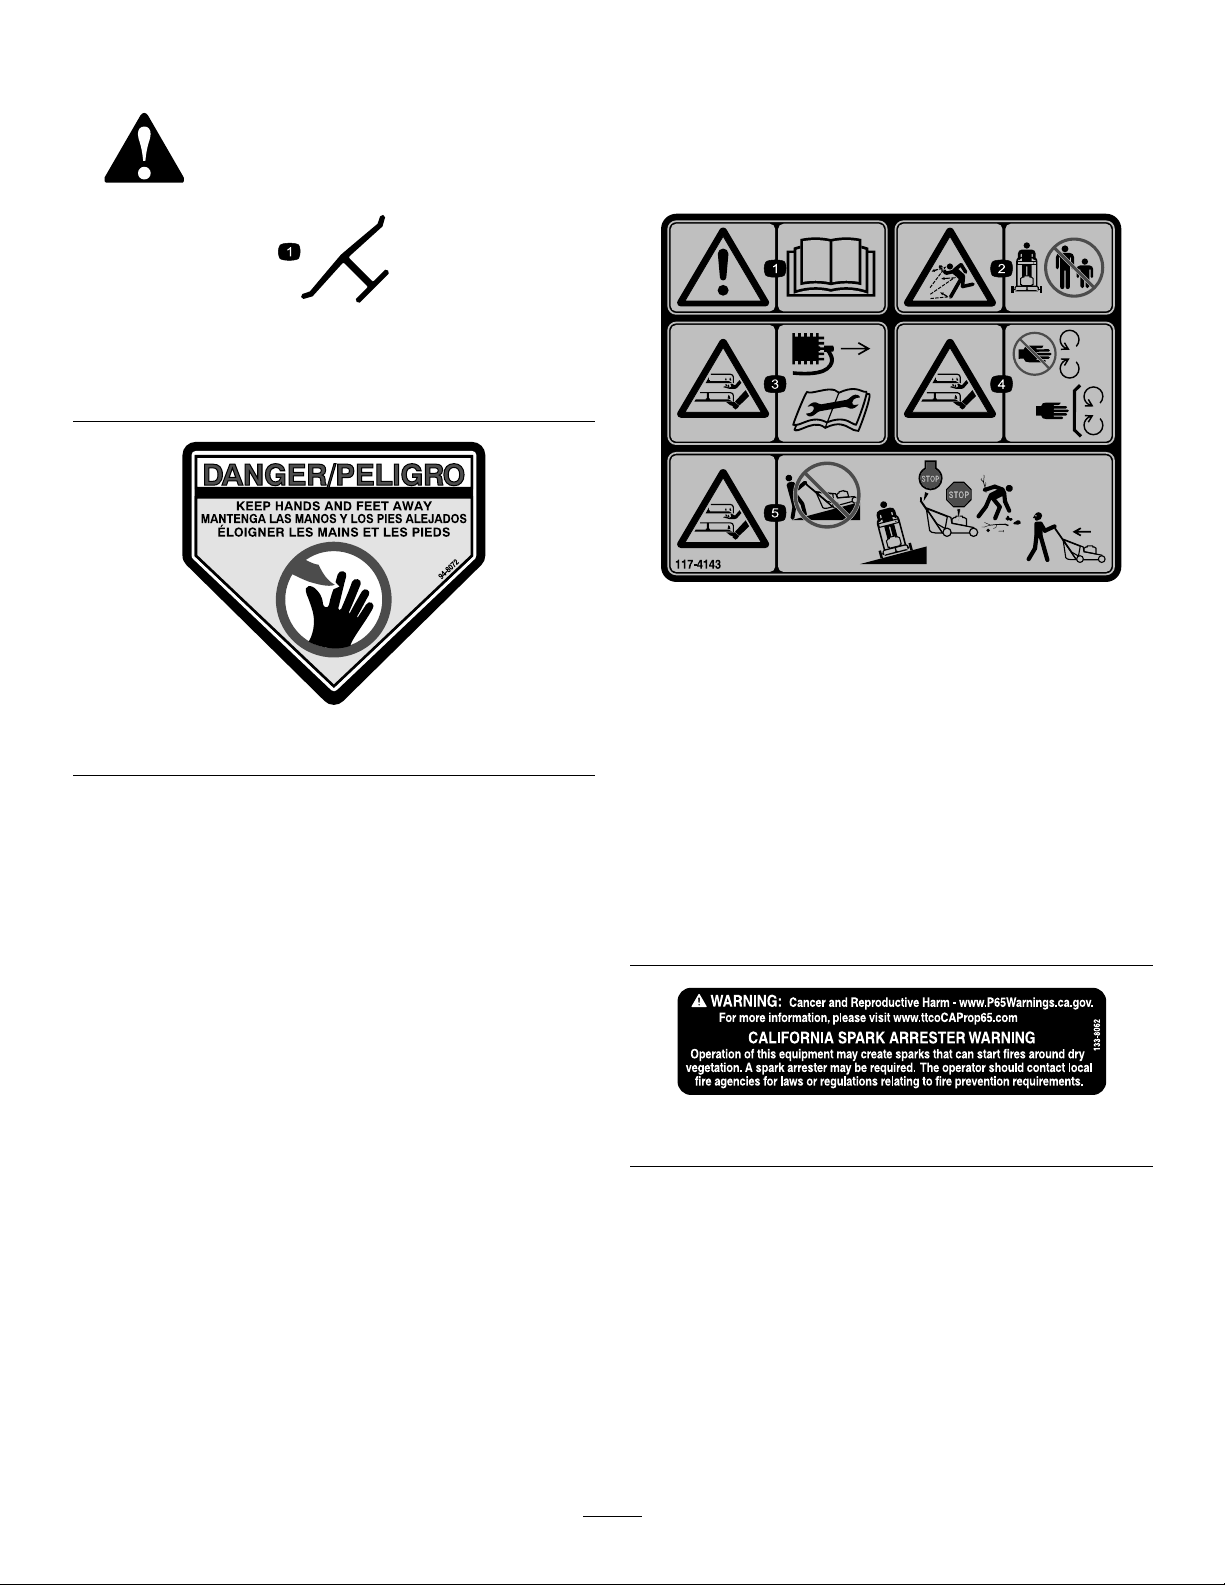
Safety-AlertSymbol
Thesafety-alertsymbol(Figure2)showninthis
manualandonthemachineidentiesimportantsafety
messagesthatyoumustfollowtopreventaccidents.
g000502
Figure2
Safety-alertsymbol
Thesafety-alertsymbolappearsaboveinformation
thatalertsyoutounsafeactionsorsituationsand
isfollowedbythewordDANGER,WARNING,or
CAUTION.
DANGERindicatesanimminentlyhazardoussituation
which,ifnotavoided,willresultindeathorserious
injury.
WARNINGindicatesapotentiallyhazardoussituation
which,ifnotavoided,couldresultindeathorserious
injury.
CAUTIONindicatesapotentiallyhazardoussituation
which,ifnotavoided,mayresultinminorormoderate
injury.
Thismanualusestwootherwordstohighlight
information.Importantcallsattentiontospecial
mechanicalinformationandNoteemphasizesgeneral
informationworthyofspecialattention.
ItisaviolationofCaliforniaPublicResourceCode
Section4442or4443touseoroperatetheengineon
anyforest-covered,brush-covered,orgrass-covered
landunlesstheengineisequippedwithaspark
arrester,asdenedinSection4442,maintainedin
effectiveworkingorderortheengineisconstructed,
equipped,andmaintainedforthepreventionofre.
Theenclosedengineowner'smanualissupplied
forinformationregardingtheUSEnvironmental
ProtectionAgency(EPA)andtheCaliforniaEmission
ControlRegulationofemissionsystems,maintenance,
andwarranty.Replacementsmaybeorderedthrough
theenginemanufacturer.
GrossorNetTorque:Thegrossornettorque
ofthisenginewaslaboratoryratedbytheengine
manufacturerinaccordancewiththeSocietyof
©2022—TheToro®Company
8111LyndaleAvenueSouth
Bloomington,MN55420Registeratwww.T oro.com.
OriginalInstructions(EN)
PrintedinMexico
AllRightsReserved*3456-222*