Toro T4240 User manual
Other Toro Lawn Mower manuals
Toro
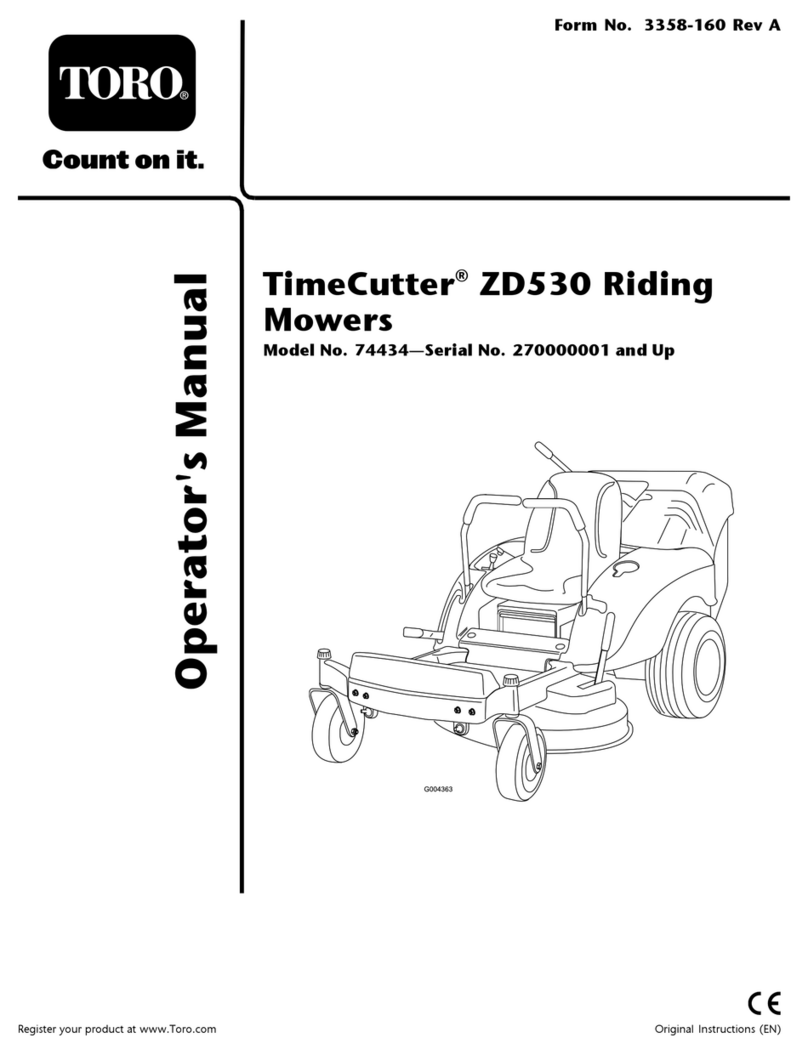
Toro 73470 Manual
Toro
Toro Super Recycler 20044 User manual

Toro
Toro Greensmaster e1021 User manual
Toro
Toro 30032 User manual
Toro
Toro 21693 User manual

Toro
Toro 21852 User manual
Toro
Toro 71228 User manual

Toro
Toro 71300 Wheel Horse 12-32 XLE User manual
Toro
Toro 22203TE User manual

Toro
Toro Groundsmaster 4500-D User manual
Toro
Toro Recycler 21020 User manual

Toro
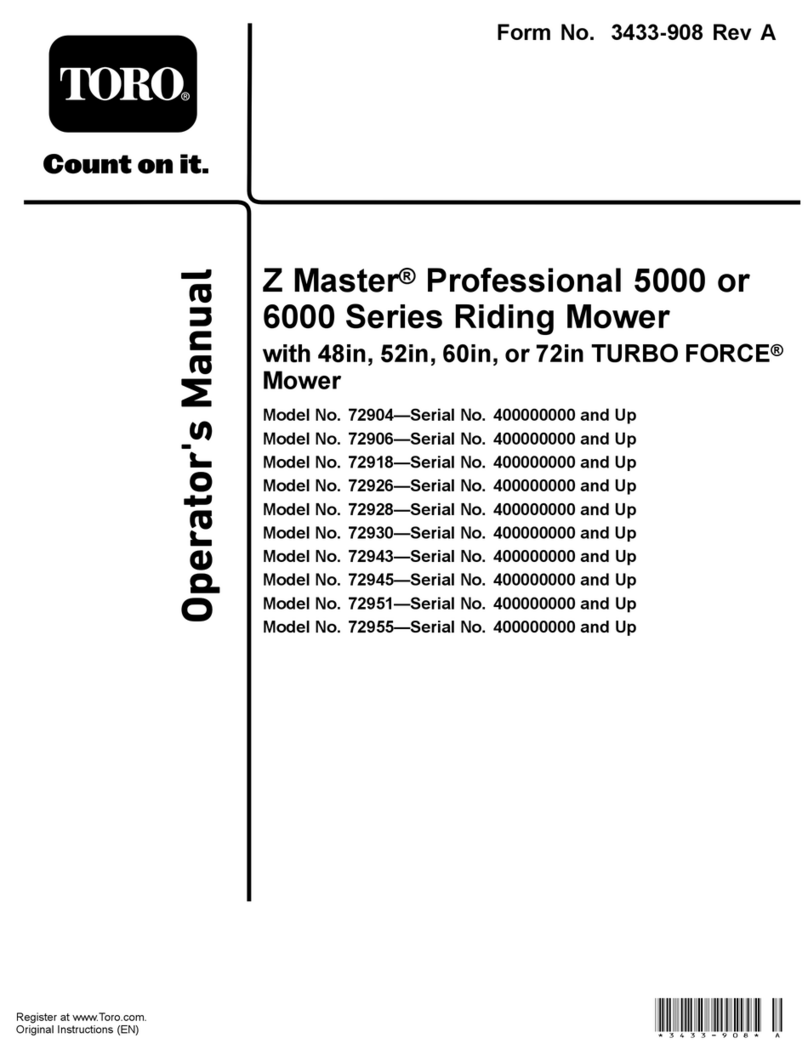
Toro Z Master Professional 5000 Series User manual

Toro
Toro 22043 User manual
Toro
Toro 20065 User manual

Toro
Toro 20814 User manual
Toro
Toro 74408 User manual

Toro
Toro Wheel Horse 16-44 HXL User manual
Toro
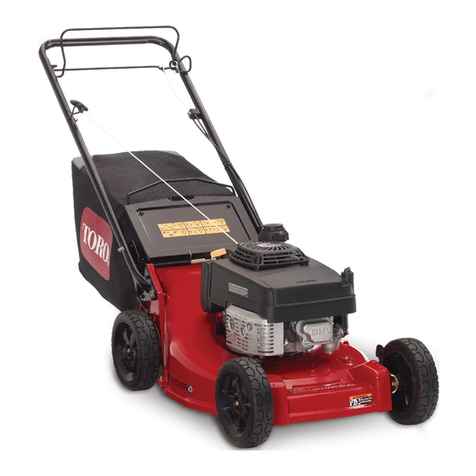
Toro 22291 User manual
Toro
Toro 2770 User manual
Toro
Toro 3675 User manual
Popular Lawn Mower manuals by other brands

DEWEZE
DEWEZE ATM-725 Operation and service manual

Weed Eater
Weed Eater 180083 owner's manual

Husqvarna
Husqvarna Poulan Pro PP185A42 Operator's manual

Better Outdoor Products
Better Outdoor Products Quick Series Operator's manual

Cub Cadet
Cub Cadet 23HP Z-Force 60 Operator's and service manual

MTD
MTD 795, 792, 791, 790 Operator's manual
