#%!#,
E ) " #%# #!$"+
'& &%)
# # " $
#*% #) t
$%'#%&
"(
Important
Safety Instructions
To
assur
e maximum
safety
, best performance, and to gain knowledge of the pr
oduct,
it is essential
that you or any other operator of the Power Shovel read and understand the contents of this manual
before starting the motor. Pay particular attention to the safety alert symbol which means
CAUTION,
W
ARNING, OR DANGER — “personal safety instruction.” Read and understand the
instruction because it has to do with safety
.
Failure to comply with instruction may result in personal
injury.
WARNING
IMPORTANT:
Save these instructions for futur
e r
eference
Before
Operating
•Read
and understand the contents of this manual
before operating the
Power Shovel
. Become familiar
with all controls, and know how to stop the
Power
Shovel
quickly
.
•
Keep everyone, especially children and pets, away
from the area of operation. Never allow children to
operate the
Power Shovel
.
•
Inspect the area thoroughly where you will use the
Power Shovel
. Remove doormats, sleds, boards, sticks,
wire, and other foreign objects that the
Power Shovel
might pick up and throw
. Never direct the dischar
ge
toward people.
•
Keep all shields and safety devices in place. Repair or
replace any illegible or damaged shield, safety device,
or decal. T
ighten any loose nuts, bolts, or screws.
•W
ear adequate winter clothing and rubber boots to
ensure secure footing on slippery surfaces. Do not
wear loose-fitting clothing that can catch in moving
parts.
•
Use the
Power Shovel
on gravel or crushed rock
surfaces only according to the instructions in
Operating
on page 6.
•WARNING—T
o prevent electric shock, use only
a UL-approved extension cord suitable for outdoor use
in cold temperatures (16-gauge minimum). Promptly
replace a damaged extension cord.
•T
o reduce the risk of electric shock, the
Power Shovel
has a polarized plug (one blade is wider than the other)
(Fig. 6) that requires a polarized extension cord. The
appliance plug fits into a polarized extension cord only
one way
. If the plug does not fit properly into the
extension cord, reverse the plug. If the plug still does
not fit, obtain a correct polarized extension cord. A
polarized extension cord requires the use of a polarized
wall outlet. This plug fits into the polarized wall outlet
only one way
. If the plug does not fit fully into the
wall outlet, reverse the plug. If the plug still does not
fit, contact a qualified electrician to install the proper
wall outlet. Do not change the equipment plug, the
extension cord receptacle, or the extension cord plug
in any way
.
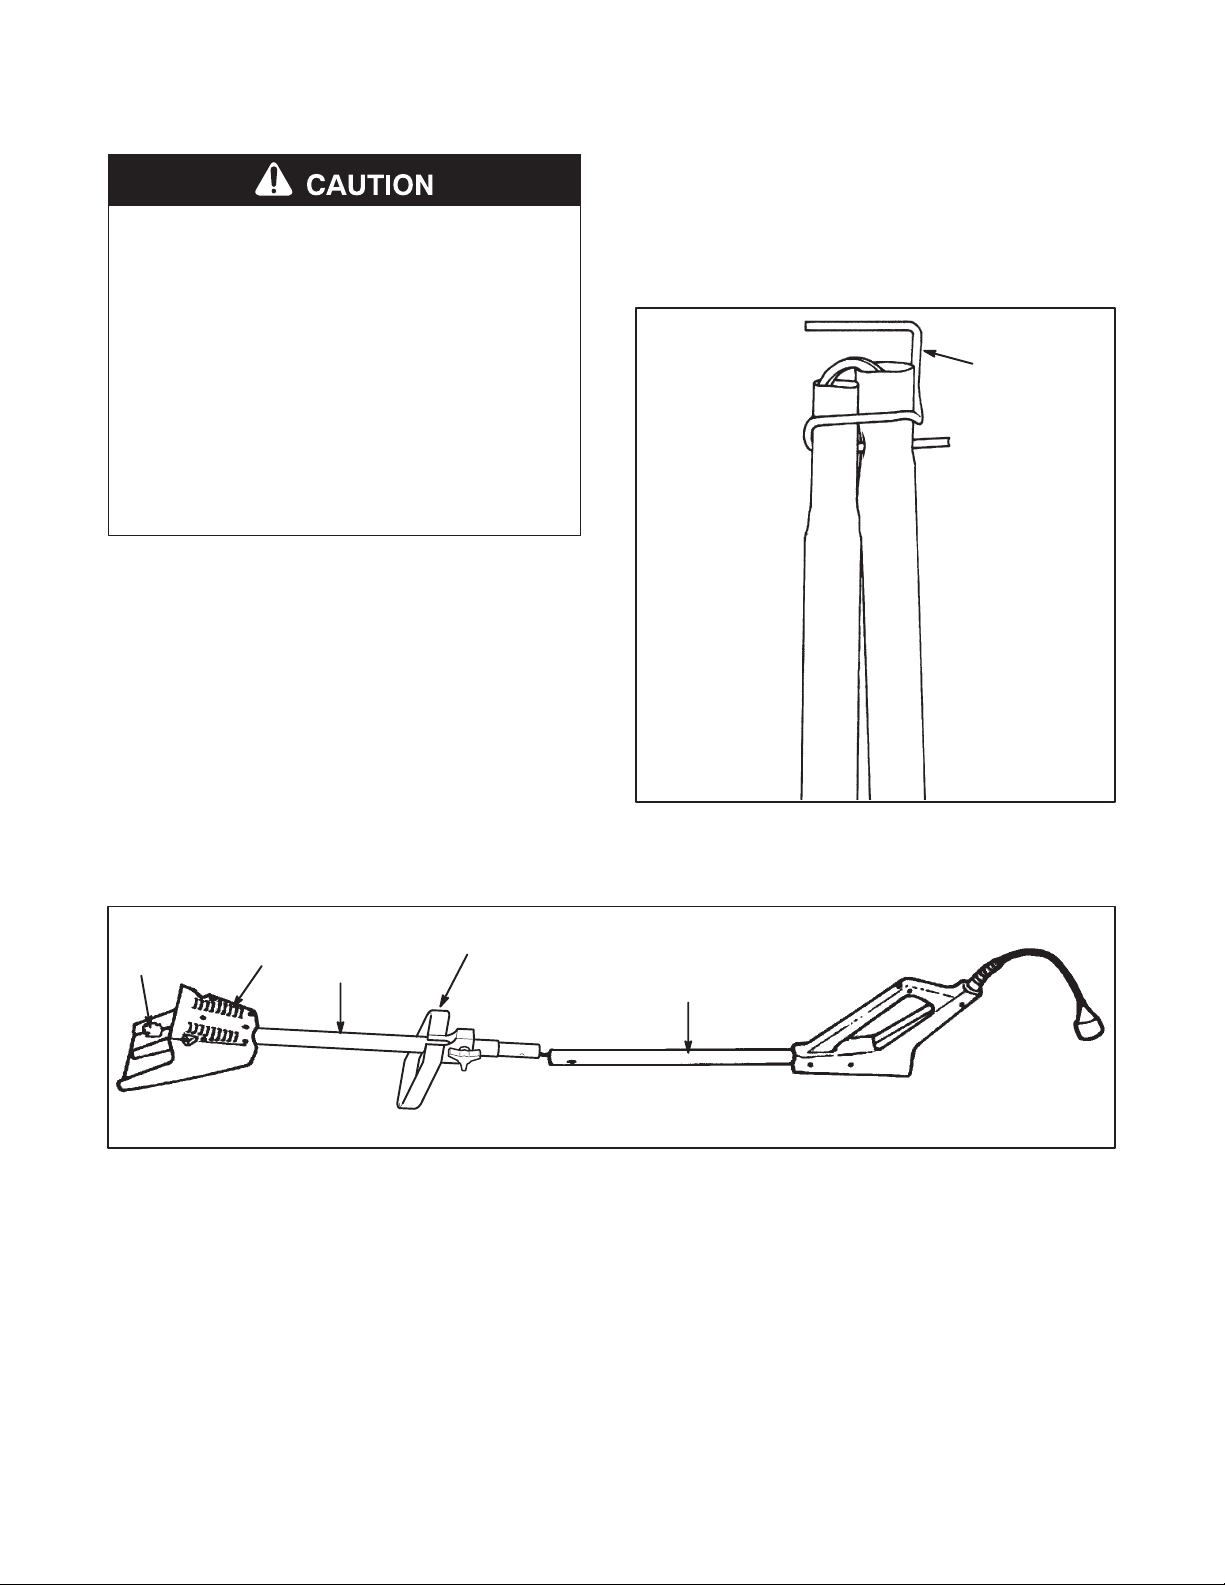
•T
o prevent the
Power Shovel
cord from disconnecting
from the extension cord during operation, tie the
extension cord to the lower handle before connecting
to the
Power Shovel
cord; refer to Figure 7.
While
Operating
•Never
operate the
Power Shovel
near people, pets,
glass enclosures, automobiles, trucks, window wells,
or a drop-of
f without properly adjusting the snow
dischar
ge angle; refer to
Operating T
ips
on page 5.
•A
void accidental starting. Do not insert the key until
after plugging in the
Power Shovel
. Remove the key
before carrying the
Power Shovel
when plugged in.
•
If the
Power Shovel
cord is damaged, pull the
extension cord from the wall receptacle and replace
the cord.