Tover Tovertafel Pixie User manual
Versions:
UK, NL, DE, FR, NO, SE, DK
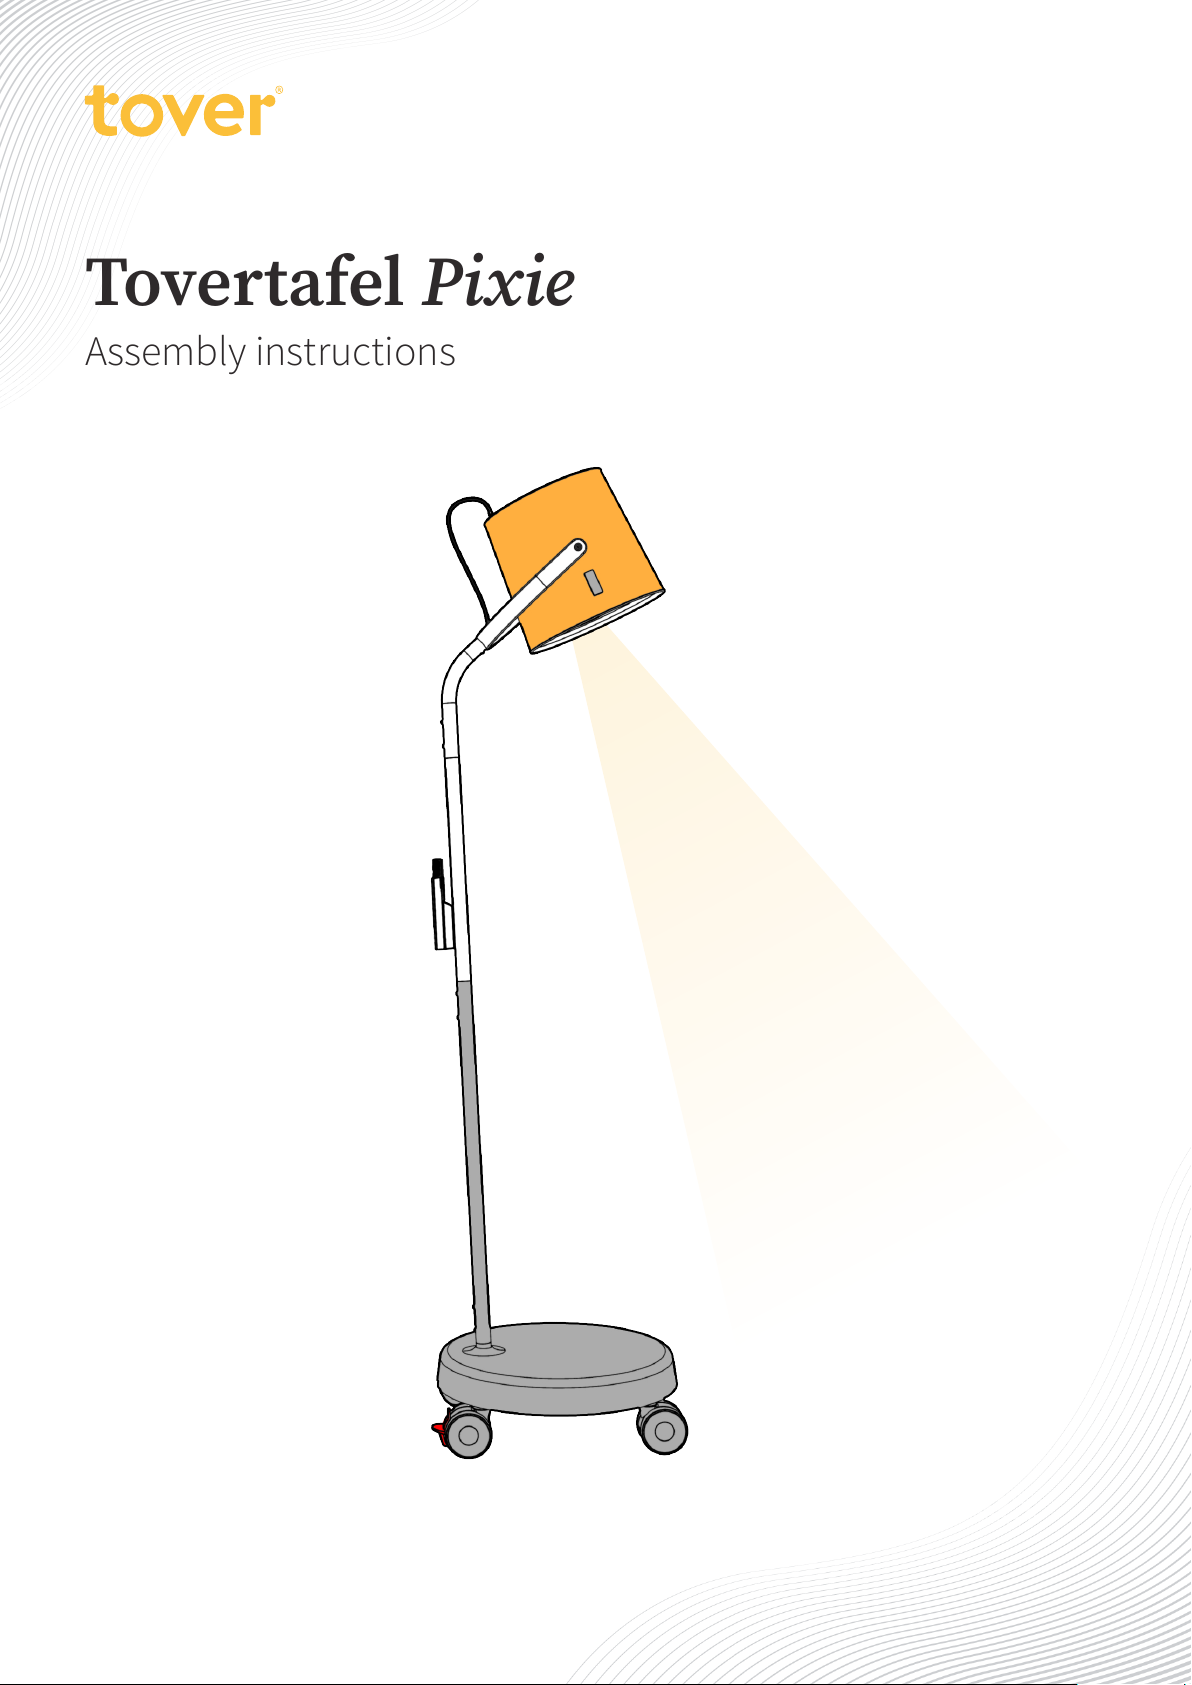
Tovertafel Pixie
Assembly instructions
NL - orginal assembly instructions
August 2023

UK Assembly instructions
NL Montagehandleiding
DE Installationshandbuch
FR Manuel de montage
SE Monteringsanvisningar
NO Monteringsveiledning
DK Samlevejledning
3
17
31
45
59
73
87

3August 2023•Assembly instructions
Tovertafel Pixie
Assembly instructions
Contents
1. Introduction 4
1.1. Intended use 4
1.2. Important before you begin playing 4
1.3. Assistance 4
1.4. Explanation of the symbols used 5
2. Safety instructions 5
2.1. Parts supplied 6
3. Assembling the Tovertafel Pixie 7
3.1. Checking the package contents 7
3.2. Assembling the Tovertafel Pixie 7
4. EC declaration 15
5. Legal information 15
6. Disposal or recycling 15
UK

4
•Assembly instructions August 2023
1. Introduction
The Tovertafel Pixie is very easy to assemble. These instructions will lead you through the assembly process
step-by-step.
Carefully read the user manual before you start using the Tovertafel Pixie. Pay particular
attention to the safety instructions in order to guarantee that the Tovertafel Pixie functions
correctly.
1
Caution
• Risk of product damage. Do not remove the contents of the box until mentioned in the assembly instructions.
The packaging is part of the assembly process.
1.1. Intended use
The Tovertafel Pixie is an interactive projection
system that projects games on ceilings, walls or
tables.
The Tovertafel Pixie may not be mounted, moved or
operated by people with limited physical, sensory
or intellectual capacities, or a lack of experience
and/or knowledge, unless they are being supervised
by a person who is responsible for their safety or
who issues them instructions.
The Tovertafel Pixie is only intended for indoor use.
The Tovertafel Pixie is intended for maximum 2
players.
1.2. Important before you begin
playing
If the instructions in the assembly instructions or
user manual are not complied with and/or the Pixie
is used for purposes other than those described in
the manual, the product guarantee will lapse and
we will not accept any liability.
We recommend that you save the original
packaging in case you might need to return the
Pixie.
1.3. Assistance
We are continuously developing
the product. It is possible that
some functions in this guide dier
and have been improved in the
meantime. For the latest
information and extensive
support, please see
my.tover.care/pixie or scan the
QR code to go to the website.
Are you having problems assembling or using the
Tovertafel Pixie? If so, please get in touch with our
service team.
Service team:
+31 (0)85 303 4819
support@tover.care
www.tover.care/pixie
Address:
Tover B.V.
Hamburgerstraat 28a
3512 NS Utrecht
The Netherlands
Did you purchase the Tovertafel Pixie via one of our
local distributors? In that case, get in touch with
that distributor for service questions. See our
website my.tover.care/articles/contact.
5August 2023•Assembly instructions
1.4. Explanation of the symbols used
Reference to a choice that you can
make to a step.
!
Warning Indicates a hazardous
situation. Failure to follow the safety
instructions may result in death or
serious injury.
!
Caution Indicates a hazardous
situation. Failure to follow the safety
instructions may result in minor to
moderate injury.
!
Remark represents information that
should be regarded as important but
which has no connection with injury.
i
Tip represents useful information.
2. Safety instructions
Safety during use is only guaranteed if assembly has
been carried out correctly in a technical sense and
in accordance with the assembly instructions. You
are personally responsible for damage caused by
improper assembly.
Read the safety instructions
described in the user manual
before starting assembly.
6
•Assembly instructions August 2023
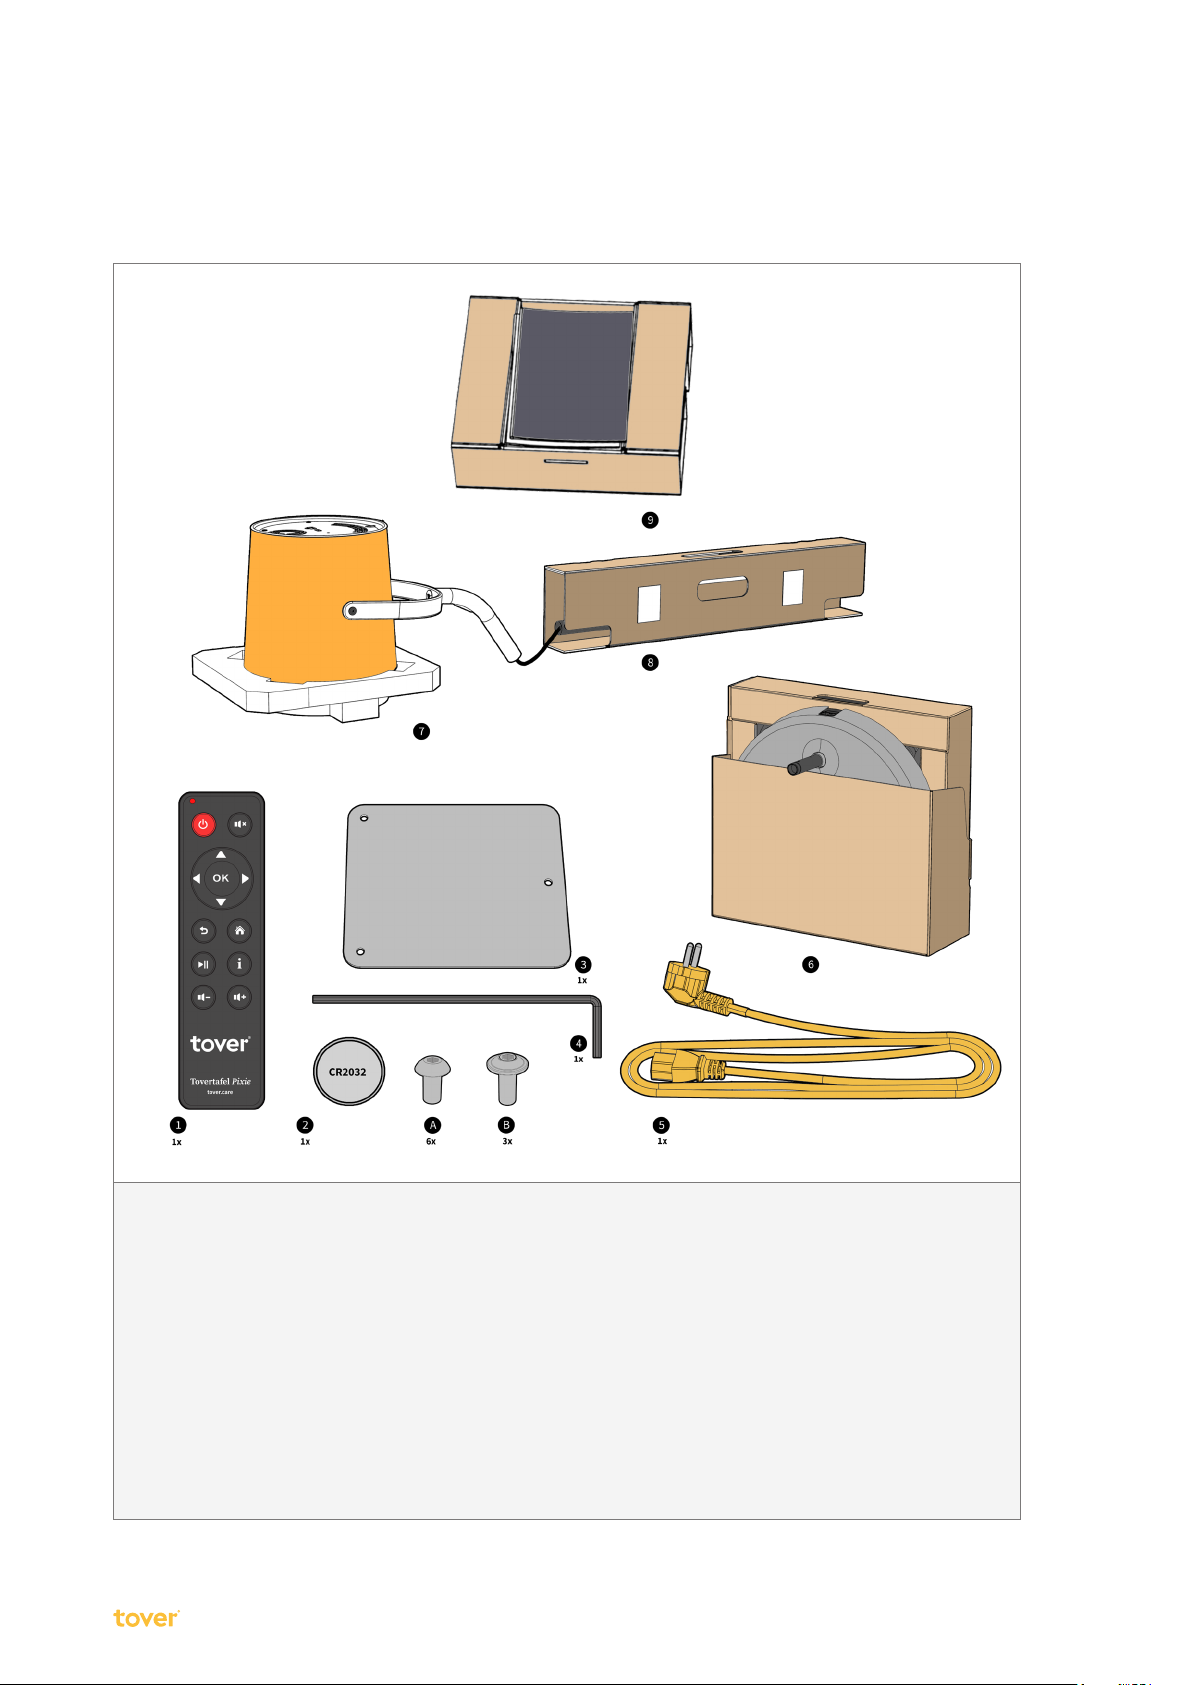
2.1. Parts supplied
Risk of product damage. Do not remove the contents of the box until mentioned in the assembly instructions.
The packaging is part of the assembly process.
1. Remote control
2. 1× battery CR2032
3. Lid
4. Allen key 2.5 mm
5. Yellow power cable 5 m (NB: type, colour and length vary per country)
6. Base in box
7. Yellow cover with cable
8. Frame components in box
9. Box with user manual and assembly instructions
A. Screw type A (round head, length 8 mm)
B. Screw type B (round head with flange, length 10 mm)

7August 2023•Assembly instructions
3. Assembling the Tovertafel Pixie
3.1. Checking the package contents
Check that all components are present during assembly (see chapter 2.1.Parts supplied) and that there is no
visible damage to the components. If components are missing or damaged, please contact Tover B.V. or one of
our approved distributors (see chapter 1.3. Assistance) and wait to use the Tovertafel Pixie until Tover has
provided further instructions.
3.2. Assembling the Tovertafel Pixie
Step 1:
1. Find a good, open space on the floor to assemble the Tovertafel Pixie.
2. Open the box.
Step 2:
1. Remove the cardboard section containing manuals, accessories and assembly material from the
packaging and place it within reach.
2. Remove the top piece of foam from the packaging and place it on the floor so that it can be used to protect
the yellow cover.
4You can also place a cloth or a rug to prevent scratches.

8
•Assembly instructions August 2023
Step 3:
Remove the yellow cover and the frame (in the rectangular packaging) from the box simultaneously, and
immediately place the yellow cover on the piece of white foam or on a rug.
2Risk of product damage. Never pull the wire between the frame and the yellow cover.
Step 4:
1. Open the cardboard around the frame.
2. Thread the wire through the components of the frame.

9August 2023•Assembly instructions
Step 5:
1. Slide the 3 components of the frame into each other while you carefully guide the wire through them.
2. Align the assembly holes with each other.
3. Manually screw the frame components together using 4× screw type A.
4Use the enclosed Allen key.
2Remark
• Risk of product damage. The Tovertafel Pixie has not been designed for assembly with electrical tools; the
power of the electrical tools can damage the product. Only use manual tools for assembly.
Step 6:
1. Li the base out of the packaging.
4Leave the cardboard around the base during assembly. This makes the base easy to assemble and
prevents it from rolling away.
2. Place the base straight in front of the frame.
3. Thread the wire into the base.
4. Slide the frame components into each other.
5. Align the assembly holes with each other.
6. Manually screw the frame to the base using 2× screw type A.
4Use the enclosed Allen key.
2Remark
• Risk of product damage. The Tovertafel Pixie has not been designed for assembly with electrical tools; the
power of the electrical tools can damage the product. Only use manual tools for assembly.

10
•Assembly instructions August 2023
Step 7:
Remove the cardboard around the base by folding down the lips at the side.
Step 8:
1. Pull and tighten the wire via the bottom of the base.
2. Roll up the wire so that it fits inside the cavity.
3. Insert the plug into the plug port. Push the plug until you hear a click.
Other manuals for Tovertafel Pixie
1
Table of contents
Languages:
Other Tover Game manuals

Popular Game manuals by other brands


Fundex Games
Fundex Games Timber Tumble User instructions

Go! Gater
Go! Gater 1-1-16453-TP02 Assembly instructions

Smoby
Smoby BBF Challenger quick start guide

Hathaway
Hathaway BG2019SK Assembly instructions

Roberto Sport
Roberto Sport INGLESE Assembly instructions

Beleduc
Beleduc XXL Witches' Kitchen Instruction


