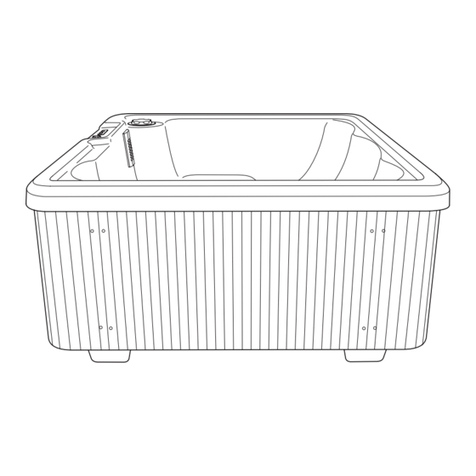
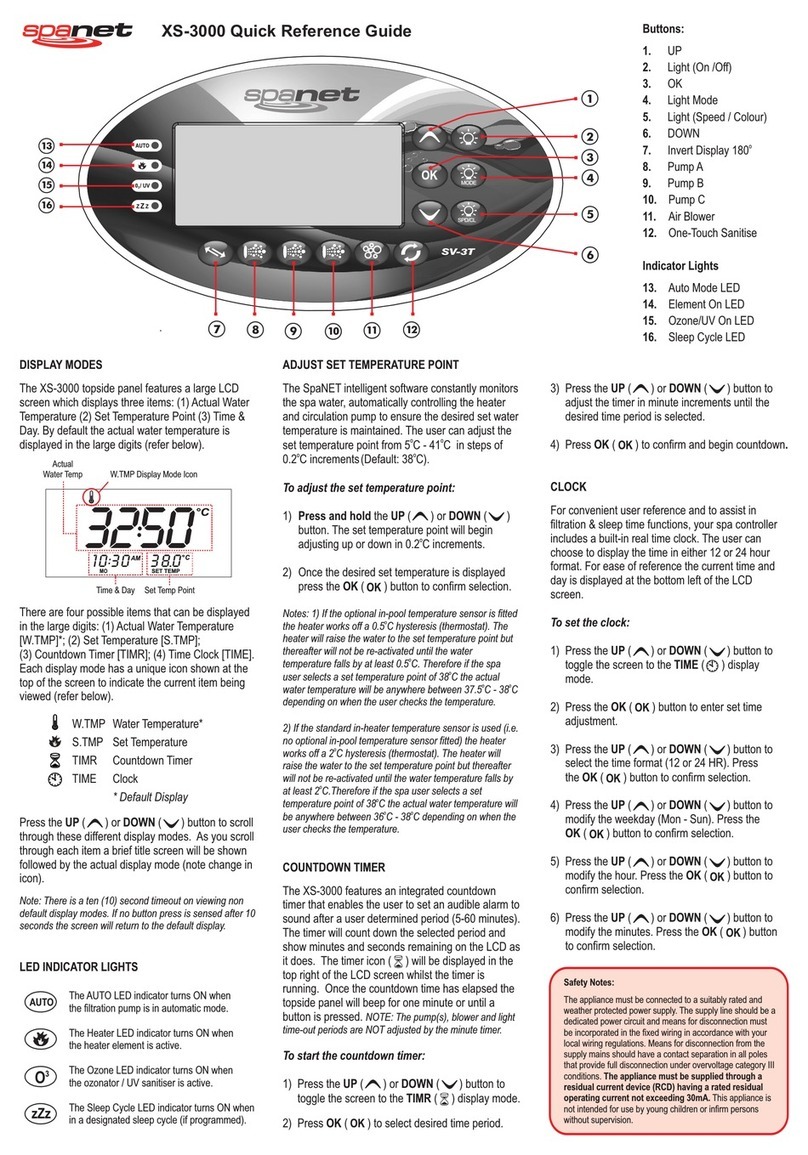
Trade-wind SW3060LH User manual

1
SKIRTED SERIES
INSTALLATION INSTRUCTIONS
WHIRLPOOL MODELS: SW3060LH, SW3060RH, SW3260LH, SW3260RH, SW3660LH, SW3660RH,
SW4260LH, SW4260RH
SOAKING TUB MODELS: ST3060LH, ST3060RH, ST3260LH, ST3260RH, ST3660LH, ST3660RH,
ST4260LH, SW4260RH
NOT SUITABLE FOR FIELD INSTALLED HEATER
READ AND FOLLOW ALL INSTRUCTIONS
INSPECT THIS SHIPMENT FOR POSSIBLE TRANSIT DAMAGE
This unit has been factory tested for leaks and workmanship. Damage may occur during shipping or in the ac-
tual installation. It is required that the unit be field tested prior to final installation. Failure to do so may result
in voiding the manufacturer’s warranty. Under no circumstances will the manufacturer be liable for any damage
due to leaks by the unit.
HOW TO WATER TEST
Fill the unit with water to a level one inch above the jets and visually inspect all fittings for any static leaks. If
any leaks are noticed, contact your dealer or the factory at once. Do not install the unit until the leaks are re-
paired.
7612 Drag Strip Road – Fairview, TN 37062 – 615/799-8300 – www.tradewindinc.com

2
IMPORTANT SAFETY INSTRUCTIONS
WARNING: WHEN USING THE UNIT, BASIC PRECAUTIONS SHOULD ALWAYS BE FOL-
LOWED, INCLUDING THE FOLLOWING:
1) READ AND FOLLOW ALL INSTRUCTIONS.
2) DANGER: To reduce the risk of injury, do not permit children to use this unit unless they are closely
supervised at all times.
3) Use this unit only for its intended use as described in this manual. Do not use attachments not rec-
ommended by the manufacturer.
4) Never drop or insert any object into any opening.
5) DANGER: RISK OF ELECTRICAL SHOCK. This unit must be connected only to a supply circuit
that is protected by a ground-fault circuit interrupter (GFCI). Such GFCI should be provided by the
installer and should be tested on a routine basis. To test the GFCI, push the test button. The GFCI
should interrupt power. Push the reset button. Power should be restored. If the GFCI fails to operate
in this manner, there is a ground current flowing, indicating the possibility of electric shock. Do not
use the unit. Disconnect the unit and have the problem corrected by a qualified electrician.
6) Never operate this unit without the guard (strainer) over the suction fitting.
7) FOR PERMANENTLY CONNECTED UNITS: A green colored terminal (or a wire connector
marked “G”, “GR”, “Ground”, or “Grounding”) is provided within the terminal compartment. To
reduce the risk of electric shock, connect this terminal or connector to the grounding terminal of your
electric service supply panel with a conductor equivalent in size to the circuit conductors supplying
this equipment.
8) SAVE THESE INSTRUCTIONS.
PRE-INSTALLATION INSTRUCTIONS
1) Prior to installation, insure that sufficient clearance is provided for all plumbing. An access panel (16” x 20”)
MUST be provided for inspection and service of the pump and any electrical components.
2) During construction, the unit is vulnerable to damage caused by falling objects or workmen standing in the
unit. PLEASE take precautions to cover the unit with the protective cardboard for as long as possible.
3) NEVER STORE OTHER CONSTRUCTION MATERIALS INSIDE THE UNIT. This is one of the leading
causes of field damage.
7612 Drag Strip Road – Fairview, TN 37062 – 615/799-8300 – www.tradewindinc.com

3
RECOMMENDED PRECAUTIONS
1) Upon receiving your unit, remove it from its protective packaging and inspect it for damage which may have
resulted in transit.
2) Any alterations, additions, or deletions made to the unit’s plumbing system, pump/blower motor, or any devi-
ation from the recommended installation instructions WILL VOID THE WARRANTY.
3) Literature dimensions are for reference only. Actual measurements should be taken from the tub.
4) NEVER PICK THE UNIT UP BY ITS PLUMBING AS THIS CAN CAUSE SEVERE DAMAGE TO THE
PLUMBING SYSTEM. Any damage to the system stemming from mishandling will not be covered under
the warranty.
5) All electrical wiring should be done by a licensed electrician and should comply with all applicable local
codes.
6) Location of the TIMER or SWITCH for the unit must be in compliance with all local codes to eliminate the
possibility of electric shock. THE UNITS POWER SOURCE MUST BE ON A GFCI (GROUND FAULT
CIRCUIT INTERRUPTOR).
7) ALL BUILDING MATERIALS AND WIRING SHOULD BE ROUTED AWAY FROM THE PUMP/
BLOWER OR ANY OTHER HEAT PRODUCING COMPONENTS.
8) UNDER NO CIRCUMSTANCES should the whirlpool system be activated when there is no water in the
system. The water level must be at least one inch above the circulating jets or damage to the system may
occur. The Thermal Air system can be activated when there is no water in the unit without risk of damaging
the system.
9) The TRADEWIND UNIT does not include a system for filtration. Therefore, it is recommended that the sys-
tem be drained immediately after every use.
7612 Drag Strip Road – Fairview, TN 37062 – 615/799-8300 – www.tradewindinc.com

4
THE FOLLOWING INSTALLATION DETAILS ARE TO BE USED FOR DIFFERENT INSTALLATION
APPLICATIONS. SOME NECESSARY PRECAUTIONS ARE LISTED BELOW.
1) Insure the location of the bath has a level subfloor, plumb and square framework, and the rough in
dimensions are accurate. If any of these items are not met please make necessary changes in ac-
cordance with applicable building codes prior to installation on the product.
2) The flange of the unit must be supported with either a ledger strip or a knee wall. This is to prevent
any movement in the flange and is not to support the total weight of the tub.
3) The base of the unit must be in direct contact with the subfloor. The supporting base made on the tub
is designed to carry the total load of the tub.
4) An access panel MUST be left for service and inspection of the pump/blower and any electrical con-
nections. This access panel needs to be at least 16” x 20”.
5) This unit MUST be water tested for leaks before the unit is completely enclosed.
6) All rough in dimensions are for reference only, and actual measurements should always be taken
from the unit itself.
ROUGH IN DIMENSIONS
Model Length Width Height
SW/ST3060 59-3/4” 29-3/4” 15-3/4”
SW/ST3260 59-3/4” 31-3/4” 15-3/4”
SW/ST3660 59-3/4” 35-3/4” 17-3/4”
SW/ST4260 59-3/4” 41-3/4” 17-3/4”
NOTE: For a detailed specifications sheet, complete with measurements and electrical requirements, please
contact your local dealer or the factory.
7612 Drag Strip Road – Fairview, TN 37062 – 615/799-8300 – www.tradewindinc.com

5
INSTALLATION DETAILS
1) The alcove where the tub is to be located should be clean of all debris, level, plumb, and square.
2) Measure the height from the subfloor to the bottom of the tub deck to determine where to locate your
ledger strip along the three walls of the alcove.
3) Install the ledger insuring a level installation to the framework.
4) Test fit the bath making sure the deck of the bath is fully supported, and that the base to the bath is in
full contact with the subfloor.
5) Remove the bath from the alcove and flip the tub upside down.
6) Apply a liberal amount of construction adhesive (make sure the construction adhesive states it is safe
for use on foam) to the high density foam supports, and along the ledger stip.
7) Carefully set the tub back into its location right side up and apply pressure to set the adhesive. Check
the deck and base for full contact with the ledger and subfloor.
8) Carefully pre drill the integrated drip edge at each stud and screw the bath to the framework. Hand
tighten screws ,and be cautious to not over tighten the screws. If the tub is gapped from the
framework place a shim prior to installation of the screw.
7612 Drag Strip Road – Fairview, TN 37062 – 615/799-8300 – www.tradewindinc.com

6
7612 Drag Strip Road – Fairview, TN 37062 – 615/799-8300 – www.tradewindinc.com

7
PNEUMATIC OPERATING INSTRUCTIONS
Pneumatic controls will have one, two, or three round push buttons
depending on the options.
DANGER: KEEP HAIR AND CLOTHING A MINIMUM OF 12” AWAY FROM ALL SUCTION FIT-
TINGS AT ALL TIMES. PERSONS WITH LONG HAIR SHOULD EITHER SECURE THEIR HAIR TO A
MINIMUM LENGTH OR WEAR A BATHING CAP.
CHILDREN SHOULD NOT BE LEFT UNATTENDED AT ANY TIME IN THE UNIT.
WHIRLPOOL
1) DO NOT START THE PUMP UNTIL ALL WATER JETS ARE COVERED COMPLETELY.
2) To activate the whirlpool press the round pneumatic button once.
3) To deactivate the whirlpool press the round pneumatic button again.
THERMAL AIR
1) The Blower has three speeds. Press the round button once for high, press a second time for medium, press a
third time for low speed, and to turn the blower off press the button a fourth time.
2) The unit will run for twenty minutes and turn itself off. If you desire to restart the unit for another twenty
minute cycle, repeat step one.
3) When the unit is turned off for the final time, the purge cycle is started. After twenty minutes the unit will
automatically turn itself on for one minute. The purpose of the purge cycle is to flush any residual water out
of the system. It is necessary for the unit to be drained prior to the purge for it to be affective.
Important Note: Any time you put water into the unit and do not turn on the Thermal Air (i.e. take a shower,
clean the unit, or take a soaking bath) one must turn the unit on and then off as detailed above. This will start
the purge cycle to flush the system of residual water.
7612 Drag Strip Road – Fairview, TN 37062 – 615/799-8300 – www.tradewindinc.com

8
ELECTRONIC OPERATING INSTRUCTIONS
Electronic controls will have either a round or oval keypad with the
TradeWind Logo Insignia printed on them. Please disregard these
instructions if this unit doesn't have this keypad.
DANGER: KEEP HAIR AND CLOTHING A MINIMUM OF 12” AWAY FROM ALL SUCTION FIT-
TINGS AT ALL TIMES. PERSONS WITH LONG HAIR SHOULD EITHER SECURE THEIR HAIR TO A
MINIMUM LENGTH OR WEAR A BATHING CAP.
CHILDREN SHOULD NOT BE LEFT UNATTENDED AT ANY TIME IN THE UNIT.
WHIRLPOOL ONLY
1) To activate the whirlpool first fill the tub with water above the highest jet, and then press the ON button on
the round keypad.
2) To turn the whirlpool off press the OFF button on the round keypad.
THERMAL AIR
1) To activate the thermal air press the ON/OFF button once.
2) To increase/decrease the air volume coming from the air jets press and hold the middle button until the de-
sired volume is reached. The button will cycle between the increase mode and decrease mode every time the
button is released and then pressed again.
3) The system has two pulse cycles that are controlled by the right button. Press this button once for an increas-
ing/decreasing cycle, and twice for an on/off cycle.
4) To deactivate the Thermal Air press the ON/OFF button.
PURGE CYCLE
When the Thermal Air is turned off for the final time, the purge cycle is started. After twenty minutes the unit
will automatically turn itself on for one minute. The purpose of the purge cycle is to flush any residual water
out of the system. It is necessary for the unit to be drained prior to the purge for it to be effective.
Important Note: Any time you put water into the unit and do not turn on the Thermal Air (i.e. take a shower,
clean the unit, or take a soaking bath) you must turn the unit on and then off as detailed above. This will start
the purge cycle to flush the system of residual water.
7612 Drag Strip Road – Fairview, TN 37062 – 615/799-8300 – www.tradewindinc.com

9
CLEANING AND MAINTENANCE
Flushing of the pump and piping or circulation system should be done monthly when the system is under nor-
mal use.
The following procedures should be used:
1) Fill the tub with hot water above the jets and add one to two (1-2) cups of vinegar OR bleach.
2) Activate the system and let it run for 10 minutes.
3) Turn the system off and let it stand for 10 minutes.
4) Drain the unit completely.
5) Fill the tub with cold water above the jets.
6) Repeat steps 2-4.
DURING CLEAN-UP, USE MILD NON-ABRASIVE CLEANING AGENTS. DO NOT USE ACETONE OR
LAQUER THINNERS SINCE THEY WILL HARM THE ACRYLIC SURFACE. THE FOLLOWING
CLEANERS ARE RECOMMENDED:
• Glass cleaner is the most widely used and most highly recommended cleaners.
• Alcohol or mineral spirits may be used on difficult cleaning areas.
Scratches may be removed by sanding and buffing the surface. However, you should first consult a professional
or contact the manufacturer before performing this task. A mild polishing agent such as Jewelers Rouge or very
mild abrasive toothpaste can be used on slight surface scratches. Always polish with a soft cotton cloth. DuPont
No. 7 White Polishing Compound may be used on slight surface scratches.
Whenever in doubt, it is always recommended that you consult your local dealer or the manufacturer before at-
tempting any repair other than normal routine maintenance. The acrylic finish on your TradeWind bathtub is
one of the most durable materials available, but certain cleaning products can harm the acrylic surface. Please
use the cleaners listed above if at all possible.
7612 Drag Strip Road – Fairview, TN 37062 – 615/799-8300 – www.tradewindinc.com

10
TWENTY YEAR LIMITED WARRANTY
TradeWind Industries, Incorporated warrants to the residential user of its acrylic products that all tubs,
whirlpools, and Thermal Air units manufactured by it will be free from defects in material and workmanship
which might adversely affect the performance of the products as a bathing unit for a period of twenty (20) years.
Motor, pumps/blowers, metallic finishes, plumbing, and hardware are warranted for a period of five (5) year
only.
Our obligation under this warranty shall be limited to the repair of said unit or replacement BUT SHALL NOT
INCLUDE LABOR CHARGES FOR THE REMOVAL AND REPLACEMENT OF THE UNIT or other ex-
penses such as transportation costs. This warranty applies only to residential use and will become void if the
unit and its fixtures are installed in violation of any applicable local, state, or national code or if removed from
the point of original installation and/or installed by methods other than those shown on the installation sheets
provided.
This warranty shall not apply and we shall have no liability for damages resulting from abuse or misuse of the
unit or accidental damage incurred during installation. The unit is carefully inspected before shipment and any
chips, cracks, or blisters are to be considered shipping or handling damage and are not covered under this limit-
ed warranty.
This warranty is non-transferable by the original purchaser and is effective only if a photocopy or the original
purchase receipt is submitted along with a written request for claim action. All claims should be made to:
TRADEWIND INDUSTRIES, INC.
CUSTOMER SERVICE DEPARTMENT
7612 DRAG STRIP ROAD
FAIRVIEW, TN 37062
Claims must be filed within thirty (30) days after discovery of the defect to be considered under this Limited
Warranty. After receipt of such notice, TradeWind Industries, Inc. will make an investigation and endeavor to
adjust the claim as quickly as possible.
7612 Drag Strip Road – Fairview, TN 37062 – 615/799-8300 – www.tradewindinc.com
This manual suits for next models
14
Table of contents
Popular Hot Tub manuals by other brands

South Seas Spas
South Seas Spas Allegro Spas 2009 owner's manual
Aquatic
Aquatic AI28AIR7242TO Specification sheet

Aston Global
Aston Global MT601-R Installation and owner's manual
Jacuzzi
Jacuzzi Finestra 6036 Specification sheet

Victory Spa
Victory Spa Aruba technical information

SkinFab.co
SkinFab.co SkinFab instruction manual
