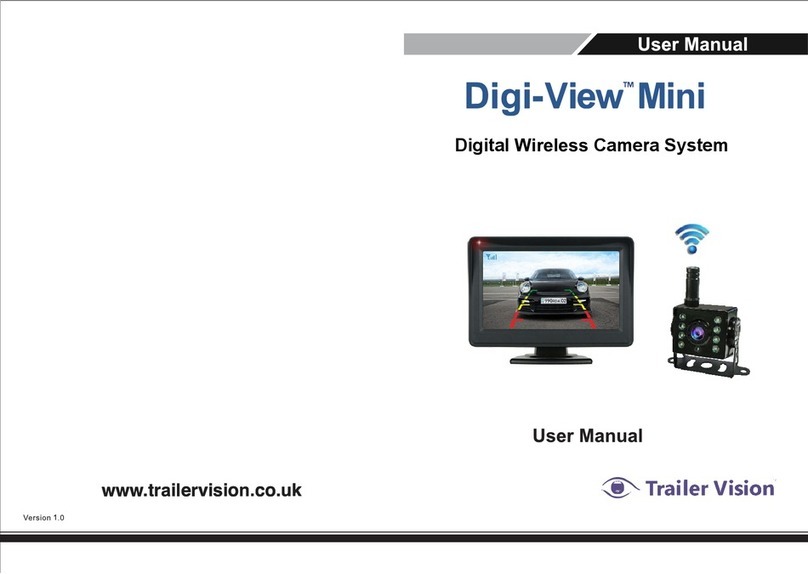
Trailer Vision Digi-Lite Solar A1070 User manual

Stand Vent Windshield
RoH S
Digi-Lite™ Solar
Solar Powered Wireless Reversing Camera
Digi-Lite™ Solar
Solar Powered Digital Wireless Camera System
www.trailervision.co.uk www.trailervision.co.uk

Additional Mounts
of Monitor
Vent Screw
(For Monitor Holder
& Vent Screw )
Screwdriver
Touch-Switch
Trouble Shooting
7
8
11
12
12
15
16
18
7
Cigarette Lighter Power
Adapter (& USB socket)
Screws
Number Plate Holder Installation
Camera Angle &Parking Guidelines Adjustment
Digi-Lite™ Solar is suitable for passengercars,lightvehicles
and caravans/trailers.
4.3”Monitor &Dash Mount
Thanksfor buying Digi-Lite™ Solar. PleasereadthisUser
Manual carefullybefore using this product.
1.Number Plate Holder with Camera and Solar Panels
TheDigi-Lite™ Solar digital wireless reversing camera
system can display the rear view image when reversing
and/or when driving forwards. However, to preserve
camera batterypower the camera/monitor switch off,
automatically, after approx 45 seconds. For apowered
‘permanent rear-view’ system pleaseseeDigi-Lite™.
5. Camera Charging Lead
* Digi-Lite™ Solar may be changed/improved at anytime, we
therefore reserve the right to modify and update the system
specifications without prior notice.
TABLE OF CONTENTS COMPONENTS
5. Camera Charging Lead

3
GB
BD51 SMR
2
Screws
Screwdriver
Touch-Switch
Touch-Switch
1
First remove the middle part of the cover strip, then remove the two sides of the cover strip
4
GB
BD51 SMR
Number Plate Holder Installation
Remove the product packing and ensure that all
components are included.
Charge the Camera (with number plate holder)
During normal use, the camera maintains acharge with
exposure to sunlight. Abattery status indicator is provided on
the monitor when the camera is in use. If you store your car
etc in agarage (or don’t expose the camera to sunlight on a
regular basis) for more than one month, you may need to
recharge the camera via the DC charging port.
Install the number plate holder using self-tappingscrews, or double-
sidednumberplate adhesive tape.
Remove the cover strip from the numberplate holder.
Insert the numberplate into the holder, side clips first and then
slide down under the bottom clips.
Insert the top cover strip's clips into the relative holes of thenumber
plate holder then press firmly to secure. First press both ends of the cover plate, then press
the middle to secure.
Small clip
During DC charging, the red LED will stay eluminated until charging is completed, it will
then extinguish.
1. Connect the USB charging lead to the
camera.
1. Move the camera (to trigger the built-in movement sensor).
The camera is ‘woken up’ by movement/vibration.
The Monitor will turn off after 10 seconds if the camera is in sleep mode
- movement/vibration will cancel the camera sleep mode.
Charge for approx 4-5 hours.

2) If using the suction cup mount:
2. How to mount the brackets:
Touch-Switch is
directly above
There are 3types of mounting brackets to suit.
1. TheMonitor mounts canbe attached to aair-vent,
dashboard, or windscreen.
1) The factory default dash mount sticks on to
the dash board: Choose and clean a
suitable place on the dash board, remove the
sticky tape backing and press the stand
mount on to the dash board.
Use suction cup mount to replace the default stand with a screwdriver.
Choose asuitable place on the windscreen, and mount the suction cup
mount to the windscreen. With the suction lever in
the released position, press the suction cup
against the windscreeen. Press the suction
lever toward the suction cup to lock the
mount. To adjust the angle of monitor, loosen
the ball joint collar, retighten in the
desired position.
3) The monitor can be mounted on the air vent of the air conditioner, which
can avoid ‘traffic violations’ (some countries traffic laws do not allow
installation on the windscreen or center console, as it may block the driver's
view - in the UK please do not install within the sweep of the windscreen
wipers):
3. Connect the cigarette lighter power adapter to the monitor.

05. Camera Angle Adjustment
When rotating the camera:
5 levels of adjustment
For detailed operation methods,
please refer to page P11.
2. Parking Guideline Position Adjustment
2. If you want to see the backup image
when driving your car, just touch the
Touch-Switch on the top of monitor.
06.
07.
While the monitor is showing the rear view camera image again, short press
[MENU/OK] to enter the main menu interface, select the "Image Mirror" icon
and long press [MENU/OK], to set upwards or downwards image. After
setting, short press it twice again continuously to exit the setting.
The parking guideline position can be adjusted
up or down, to match the cameras physical
vertical adjustment. There are 5levels.
hold the number plate holder with one hand,androtate up or downthe
outer frame of thecamera with the other hand to achieve the best/desired
view.
3. Whenthe vehicle ignition is off, power is removed from the monitor,
the monitor willswitch off automatically, and the camera willstop
working.
If you want the camera to continueworking after auto switch-off (for example,
if you haven’t finished reversing/parking the vehicle), you have to touch the
Touch-Switch again.
If there is no imageon the monitor after touching theTouch-Switch, please
provide a‘lightvibration’ (e.g. start the engine or re-openand shut the
door), then touch themonitor Touch-Switch.
1. Please vibrate the camera, power the monitor, touch the Touch-Switch on the
monitor to show the rear image situation of car, then adjust the camera angle
accordingly to the most suitable position.
Using Digi-Lite™ Solar:
Turn on the vehicles ignition and press the monitor Touch-
Switch, the camera image will be displayed for approximately
30 seconds.
The monitor can be switched on via
the Touch-Switch at any time while
driving etc.
1. Rotate the camera to achieve the best vertical viewing angle; turn the monitor on to
check, via the Touch-Switch. The camera may need to be ‘woken up’ first.
Function Buttons - Rear of the Monitor.
Using Digi-Lite™ Solar
45

While the monitor is showing the rear image, short press the middle button
[MENU/OK] to enter the main menu interface, and 4 options are available
(Pairing, Image Parameters, Image Mirror, Software Information).
While the monitor is showing the rear image, short press the middle button
[MENU/OK] to enter the main menu interface. From the 4 options.
Select Image Parameter, long press the [MENU/OK] button again,
3 Images(Brightness/ Contrast/ Color) setting interface are shown bellow:
Select Brightness icon, press [ADD] or [DEC] button to adjust the brightness
as shown bellow:
Select Contract icon, press [ADD] or [DEC] button to adjust the contract as
shown bellow:
Select Color icon, press [ADD] or [DEC] button to adjust the color as shown
bellow:
Pairing Image
Paramete
Image
Mirror
Software
Information
Parking Guideline
Position Adjustment
Meaning
Operating
Pairing Image
Paramete
Image
Mirror
Parking Guideline
Position Adjustment
Software
Information
Default setting,
no need to
operate again.
To adjust Brightness
Contrast, Color.
Operation details
as Image Parameter
info.
Select “Software Info”,
press [ADD] or [DEC]
key to display software
version information.
The parking guideline can
be adjusted up and down
as needed. Operation details
as Parking Guideline Position
Adjust info.
Brightness Contrast Color
2. Image Parameter
3. Image Mirror
Set Upwards/Downwards
or Normal/Mirror Image.

Select the “Parking Guide Position Adjustment” icon, then long press the middle
button [MENU / OK] to enter the setting interface, short press the [ADD] or [DEC]
button to choose the most suitable one from 5 levels, then short press [MENU / OK]
twice continuously to exit the setting.
4. Parking Guideline Position Adjustment
A B C D E
08.
09.
E43
When the monitor is powered on and still stay standby mode, the Red
indicator Light doesn't work. When touching Touch-Switch, the Light will blink
quickly. When the monitor works, the light will extinguish.
the setting time
10.
When the built-in battery power is too low a warning
message is displayed on the Monitor; please either
ensure that camera solar panels are in sun-light, or
charge the camera via the USB charging lead.

If the monitor doesn't display images within a few
seconds after touching the starting button:
1. The battery in the camera may be depleted and require recharging.
1. Check to make sure the power source is active (if your cigarette lighter is
switched with vehicle ignition, your monitor will only work when the engine
is running or the key in the ON position).
2. Check to make sure the fuse and power cord are in working order.
If the video image does not last the setting time:
Recharge the camera battery.
The Setting Time of Image-Display: 45 Seconds each time
2. The camera may be in ‘sleep mode’ and can be activated by ‘light
vibration’; start the vehicle engine, or open/close the vehicle door.
If there’s no image after touching the Touch-
Switch in a ‘quiet environment’(no vibration at
all), such as when testing inside.
‘Vibrate’ the camera, touch the powered Monitor Touch-Switch quickly
(within 3minutes of ‘vibrating’ the camera) to wake up the sleeping
camera.
Once installated and in use, ’small vibrations’ will occur, when doors
are opened, people touch the vehicle and even the engine operation.
Therefore the camera will be in standby mode.
Check if the camera solar panels are covered with mud, water, dirt, etc.
Please use a soft cloth moistened with aneutral detergent solution to
remove dust or stains, so as not to affect the solar power generation
efficiency.
Do not use solvents or chemical materials to clean or wipe
the Digi-Lite™ Solar camera (including the lens and all solar
panels) If necessary, use asoft cloth moistened with aneutral
detergent solution to remove dust or stains. Please regularly
clean the camera lens and the solar panels.

Supperlier
EU Countries
It should be recycled or safely disposed of at a
local recycling center.
13.
Product packing is designed to provide
years of service.
The Digi-Lite™ Solar Wireless Backup Camera is intended to assist
the driver, but it does not relieve the driver from full responsibility for
safe operation of the vehicle. It’s the driver’s sole responsibility to
avoid contact with any objects, animals and especially persons. By
installing and/ or using the Digi-Lite™ Solar Wireless Backup Camera,
you agree that you are solely responsible for the operation of your
vehicle, and are also responsible for any property damage, personal
injury, or loss of life that may result from the operation of your vehicle.
If there is adefect or malfunction, we will repalce it, or repair it
free of charge:
3. Replace the 1A fuse.
Please check your local rules/regulations.
Outside of Warranty:
Please contact us for advice / repair or replacement costs.
This warranty does not apply if any parts have been damaged by
accident, neglect, abuse or misuse.

Regions
Regions
15.
The Supplier
Please contact:
01733 246473
Please Contact Us to discuss any faults, or problems
with Digi-Lite™ Solar.
www.trailervision.co.uk
Table of contents
Other Trailer Vision Car Video System manuals
