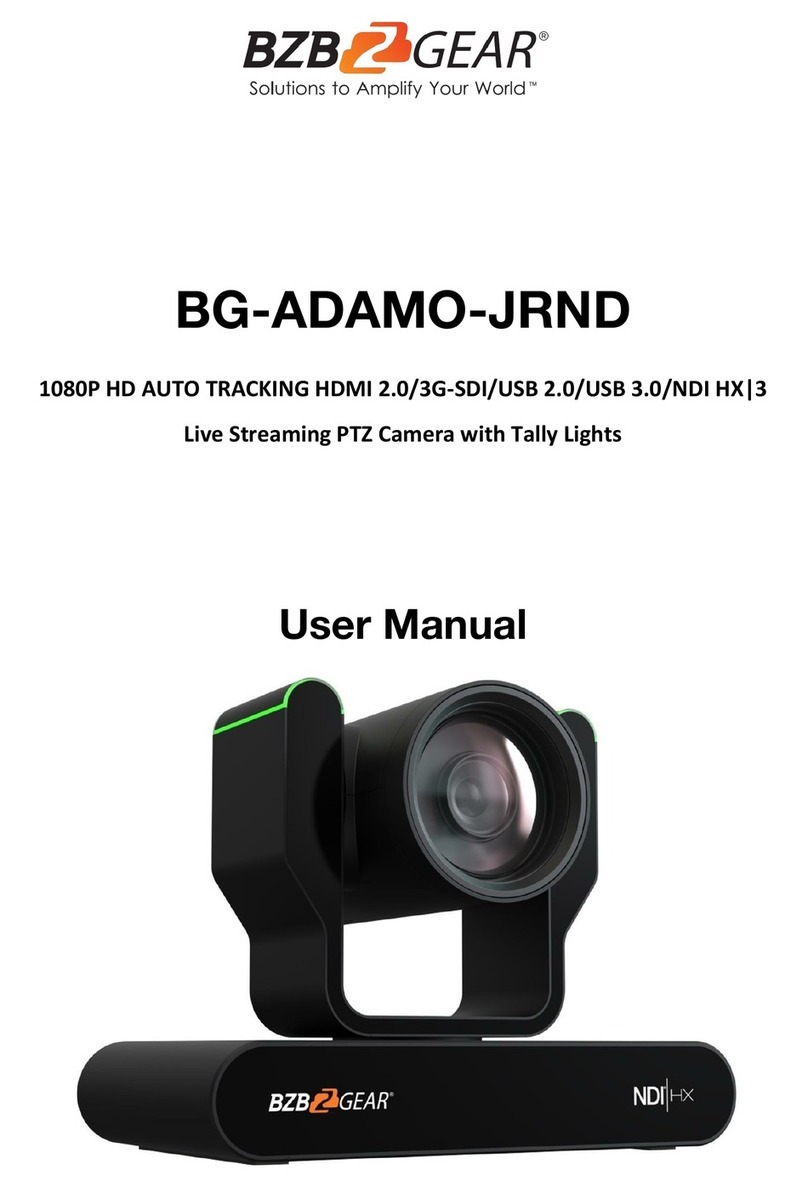
Trailer Vision Digi-Max3 AHD 4CH DW User manual

Digi-Max3™ 'AHD'4CH
DW Camera System
User Manual

Important Notice
Please read all instructions carefully before installing/using the product. Improper
installation/use will void the manufacturer’s warranty.
The installation instructions detailed in this manual do not apply to all vehicles and
are written as guidelines only.
Safety Notice
The Digi-Max3™ Digital Wireless (DW) Camera System is designed to be used as
a driving aid.
Using a reversing camera is not always enough to completely eliminate a vehicle’s
blind spot(s); if any doubt please stop the vehicle.
Page 2

• Reversing camera system for all vehicles/trailers
• Load monitoring for horseboxes and horse trailers
• Agricultural applications
'AHD' Monitor Features
•Easy installation via a windscreen mount and cigarette lighter power adapter
• Trigger connections for automatic reversing camera etc display
•Pair with up to 4 cameras (split screen views also available)
•Semi Automatic Pairing (via the monitor only)
'AHD' Camera Features
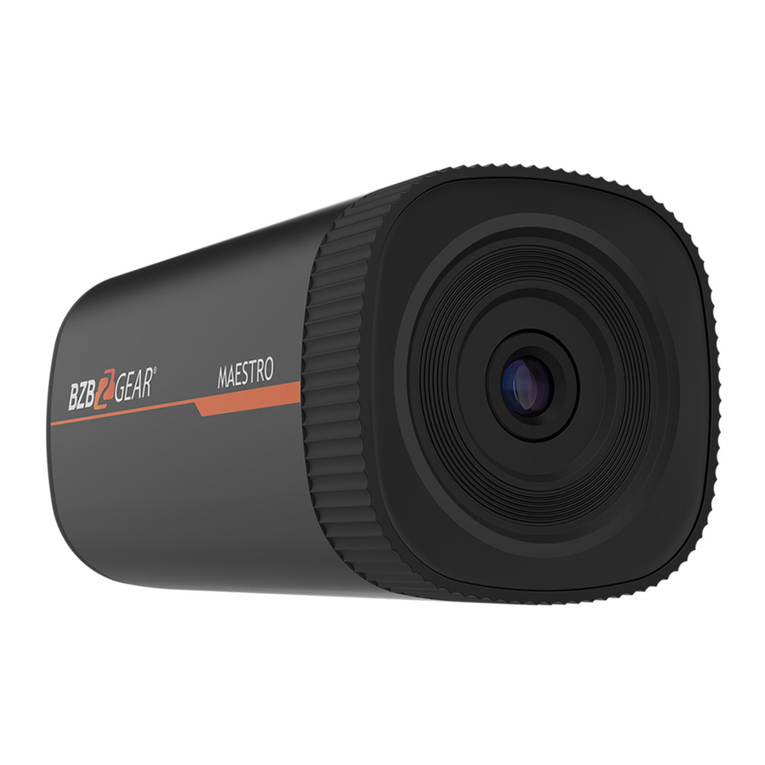
•Waterproof (IP69K) 12V / 24V
•Night Vision & Microphone
•Sunvisor
•Digital Wireless, up to 200m range (line of sight)
Applications and Features
Applications
Page 3

Package Contents
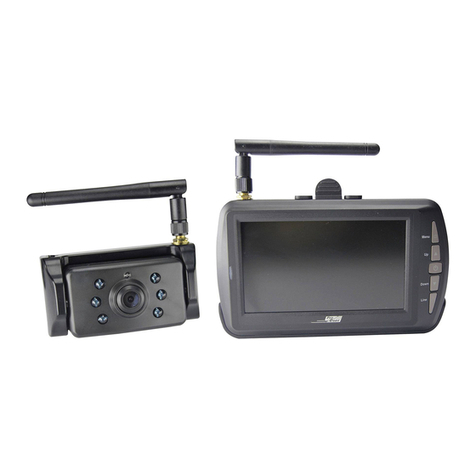
• 7” Monitor (one)
• Up to four Cameras
•Aerials (1/camera & 1/monitor)
• Cigarette lighter power adapter
• Windscreen mount
• Up to four camera brackets
•Camera fixing kit(s)
Dashboard
mounts
optional
Page 4
aa

• 7” Monitor
• Up to Four Cameras
• Cigarette Lighter Power Adapter
• Windscreen Mount
• Up to Four Camera Brackets
• Screws
Monitor Operation
1. Power
2. Menu
3. Camera Selection 4. Left*
5. Right*
6. Return
1. Short press to Standby/short press to turn On.
2. Short press to enter the Menu and confirm
selection after entering Menu.
3. Short press to switch to single/split/quad-screen
(when multiple cameras are utilised/powered).
4. Select to the left/decrease the value (within the
Menu).
5. Select to the right/increase value (within the
Menu).
6. Short press to return to the previous screen/
Menu.
Page 5
*Also used to change the Monitor
brightness (from 'outside' the Menu).
CAM

Monitor Operation Guide
1. Power ON/OFF
The monitor will automatically turn on when it's connected to a power source and
can be turned off via the power button. The monitor can also be turned off/on via the
ignition. If no signal is received from a camera, it will turn off automatically after 3s.
Otherwise, the powered camera(s) will be displayed.
2. Automatic Display
The camera image will automatically appear on the screen when the trigger is
engaged (i.e. if the monitor rear trigger is connected to the vehicles reverse light
circuit the reverse camera will be displayed automatically when reverse gear is
engaged).
3. Parking Lines
Selectable on/off via the Menu/System.
Page 6

Monitor Specication
Panel 7 Inch Digital Panel
Aspect Ratio 16:9
Resolution 1024*3R.G.B*600
Back Light, Luminance LED, 350cd/m2
Contrast 1000:1
Viewing Angle UP -50°, Down -70°, Left -70°, Right -70°
Transmitting Distance 200M in open area
Power Supply DC 10-36V
Power Consumption <5W
Maximum Current <550mA
Working Temperature -20°C - 60°C
Storage Temperature -20°C - 70°C
Page 7

Camera Specication
Image Sensor 1/3” Colour
Active Pixels 1292*968V
Viewing Angle 120 Degrees (H)
Night Vision Up to approx10m
Audio Input High Sensitivity, -36DB Microphone
Waterproof Level IP69K
2.4Ghz Wireless Transmitting Distance 200m Line of Sight
Power Supply DC 10-36V
Power Consumption <5W
Viewing Angle 120°
S/N Ratio More Than 48 Db
Electron Stutter 1/100,000(s), ON/OFF
Video Output 1Vp-p 75
Maximum Current <250mA
Working Temperature -20°C - 60°C
Storage Temperature -20°C - 70°C
Page 8

Installation
Fan Bracket
(Optional - Windscreen
Mount Included)
U Shaped Bracket
(Optional - Windscreen
Mount Included)
Windscreen Mount
Page 9

Page 10
Installation (Continued)
1. Monitor. The monitor can be fixed to the windscreen in a suitable location
(ideally not within the sweep of the windscreen wipers), which does not block the
view of the road/outside. The monitor is powered via the Cigarette Lighter Power
Adapter ('hard-wire' monitor power adapters are available separately).
2. Camera(s). The camera(s) are fixed to the vehicle via the supplied screws/
bolts/brackets & should be located in suitable viewing locations. The cameras can
be powered via a lighting circuit etc (i.e. the reversing camera could be powered
via the reversing lights, or via the side-lights if utilised as a 'rear view mirror' and
any interior camera could be powered via the internal lights, or light switch).
PLEASE NOTE: Cameras can also be powered by battery packs (available
separately) and fixed via mag-mounts (available separately).

User Interface
Page 11
Press the Menu button to open the Menu, use the up/down
buttons to select the different options and press the Menu
button again to open the sub-Menus.

User Interface (Continued)
Pairing: Select the camera/CH for pairing (via the CAM button) and then select
pairing... a 60 second on-screen countdown begins, within 60 seconds apply power
to the camera to be paired (cameras automatically go into pairing mode when
switched on, if not already paired).
PLEASE NOTE: Cameras are pre-paired to the monitor, so pairing is only required if a new camera is added to the system etc.
Picture: Brightness, Contrast, Hue and Volume adjustment. After entering the
PICTURE interface, use the left and right (up/down) buttons to switch to the
parameter that needs to be adjusted (yellow). Press the Menu button to begin
changing the parameter that needs to be adjusted (red) using the left and right (up/
down) buttons.
MIR-FLIP: Normal image, mirror image, vertical normal image, vertical mirror image.
CAM-SETUP: Turn camera/CHs off and on (i.e turn off 3 CHs if only 1 camera is
utilised). Auto Scan: Enable automatic view/scan of all powered/paired cameras.
Scan Time: Set the duration of current view/camera before the monitor displays the
next view/camera.
Page 12

Limited Warranty
Two Year Warranty
We warrant this product against material defects for a period of two yearsfrom
the date of purchase. We reserve the right to repair or replace any such defective
unit at our sole discretion.
We are not responsible for a defect in the system as a result of misuse, improper
installation, damage or mishandling of the electronic components.
For assistance, please contact:
01733 246473
Page 13

Page 14
www.trailervision.co.uk
Table of contents
