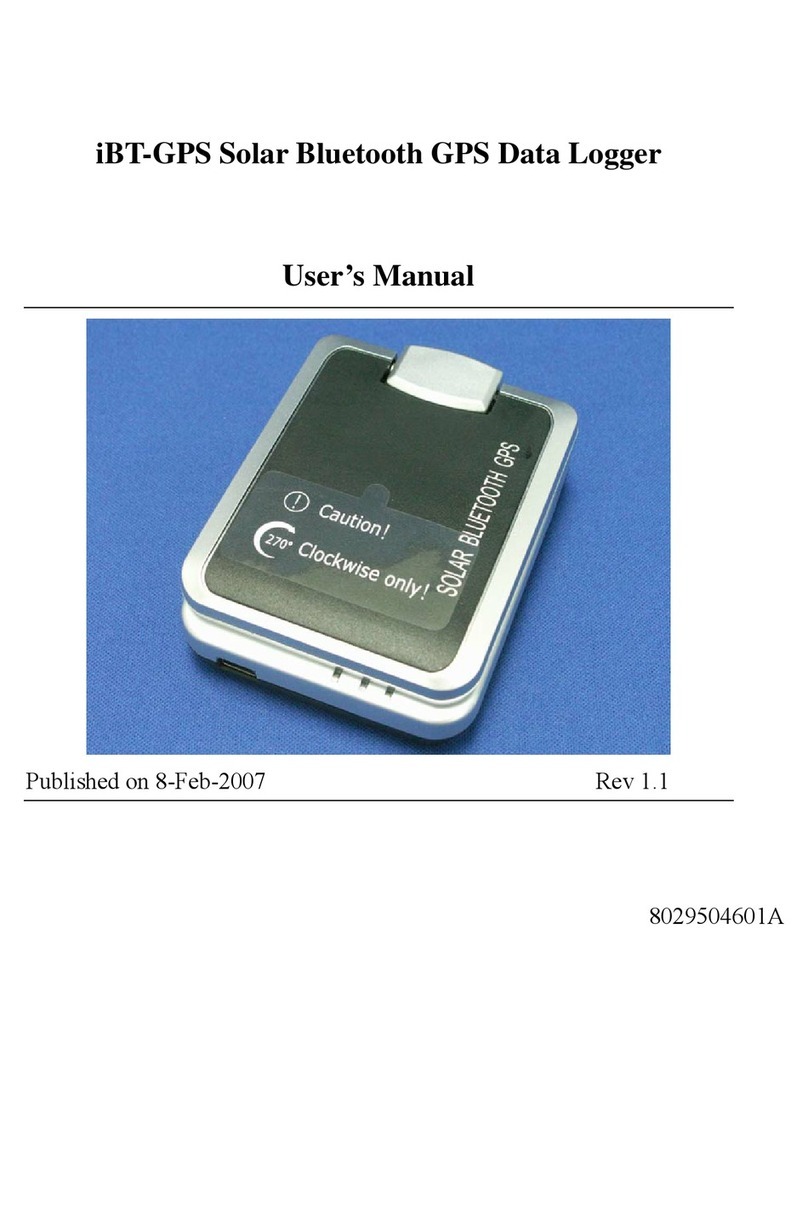
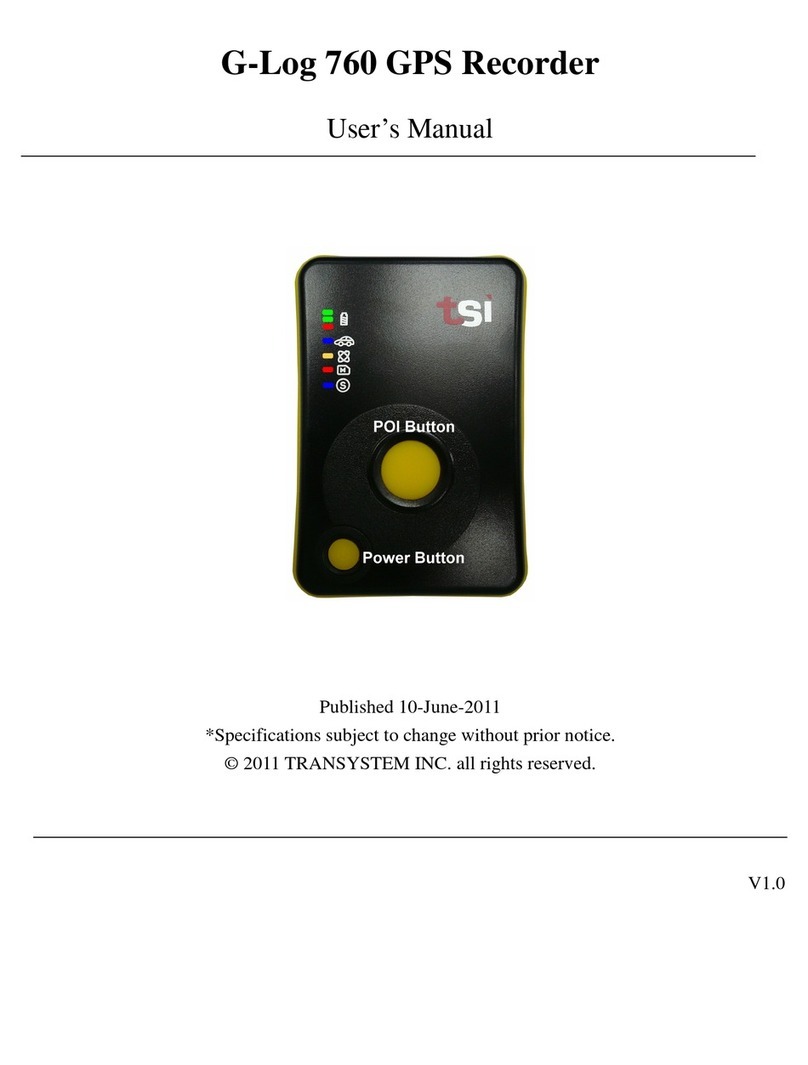
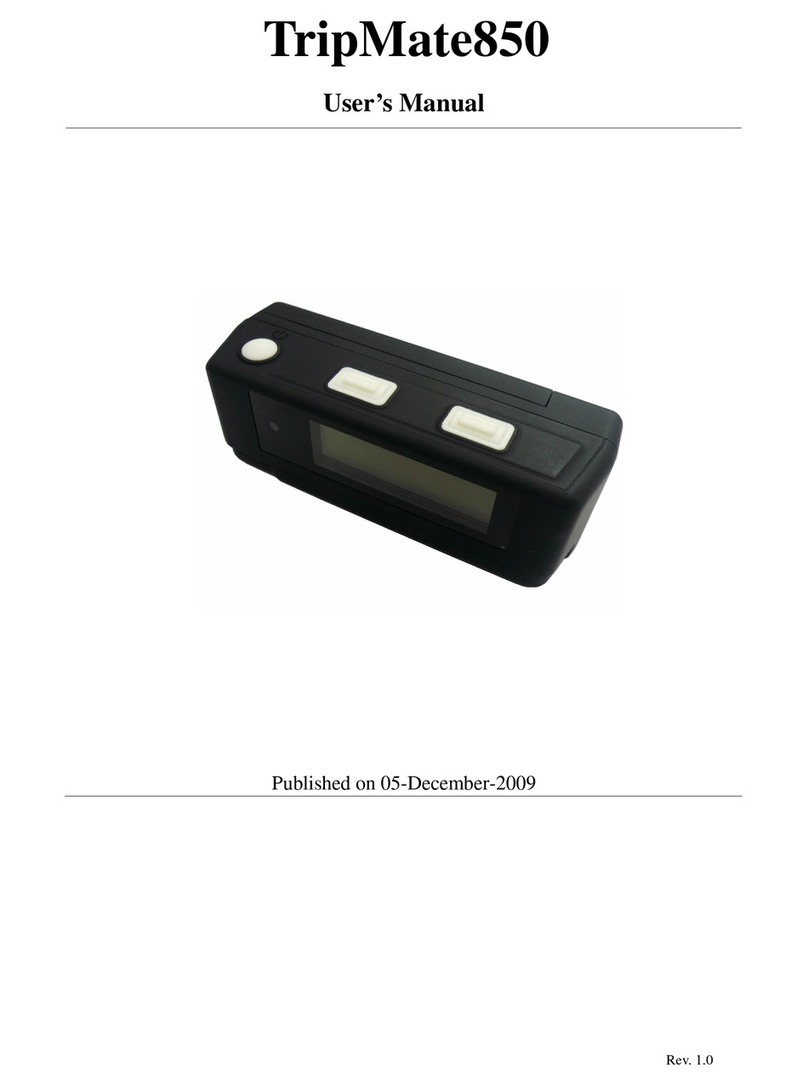
Transystem G-Log 760 User manual

G-Log 760 GPS Recorder
V1.1
User’s Manual
Published 10-June-2011
*Specifications subject to change without prior notice.
© 2011 TRANSYSTEM INC. all rights reserved.

G-Log 760 GPS Recorder
V1.1
2
Table of Contents
1. Before you begin ........................................................................................................................ 3
1-1. Note and Warning ............................................................................................................... 3
1-2. Introduction......................................................................................................................... 4
1-3. Features ............................................................................................................................... 4
1-4. Applications ........................................................................................................................ 4
1-5. Package content .................................................................................................................. 5
2. Getting Started............................................................................................................................ 6
2-1. Appearance.......................................................................................................................... 6
2-2. Buttons ................................................................................................................................ 7
2-3. LED Display ....................................................................................................................... 7
2-4. Default setting..................................................................................................................... 8
2-5. POI confirmation ................................................................................................................ 9
2-6 Smart Log............................................................................................................................. 9
2-7 AGPS.................................................................................................................................... 9
2-8. Getting Started .................................................................................................................. 10
2-9. Helpful Tips .......................................................................................................................11
3. Configure your GPS Recorder ................................................................................................. 12
3-1. Driver Installation ............................................................................................................. 12
3-2. GpsView software............................................................................................................. 12
3-2-1. Connect USB cable between GPS and laptop ....................................................... 12
3-2-2. Execute GpsView Program ................................................................................... 13
3-2-3. Download AGPS ................................................................................................... 14
Appendix A. Specifications.............................................................................................................. 25
Appendix B. Certification ................................................................................................................ 27
Appendix C. Warranty Information.................................................................................................. 28

G-Log 760 GPS Recorder
V1.1
3
1. Before you begin
1-1. Note and Warning
If G-Log 760 is used in temperature lower than -10°C or higher than 60°C, its Lithium-Ion
battery charging capability will decrease. Please leave your G-Log 760 far from heat or
high temperature environment. In addition, do not expose your G-Log 760 in temperature
higher than 140°F(60°C). The battery inside G-Log 760 may be overheated and cause very
serious damage. The Lithium-Ion battery inside the G-Log 760 should be recycled.
It is recommended to turn off G-Log 760 while in the hospital. Wireless GPS may interfere
with medical equipments which use radio frequency.
Store your G-Log 760 in dry/cool places if you are not using G-Log 760 for a long period
of time.
Keep G-Log 760 and all accessories out of children’s reach.
The manufacturer assumes no responsibility for any damages and loss resulting from the
use of this manual, or from deletion of data as a result of malfunction, dead battery, or from
misuse of the product in any way.
Use only the supplied and approved accessories. Unauthorized accessories, modifications
or attachments could damage your G-Log 760, and may violate regulations governing radio
devices.
Use a dry, clean soft cloth to clean the unit. Do not use harsh cleaning solvents, chemicals,
or strong detergents.
Do not attempt to open the G-Log 760 by yourself. Unauthorized hacking may damage the
unit, and void your warranty.

G-Log 760 GPS Recorder
V1.1
4
1-2. Introduction
GPS G-Log 760 features commercial grade GPS receiver to help manage your field team effectively.
Its water-proof, durable all-in-one design includes audible feedback and motion sensor to give
maximum battery life.
GPS G-Log 760 allows you to log your route by setting the interval of time/ distance/ speed. Easy to
use and durable button allow field personal to record point of interest by push of a button. Through
user friendly utility, it can display your track on Google Map.
1-3. Features
Durable push button for POI recording
Smart log of time, distance and speed
Log up to 250,000 waypoints
High receiving sensitivity with AGPS capability
IPX3 water-proof
Embedded sensor for smart operation
Smart auto on/off
Vibrator / Buzzer (Factory optional) for POI confirmation
Rechargeable battery
1-4. Applications
Record your travels
Manage trip expense
Manage field team

G-Log 760 GPS Recorder
V1.1
5
Point of interest recording
1-5. Package content
Congratulations on your purchase of GPS G-Log 760 with Lithium-Ion chargeable battery. Before
you start using G-Log 760, please make sure your package includes following items. If any item is
damaged or missing, please contact your local dealer at once.
1. G-Log 760 GPS Recorder ( include Li-Ion battery ) x 1
2. USB cable x 1
3. CD Tool x 1 (user manual, software utility, driver)
4. Quick start guide x 1
* Unit package contents may vary depending on countries without prior notice.

G-Log 760 GPS Recorder
V1.1
6
2. Getting Started
2-1. Appearance
1. Power bottom
2. Push to log (POI) button
3. Smart mode Led (Blue)
4. Memory capacity LED (Red)
5. GPS status LED (Orange)
6. Car mode LED (Blue)
7. Battery status LED (Red/Green)
8. Built-in patch Antenna
9. USB connector & Reset button (with cover)
3
2
1
9
5 6
4
7
8

G-Log 760 GPS Recorder
V1.1
7
2-2. Buttons
Name Description
Power Press and hold 3 seconds to turn On and Off your device.
Press to check the battery status when device is power on.
POI Push button to record Point of Interest (POI),
Memory status LED will blink 3 times to confirm button pressed
Mode change Press POI button for 5 seconds to switch between normal and smart mode.
Press POI button for 10 seconds to switch between normal and car mode.
* Vibrating feedback is provided when POI button is pressed.*
Reset Button Push to have device back to normal mode.
Press for 5 seconds to have factory default setting and logged data erased.
Please do not turn off the device when memory red color LED is flashing.
2-3. LED Display
The G-Log 760 GPS Recorder has following LED displays for status update.
Symbol Function /
Color Status Description
Battery Status /
Red
Blinking
Low
battery
level
On During power charging via USB port
Battery Status /
Green On / Off Power gauge when both POI and Power
buttons are pressed at the same time
Battery Status /
Green & Red All LED On Fully charged
GPS Status /
Orange
On Searching for satellite
Blinking GPS fix & start log
Car mode status /
Blue On
In car mode, device will go into sleep
mode when no power supply from USB
and device will wake up and start logging
when there is power supply from USB.

G-Log 760 GPS Recorder
V1.1
8
Memory capacity /
Red
Blinking The device is logging position
Blink 3 times
POI button is pressed
On The memory is >80% full
Keep flashing
Erasing data
Smart Log mode /
Blue
On Smart log mode on/ vibration sensor on
Off Normal mode on/ vibration sensor off
2 sec flashing
Sleep mode
1/3 sec
flashing Reset button pressed to rest the device
2-4. Default setting
NMEA
GGA,GSA,GSV,RMC
Log format
Date / Time/ Fix valid / Latitude / Longitude / Height/ Speed / Heading / RCR
Normal mode
User Name : Empty
Auto Gear : OFF (can be turned on/off by software)
Log by time : 1 (can be programmed by software)
Log by distance : 0 (can be programmed by software)
Log by Speed : 0 (can be programmed by software)
Vibration sensor : OFF (can be turned on/off by software)
Check password : OFF (can be turned on/off by software)
Smart Mode
User Name : Empty
Auto Gear : ON (can not be turned off by software)
Vibration sensor : ON (can not be turned off by software)
Check password : OFF (can be turned on/off by software)
Auto gear log time interval default:
Speed < 5Km →30 seconds
5Km<speed< 50km →15 seconds
Speed > 50km n →5 seconds
Car mode
User Name : Empty
Auto Gear : OFF (can be turned on/off by software)
Log by time : 5 (can be programmed by software)
Log by distance : 0 (can be programmed by software)
Log by Speed : 0 (can be programmed by software)
Vibration sensor : OFF (can not be turned on by software)
Check password : OFF (can be turned on/off by software)

G-Log 760 GPS Recorder
V1.1
9
2-5. POI confirmation
G-Log 760 uses following methods to confirm press of POI button:
Vibrator (default)
Memory capacity LED blinks 3 times (default)
Sound buzzer alarm (Factory Optional)
2-6 Smart Log
G-Log 760 will go into sleep mode and stop logging position if the on-board vibration sensor
detects no movement for over 3 minutes. This will help save power and memory space you’re your
G-Log 760 stays still.
User can choose to turn On or Off vibration sensor via LogView application program.
Also the logging interval is auto adjusted by current speed:
Speed greater than high limit, log every 5 sec
Speed lower than high limit and higher than lower limit, log every 15 sec
Speed lower than low limit, log every 30 sec
High / Low limit can be set by PC application program (LogView). Default high limit is
50Km/hour and low limit is 5Km/hour.
2-7 AGPS
You can download GPS satellite information from internet to help shorten satellite acquisition time.
This is called Asist GPS. Please follow section 3.2.3 to download AGPS data. Please note, AGPS

G-Log 760 GPS Recorder
V1.1
10
data is valid for 7 days after each download.
2-8. Getting Started
Please follow the procedure step by step.
Step 1 Charging the battery
Connect your USB cable between G-Log 760 and the power source. Charging time is about 3~4
hours and you can charge from PC/ Notebook’s USB HOST or from cigarette-lighter in car or
home adapter.
For the 1st time you use the G-Log 760, please charge battery until it is full. Red Power LED will
be On during charging cycle and 2 Green LEDs and 1 Red LED will be all On once the charging is
completed.
Step 2 Turn on your G-Log 760 and get position fix
Turn on your GPS G-Log 760 by press-and-hold the power button for 3 seconds. Power LED will
turn on after power on sequence is completed. The orange GPS status LED will stays on before
G-Log 760 get GPS position fix. Make sure your GPS G-Log 760 has clear sky view at this stage
of acquiring satellite signal. Depending on your surroundings, it normally takes around 40 seconds
to 1.5 minutes before GPS status starts to blink which means G-Log 760 has acquired necessary
satellite signals and get position fix..
Step 3 Log your position
GPS G-Log 760 will start logging your position once it locks to satellites signal. It will log and
mark position upon press of POI button. A vibrator is used as means of confirmation. Optional
buzzer can also be used for confirmation purpose. This is only valid for specific setting when
ex-factory.
Step 4 Download logged data

G-Log 760 GPS Recorder
V1.1
11
Download your logged data via USB port to your PC. You can use utility AP included in the
CD-ROM for data downloading. Further management and analysis of the data can be done via
application specific application program. GPS G-Log 760 outputs in popular “.csv” or “.bin” or
".nmea" or ".gpx" or ".kml" format for easy interface to application program.
2-9. Helpful Tips
Some vehicles using heavy metallic sun protecting coating on windshields may affect GPS
signal reception.
Streets with high rising buildings may affect GPS signal reception.
Tunnel and indoor parking garage may affect signal reception.
In general, GPS signal reception best in open space where it can see clear sky. Weather
condition will also affect GPS reception – rain & snow contribute to worse sensitivity.
Low battery status may affect signal reception.
This device outputs coordinates data every second, therefore the actual position and the
position shown on your map may have slight time delay. This may happen when you drive
at higher speed or make a turn around a corner.
For the device not in use over several days, allow it 1~3 minutes to obtain satellite
constellation information and fix your position, this is called “Cold Start”. Upon battery
replacement, GPS device will do Cold Start again.
If your device can not fix position for more than 20 minutes, please change to another
location with open space and then try again.
When using AGPS function, it is recommend to use GPSView application program to
download the AGPS data to your device via USB port. Internet access is required for
downloading AGPS data. AGPS data is valid for 6 days for each download.

G-Log 760 GPS Recorder
V1.1
12
Configure your GPS Recorder
GpsView program only supports Microsoft Windows based platform.
3-1. Driver Installation
Before the USB connector plugs into your PC/ Laptop, please have your USB Driver installation
ready. (Install InstallDriver.exe driver for USB port from CD-ROM.)
3-2. GpsView software
Open the GpsView software, please select correct COM port and Baud Rate 115,200bps to
configure GPS.
3-2-1. Connect USB cable between GPS and laptop

G-Log 760 GPS Recorder
V1.1
13
3-2-2. Execute GpsView Program
Click “Command” tap. Update Rate 1 Hz is default setting, 2~10 Hz need factory customizing
firmware to support. And still more options for choice of NMEA output, DGPS…etc. all available
through pull-down menus.
The default settings for G-Log 760 are:
NMEA: GGA, GSA, GSV, RMC
Log data format: Date, Time, Fix valid, Longitude, Latitude, Altitude, Speed, Heading, RCR

G-Log 760 GPS Recorder
V1.1
14
3-2-3. Download AGPS
1. Start→Control Panel→System→Hardware→Device Management→Connector(COM and
LPT)Check Com port position。
2. Open GpsView.exe→Check Baud Rate and Com port→click On

G-Log 760 GPS Recorder
V1.1
15
3. Choose Setup
4. Choose Update

G-Log 760 GPS Recorder
V1.1
16
5. When Updating now…100%, click Enter complete。
NOTE: When you use AGPS function, we suggest use GpsView to download the AGPS data via
USB cable. AGPS data valid for 6 days after each download.

G-Log 760 GPS Recorder
V1.1
17
3-3. Download logged data from the device
LogView can also be used to extract logged data from your device.
Activate LogView and select “Read from device” :
The screen will display logged data after extraction as following:

G-Log 760 GPS Recorder
V1.1
18
You can save downloaded data to your PC by select following menu. Different file format such as
GPX, NMEA, KML and CSV can be supported.
LogView can also be used for following tasks,
Erase log data
Merge tracks
Configure NMEA settings
Setting and update AGPS
please refer to LogView for more details.

G-Log 760 GPS Recorder
V1.1
19
3-4. Mac driver installation
Step 1. Clike SiLabsUSBDriverDisk.dmg
Step2. Select SiLabsUSBDriverDisk from screen and double click it.

G-Log 760 GPS Recorder
V1.1
20
Step3. Execute Silicon Labs USB Driver Installer.
Step4. Click next button
Other manuals for G-Log 760
1
Table of contents
Other Transystem GPS manuals
