Travel Vision Q7 User manual

information: www.travel-vision.com
INSTALLATION and USER MANUAL
TRAVEL VISION Q7 and Q7 Duo
Version 2.3 November 2019

pagina 2
Preface
Congratulations on your purchase of the Travel Vision Q7 (Duo).
This manual was drawn up to provide you with all necessary information about the
installation, the use and maintenance of your system.
The Travel Vision Q7 (Duo) is exclusively developed for inland navigation.
The system makes it possible to (also), during navigation, optimally enjoy the
contemporary Radio- and TV programme supply via geostationary satellites.
In order to guarantee a long lifespan, high-quality materials such as rustproof steel
and durable synthetics were used where possible. Also maintenance is minimal when
using stepper motors and toothed belt transmission.
WARNINGS and NOTES
All details are up-to-date to the manual printing date.
Travelvision BV cannot be held
liable whatsoever for any errors that were made whilst compiling this manual.
Travelvision BV reserves the right to introduce any modification deemed necessary
due to development of the products and also reserves the right, without prior notice,
to make amendments in this installation and user manual, as well as in the products,
as described therein.
Travel Vision ®is a registered trademark by Travelvision B.V.
Please read this installation and user manual before putting your Travel Vision Q7
(Duo) into service. Follow the instructions and take all warnings, included in this
installation and user manual to heart.
Any service and installation should exclusively be performed by qualified personnel.
There are no parts in the device that require service from the user.
Make sure that all wiring is adequately connected before putting the device into
service.
Turn the supply voltage off and disconnect it before carrying out any service to the
system.
When opening the dome, please be aware that the satellite dish may start to pivot
spontaneously and without prior warning, if the supply voltage has not been turned
off.

page 3
You can clean the dome by use of a soft damp cloth with a soap solution. The dome
is IP 55 and not suitable to be cleaned by means of a powerful waterjet/deck
washing hose.
If the dome is required to be tilted for the purpose of the distance between the water
line and the highest fixed part of the ship (such as for low-profile coasters), then
please consult your dealer/installer concerning wiring, supply voltage and other
measures.
For further information you are kindly requested to contact the dealer where you
bought the system, or directly contact:
Travelvision BV
Ir Lelystraat 10
4251 LS Werkendam
Tel. +31 (0) 183-505570
Fax + 31 (0) 183-505567
Web: www.travel-vision.com
© Copyright 2019 Travelvision b.v.

pagina 4
Table of contents
USER MANUAL
TRAVEL VISION Q7 (Duo)
1.1 Travel Vision Q7 (Duo) package …………………………..5
1.2 Parts checklist ………………………......5
2. Installation instructions …………………………..6
2.1 Determining installation position …………………………..7
2.2 Installing satellite dome and control unit …………………………..7
2.3 Electrical connection
satellite dome ………………………… 9
2.4 Electrical connection control panel (MCM unit) ………………………....12
2.5 Assembling and disassembling of the dome …………………………13
3.1 Function Control panel MCM unit …………………………14
3.2 Use of the MCM unit …………………………15
3.3 View Status MCM unit …………………………16
3.4 View Error Codes MCM unit …………………………16
3.5 Explanation of Error Codes …………………………16
4.1 Menu structure …………………………18
4.2 Menu settings …………………………19
4.3.1 Choice of Satellite together with Travel Vision Q7 Duo
………………..
…………19
4.3.2 Choice of Satellite together with Travel Vision Q7 …………………………20
4.4 Standby …………………………20
4.5 Menu Installation …………………………21
4.6 Firmware update …………………………22
5. Technical details …………………………25
6. IP 55 protection certificate …………………………26
7. Warranty conditions …………………………27
INSTALLERS MANUAL
TRAVEL VISION Q7 (Duo)
1. Installer’s menu MCM unit …29
2. Choice of Satellite together with Travel Vision Q7 Duo …30
2.1 Choice of Satellite together with Travel Vision Q7 …31
3. End switch in satellite …32

page 5
1.1 Travel Vision Q7 (Duo) package
The Travel Vision Q7 (Duo) is packed in a strong plastic bag, in a 80x80x91 cm
cardboard box. Using the strong plastic bag, the device can easily be lifted out of the
box by 2 people.
Before removing the packaging, we kindly request you to carry out the following
checks:
•The cardboard box should not be deformed or have severe indications of
damage, such as tears in the cardboard or dents due to bumping.
•The Travelvision tape which the package is sealed with should be intact.
Please note! The Travel Vision Q7 (Duo) has an LNB that was very accurately
set. While unpacking, please make sure that you do not twist the LNB or
change its position!
1.2 Parts check list
The following parts should be included in the packaging:
Satellite dome (satellite-unit in base and dome)
Control unit for assembly within (MCM unit)
Manual
Bag containing parts: - 2 5-pole plugs
- 1 2-pole plug
- 3 bolts M8 x 45 mm RVS
- 3 safety rings M8 RVS
- 3 sealing caps for cable entry
Note: The bag with the parts was packed together with the MCM unit.

pagina 6
2. Installation instructions
2.1 Determining installation position
Choosing the installation location of the satellite
dome
When choosing an adequate location for the installation of the satellite dome, several
factors, as summarised below, must be taken into account:
•The ideal location is a location that has a clear view in all directions.
•The satellite dome should be installed on the mid-point of the intersection line
of the three axes (rolling-, articulated- and pendulum movement).
•The external unit should be away from radars, which may cause disruptions. If
no other location is available, it is recommended that the satellite dome be
installed at least 1.5 m above or below the radar satellite.
•It should be checked if the base that the satellite dome will be installed upon is
sufficiently rigid and free from vibration. When in doubt, we recommend to
reinforce the base by means of suitable extra constructions.
Thumb rule for reception of Astra 1 and 3:
An obstacle that is 3 metres away from the dome, can be up to one metre
higher than the dome.
This thumb rule assumes a minimal elevation of 27 degrees.
Table 1, Elevation of the dish versus geographical position for Astra 1 (19,2)

page 7
Determining the position to install the control unit
While choosing the position of the control unit, instructions below are to be followed:
•The control unit can be installed in either an exposed or a concealed location.
•With regard to possible following software updates, we do recommended that
the control unit be installed in an accessible location.
•The control unit should not be installed in a humid space or in one that is
insufficiently ventilated.
•At the rear side of the control unit there should be enough room for cable
entry.
2.2 Installing
satellite dome and control unit
When the location for the installation of the satellite dome has been determined, you
can install the satellite.
To ensure a hassle-free installation, we advise you to proceed as follows:
•Check if the base plate, on which the base of the satellite dome is to be
installed, is flat and vibration-free and can handle a minimum weight of 22 kg.
•Before drilling the mounting holes, check if the available space is sufficient
with regard to the measurements of the satellite dome.
•When the ship is in a stable condition, the surface (base) should be parallel to
the water surface.
•When securing the chassis of the external unit, you should observe the drill
schedule below, taking into account the point where the cables come out of
the satellite dome, as well as the maximum space required by the dome:

pagina 8
In case the Travel Vision Q7 (Duo) cannot be mounted from the underside with the
included M8 bolts and lock rings, it is possible to fix the actuation from the inner side.
Using sufficiently long M8 Inox bolts, you can secure the system from the inner side.
When using this installation method, you should ensure that the galvanic isolation,
made possible by the synthetic feet, remains intact.
Turn the mounting hole of the base directly above the mounting holes and place the
bolts.

page 9
Installation of the control unit (MCM unit)
After the location for the installation has been determined, the control unit can be
installed. The MCM unit can be built in, or attached to the included mounting bracket.
In case of built in installation, the MCM unit can be secured ‘firmly’.
Should the unit not fit firmly, then use the 4 mounting holes at the corner points of the
front panel for screw mounting.
Measurements control unit (MCM unit)
2.3 Electrical connection
satellite dome
The Travel Vision Q7 (Duo) must be connected to 24 Volt DC, in which case the
current consumption is approximately 3 Amperes.
The (brief) inrush current is significantly higher and also dependent on the power
supply used and the power cord installed.
Use a galvanically isolated power source.
You must connect the ‘+’ of the power supply to the plug terminal stating 24V DC and
the ‘–‘ of the power supply to the plug terminal stating 0V.
The 5-pole plug is meant for connecting the MCM unit.
Note:
The system can be switched ‘on’ and ‘off’ by use of a switch that interrupts the supply
voltage or not. Using this method of switching ‘off’, the system will not be ‘fixed’ to
the satellite by definition.
Recommendation:
It is recommended that the supply voltage of the system is always switched on. If the
system is switched on, the temperature of the electronics and the climate inside the
dome is less prone to variation, which is beneficial for the lifespan. Switching off can
be done by use of the Standby button.

pagina
10
•Remove the lock rings of the cable ducts and insert the cables.
•Cable ducts that are not used should be sealed using the included sealing
caps. If unused cable ducts are not sealed, water may penetrate the satellite
dome, as a result of which the mechanical construction and the electronical
circuits could be severely damaged.
•Connect the electric cables to the relevant 2-pole and 5-pole plugs and attach
the coax F-Connectors. No chemical substances or oxidation repellents may
be used for the coax F-connectors as the quality of the radio frequency signal
could be affected by it.
•Check if the satellite-unit can move freely without any friction points.
•After the installation is completed, the satellite base should be covered using
the dome.
The Travel Vision Q7 is suitable for connection to 4 receivers as a standard.
Diagram with connection of 4 tuners and optional switch box

page 11
The Travel Vision Q7 Duo is suitable for connection to 3 receivers as a standard,
with unlimited reception of channels on Astra 1 (19’2) and Astra 3 (23’5) at the same
time. A possible 4
th
receiver can be connected, however limited to only the reception
of Astra 1 (19’2).
Diagram with connection of 3 receivers and optional switch box

pagina
12
2.4 Electrical connection control panel (MCM unit)
The MCM unit should be connected as follows:
Back of MCM unit. Diagram satellite to MCM
1. 5-pole connector
2. 2-pole connector is not being used
3. RS 232 NMEA input and output
•Connect the 5-pole connector as indicated in diagram
•The NMEA input and output is for service purposes

page 13
2.5 Assembling and disassembling of the dome
The dome is attached by use of 3 M6 bolts.
These bolts can be screwed and unscrewed completely.
PLEASE NOTE! Special attention should be paid to this taking place under dry
weather conditions.

pagina
14
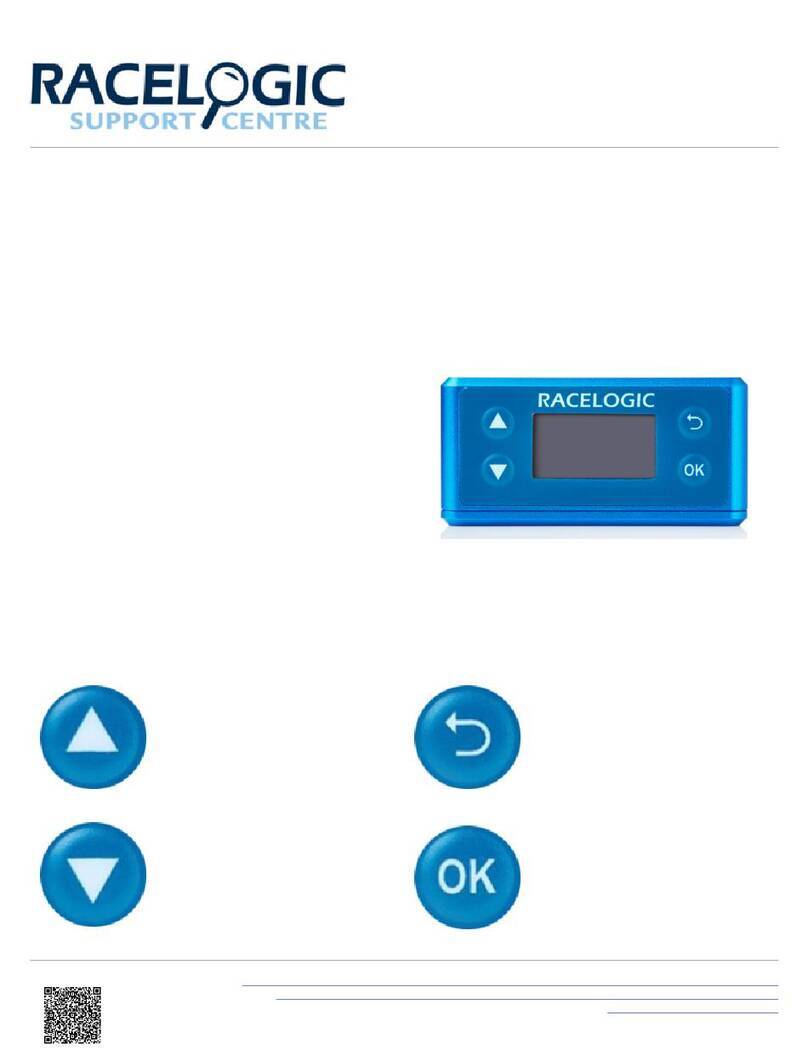
3.1 Function control panel MCM unit
The MCM unit has 3 functions:
1 Monitoring; Being able to see the status of the satellite dish on the display. In
this case multiple reporting codes may be displayed
(see view Error Codes and Status).
2 Control: Giving instructions to the satellite dish at a distance
for example choice of satellite, Standby function etc.
3 Maintenance: Replacing/updating software.
1. Standby function (sets the system to idle)
2. Down (down in menu functions)
3. Up (up in menu functions)
4. Enter (selecting within menu functions)
5. Escape (step back within menu functions)
6. USB port (for update software)

page 15
3.2 Use of the MCM unit
Switching on
The Travel Vision Q7 (Duo) is designed in such a way that the commissioning,
presuming that the installation of the system was carried out correctly, is rather
straightforward.
Switch on your satellite receiver and your TV set.
In order to switch on the Travelvision system, 24 V should be available and possibly
the system’s standby function should be switched off.
NOTE. When enabling the 24 V supply voltage, the satellite will start up
automatically.
On the MCM screen, the following will be displayed:
Type system: Travelvision Q7 (Duo)
This indication will disappear after a few seconds and subsequently the system will
start specifying the status.
Status: satellite (e.g. Astra1)
Searching Limit
This notification implies that the start-up phase is in progress (system is searching for
points of reference). This may take approximately 1 minute.
After this start-up phase, the system will start searching for the configured satellite.
After some time the Travel Vision Q7 (Duo) will be locked to the satellite and your TV
set will show the image on the receiver.
Status: satellite (e.g. Astra1)
Tracking

pagina
16
3.3 View Status MCM unit
The display shows the status of the satellite to be followed.
All status notification shown are notifications from the dome to the MCM unit.
Status: Searching Limit : the system is looking for its points of
reference
Searching/scanning Sat : the system is looking for the satellite
Tracking : the system is following the satellite
Peaking : optimising signal strength
Perform tracking : the system is positioning upon the satellite
Standby : the system is in standby mode
3.4 View Error Codes MCM unit
In case of error codes, the display will show different texts
Error Codes:
E : Limit not found
E : No signal.
E : Communication failure.
E : Firmware not found.
E : Failure during update
E : USB disk not found
E : No Tuner.
E : No Tuner set
E : Not possible DiSEqC active
E : Satellite not found
E : LNB low voltage
E : 22 kHz missing
E : Low Voltage
3.5 Explanation of Error Codes
E : Limit not found
The system cannot find its reference positions. Reset the system.
If again no Limit appears on the display, contact your dealer.
E : No signal.
The system does not measure signal of the LNB. In that case the LNB may be
defective or one of the coax cables within the system causes poor connection.
E : Communication failure.
There is no communication between the MCM unit and the dome. Check the
wiring between the MCM unit and the dome.

page 17
E : Firmware not found
No software was installed in the system. Reset the system.
Install software using a USB stick.
E : Failure during update
The software was not correctly transferred from the USB stick to the satellite
system. Reset the system and repeat the software procedure.
E : USB disk not found
The USB stick could not be found or recognised.
E : No Tuner.
The tuner print is not noticed by the motor print, contact your dealer.
E : No Tuner set
No tuner settings can be recognised, repeat the software update procedure or
check the cable and connections of the control unit.
E : Not possible DiSEqC active (not possible with Travelvision Q7 Duo)
It is not possible to manually select a different satellite because auto DiSEqC
is enabled via the main tuner. If desired, switch off the DiSEqC in the menu or
the Travelvision (your system will then no longer automatically switch between
satellites).
E : Satellite not found
1) Check for any obstacles.
2) Check if you have the latest Travelvision software version for any possible
modifications in satellite frequencies. Consult your dealer.
3) You location is possibly outside the footprint (transmission area) of the desired
satellite.
E : LNB low voltage
The LNB in the system has too low a voltage, please contact your dealer.
E : 22 kHz missing
No 22 kHz is received in the LNB, please contact your dealer.
E : Low Voltage
The system’s voltage is too low, check the power supply and contact your
dealer.

pagina
18
4.1 Menu structure
Different settings are possible in the menu of the Travel Vision Q7 (DUO).

page 19
4.2 Menu settings
Press the enter key for 2 seconds
Language Choice of Dutch, English and German language
(Press the up and down keys for scrolling through
the selection list. Press the enter key to select).
Info Information regarding software version etc.
LCD Lighting Switching on and off of background lighting
Illumination adjustment
(Press the up and down keys for scrolling through
the selection list. Press the enter key to select)
Restart satellite The satellite will restart itself
(Press the enter key to restart satellite)
4.3.1 Choice of Satellite together with Travel Vision Q7 Duo (please note: ONLY
Duo)!
Press the up and down keys for scrolling through the satellite favourites list.
Press the enter key to select satellite.
NOTE! The satellites can be selected for the favourites list through the installer’s
menu.
Standard setting:
Satellite Position DiSEqC
(is not supported by the Travel Vision Q7 Duo)
Astra 1&3 19,2 E and 23,5 E
Astra 3 23,5 E
Astra 2 28,2 E
Hotbird 13 E
Possible satellites that can be set via the favourites list in the installer’s menu:
The Duo LNB is set for optimal reception of Astra 1 & 3 as a standard, therefore
reception and reception area of the other satellites can be lower!
Satellite
Position
Satellite
Position
Astra 1 3
19,2 E 23,5
Thor
1 W
Astra 3
23,5 E
Amos
4 W
Astra 2
28,2 E
Eutelsat 5
5 W
Hotbird
13 E
Eutelsat 12
12,5 W
Eutelsat 16 16 E
Hispasat
30 W
Eutelsat 9A 9 E
Astra 5
31,5 E
Eutelsat 7A
7 E
Turksat 2
42 E
SES5
4,8 E
Hellassat
39 E

pagina
20
4.3.2 Choice of Satellite together with Travel Vision Q7.
Press the up and down keys for scrolling through the satellite favourites list.
Press the enter key to select satellite.
NOTE! The satellites can be selected for the favourites list through the installer’s
menu.
Standard setting:
Satellite Position DiSEqC
Astra 1 19,2 E 1
Astra 3 23,5 E 2
Astra 2 28,2 E 3
Hotbird 13 E 4
Possible satellites that can be set via the favourites list in the installer’s menu:
The LNB is factory set as a standard for optimal reception below mentioned
satellites, indicated in red. The reception and reception area of other satellites
may therefore be lower!
Satellite
Position
Satellite
Position
Astra 1
19,2 E
Thor
1 W
Astra 3
23,5 E
Amos
4 W
Astra 2
28,2 E
Eutelsat 5
5 W
Hotbird
13 E
Eutelsat 12
12,5 W
Eutelsat 16 16 E
Hispasat
30 W
Eutelsat 9A 9 E
Astra 5
31,5 E
Eutelsat 7A
7 E
Turksat 2
42 E
SES5
4,8 E
Hellassat
39 E
4.4 Standby
Press 3 sec the on/off button to set the system to standby.
This manual suits for next models
1
Table of contents
