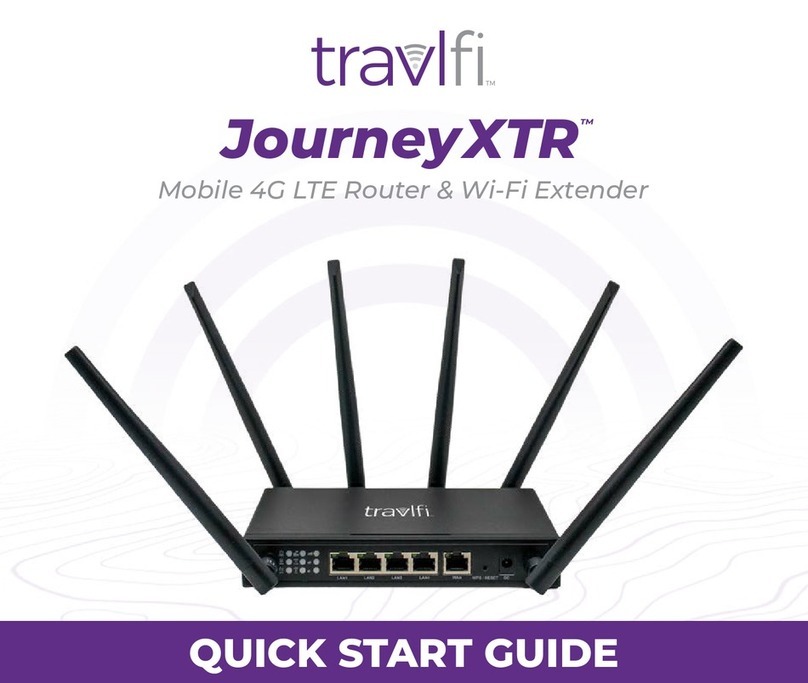
travlfi JourneyXTR User manual

TravlFi JourneyXTR Router User Manual
1

Federal Communication Commission Interference Statement
This equipment has been tested and found to comply with the limits for a Class B digital device,
pursuant to part 15 of the FCC Rules. These limits are designed to provide reasonable
protection against harmful interference in a residential installation. This equipment generates,
uses and can radiate radio frequency energy and, if not installed and used in accordance with
the instructions, may cause harmful interference to radio communications. However, there is no
guarantee that interference will not occur in a particular installation. If this equipment does
cause harmful interference to radio or television reception, which can be determined by turning
the equipment off and on, the user is encouraged to try to correct the interference by one or
more of the following measures:
- Reorient or relocate the receiving antenna.
- Increase the separation between the equipment and receiver.
- Connect the equipment into an outlet on a circuit different from that to which the receiver
is connected.
- Consult the dealer or an experienced radio/ TV technician for help.
FCC Caution: Any changes or modifications not expressly approved by the grantee of this
device could void the user's authority to operate the equipment
JourneyXTR
2

RF Exposure Statement
To comply with FCC RF exposure compliance requirements, the antenna used for this
transmitter must be installed to provide a separation distance of at least 20cm from all persons
(indoor), and at least 48cm from all persons (outdoor). It must not be co-located or operating in
conjunction with any other antenna or transmitter.
Safety Warnings
RF Exposure Statement
Do not use any other power adaptor except the one that accompanies this unit or a power
adaptor identified in the list below.
The use of another adapter could result in damage to the unit.
The following power adaptor is qualified for use with this JourneyXTR.
The unit must be powered by a model DCT18W120150US-A0 AC/DC adaptor.
Caution
Connect the power cord of the power adapter to a socket outlet with a grounding connection.
3
JourneyXTR

Chapter 1
Introduction
provides customers with the most capable 4G LTE product we've ever offered.
With it's 6external antennas, the JourneyXTR allows customers to connect to the internet using
2.4GHz /5GHz WiFi and Ethernet/LAN. Up to 32 devices may be connected at any time.
1.1. Unboxing Information
Inside the product package for the , you should find the following items:
• x 1
• Ethernet Cord x 1
• 2.4GHz WiFi antenna x 2
• 5.0GHz WiFi antenna x 2
• LTE Antenna x 2
• Power Adaptor x 1
4
JourneyXTR
JourneyXTR
JourneyXTR
JourneyXTR

1.2. Front and Rear Features
Front & Rear Panel
5
JourneyXTR

Chapter 2
Self-Setup and Activation
Front Side Back Side
Cellular-LTEAntennas WiFi Antennas
2.1. Pre-Activation Checks
Before activating with TravlFi, please review these 3 steps. If your RV came equipped with
the JourneyXTR from the factory, locate the device first and then proceed with steps 1-3.
1.Device Check: Check that all antennas are secure and the JourneyXTR is powered on.
2. Status Check: Power, vSIMand WiFi indicators should be illuminated. The LTE and signal
strength indicators will turn on after activation of the JourneyXTR.
3. ReviewChapter 3: Continue to Chapter 3, connect your devices and call TravlFi.
66666
6
6
66
JourneyXTR
Ensure that the device is in a suitable location within the RV to receive cellular signal. Attach all sup-
plied antennas to their respective ports on the JourneyXTR and connect the JourneyXTR to power.
The JourneyXTR can be setup next to a window or windshield with adequate airflow. Cabinets may
also be suitable, but can degrade cellular reception. Do not block side vents or set other devices
on top of the JourneyXTR.
If the JourneyXTR was pre-installed by your RV manufacturer, some configurations may be
equipped with a rooftop mounted antenna.

JourneyXTR
Chapter 3
Accessing the Web User Interface: Log In and Set Up: Setup Wizard
3.1. Login
After turning on the connect to it via Wi-Fi by following these steps:
1. Locate the default SSID (network name) and the default Wi-Fi key (password) on
the sticker located on the bottom of the router.
2. On your mobile device, access the Wi-Fi settings menu. Select the SSID
(network name) and enter the default Wi-Fi key (password) from Step 1.
a. Either 2.4G SSID or 5G SSID is fine to connect to.
After connecting to Wi-Fi, access the Web User Interface by following this step:
1. On your mobile device, navigate to an internet search browser, and input the IP
address of 192.168.0.1, then click enter.
JourneyXTR
7
JourneyXTR
JourneyXTR
CPE-0001
CPE-0001
JourneyXTR
JourneyXTR

After navigating to the Web User Interface, log in by following this step:
1. On your mobile device, login to the Web User Interface’s Home Page using the
default user name of admin and the default password which will be a series of
letters and numbers. Both of these can be found on the sticker located on the
bottom of the router.
3.2 Setup Wizard
After logging into the , the Setup Wizard will appear. The Setup Wizard will guide
users along the configuration steps, it is imperative they follow the guide step by
step.
8
JourneyXTR
JourneyXTR
CPE-0001
CPE-0001
JourneyXTR
JourneyXTR
JourneyXTR

Step 1: Operation Mode
The Operation Mode page is used to toggle the between different operational
modes; Gateway, Bridge/AP mode, and Wireless ISP.
To ensure your device works on your pre-selected data plan, you must start by selecting
Gateway, you can always go back and change this selection at a later time if you wish.
9
JourneyXTR
JourneyXTR

Step 2: WAN Interface Setup
The WAN Interface Setup page is used to set the WAN Access Type.
You do not need to set up the WAN Interface at this moment, you can always go back and set it
up at a later time.
Skip this step and click Next.
10
JourneyXTR

Step 3: LAN Interface Setup
The LAN Interface Setup page is used to configure the IP Address and Subnet Mask if you are
connecting an external router to the via LAN.
You do not need to set up the LAN Interface at this moment, you can always go back and set it
up at a later time.
11
JourneyXTR
JourneyXTR

Step 4: Set Admin Account
The Set Admin Account page is used to set the new user interface (router log-in) password.
The pre-set user and password can be found on the sticker located on the bottom of the router.
12
JourneyXTR
JourneyXTR
JourneyXTR
CPE-0001
CPE-0001
JourneyXTR

Step 5: Setup Wireless
The Setup Wireless page is used to set the SSID and password for both the 2.4GHz and 5GHz
Wi-Fi networks.
It is also used to enable or disable either of the Wi-Fi networks.
13
JourneyXTR
JourneyXTR
JourneyXTR
JourneyXTR
CPE-0001
CPE-0001
JourneyXTR
JourneyXTR

Step 6: Automatic Reboot
The will reboot once you have clicked the finished button on Step 6 to apply the
changes you have made.
Remember to connect back to the router’s broadcasted Wi-Fi network to connect to it again.
Remember, you may have changed what that looks like in the previous step.
14
JourneyXTR
JourneyXTR

Chapter 3
Accessing the Web User Interface: Understanding the Home Page
3.3. Home Page/Main Section
After completing the Setup Wizard, the Home Page of the will appear.
The Home Page is where users can check the connection status between the and
the Internet, and adjust settings such as Wi-Fi options, parental controls, and more.
15
JourneyXTR
JourneyXTR
JourneyXTR
JourneyXTR

3.3.1 Banner
At the top of the Home Page, a banner consisting of icons is presented. Each of these icons
represents a sub-section, we will explore each sub section in this guide. We have already
explored the Wizard sub-section earlier in this chapter. To the left of the icons, the current
firmware version (FW) of the is displayed.
3.3.2 Network Map
The Network Map is located in the middle of the Home Page. The line between the Internet
Globe, the , and the Internet devices on the map indicate the connection status
between them.
A solid green line indicates a successful connection, whereas a red line with an x in the idle
indicates that there is no connection.
If there is a red line with an x in the idle between the Internet Globe and the there is
no 4G LTE connection present. If there is a red line with an x in the idle between the Internet
Globe and the it is an indication that there is no Wi-Fi connection between the
and Internet devices either over Wi-Fi or via LAN.
16
JourneyXTR
JourneyXTR
JourneyXTR
JourneyXTR
JourneyXTR
JourneyXTR
JourneyXTR

The Internet Globe image, the image, and the Desktop Image are all clickable and
reveal menus.
3.3.3 Internet
17
JourneyXTR
JourneyXTR
JourneyXTR

The Internet section is divided into three distinct sections: IPv4, IPv6, and Mobile Network.
3.3.3.1 IPv4 or Internet Protocol Version 4
Item Description
MAC Address
The MAC Address or the Media Access Control address is a
unique serial number in the network circuitry of every Ethernet
and Wi-Fi device.
Connection Type Dynamic Host Configuration Protocol Version
Network Status The connection status between the and the internet
when using the WAN port.
Connection Uptime The period of time the has been connected to the
internet.
IP Address An IP address, or Internet Protocol address, is a series of
numbers that identifies any device on a network.
Default Gateway The IP address of another router your sends traffic
too.
Primary DNS Server The first touchpoint for a browser asking where to find a site.
Secondary DNS Server The second touchpoint for a browser asking where to find a
site in the case that the Primary DNS Server is unavailable.
18
JourneyXTR
JourneyXTR
JourneyXTR
JourneyXTR

3.2.2.2 IPv6 or Internet Protocol Version 6
Item Description
MAC Address
The MAC Address or the Media Access Control address is a
unique serial number in the network circuitry of every Ethernet
and Wi-Fi device.
Connection Type Dynamic Host Configuration Protocol Version
Network Status The connection status between the and the internet
when using the WAN port.
Connection Uptime The period of time the has been consistently
connected to the internet.
IP Address An IP address, or Internet Protocol address, is a series of
numbers that identifies any device on a network.
Default Gateway The IP address of another router your sends traffic
too.
Primary DNS Server The first touchpoint for a browser asking where to find a site.
Secondary DNS Server The second touchpoint for a browser asking where to find a site
in the case that the Primary DNS Server is unavailable.
19
JourneyXTR
JourneyXTR
JourneyXTR
JourneyXTR

3.2.2.3 Mobile Network
Item Description
Signal Intensity The cellular signal strength of the
Network Provider The local cellular network your connects to.
Network Status The connection status between the and the internet
when using vSIM.
Connection Uptime The period of time the has been connected to the
internet.
IP Address An IP address, or Internet Protocol address, is a series of
numbers that identifies any device on a network.
Default Gateway The IP address of another router your sends traffic
too.
Primary DNS Server The first touchpoint for a browser asking where to find a site.
Secondary DNS Server The second touchpoint for a browser asking where to find a site
in the case that the Primary DNS Server is unavailable.
20
JourneyXTR
JourneyXTR
JourneyXTR
JourneyXTR
JourneyXTR
JourneyXTR.
Table of contents
Other travlfi Network Router manuals
