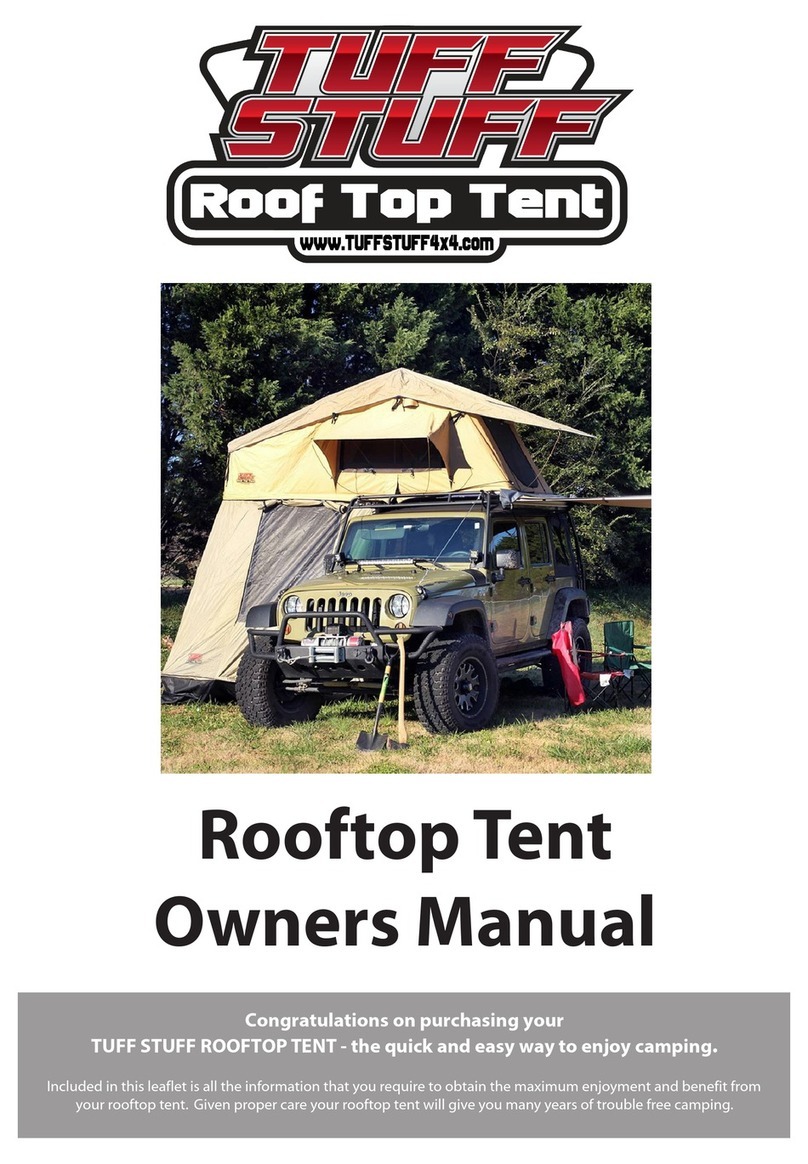
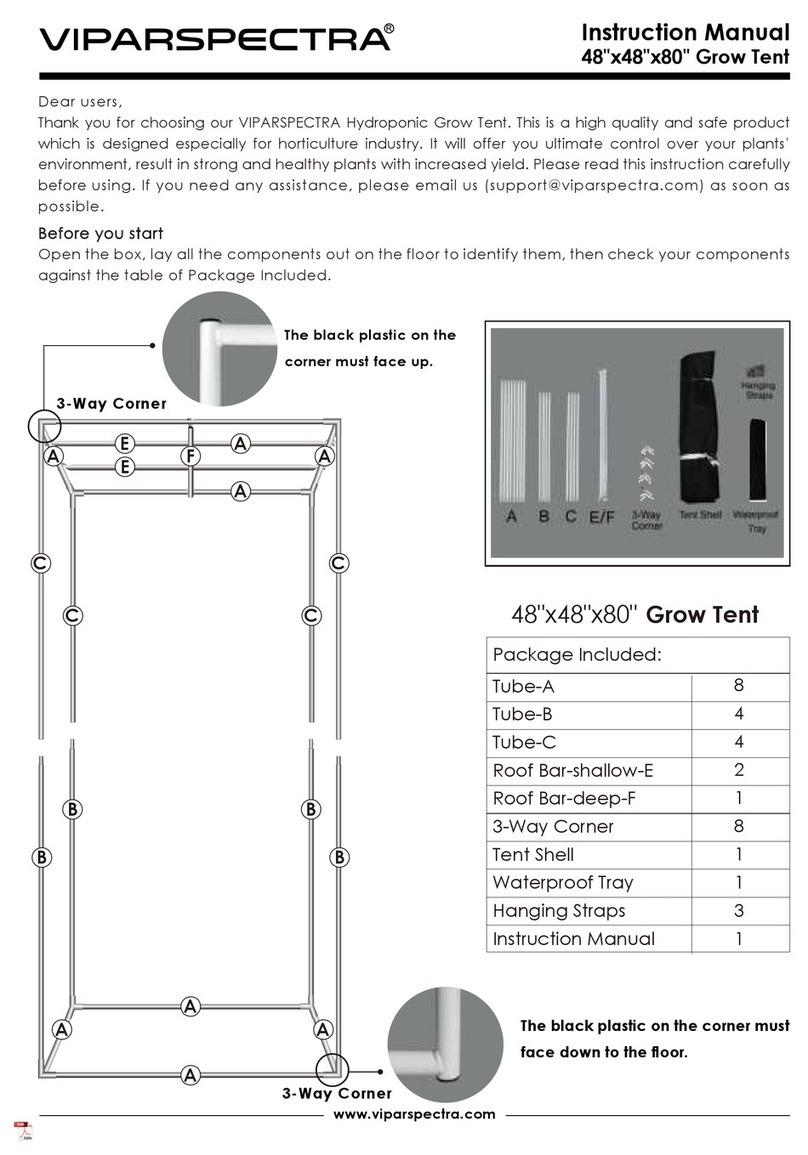
Trekmaster TM57409 Configuration guide

7’x4’ TRAILER TENT
SERIES 4
9’
Part No. TM57409
OPTIONAL SUNROOM
Wall and floor kit
Part No. TM57423
OPTIONAL SPARE ROOM
Roof, wall and floor kit
Part No. TM57456
ASSEMBLY & CARE INSTRUCTIONS
Please keep these instructions for future reference

2
CONTENTS
P A R T S L I S T P A G E N o .
FRAME, POLES & ACCESSORIES 3
ASSEMBLING TENT TO TRAILER
TOOLS & ACCESSORIES YOU WILL NEED 4
TRAILER 4
POLE ASSEMBLY 5
SET UP INSTRUCTIONS
BEDROOM 6
LOUNGE ROOM 7
TENSION BARS 7 - 8
TENT GUY ROPES 10
ROOM DIVIDER 10
BEDROOM WINDOW 10
AWNING 9 - 10
LOUNGE ROOM SIDE AWNING (OPTIONAL) 10
DISMANTLE AND PACK-UP 11
SPARE ROOM (ROOF, WALLS AND FLOOR KIT - OPTIONAL - SOLD SEPARATELY) 12-13
SUNROOM (WALLS AND FLOOR KIT - OPTIONAL - SOLD SEPARATELY) 14
CARE INSTRUCTIONS
SEASONING CANVAS
Before using your tent for the first time, it should be ‘seasoned’ to make it fully waterproof.
This involves erecting the tent (see assembly instructions), soaking it completely with water by either
rain or hose and letting the tent dry. It is the drying process that waterproofs the tent.
Ensure all windows and doors are closed. This will allow the fabric and stitching to shrink and take
up. Some water may wick through the stitching during this process. If any wicking occurs in the
future, rub the stitching with a wax stick which will seal the area (available at most camping stores).
Repeat the wetting and drying process 2 or 3 times. The tent should now be waterproof.
Allow tent to dry completely, clean before packing away.
Always make sure that your tent is completely dry before packing away. Any moisture in the fabric
will cause it to mildew and dramatically reduce its life. Mildew fabric or fabric damaged by mildew is
not covered under warranty.
Never store a wet and/or soiled tent, as mildew and/or corrosion will form within a few days.
This condition is not covered by factory warranty.

3
7x4 TRAILER TENT 9’ PARTS LIST
CODE FRAME, POLES & ACCESSORIES QTY
1INTERNAL FRAME (BEDROOM) 1
2INTERNAL FRAME (BEDROOM) 1
3INTERNAL FRAME (LOUNGE ROOM) 1
4INTERNAL FRAME (LOUNGE ROOM) 1
5TENSION BAR (LOUNGE ROOM ROOF) 3
6TENSION BAR SHORT (AWNING) 1
7TENSION BAR (BEDROOM ROOF) 2
8TENSION BAR (BEDROOM CORNER) 2
9TENSION BAR LONG (AWNING) 1
10 AWNING ROOF POLE 3
11 AWNING SUPPORTING POLE (FRONT RHS) 1
12 AWNING ROOF POLE (FRONT RHS) 1
13 AWNING POLE (FRONT LHS) 1
14 AWNING SUPPORTING POLE (FRONT CENTRE) 1
15 AWNING SUPPORTING POLE 6
ABRACKET POCKET 4
BBEDROOM WINDOW POLES 2
CBEDROOM WINDOW FIBREGLASS POLES 3
DPEGS FOR D RING 14
EGUY ROPES & PEGS SET 19
FRAIN CAPS 6
GDUST COVER 1
HGAS STRUTS 2
IHINGE 2
JMOUNTING LATCHES 2
KADHESIVE FOAM SEAL 1
LLASHING HOOKS 4
TRAILER TENT WITH BASE AND MATTRESS 1

4
ASSEMBLING TENT TO TRAILER
• Clean the rails of trailer if needed and attach the Adhesive Foam Seal (K) to the rails to keep belonging away from
the elements.
• Attach base to trailer by hinges.
• Place the trailer tent onto top of trailer. Make sure entrance to tent is facing rear of trailer and the rail with hinges
welded on is sitting on the right hand side wall of trailer. Mount steel frame to trailer using Hinges (I) supplied.
• Attach gas struts to the trailer using brackets and screws supplied. Adjust the opening height by choosing the
mounting point on the left hand side wall.
• Ensure frame assembly is fully secured by hinges and gas struts.
• Mount the Latches (J) on the left hand side wall of trailer for safety.
TOOLS & ACCESSORIES YOU WILL NEED
• Screwdriver - blade & phillips / cordless drill & bits
• Welding machine
• Spanner 14mm & adjustable wrench 200mm
TRAILER 7’ x 4’
Min/max height from ground - 950mm to 1000mm 0n road
- 1150mm to 1200mm off road
Important
It is recommended that this assembly
requires a minimum of 2 persons.
Ensure appropriate safety equipment is used
during the construction of this product.
2100mm 1300mm
1000mm
2100mm 1300mm
1000mm
on-road
1200mm
off-road

1
2
8
7
5
15
15
4
LOUNGE ROOM
Rear
Left
Left
Right
Front
BEDROOM
10
11
15
15
15
15
15
12
14
14
13 10
4
AWNING
3
6
6
5
7
5
Right
5
POLE ASSEMBLY - TENT
POLE ASSEMBLY - AWNING
1
2
8
7
5
15
15
4
LOUNGE ROOM
Rear
Left
Left
Right
Front
BEDROOM
10
10
15
15
15
15
12
11
14
13 10
4
FRONT AWNING
3
6
9
5
7
5
Right

1
2
8
7
5
15
15
4
LOUNGE ROOM
Rear
Left
Left
Right
Front
BEDROOM
10
11
10
15
15
15
15
15
12
12
14
14
13 10
4
AWNING
3
6
6
6
5
7
5
Right
6
SET UP INSTRUCTIONS - TENT
STEP 1
• Select a suitable location to erect your camper trailer, ensure that the surface is solid and as level as possible.
STEP 2
• Release D ring on travel cover and un-zip.
STEP 3
• Remove protective travel cover and store away.
STEP 4 - Tent
• Fold out tent and enter through
D door - locate Pole (2).
• Raise Pole (2) into upright
centre position and fasten to
inner edge of tent wall at roof
using hook and loop tabs.
• Raise Pole (1) into position
at top of bedroom wall
and fasten using hook
and loop tabs.
Note: To avoid injury while
raising and adjusting poles,
always tighten tee nuts to ensure
poles are held together in position.
Cover each
side of the brackets with canvas
Pockets (A) supplied.
A
1
2

1
2
8
7
5
15
15
4
LOUNGE ROOM
Rear
Left
Left
Right
Front
BEDROOM
10
11
10
15
15
15
15
15
12
12
14
14
13 10
4
AWNING
3
6
6
6
5
7
5
Right
7
STEP 5
• Raise Pole (3) to centre position of lounge room and fasten
to roof using hook & loop tabs.
• Pull Pole (3) out of sleeve tube and position into PVC pocket
in centre position of lounge room floor.
• Adjust pole height & tighten tee nuts.
STEP 6
• Join together the spring- loaded sections of Pole (4).
• Position ends of Pole (4) into both bottom corners of
lounge room.
• Fasten to right hand side wall using hook and loop tabs.
• Adjust pole height and tighten tee nuts.
STEP 7
• Attach lounge room Tension Bars (5) to Poles (3) & (4)
using ‘C’ clip ends.
• Ensure tee nuts are facing downwards - adjust tension
bars.
STEP 8
• Pull the canvas outwards until the lounge room area has
taken shape.
• Peg out corners and sides at stitched D rings using
Pegs (D).
• Adjust Poles (1), (2), (3) & (4) using tee nuts until canvas is
tight. Do not over stretch the canvas.
STEP 9
• Attach ‘C’ clip end of bedroom Tension Bar (8) to Pole (1)
at corner.
• Insert other end into corner pocket located at bottom of
bedroom rear wall. Repeat procedure for both sides.
Adjust tension bars using tee nuts.
Step 5 & 6
Step 7
Step 8
Step 9
3
4
55
3
4
5
1
8

8
2
STEP 10
• Attach bedroom roof Tension Bar (7) to Poles (1) & (2) using
‘C’ clip ends.
• Ensure tee nut is facing downwards - adjust tension bar.
STEP 11
• Extend all pre-tied guy ropes away from the tent using
Pegs (D).
• Tension guy ropes as required.
STEP 12
• To attach bedroom / lounge room divider, use zippers
located at both sides of bedroom outer wall.
• Fasten top edge of room divider at roof using hook and loop
tabs located along Pole (2).
• Attach the lounge room divider to Pole (3) using ‘C’ clips.
STEP 13 – Bedroom Window
• Insert Fibreglass Poles (C) into each seam edge of bedroom
window cover.
• Secure ends with attached hook and loop tabs.
• Insert straight pin end of Bedroom Window Pole (B) into
corner eyelet of bedroom window cover.
• Insert other end with ‘l’ shaped pin into eyelet at tent wall.
• Repeat procedure for both sides.
C
Step 12
Step 13
Step 13
Step 13
Step 10
B
1
77

10
10
11
14 14 15
15
15
15
15
12
2
4
13
9
STEP 14 – Awning
• Attach awning using zipper along outer top edge of tent roof.
• Start at top right hand side of lounge room and finish at top left hand side of bedroom.
• Ensure the canvas flap fully covers the zipper using the attached hook and loop fastener.
Note: Pull attached awning back over roof of tent to allow assembly of awning poles.
STEP 15
• Insert ‘L’ shaped pin of Awning Roof Pole (10) through the tent eyelet at right hand corner into hole located on end
of Pole (4).
• Ensure pole (10) tee nuts are facing downwards.
STEP 16
• Insert straight pin of Awning Pole (15) into hole at other end of pole (10) and join with
end of Pole (12).
• Ensure Pole (12) tee nuts are facing downwards.
• Adjust Pole (15) in the upright position using the tee nuts.
STEP 17
• Insert ‘L’ shaped pin of second awning roof Pole (10) through the tent eyelet into
hole located on end of Pole (2).
• Ensure Pole (10) tee nuts are facing downwards.
Step 14 Step 15
Step 16
10
4
1
2
8
7
5
15
15
4
LOUNGE ROOM
Rear
Left
Left
Right
Front
BEDROOM
10
10
15
15
15
15
12
11
14
13 10
4
FRONT AWNING
3
6
9
5
7
5
Right

10
STEP 18
• At centre front of awning, insert straight pin of Awning Pole (14) into hole at end of Pole (12) & (10) and join with end of
Pole (13).
• Ensure Pole (13) tee nuts are facing downwards.
• Adjust Pole (14) in the upright position using the tee nuts.
STEP 19
• At other end of Pole (13), insert straight pin of Awning Pole (15) then join to hole at end of Pole (10).
• Insert 'L' shaped pin of 3rd awning roof pole (10) through the tent eyelet into hole located on end of pole (1).
• Ensure Pole (10) tee nuts are facing downwards.
• Adjust Pole (15) in the upright position using the tee nuts.
STEP 20
• Pull awning into position over awning poles and insert eyelets through straight pin at top of each pole.
STEP 21
• Insert straight pin of other awning Pole (15) through pre-drilled hole on
Awning Roof Pole (10), then through eyelet along side of awning edge.
• Attach Tension Bar (6 & 9) to awning Roof Poles (10) by ‘c’ clip.
• Hook elastic straps around awning edge into holes located on upright poles.
• Position Rain Caps (F) over top of straight pin at each upright awning pole.
• Adjust all awning pole tee nuts until awning is tight. Do not over stretch
the canvas.
STEP 22
• Attach Guy Ropes (E) to awning poles and peg out.
• Tension guy ropes as required.
• Attach Dust Cover (G) at rear of trailer using hook and loop fastener.
STEP 23 – lounge room side awning (optional)
• The lounge room side tent wall can be unzipped and rolled up or used
as an awning with the remaining 2 x Poles (15).
• Attach Guy Ropes (E) to poles and peg out.
• Tension guy ropes as required.
• Peg out all the 'D' rings using Pegs (D).
Step 22
Step 22

11
dismantle and pack-up
• Remove all awning guy ropes. Remove all awning & bedroom window poles, including bedroom fibreglass poles.
• Unzip awning from tent and fold up. Store all poles in tent bag.
• Remove all bedroom & lounge room tension bars and store under mattress.
• Loosen tee nuts on Poles (1), (2), (3) & (4) and adjust poles to shortest length.
Note: Pole (4) can remain attached in lounge room.
• Remove all remaining guy ropes and pull up all pegs.
• Store in accessory bag.
• Carefully swing down Poles (1), (2), (3) & (4) onto trailer.
• Fold in tent and position flat on top of trailer.
• Secure tent, awning and tent bag on trailer using PVC cover.
Important: Ensure tent is securely fastened to trailer using webbing and elastic straps.

12
OPTIONAL SPARE ROOM – SOLD SEPARATELY
Roof, wall and floor kit
Part No.: TM57456
SPARE ROOM ROOF
STEP 1
• Attach the Spare Room roof to the tent using zipper, then pull roof over the top of the tent.
STEP 2
• Insert ‘L’ shaped pin of Roof Pole (10) through the tent eyelet at left hand corner into hole located on the end of Pole (4).
• Ensure Pole (10) tee nuts are facing downwards
STEP 3
• Insert straight pin of Awning Pole (15) into hole at other end of Pole (10) and join with end of Pole (12)
• Ensure Pole (12) tee nuts are facing downwards
• Adjust Pole (15) in the upright position using the tee nuts.
STEP 4
• Insert ‘L’ shaped pin of second Roof Pole (10) through the tent eyelet into hole located on the end of Pole (2)
• Ensure Pole (10) tee nuts are facing downwards
STEP 5
• At centre front of spare room, insert straight pin of Awning Pole (14) into hole at end of Pole (12) & (10) and join with end of
Pole (13).
• Ensure Pole (13) tee nuts are facing downwards.
• Adjust Pole (14) in the upright position using the tee nuts.
STEP 6
• At other end of Pole (13), insert straight pin of second Awning Pole (15) then join to hole at end of Pole (10).
• Ensure Pole (10) tee nuts are facing downwards.
• Adjust Pole (15) in the upright position using the tee nuts.

13
STEP 7
• At right hand rear corner of awning, insert 'L' shaped pin of third Roof Pole (10) into hole at other end of Pole (1).
STEP 8
• Pull roof into position over poles and insert eyelets through straight pin at top of each pole.
STEP 9
• Position Poles (11 & 15) through eyelet along sides of awning edge.
• Hook elastic straps around awning edge into holes located on upright poles.
• Position Rain Caps (F) over top of straight pin at each upright awning pole.
• Adjust all awning pole tee nuts until awning is tight.
DO NOT OVER STRETCH THE CANVAS.
STEP 10
• Attach guy ropes (E) to awning poles and
peg out using pegs.
• Tension guy ropes as required.
SPARE ROOM WALLS & FLOOR
• Start attaching the wall from the right hand top corner of the lounge room and work around to the front of the awning.
• Attach the two large sections of the spare room walls with D door & window to the front of the awning.
• Attach the fourth section of the spare room wall to the left hand of the lounge room.
• Work around to the front of the awning and join each two sections using Velcro.
• Secure walls to awning poles using hook and loop fastener.
• Attach the room divider using Velcro and loop fastener.
• When completed, ensure outside gutter edge of flooring is flush with ground.
• Peg out and tension spare room wall using internal stitched D Rings.
• Lay out the internal flooring and attach to the walls using Velcro.
NOTE: It is recommended to season canvas prior to use.
1
2
8
7
5
15
15
4
LOUNGE ROOM
Rear
Left
Left Right
Front
BEDROOM
10
10
15
11
15
15
1
15
13
14
12 10
4
6
REAR AWNING
3
9
5
7
5
Right
Step 6
Step 5
Step 9
Step 3
Step 2
Step 4
Step 7

14
OPTIONAL SUNROOM - SOLD SEPARATELY
Wall and floor kit
Part No. TM57423
• Using the Velcro, attach the larger section of the sunroom with 'D' door adjacent to the 'D' door of the lounge room tent.
• Attach the other two sections of the sunroom using the Velcro.
• Work around to the front of the awning and join the three sections using Velcro.
• Secure sunroom to awning poles using hook and loop fastener.
• When completed, ensure outside gutter edge of flooring is flush with ground.
• Peg out and tension sunroom wall using internal stitched 'D' rings.
• Lay out internal flooring and attach to the wall using Velcro.
Note: It is recommended to season canvas prior to use.

FRONT
AWNING
2300mm
BED ROOM
LOUNGE ROOM
2300mm
6780mm
5350mm
1750mm3600mm
REAR
AWNING
(optional)
2180mm
1750mm
3600mm
FRONT
AWNING
2300mm
BED ROOM
LOUNGE ROOM
2300mm
6780mm
4350mm
1750mm2600mm
REAR
AWNING
(optional)
ROOM DIVIDER
2180mm
1750mm
2600mm
15
Specifications
Tent size: 4350 x 2300mm
Awning size: 4350 x 2300mm
Total area: 4350 x 4600mm
Centre height: 2700mm
Wall height: 2000mm
Features
Easy lift-up from one side with aid of gas struts.
Direct access via the trap door under the mattress to the trailer from the inside.
Extra safety secured by industrial strength hinges & latches.
• 400g/m2 rip stop poly cotton canvas roof, wall and awning
• Heavy duty ultra-fine mesh on door & windows
• Strong and durable 19mm & 22mm diameter galvanized poles
• Hard wearing tub style PVC floor
• Zip on-off awning
• Windows have ultra fine mesh with zipper awnings
• Peg points have reinforced nylon webbing and chrome plated ‘D’ rings
• Zip power cord inlet
• Zinc plated pegs included
• PVC trailer cover included

Trekmaster distributed by
Primus Australia Pty Ltd
Bundoora VIC 3083
www.primusaustralia.com.au
TKM111
This manual suits for next models
2
Table of contents
