Treo Fitness B309 User manual
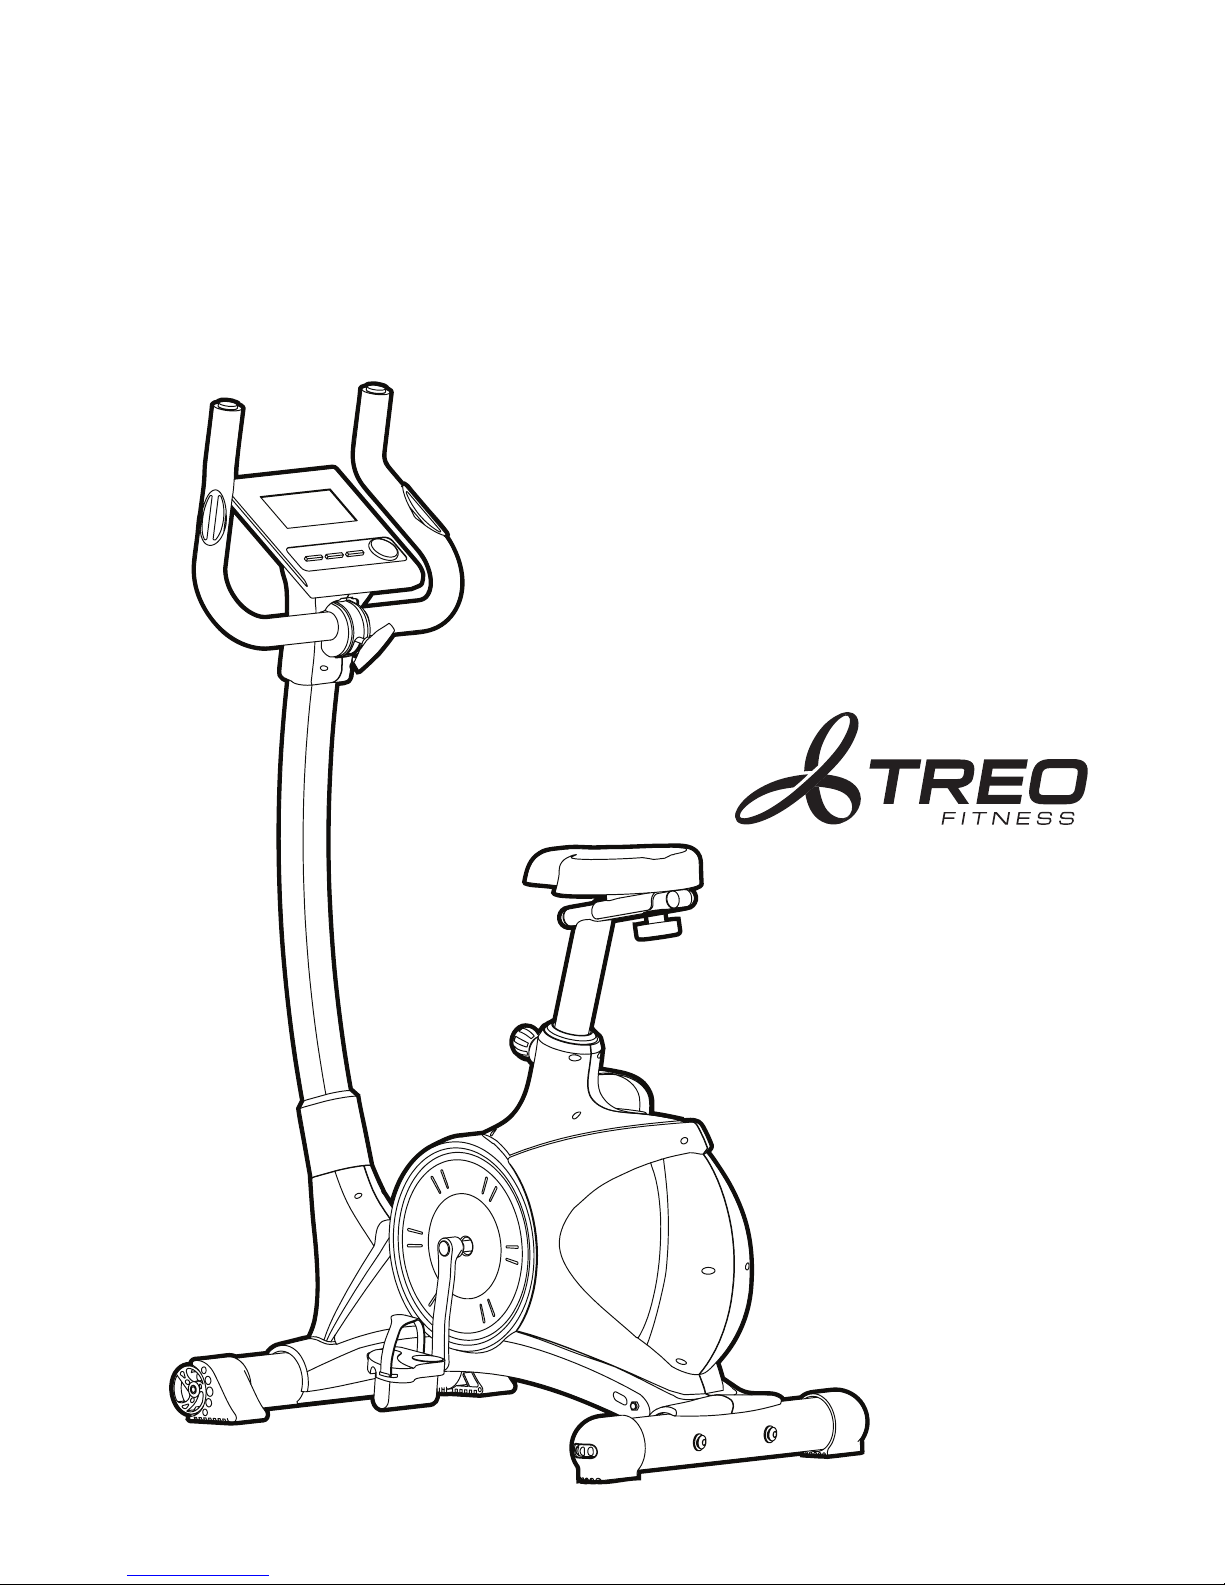
Exercise bike
B309

• Be sure to consult a physician before you start
any exercise programme. He will give you proper
advice with respect to the individual intensity
of work outs to suit you.
• If you experience any kind of pain, including
but not limited to chest pains, nausea, dizziness,
or shortness of breath, stop exercising immediately
and consult your doctor before continuing.
• Do not work out immediately after meals.
• Do not wear clothes that might catch on any
part of the exercise bike.
• Always wear athletic shoes while using this
equipment.
• Keep power cord away from heated surfaces.
• Do not insert or drop any object into any opening.
• Unplug exercise bike before moving or cleaning it.
To clean, wipe surfaces down with mild detergents
and a slightly damp cloth only; never use solvents.
• At no time should more than one person
be on the exercise bike while in operation.
• The exercise bike should not be used by persons
weighing more than 242 lbs / 110 kg. Failure to
comply will void the warranty.
• The exercise bike is intended for in-home use only.
Do not use this bike in any commercial,
rental, educational or institutional setting.
Failure to comply will void the warranty.
• Do not use the exercise bike in any location
that is not temperature controlled, such
as but not limited to garages, porches,
pool rooms, bathrooms, car ports or outdoors.
Failure to comply may void the warranty.
• To ensure the best operation of your product,
regularly inspect it for damage and worn parts.
•
that all screws, bolts and other joints are properly
tightened and secure.
• Before you start your work out, remove all
sharp-edged objects from around the exercise bike.
• Only use this product for your work out if it works
must no longer be used until it has been properly
repaired.
• When setting up the exercise bike, please make
sure that the bike it is stable and that any possible
• Assemble the exercise bike as per the assembly
guide and be sure to only use the structural parts
provided with the bike and designed for it.
Prior to assembly, make sure that the contents of
the delivery is complete by referring to the parts
list within these instructions.
• When adjusting the adjustable parts of this exercise
bike, make sure that they are adjusted properly,
and note the marked maximum adjusting position.
• Use the bike only as described in this
manual.
• At NO time should pets or children under the
age of 12 be within 10 feet (3 metres) and at NO
time should children under the age of 12 use the
exercise bike.
• Children over 12 should receive adult supervision
and guidance.
CONTENTS
3
4
5
12
16
18
Important safety information
It is most important that this instruction book should be retained with the machine
for future reference. These warnings have been provided in the interest of safety.
You MUST read them carefully before using the machine. If you are unsure of the meanings
of these warnings contact your local dealer.
On choosing your exercise bike. You’ve taken an important step in developing
and sustaining an exercise programme! Your exercise bike is a tremendously effective tool
a fuller, healthier lifestyle, this product can help you attain it – adding health club-quality
performance to your at-home work outs, with the ergonomics and innovative features you
need to get stronger and healthier, faster. Before you start
2 3
Before you start
Parts list
Assembly guide
Operating guide
LCD work out charts
Fitness guide
unevenness of the floor is evened out.
flawlessly. Any broken, worn or defective part
must immediately be replaced and the product
for achieving your personal fitness goals,Whether your goal is to win races or simply enjoy
Before the first use and on a regular basis, ensure

1
X1
X1
X1
X1
X1
X1
29
2
4
38
M8*1.25*90L D22*D8.5*1.5T D15.4*D8.2*2T
M8*1.25*15L
7X453 X651 X9
20 X6
X1X1
X1
28
X1
42
X1
45
43
X1
37
44 X1
X1
15
X1
36
X1
9
X1
46L&R
X1
11
D16*D8.5*1.2T
6X4
X1
10
14
ST4*15L X4
X2
69
41L&R
X1
1
4
2
7
51
53
4 5
1
4
2
7
51
53
Assembly guideParts list
Step 1
Attach the rear stabiliser (2) and the front stabiliser
(4) to the main frame (1), using 4 x curved washers
(53), 4 x split washers (51) and 4 x allen bolts (7).
Stabiliser adjustment
Adjust the rear stabiliser by turning the
dial until product is stable on the floor.
Weight and surface area when assembled
(L) 90cm x (W) 57cm, weight 35 – 40kg Gross

11
17
18
9
31
1
29
28
40
20
65 1
6
53
10
12
13
11
6 7
10
29
28
53
40
65 1
20
6
12
13
11
11
17
18
9
31
1
Step 2
Fix the seat (10) to the seat support tube (11),
using 3 x flat washers (12) and 3 x nylon nuts (13).
Step 3
Fix the seat (10) on to the seat post (9)
With 1 x flat washer (17) and knob (18).
Step 4
Slide the seat post (9) into the
main frame (1) and fix using
the push pin knob (31).
Seat adjustment
The pushpin knob (31) can be loosened and pulled
out to adjust the height of the seat (show above).
Once adjusted, ensure that the pushpin knob
is retightened.
The knob (18) can be loosened to allow the seat
to be moved closer or further away from the console
(show above). Once adjusted, ensure that the knob
is retightened.
Step 5
Slide the handlebar post cover (28)
over the handlebar post (29).
Step 6
Fasten the upper computer cable (40)
to the motor connector (65).
Step 7
Attach the handlebar post (29) to the
main frame (1) with 4 x flat washers
(6) and 4 x allen bolts (20) through
the side.
Step 8
Attach the handlebar post (29) to
the main frame (1) with 2 x curved
washers (6) and 2 x allen bolts (20)
through the front.
Step 9
Slide the handlebar post cover (28)
down to cover screws.

42
45
44
43
37
15
36
29
30
59
38
40
41L
46L
46R
41R
14
69
8 9
59
30
40
38
36
29
42
45
44
43
37
15
41L 41R
14
69
46L
46R
Step 10
Place handlebars (36) onto
the handlebar post (29),
then fix with cover (42),
1 x bushing (45), 1 x spring
washer (44), 1 x flat washer
(43) and T-knob (37).
Step 11
Fasten the two handlebar
pulse sensor connectors (30)
to the matching connectors
on the console, then fasten
the upper computer cable
(40) to the back of the con-
sole (38).
Step 12
Attach the console (38) to
the handlebar post (29) with
4 x screws (59).
Step 13
Plug the power adaptor (15)
into the main frame (1).
Step 14
Attach the right cover for
the handlebar post (41R)
to the handlebar post (29)
using 4 x screws (69) and
1 x crossed screw (14).
Step 15
Attach the left cover for
the handlebar post (41L)
to the handlebar post (29)
using 4 x screws (69) and
1 x crossed screw (14).
Step 16
Attach the left pedal
(46L) to the left crank.
Step 17
Attach the right pedal
(46R) to the right crank.

10 11
Operating guide
Display console overview:
Functions and features:
1.TIME: Shows your elapsed work out time in minutes
and seconds. The console will automatically count
up from 0:00 to 99:59 in one second intervals.
You can also program the console to count down
from a set value by using the UP/DOWN wheel.
If you continue exercising once the time has reached
0:00, the console will begin beeping, and reset itself
to the original time set, letting you know that your
work out is complete.
2. DISTANCE: Displays the accumulative distance
traveled during each work out up to a maximum
of 99.9KM/MILE.
3. RPM: Your pedal cadence.
4. WATT: The amount of mechanical power that
you have output from your exercise.
5. SPEED: Displays your work out speed in KM/MILE
per hour.
6. CALORIES: The console will estimate the
cumulative calories being burnt at any given time
during your work out.
7. PULSE: Displays your pulse rate in beats per minute
during your work out.
8. AGE: The console is age-programmable from
10 to 99 years. If you do not set an age, this function
will always default to age 35.
9.TARGET HEART RATE (TARGET PULSE):
The heart rate you should maintain is called
your Target heart rate, this is measured in beats
per minute.
Key function:
There are 6 keys on the console which have the
following functions:
1. START/STOP key:
a.Quick start function: Allows you to start
the computer without selecting a program.
Manual work out only. Time automatically begins
to count up from zero
b.During the exercise mode, press this key
to STOP exercising.
c.During the stop mode, press this key to
START exercising.
2. UP key:
a.Turn the wheel up to increase the resistance
during exercise.
b.During the setting mode, turn the wheel up
to increase the value of Time, Distance, Calories,
Age and select Gender and Program.
3. DOWN key:
a.Turn the wheel down to decrease the resistance
during exercise.
b.During the setting mode, turn the wheel down
to decrease the value of Time, Distance, Calories,
Age and select Gender and Program.
4. ENTER key:
a.During the setting mode, press this key to accept
the current data entry.
b.In the stop mode, by holding this key for
over two seconds, all values are reset to zero
or default value.
c.
5. BODY FAT key:
Press this key to input your HEIGHT, WEIGHT,
GENDER and AGE to measure your body
fat percentage.
6. PULSE RECOVERY key:
Press this key to activate heart rate recovery
function.
PULSE RECOVERY: During the START stage,
leave your hands on the the pulse grips and then
press the “PULSE RECOVERY” key. All function
displays will clear except “TIME”. Time starts
counting from 00:60 - 00:59 - - to 00:00.
As soon as 00:00 is reached, the computer will
show your heart rate recovery status with the
grade F1.0 to F6.0.
1.0 means OUTSTANDING
1.0 - 2.0 means EXCELLENT
2.0 - 2.9 means GOOD
3.0 - 3.9 means FAIR
4.0 - 5.9 means BELOW AVERAGE
6.0 means POOR
Note: If no pulse signal input is received then the
computer will show “P” in the PULSE window.
If the computer shows “ERR” on the message window,
please re-press the PULSE RECOVERY key ensuring
that your hands remain on the grips.
Program introduction and operation:
Manual program:
P1 is a manual program. You can start exercising by
pressing the START/STOP key. The default resistance
level is 5. You may adjust the resistance level by using
the UP/DOWN wheel during your work out, setting
targets of a period of time, a number of calories or
a certain distance.
Operation:
1.Use the UP/DOWN wheel to select the MANUAL
(P1) program.
2. Press the ENTER key to enter the MANUAL
program.
3.
4.
DOWN wheel to set your target DISTANCE. Press
5.
6.
7.
Preset programs: Steps, Hill, Rolling, Valley,
Fat burn, Ramp, Mountain, Intervals, Random,
Plateau, Fartlek, Precipice
P2 to P13 are the preset programs. You can exercise
any resistance level (Adjusting using the UP/DOWN
wheel during your work out), setting targets of a
period of time, a number of calories or
a certain distance.
Operation:
1.
2.
3.
4.
5.
User set programs:
User 1, User 2, User 3 and User 4
P14 to P17 are the user set programs. You are free
also change the ongoing loading in each column by
using the UP/DOWN wheel during your work out.
This adjustment in resistance will not change the
resistance level stored in the memory.
Operations:
1.Use the UP/DOWN wheel to select the USER
program from P14 to P17.
QUICK START
1. Plug the power adaptor into a power socket.
The console will beep and will enter the
Manual mode.
2. In the Manual mode, the UP/DOWN wheel is
used to set up your exercise TIME, DISTANCE,
CALORIES or PULSE.
3. Use the UP/DOWN wheel to select exercise
4.
5. When you reach the target that you have set,
the console will produce a beep and then stop.
6. If you set up more than one target and you
the START/STOP key to keep on exercising.
TIME START SPEED
SPEED
DISTANCE
BODY FAT
ENTER
UP
DOWN
CAL
LEVEL
RPM
PULSE
would like to reach your next target, press
Press the START/STOP key to begin exercising.
targets and then press ENTER to conirm your
selections.
PULSE
RECOVERY
START
STOP
with different levels of loading in different intervals as
the profiles show (see page16). You may exercise at
will be stored in the memory after setup. You may
to create your own programs. The values and profiles
DOWN wheel to set your exercise TIME.
DOWN wheel to set your target DISTANCE. Press
DOWN wheel to set your exercise PULSE. Press
Press the START/STOP key to begin exercising.
above programs from P2 to P13.
Press the ENTER key to enter your chosen
work out program.
DOWN wheel to set your exercise CALORIES.
CALORIES.
DOWN wheel to set your exercise PULSE. Press
The CALORIES will flash and you can use the UP/
DOWN wheel to set your exercise CALORIES.
CALORIES.
Press the ENTER key to confirm your desired
the ENTER key to confirm your desired Pulse.
The PULSE will flash and you can use the UP/
Use the UP/DOWN wheel to select one of the
The TIME will flash and you can use the UP/
Press the ENTER key to confirm your desired TIME.
Press the ENTER key to confirm your desired
the ENTER key to confirm your desired DISTANCE.
The DISTANCE will flash and you can use the UP/
The CALORIES will flash and you can use the UP/
The PLUSE will flash and you can use the UP/
the ENTER key to confirm your desired PLUSE.
The TIME will flash and you can use the UP/
The DISTANCE will flash and you can use the UP/
DOWN wheel to set your exercise TIME. Press
the ENTER key to confirm your desired TIME.
the ENTER key to confirm your desired DISTANCE.
6.
7. Press the START/STOP key to begin exercising.
accepts the set hour and set minute.
During setting the Clock, pressing this key

12 13
2.
3.
4.
5.
6.
wheel to set your exercise TIME. Press the ENTER
7.
8.
CALORIES.
9.
wheel to set your exercise PULSE. Press the ENTER
10. Press the START/STOP key to begin exercising.
Heart rate control programs: 55% H.R.C., 65%
H.R.C., 75% H.R.C., 85% H.R.C., Target H.R.C.
P18 to P21 are the Heart Rate Control Programs
and P22 is the Target Heart Rate program.
Program 18 is the 55% Max H.R.C. where
Target H.R. = (220 – AGE) x 55%
Program 19 is the 65% Max H.R.C. where
Target H.R. = (220 – AGE) x 65%
Program 20 is the 75% Max H.R.C. where
Target H.R. = (220 – AGE) x 75%
Program 21 is the 85% Max H.R.C. where
Target H.R. = (220 – AGE) x 85%
You can exercise according to your desired Heart
Rate program by setting your AGE, TIME, DISTANCE,
CALORIES or TARGET PULSE. In these programs,
the console will adjust the resistance level according
to the heart rate detected. For example, the
resistance level may increase every 20 seconds whilst
the heart rate detected is lower than the TARGET H.R
and the console will display “HURRY UP” in the
message window. Alternatively, the resistance level
may decrease every 20 seconds whilst the heart rate
detected is higher than the TARGET H.R and the
console will display “SLOW DOWN” in the message
window. As a result, the user’s heart rate will adjust
to be closer to the TARGET H.R. Between the range
of TARGET H.R. +5 and TARGET H.R. -5, the console
will display “KEEP GOING” in the message window.
Operation:
1.
2.
3.
4.
5.
6.
7.
8. Press the START/STOP key to begin exercising.
Watts control program: watts control
P23 is a speed independent program. Press the
ENTER key to set the values for TARGET WATTS,
TIME, DISTANCE and CALORIES. During exercise,
the level of resistance is not adjustable. The level of
resistance may increase while the speed is too slow
or the level of resistance may decrease while the
speed is too fast. As a result, the calculated value
of WATTS will close to the value of TARGET WATTS
that you have set
Operation:
1.
2.
3.
4.
5.
6.
Body fat program: body fat
P24 is a special program design to calculate your
There are 3 body types, divided according to the
FAT% calculated.
Type1: BODY FAT% > 27
Type2: BODY FAT% 20 - 27
Type3: BODY FAT % < 20
The console will show the test results of FAT
PERCENT, BMI and BMR.
BMI (Body mass index):
BMI is a measure of body fat based on height and
weight that applies to both adult men and women.
BMR (Basal metabolic rate):
Your Basal metabolic rate (BMR) shows the number
of calories your body needs to operate. This doesn’t
account for any activity, it’s simply the energy needed
to sustain a heartbeat, breathing and normal body
temperature. It measures the body at rest, not sleep,
at room temperature.
Operation:
1.
2.
3.
4.
5.
6.
7.
8.
9.
Troubleshooting:
Sleep mode:
The console will enter the sleep mode when there
is no signal input and no keys have been pressed
for 4 minutes. You can press any key to wake up
the console.
E1 (ERROR 1):
Normal state: During your work out, if the console
does not receive a signal from the motor for more
than 4 seconds after 3 successive attempts, the LCD
will display E1.
Power on state: The gear motor will return to zero
automatically, when the signal of motor cannot be
detected for more than 4 seconds then the gear
motor’s driver will be cut off immediately and show
the E1 on the LCD display. All the other digital and
function mark are blank, and the output signals are
cut off also.
E2 (ERROR 2): When the monitor read the memory
data, if the I.D. code is not correct or the memory IC
damages then the monitor will show E2 immediately
at power on.
E3 (ERROR 3): After 4 seconds by start mode,
the computer detects the faulty motor did not leave
the zero point then the LCD bar displays “E3”.
Press the ENTER key to enter your work out program.
wheel to create your personal exercise profile.
exercise profile. The default level is load 1.
Press ENTER to confirm your first column of
The first column will flash, use the UP/DOWN
wheel to create your personal exercise profile.
of exercise profile.
Press ENTER to confirm your second column
The second column will flash, use the UP/DOWN
personal exercise profiles. Press ENTER to confirm
your desired exercise plan.
Follow the above steps to finish creating your
TIME will flash and you can use the UP/DOWN
DISTANCE will flash and you can use the UP/
key to confirm your desired TIME.
DOWN wheel to set your target DISTANCE. Press
the ENTER key to confirm your desired DISTANCE.
DOWN wheel to set your exercise CALORIES.
CALORIES will flash and you can use the UP/
Press the ENTER key to confirm your desired
PULSE will flash and you can use the UP/DOWN
key to confirm your desired PULSE.
program.
Use the UP/DOWN wheel to select one of the
heart rate control programs from P18 to P22.
Press the ENTER key to enter your work out
can use the UP/DOWN wheel to set your AGE.
The default age is 35.
you can use the UP/DOWN wheel to set your
TARGET PULSE between 80 to 180. The default
TARGET PULSE is 120.
wheel to set your exercise TIME. Press the ENTER
DOWN wheel to set your target DISTANCE. Press
DOWN wheel to set your exercise CALORIES.
Use the UP/DOWN wheel to select the WATTS
CONTROL (P23) program.
Press the ENTER key to enter your work out
program.
wheel to set your exercise TIME. Press the ENTER
AGE will flash in programs P18 to P21 and you
In program P22, the TARGET PULSE will flash and
TIME will flash and you can use the UP/DOWN
key to confirm your desired TIME.
DISTANCE will flash and you can use the UP/
the ENTER key to confirm your desired DISTANCE.
CALORIES.
CALORIES will flash and you can use the UP/
Press the ENTER key to confirm your desired
TIME will flash and you can use the UP/DOWN
key to confirm your desired TIME.
DOWN wheel to set your target DISTANCE. Press
DISTANCE will flash and you can use the UP/
the ENTER key to confirm your desired DISTANCE.
body fat ratio and to offer a specific loading profile.
CALORIES.
wheel to set your target WATTS value. Press the
default WATTS value is 100.
DOWN wheel to set your exercise CALORIES.
wheel to set your exercise PULSE. Press the ENTER
Use the UP/DOWN wheel to select the BODY FAT
(P24) program.
Press the ENTER key to enter your work out
program.
wheel to set your HEIGHT. Press the ENTER key to
170cm or 5’07” (5 feet 7 inches).
DOWN wheel to set your WEIGHT. Press the
WEIGHT is 70kgs or 155lbs.
WATTS will flash and you can use the UP/DOWN
ENTER key to confirm your target WATTS. The
CALORIES will flash and you can use the UP/
Press the ENTER key to confirm your desired
PULSE will flash and you can use the UP/DOWN
key to confirm your desired Pulse.
HEIGHT will flash and you can use the UP/DOWN
confirm your HEIGHT. The default HEIGHT i s
WEIGHT will flash and you can use the UP/
ENTER key to confirm your HEIGHT. The default
8. Press the START/STOP key to begin exercising.
7.
measurement.
male and number 0 means female. Press the
sex is 1 (MALE).
wheel to set your AGE. Press the ENTER key to
Press the START/STOP key to begin body fat
measurement. If the window shows E, please make
sure your hands are placed on the grips. Then press
the START/STOP key again to begin body fat
show the values for BMR, BMI and FAT PERCENT
on the LCD display. The console will then show
Press the START/STOP key to begin exercising.
DOWN wheel to select your sex. Number 1 male
GENDER will flash and you can use the UP/
ENTER key to confirm your Gender. The default
AGE will flash and you can use the UP/DOWN
confirm your AGE. The default AGE is 35.
After finishing your measurement, the console will
the exercise profile for your body type.

14 15
LCD Work out GRAPHICS
User setting program
PROGRAM 3
HILL
PROGRAM 15
USER 2
PROGRAM 14
USER 1
PROGRAM 7
RAMP
PROGRAM 17
USER 4
PROGRAM 16
USER 3
PROGRAM 11
PLATEAU
55% H.R.C.
PROGRAM 19
65% H.R.C.
PROGRAM 20
75% H.R.C.
PROGRAM 21
85% H.R.C.
PROGRAM 22
TARGET H.R.C.
PROGRAM 1
MANUAL
PROGRAM 5
VALLEY
PROGRAM 9
INTERVALS
PROGRAM 13
PRECIPCE
PROGRAM 4
ROLLING
PROGRAM 8
MOUNTAIN
PROGRAM 12
FARTLEK
PROGRAM 2
STEPS
PROGRAM 6
FAT BURN
PROGRAM 10
RANDOM
Press
ENTER
key
Press
ENTER
key
Press
ENTER
key
Press
ENTER
key
PROGRAM 23
WATTS CONTROL
Watts control program
PROGRAM 24
Body fat test programs
Work out time: 20 minutes
Work out time: 40 minutes
Work out time: 40 minutes Work out time: 40 minutes
Work out time: 20 minutes
Work out time: 40 minutes
automatically after measuring your BODY FAT:
Preset program profiles
PROGRAM 18
Heart rate program profiles
BODY FAT (STOP MODE) BODY FAT (START MODE)
One of the following six profiles will display
16 17
Fitness guide
Safety warning
Before starting a new exercise programme
we recommend you consult your doctor or
other professional medical adviser, particularly
if you suffer from:
• A heart condition
• High blood pressure
• Diabetes
• Asthma
• Joint, muscular, or back problems
Any similar conditions
Or you are:
• Pregnant
• On any prescribed medication
• Currently under the care of your doctor
• Convalescing
This advice should not be treated as a substitute
concerned about your health you should seek
the advice of your doctor or any other health
care professional.
How often? (frequency of work outs)
Doctors recommend that you exercise at least
3 to 4 days per week to maintain cardiovascular
loss, you will achieve your goal faster with more
frequent exercise. Whether it’s 3 days or 6 days,
remember that your ultimate goal should be to make
exercise a lifetime habit. Many people are successful
whether it’s in the morning before breakfast, during
lunch hour or while watching the evening news.
What’s more important is that it’s a time that allows
you to keep a schedule, and a time when you won’t
programme, you have to make it a priority in your life.
So decide on a time, pull out your diary and pencil in
your exercise times for the next month!
How long? (duration of work outs)
need time to adjust to the new activity. If your goal
is weight loss, a longer exercise session at lower
intensities has been found to be most effective.
A work out time of 50 minutes or more is
recommended for best weight loss results.
How hard? (intensity of work outs)
How hard you work out is also determined by your
goals. If you use your exercise equipment to prepare
for a 5K run, you will probably work out at a higher
intensity than if your goal is to improve your general
begin an exercise program at low intensity. Aerobic
There are two ways to measure your exercise
(using the grip pulse handlebars) and the second is by
evaluating your perceived exertion level (this is simpler
than it sounds!).
Target heart rate zone
Target heart rate zone tells you the number of
times per minute your heart needs to beat to achieve
a desired work out effect. It is represented as
a percentage of the maximum number of times
your heart can beat per minute. Target zone will
vary for each individual, depending on age, current
It is generally recommend that you should work-out
at a Target heart rate zone of between 60% and 75%
of your maximum heart rate. A beginner will want to
work out in the 60% range while a more experienced
exerciser will want to work out in the 70-75% range.
See chart for reference.
example:
For a 42-year-old user: Find age along the bottom of
the chart (round to 40), follow age column up to the
target zone bar. Results: 60% of maximum Heart Rate
= 108 Beats Per Minute, 75% of maximum Heart Rate
= 135 Beat Per Minute.
Perceived exertion level
A simple way to gauge your exercise intensity
is to evaluate your perceived exertion level. While
exercising, if you are too out of breath to maintain
a conversation without gasping, you are working out
too hard. A good rule of thumb is to work to the
point of exhilaration, not exhaustion. If you cannot
catch your breath, it’s time to slow down. Always
be aware of these warning signs of overexertion.
Stretching
Before using your product, it is best to take a few
minutes doing some gentle stretching exercises.
and reduce chances of exercise related injury. Ease
into each of these stretches with a slow gentle
Standing calf muscle stretch
Stand near a wall with the toes of
your left foot about 18” from the
wall, and the right foot about 12”
behind the other foot. Lean forward,
this position for a count of 15
seconds. Make sure that you do not
bounce while stretching. Repeat on
the other side.
Standing quadriceps stretch
Using a wall to provide balance, grasp
your left ankle with your left hand
and hold your foot against the back
of your thigh for 15 seconds. Repeat
with your right ankle and hand.
together and straight out in
front of you. Do not lock your
towards your toes and hold
for a count of 15 seconds.
Make sure that you do not
bounce while stretching.
Sit upright again. Repeat one time.
Warming up and cooling down
Warm up
be devoted to warming up. The warm-up will
limber your muscles and prepare them for more
strenuous exercise. Make sure that you warm-up
on your product at a slow pace. The warm up
should gradually bring your heart rate into your
Target Heart Rate Zone.
Never stop exercising suddenly! A cool-down period
of 3-5 minutes allows your heart to readjust to the
decreased demand. Make sure that your cool down
period consists of a very slow pace to allow your
heart rate to lower. After the cool-down, repeat the
stretching exercises listed to loosen and relax your
muscles to avoid the build up of lactic acid and post
exercise muscle pain.
program is to determine your goals. Is your primary
goal for exercising to lose weight? Improve muscle?
Reduce stress? Prepare for a race? Knowing what your
goals are will help you develop a more successful
exercise programme. Below are some common
exercise goals and the type of activity that will help
you to achieve these goals:
• Weight loss - lower intensity, longer duration
work outs
• Improve body shape and tone - interval work outs,
alternate between high and low intensities
• Increased energy level - more frequent daily
work outs
• Improved sports performance - high intensity
work outs
• Improved cardiovascular endurance - moderate
intensity, longer duration work outs
for the medical advice of your own doctor and
if you are in any doubt as to your fitness or are
fitness. If you have other goals such as weight or fat
staying with a fitness programme if they set aside a
specific time of day to exercise. It doesn’t matter
be interrupted. To be successful with your fitness
you exercise from between 25 and 60 minutes per
session. But start slowly and gradually increase your
exercise times. If you’ve been sedentary during the
past year, it may be a good idea to keep your exercise
For aerobic exercise benefits, it’s recommended that
time to as little as five minutes initially. Your body will
fitness. Regardless of your long term goals, always
exercise does not have to be painful to be beneficial!
intensity. The first is by monitoring your heart rate
level of conditioning, and personal fitness goals.
motion. Do not stretch to the point of pain. Make
Stretching prior to exercise will improve flexibility
pushing against the wall with your
palms. Keep your heels flat and hold
Sitting hamstring and lower back muscle stretch
Sit on the floor with your legs
Kness. Extend your fingers
track your progress. If your goals are long term, divide
them up into monthly and weekly segments. Longer
term goals can lose some of the immediate
achieve. Your console provides you with several
readouts that can be used to record your progress.
measurable terms, and then put your goals in writing.
If possible try to define your personal goals in precise,
The more specific you can be, the easier it will be to
motivation benefits. Short term goals are easier to
Cool down
Achieving your fitness goals
The first 2 to 5 minutes of a work out should
An important step in developing a long term fitness

version 001 © 2009 Treo Fitness Products │Mode in China
Table of contents
Other Treo Fitness Exercise Bike manuals


Popular Exercise Bike manuals by other brands


NordicTrack
NordicTrack NTEVEX77020.1 user manual

Assault Fitness
Assault Fitness ASSAULTBIKE PRO TECHNICAL SPECIFICATIONS & USE GUIDELINES

Body Champ
Body Champ BRB 5007 owner's manual

Tunturi
Tunturi E40 owner's manual

Stamina
Stamina Conversion II9003 owner's manual

Epic Fitness
Epic Fitness Ex 1410 Bike manual


