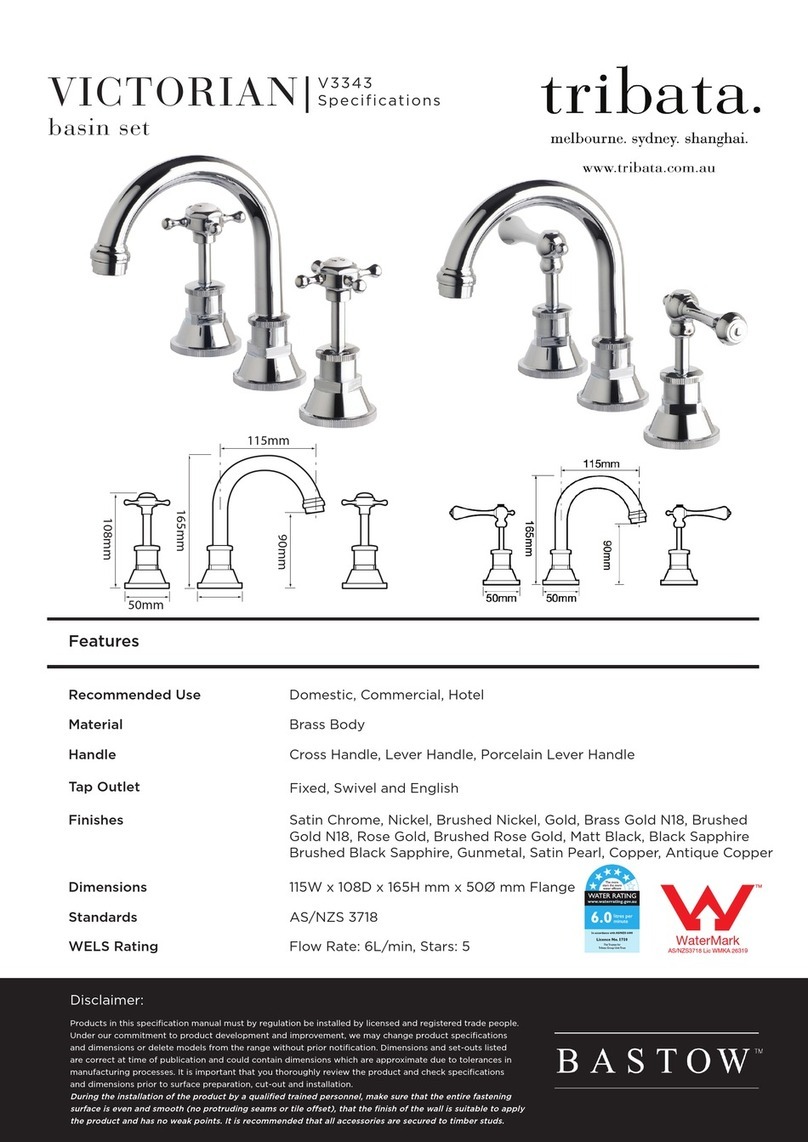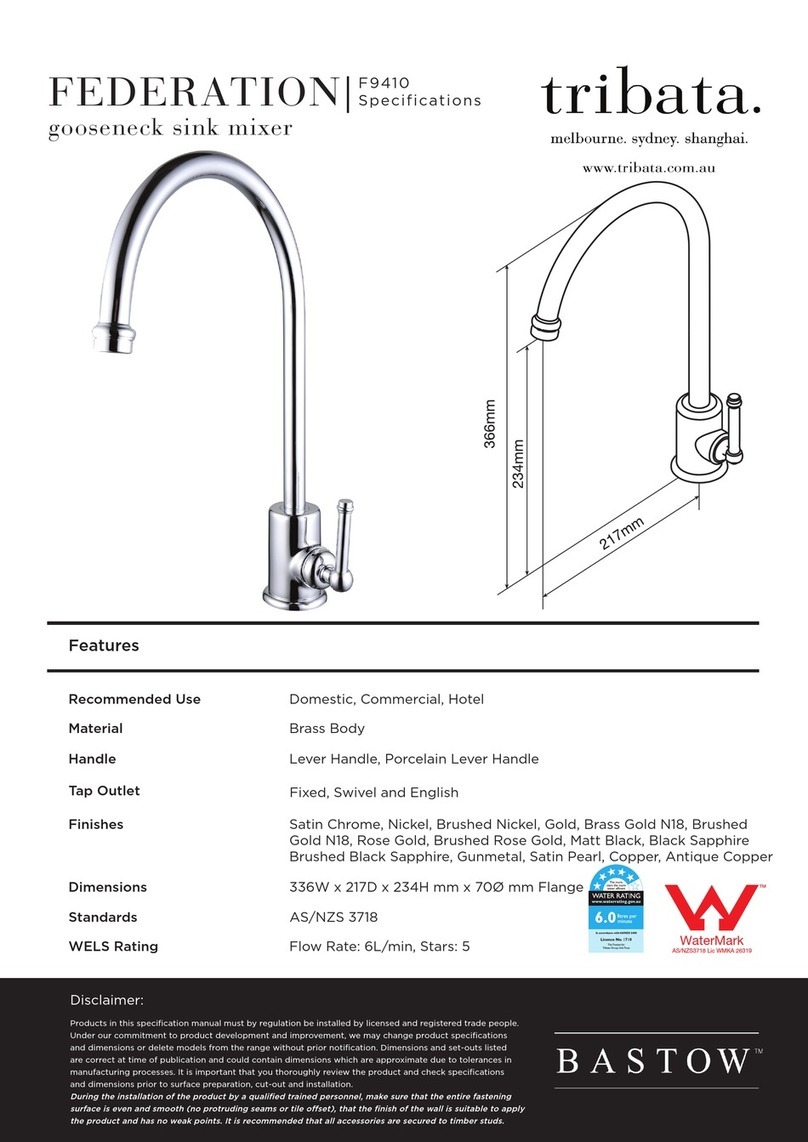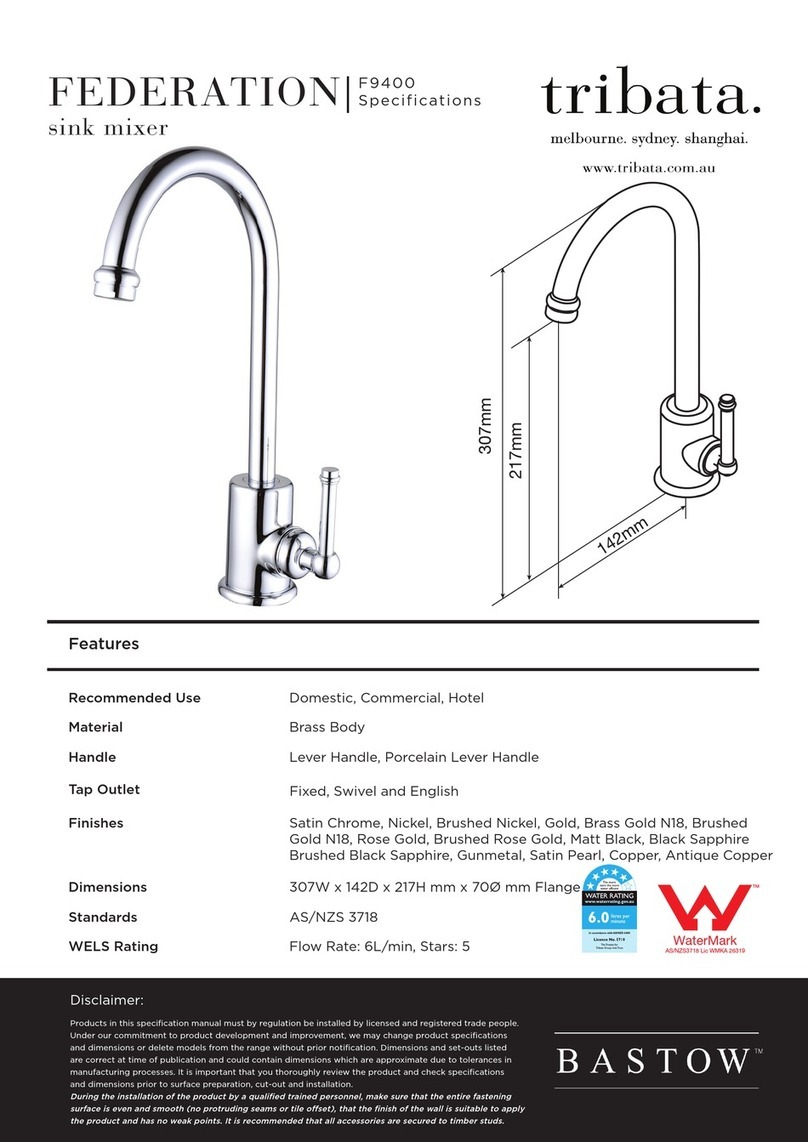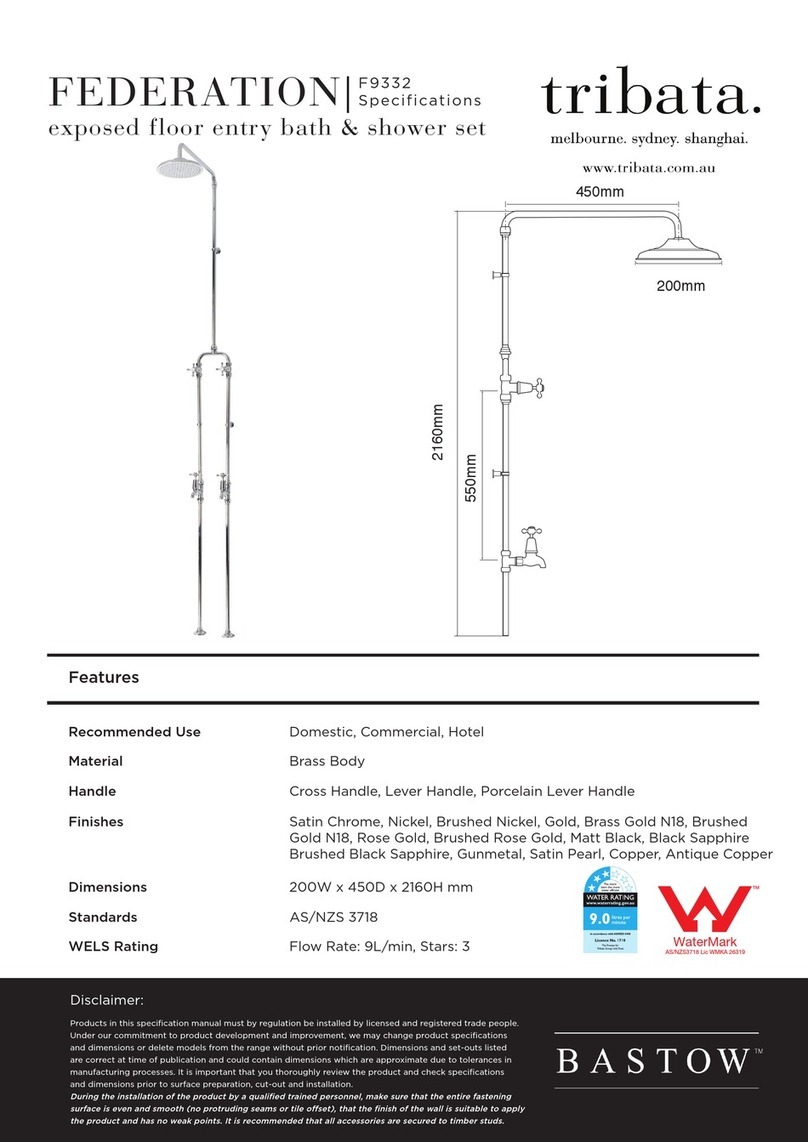
FEDERATION
english style exposed basin
F9346E
Specifications
Installation Instructions
IMPORTANT INFORMATION, please read before starting installation.
CHECK 1
For packaging purposes, this tapware may come partially assembled.
CHECK 2
Before installation, please ensure that you have checked the assembly of all components and joints.
CHECK 3
Always use plumbers tape or a recommended sealing compound on all threaded joints.
CHECK 4
Please pressure test the tapware prior to installation using recommended testing equipment.
CHECK 5
The installer is responsible for selecting the correct fittings and that the distances are correct
before installation.
Plumber Instructions
Note: Installation should only be carried out by a licensed plumber. Tribata do not accept any
responsibility of incorrect installation if not installed by a registered plumber.
Note: Foreign materials can block the flow regulator, damage the valve and reduce water flow.
Please flush the supply lines prior to installation.
Note: Mixers require flexible hoses which are included and marked in red (hot) and blue (cold).
INSTALLATION
1. Take the rubber seal and place it on the underside of the base ring. Screw the flexible hoses
into the mixer and tighten, and remove any kinks in the hoses.
2. Screw the mounting stud to the underside of the mixer, and then tighten with a screwdriver.
3. Seat the mixer in the allocated hole, with the hoses going through first.
4. Underneath the bench top you can now fit the base washer, base plate and fixing nut.
5. Clamp the mixer firmly to the vanity by tightening the fixing nut.
6. Flush the lines to clear the debris
7. Now connect the water supply to the isolating stop valve.
REPLACING THE MIXER CARTRIDGE
1. Remove the grub screw inside the lever handle and lift o the handle
2. Unscrew the dome cap and the nut lock.
3. Remove the old cartridge and clean the casing
4. Insert the new cartridge ensuring the lungs line up with the holes in the main body.
5. Assemble the fixing nut, the dome cap and finally the handle.
Products in this specification manual must by regulation be installed by licensed and registered trade people.
Under our commitment to product development and improvement, we may change product specifications
and dimensions or delete models from the range without prior notification. Dimensions and set-outs listed
are correct at time of publication and could contain dimensions which are approximate due to tolerances in
manufacturing processes. It is important that you thoroughly review the product and check specifications
and dimensions prior to surface preparation, cut-out and installation.
During the installation of the product by a qualified trained personnel, make sure that the entire fastening
surface is even and smooth (no protruding seams or tile oset), that the finish of the wall is suitable to apply
the product and has no weak points. It is recommended that all accessories are secured to timber studs.
Disclaimer:
