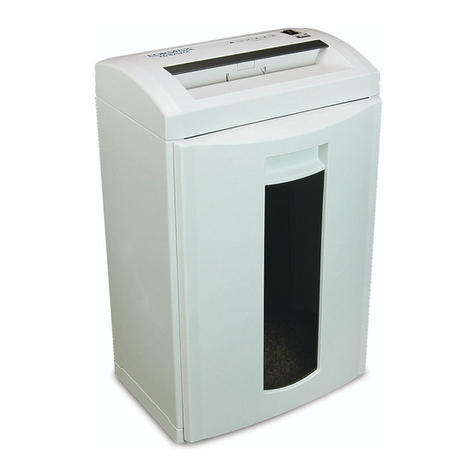
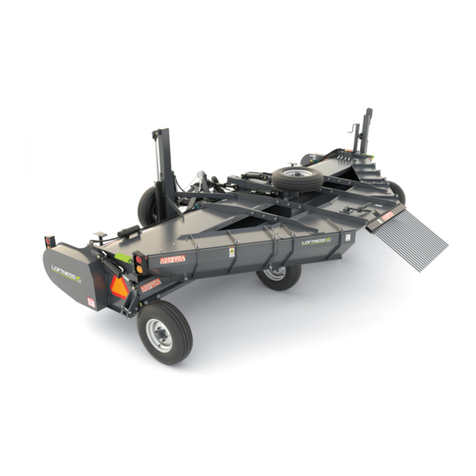
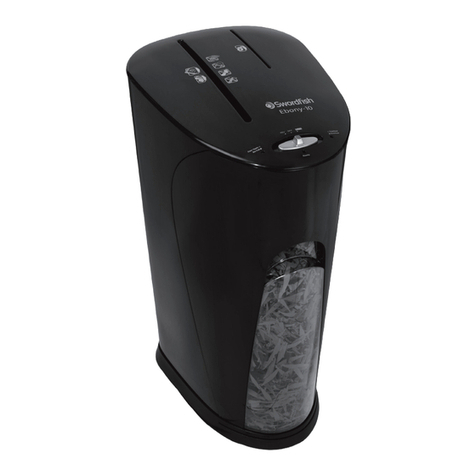
Triminator Shredmaster User manual

®
SHREDMaster
OWNER'S MANUAL v1
Congratulations on your selection of a Triminator ShredMaster. We want to help
you to get the best results from your new shredder and to operate it safely. This
manual contains the information on how to do that; please read it carefully before
you set up and use your machine. This manual is intended for all ShredMaster
component please disregard information relating to the omitted component.
530-265-4277
THIS OWNER’S MANUAL IS CONSIDERED A PERMANENT PART OF
THE MACHINE AND SHOULD REMAIN WITH THE SHREDDER IF RE-
SOLD. THE INFORMATION AND SPECIFICATIONS INCLUDED IN THIS
PUBLICATION ARE THOSE THAT WERE IN EFFECT AT THE TIME OF
APPROVAL FOR PRINTING. MOSMAN MACHINERY COMPANY, INC.
RESERVES THE RIGHT, HOWEVER, TO DISCONTINUE OR CHANGE
!
NOTICE


1
CONTENTS
........................................... 2
........................................ 2
...................................................... 3
................................................ 4
........................................................... 5
.......................................... 5
................................ 6
..................................... 8
................................................... 9
.......................................................12
..................................................12
..........................................12
.........................................13

2
UNLOADING/UNPACKING
ELECTRICAL INSTALLATION
•
1. All internal wiring has been factory installed and tested prior to shipping. Electrical
2.
the machine. Record the nameplate information in the space below.
3.
4.
5.
6.
7.
complete.
8. Replace all guards.
ATTENTION
!
WARNING
LOCK OUT POWER IN OFF POSITION

3
SAFETY WARNINGS
!
• Read and understand instruction manual and be aware of all warning stickers.
•
EXCEPT
• ALWAYS know where emergency stop buttons are located.
• ALWAYS
• ALWAYS ensure that all maintenance and operating personnel read and understand this
• ALWAYS
suggested.
• ALWAYS wear safety glasses when operating shredder.
• ALWAYS
• NEVER
medications.
• NEVER
• NEVER
• NEVER place any part of your body in or on any part of this machine while in operation.
• NEVER
top of the machine.
• NEVER
stop.
• NEVER allow other personnel within ten feet of this machine while in operation.
• NEVER
out power disconnect or unplugging the machine.
• NEVER allow horseplay around machine.
• NEVER
• NEVER
toward cutter head.
• NEVER hold forward button in the depressed position.

4
START-UP PROCEDURE
PRE-START-UP PROCEDURE
•
• Ensure the area is clean.
•
START-UP
forward.
experience the operator may wish to increase the amount of material being fed. The

5
CLEARING A JAM
SHUT-DOWN PROCEDURE
1. Ensure that all personnel are clear of both the input chute and the cutter head.
2.
3.
4. Lock Out Power,
5.
1.
2.
3. Clean any remaining debris from the machine and from the immediate area.
NEVER
to the machine and the electrical system could occur.
!
WARNING

6
MAINTENANCE & LUBRICATION
WEEKLY - EVERY 40 HOURS OF OPERATION
•
applicable.
•
MONTHLY - EVERY 160 HOURS OF OPERATION
•
bearing.
•
•
•
needed.
•
•
ANNUAL LUBRICATION
(Minimum of 200 hours of use, Maximum of 500hrs)
• Repeat steps from monthly lubrication.
•
ALWAYS lock o
!
WARNING

7
LUBE SCHEDULE
ITEM LUBE FREQUENCY TYPE LUBE
Cycloidal Reducer
Oil Less than1 gallon total
Chain Monthly Monthly
Spur Gears Monthly
Main Roller Bearings

8
8
CUTTER STACK ADJUSTMENT
Cutter Stack tightness is factory set and should be checked if any of the following
conditions exist:
• Shred capacity drops noticeably.
• Cutter Head becomes abnormally hot.
• Unusual noise being generated from cutter head.
• Noticeably large gap between two cutters.
1.
2.
3.
shafts. Securely tighten any that are loose.
4.
!
NOTICE
Locked out and Tagged out before starting
any work on the machine.
CUTTERS MUST BE AT ROOM TEMPERATURE WHEN MAKING
ADJUSTMENTS.
!
WARNING

9
9
TROUBLE-SHOOTING
LOCK OUT POWER
PROBLEM POSSIBLE CAUSE REMEDY
Machine will not turn
o using STOP buttons.
Contacts burned together
Check each leg of forward
side of contactor for
continuity. There should
replacement part.
Machine will not run in
forward or reverse.
1. No power.
2.
3. Fuse blown in
disconnect.
4.
panel.
5. Control transformer
fuse blown.
6.
“in”.
7. Loose wire in panel.
8.
Check power supply. Turn
on.
Reset.
replace.
Check buttons.
Check terminal strip for
disconnected or loose
wires. Reconnect and
tighten loose wires to
proper location on strip.
Check block for continuity.
!
WARNING

10
PROBLEM POSSIBLE CAUSE REMEDY
Motor hums or buzzes,
but will not turn in
either forward or
reverse.
One leg of the 3 phase
Contacts burned in
contactor and not making
a connection on one leg.
Check for continuity in
the power supply and
disconnect.
Consult factory for
replacement contactor.
Consult factory for
replacement motor.
Overload tripping.
Current relay set too high.
Consult factory.
Check motor cooling fan
Conduct amperage
test. Consult factory for
replacement motor.
Machine will NOT run in
FORWARD but will run
in reverse.
Disconnected wire on
forward button.
Disconnected wire on
current relay.
Current relay stuck open.
Check contact block for
Check and reconnect.
Check and reconnect.
Clean relay. Free up center
spool. Check continuity.
replacement relay.
LOCK OUT POWER
TROUBLE-SHOOTING
!
WARNING

11
PROBLEM POSSIBLE CAUSE REMEDY
Machine will NOT run in
REVERSE but will run in
forward.
Disconnected wire on
side of contactor.
Shredding capacity
is low.
Cutters are dull with
rounded edges.
Current relay set too low.
Cutter Stack is Loose
New Sharp Cutters are
power supply.
Consult factory before
LOCK OUT POWER
TROUBLE-SHOOTING
!
WARNING

12
GREASE FITTINGS
MACHINE ASSEMBLY
•
•
•

13
CONTROL PANEL LAYOUT
CUTTER HEAD ASSEMBLY

14
LIMITED WARRANTY
TRIMINATOR EQUIPMENT
This warranty is limited to the Triminator Trimming Machine distributed by Mosman Ma
LENGTH OF WARRANTY
the date of original purchase.
TO QUALIFY FOR THIS WARRANTY:
warranty time period.
WHAT WILL BE REPAIRED OR REPLACED UNDER WARRANTY:
as prescribed in this Manual during the applicable warranty time period. Warranty repairs
and replacements will be made without charge for parts or labor. Any part replaced under
ty on those parts will expire coincident with the original product warranty.
TO OBTAIN WARRANTY SERVICE:
Phone: 530.265.4277
direct you to do one of the following:
hours.
from your current location to the dealer from which you originally purchased the product.

15
EXCLUSIONS FROM WARRANTY COVERAGE
1. Any damage or deterioration resulting from the following:
•
•
•
•
•
•
2.
deteriorate due to natural wear and tear.
3.
4.
institution or insurer.
DISCLAIMER OF CONSEQUENTIAL DAMAGE AND LIMITATION OF IMPLIED
WARRANTIES:
LIMITED WARRANTY

16

17

Table of contents
