ASSEMBLED FURNITURE IS HEAVY. ASSEMBLE AT PLACE OF USE.
Assemble furniture on a soft surface (i.e.: carpet, cardboard) to
prevent scratches.
Do not assemble with electrical tools, including battery powered ones.
Do not try to lift or ip furniture components with only one person.
Components may be heavy and awkward to handle, and may result in
injury to persons or damage to property if not lifted properly.
Do not remove the black plug (B) under the Chaise. (See illustration below)
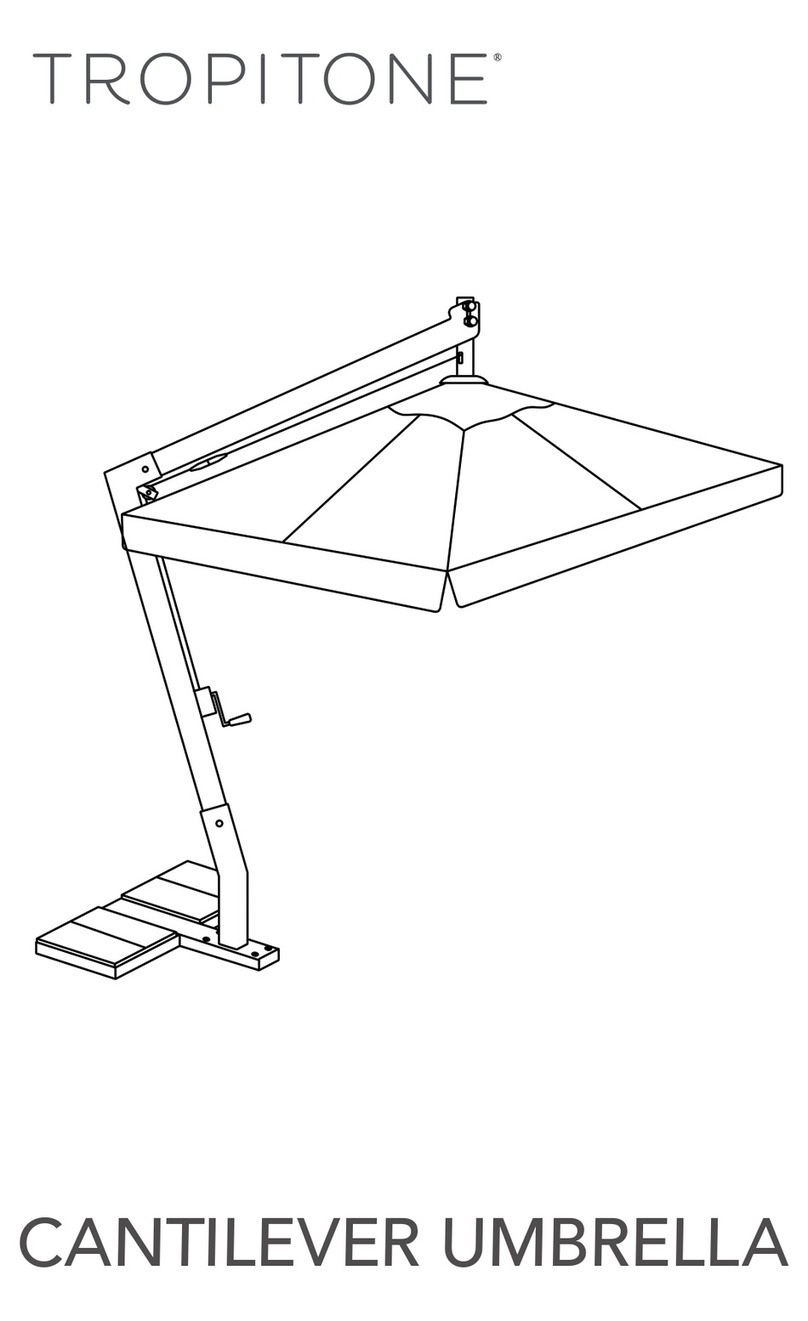
Congratulations on the purchase of your Tropitone®Curve Chaise
or Curve Chaise with Riser. Read through all steps before fastening
components together.
ASSEMBLY INSTRUCTIONS
FOR USE IN WATER
CAUTION!
B
A
Curve Chaise is suitbable for use in or out of water. Water depth as
illustrated below with the Curve Chaise is 7", maximum is 14". For the
Curve Chaise with Riser, average water depth is 10", maximum is 18".
COMPONENTS
A B
(1) Chaise (1) Riser
REQUIRED TOOL(S) HARDWARE
Phillips Head Screwdriver (4) Screws #14 x 2" (4) Washers
ASSEMBLY STEPS
#14 x 2" x 4
x 4
B
A
1. Place the Riser (B) on the Chaise (A).
Center the top of the Riser to the Chaise
seams and conrm the four pilot holes in
the Chaise are visible through the Riser.
2. Insert screws and washers as shown
and tighten rmly by hand.
Holes (A) allow water into the Chaise for stability when used in water and to
drain water. To allow water into the Chaise, place Chaise in the water and
rock back and forth. Do not remove the black plug (B) under the Chaise.
CHAISE
CHAISE
WITH RISER
üCheck that all hardware and components are provided before you start assembly.
üCheck that all hardware and components are provided before you start assembly.
2 | TROPITONE.COM TROPITONE.COM | 3
