Tru RC-100PB User manual


2

3
IMPORTANT SAFEGUARDS
When using electrical appliances especially when children are present, basic safety precautions should always be
followed to reduce the risk of re, electric shock, and/or injury to persons, including the following:
1. READ ALL INSTRUCTIONS.
2. To protect against re, electrical shock, or injury to persons DO NOT put charging cord, charger adapter or appliance in water or
other liquid.
3. This appliance is not intended for use by children or by persons with reduced physical, sensory, or mental capabilities, or lack of
experience and knowledge. Close supervision is necessary when any appliance is used near children. Children should be supervised
to ensure that they do not play with the appliance.
4. Unplug charger adapter from outlet when not in use, before putting on or taking off parts and before cleaning. To unplug, grasp the
charger adapter and pull from the outlet. Never pull from the charging cord.
5. Avoid contacting moving parts.
6. Do not operate or charge the appliance with a damaged charging cord or charger adapter, or after the appliance malfunctions, or
is dropped or damaged in any manner. Contact the manufacturer at their customer service telephone number for information on
examination, repair, or adjustment.
7. The use of attachments not recommended or sold by the appliance manufacturer may cause re, electric shock or injury.
8. Do not use outdoors.
9. Do not let charging cord hang over edge of table or counter or touch hot surfaces.
10. Do not place on or near a hot gas or electric burner, or in a heated oven.
11. Keep hands and utensils out of the containers while blending to prevent the possibility of severe injury to persons or damage to the
unit. A scraper may be used but must be used only when the unit is not running.
12. Never add to container while appliance is operating.
13. There is a risk of thermal burn injury with the personal blender due to excessive pressure in the container. Do not blend hot liquids.
To turn the motor housing unit off, release the speed buttons (HI or LOW) located on the top of the unit.
14. To turn the motor housing unit off, release the speed buttons (HI or LOW).
15. To reduce the risk of injury with the unit, never place the blending blade into the motor housing unit. Place the blending blade into the
blender jar and then assemble blender collar and then motor housing unit onto the blender jar.
16. Containers must be properly in place before operating the appliance.

4
17. Blades are sharp, are not locked in place and are removable. Handle with care. When handling blades, always hold by the shaft. To
avoid a risk of injury, carefully remove the blades before pouring out food contents.
18. Do not use an extension cord. Plug charger directly into an electric outlet. Use only with the charger provided with the appliance. Do
not attempt to use this charger with any other product. Likewise, do not attempt to charge this appliance with any other charger. Do
not use appliance for other than intended use.
19. Do not incinerate this appliance even if it is severely damaged. The batteries can explode in a re.
20. Do not use appliance for other than intended use.
SAVE THESE INSTRUCTIONS

5
This appliance is for HOUSEHOLD USE ONLY.
The charger may be plugged into an AC electrical outlet (ordinary household current). Do not use any other electrical outlet.
DO NOT USE THE USB CHARGER IF THE LINE CORD OR PLUG SHOWS ANY DAMAGE
Only use Tru Model P12DUSB050200 US charger (Input:100-240VAC, 50/60Hz, 0.3A, Output:5.0VDC, 2.0A) to charge the blender Model
RC-100PB. Do not attempt to charge the motor housing unit with any other charger.
CHARGER ADAPTER / CHARGING CORD SAFETY TIPS
1. Never pull or yank on charging cord.
2. To insert the charger adapter, grasp it rmly and guide it into outlet.
3. To disconnect, grasp charger and remove it from outlet. Do not pull on the cord.
4. Before each charging, inspect the charging cord for cuts and/or abrasion marks. If any are found, this indicates that the
charging cord should be replaced.
5. Never wrap the cord tightly around the appliance, as this could place undue stress on the cord where it enters the charger
adapter or charging port on the appliance and cause it to fray and break.

6

7
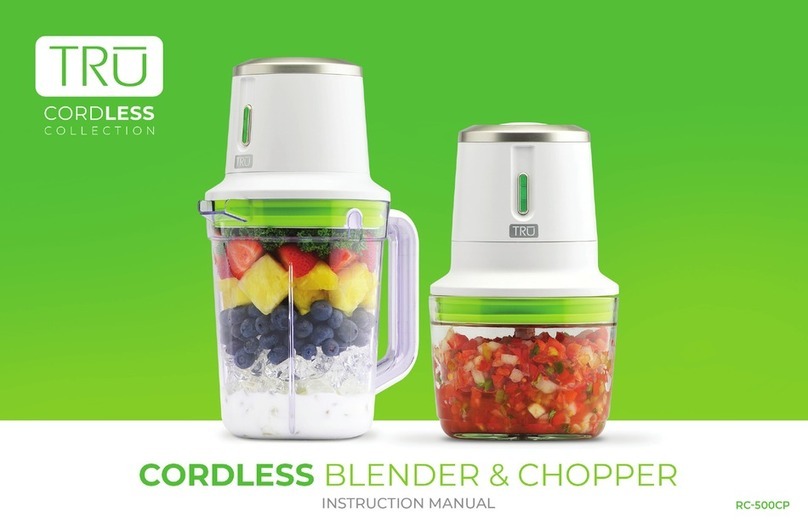
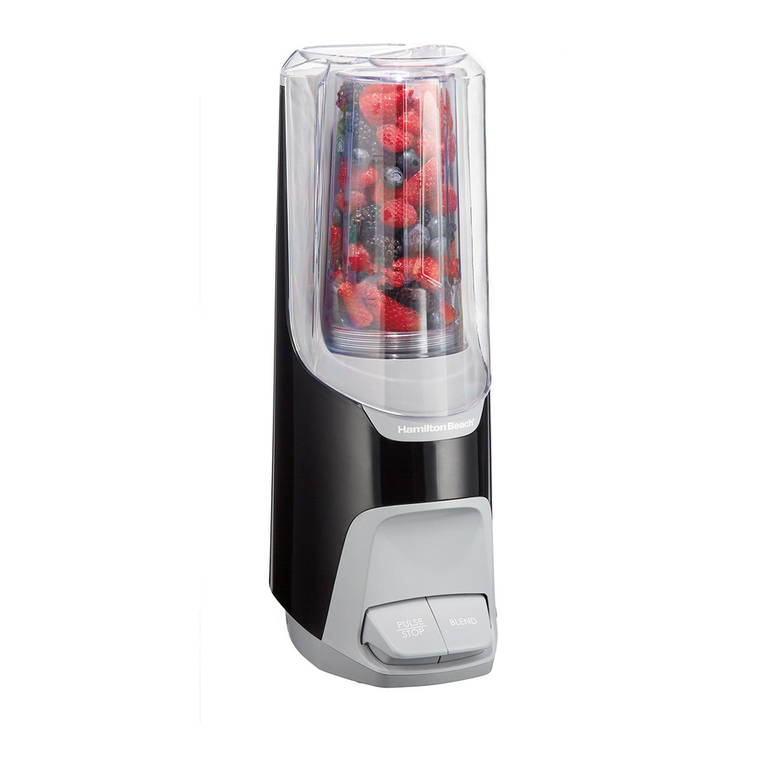
CORDLESS BLENDER
1. High capacity lithium/ion battery
2. Light, quiet, convenient and easy to clean
3. Easy to charge
4. 2 Operation Speeds
5. Stainless steel high speed cutting blade
6. Blender jar with pour spout and storage lid
7. Non-skid trivet
PREPARING FOR USE
1. Carefully unpack the motor housing unit and all parts. Remove any tape, labels or packaging materials.
2. Wash all product pieces carefully except for the motor housing unit with warm, soapy water. Rinse and dry thoroughly.
3. Wipe exterior surfaces of the motor housing with a soft, moist cloth to remove dust particles collected during packing and handling.
NEVER IMMERSE THE MOTOR HOUSING, CHARGING CORD OR CHARGER ADAPTER IN WATER OR ANY OTHER LIQUID.
4. Be sure all parts are properly assembled and in place before use.
HOW TO CHARGE
1. Open the charging port on the motor housing. Attach micro end of charging cord to the motor housing.
2. Attach the USB connector (larger end) on the charging cord to the charger adapter.
3. Plug the charger adapter into the wall outlet.
4. Indicator lights will ash while charging. The lights will stop ashing once the unit is fully charged. See Indicator Light section for
details. Note: The unit is shipped with approximately 30% charge in the batteries. One or two lights will be illuminated during use.
The unit will operate properly without charging. It is recommended to fully charge before rst use for best performance.
5. It will take approximately 5 hours to fully charge the unit.

8
ASSEMBLING THE BLENDER
Hold the blender blade by the shaft and push onto the metal shaft in the bottom of the blender jar until secure. Align the U-shape openings
on the blender collar with the U shapes in the blender jar and push in place. Align the pins in the blender collar with the small openings in
the motor housing and place the motor housing onto the blender collar. The motor housing should t ush with no gaps.
HOW TO USE THE BLENDER
This blender can be used just like a normal blender but without the cord!
1. Place blender blade onto metal shaft in the bottom of the blender jar.
2. Place food to be blended into the jar. Do not overll.
3. Place the blender collar and motor housing onto the jar. The lights will ash on to indicate the unit is ready to use.
4. Press the I (low) or II (high) speed button on top of the motor housing.
5. Allow the blender to work through the blending process. Do not shake or move the blender while operating.
6. When blending has nished, release the speed button and the unit will stop.
7. Ensure the blade has completely stopped before removing the motor housing and blender collar.
8. Remove the blender blade by grasping the shaft rmly and lift up. Be careful, the blades are sharp!
9. After the blender blade has been removed the ingredients can be poured from the blender jar.
10. Do not use the blender for longer than 1 minute continuously. After 1 minute of continuous use, the unit may become over-heated.
Allow the unit to rest for at least 5 min before resuming use.
11. The lights will extinguish as the battery life reduces. A fully charged unit will show all three lights. When only the lowest light is
illuminated and ashing, this incidates that the unit needs to be charged.
If food becomes lodged around the blender blade during use:
1. Release the speed button and wait for the blades to stop.
2. Remove the motor housing and collar.
3. Use a spatula to carefully dislodge the food. Do not use ngers as the blades are sharp.
4. After the food has been removed and blades are clear, reassemble the collar and motor housing and continue use.

9
INDICATOR LIGHTS
The motor housing indicator lights provide feedback for different situations.
Battery Life During Use:
As the motor housing is used and the battery begins to drain during performance, the indicator lights will extinguish in sequence from
the top to the bottom to indicate how much battery capacity is left.
66% to 100% of capacity: Lights 1, 2 and 3 will all be illuminated
33% to 65% of capacity: Lights 1 & 2 will be illuminated
20% to 32% of capacity: Light 1 will be illuminated
If < 20% of capacity: Light 1 ashes and the unit needs to be charged
Charging Indication:
Indicator lights will also provide feedback during the charging process:
If battery capacity is less than 33%, Lights 1, 2 and 3 will ash while charging.
If battery capacity is within 33%-65%, Light 1 will illuminate solid and Lights 2 and 3 will ash.
If battery capacity is within 66%-99%, Lights 1 and 2 will illuminate solid and only Light 3 will ash.
If battery capacity is greater than 99%, Lights 1, 2 and 3 will illuminate solid.
Overloading Indication:
Note: The motor housing has an automatic protection system that will not allow overloading. If the load is too large, the unit will
automatically shut off. If the unit senses an overload situation, all 3 lights will ash 5 times and the unit will turn Off. Release the speed
button and the lights will turn off. Reduce the load on the blender or the chopper, allow it to rest for more than 15 minutes and then
resume use.
Do not expose a battery pack or appliance to re or excessive heat. Exposure to re or temperatures above 265°F/130°C may cause an
explosion.

10
USER MAINTENANCE INSTRUCTIONS
This appliance contains no user serviceable parts. Do not try to repair it yourself. Have servicing performed by a qualied repair person
using only identical replacement parts. This will ensure that the safety of the product is maintained.
Dispose of the appliance at the end of its life span according to local environmental considerations and requirements.
TO CLEAN:
NOTE: DO NOT PUT MOTOR HOUSING IN DISHWASHER. Wipe motor housing dry or allow to air dry before storing. Do not use
abrasive cleaners or steel wool.
NEVER IMMERSE MOTOR HOUSING, CHARGER ADAPTER OR CHARGING CORD IN WATER OR ANY OTHER LIQUID. Do not
place motor housing in dishwasher. The blender blade, blender jar, blender collar and lids can be placed in the dishwasher. Do not use
abrasive cleaners or steel wool.
TO STORE:
• Be sure all parts are clean and dry before storing. Never store it while it is wet.
• The unit can be stored for up to 3 months with a fully charged state. If storing for longer than 3 months the unit should be charged
before next use.
• Store in a dry area in an ambient temperature of 40°F to 95°F.

11
ONE YEAR LIMITED WARRANTY
SELECT BRANDS, INC. warrants, subject to the conditions stated below, that from the date of purchase, this product will be free from
mechanical defects for a period of one (1) year. SELECT BRANDS, INC., at its option, will repair or replace this product found to be
defective during the warranty period. Should this product become defective by reason of improper workmanship or material defect during
the specied warranty period, Select Brands, Inc. will repair or replace the same effecting all necessary parts replacements for a period
of one year from the date of purchase.
Transportation charges on parts, or products in whole, submitted for repair or replacement, under this warranty, must be borne by the
purchaser.
CONDITIONS: This warranty is valid for the original retail purchaser from the date of initial retail purchase and is not transferable. This
warranty does not apply to product sold by third party resellers. Keep the original sales receipt. Proof of purchase is required to obtain
warranty service or replacement. Dealers, service centers, or retail stores do not have the right to alter, modify or in any way, change the
terms and conditions of this warranty.
Warranty registration is not necessary to obtain warranty on Select Brands, Inc. products. Save your proof of purchase receipt.
ABOUT YOUR PRODUCT WARRANTY: Most warranty repairs are handled routinely, but sometimes requests for warranty service may
not be appropriate. For example, warranty service would NOT apply if the product damage occurred because of misuse, lack of routine
maintenance, shipping, handling, warehousing or improper installation. Similarly, the warranty is void if the manufacturing date or the
serial number on the product has been removed or the equipment has been altered or modied. During the warranty period, the authorized
service dealer, at its option, will repair or replace any part that, upon examination, is found to be defective under normal use and service.
NORMAL WEAR: This warranty does not cover normal wear of parts or damage resulting from any of the following: Negligent use or
misuse of the product; Improper voltage or current; Use contrary to the operation instructions; Deviation from instructions regarding
storage and transportation; Repair or alteration by anyone other than SELECT BRANDS, INC. or an authorized service center. Further,
the warranty does not cover Acts of God, such as re, ood, hurricanes and tornadoes.
SELECT BRANDS, INC. shall not be liable for any incidental or consequential damages caused by the breach of any express or implied

warranty. Except to the extent prohibited by applicable law, any implied warranty of merchantability or tness for a particular purpose is
limited in duration to the duration of the above warranty. Some states, provinces or jurisdictions do not allow the exclusion or limitation of
incidental or consequential damages or limitations on how long an implied warranty lasts, so the above limitations or exclusion may not
apply to you. This warranty gives you specic legal rights, and you may also have other rights that vary from state to state or province to
province.
HOW TO OBTAIN WARRANTY SERVICE: You must contact SELECT BRANDS, INC. Customer Service at 1-913-663-4500. A Customer
Service representative will attempt to resolve warranty issues over the phone. If telephone resolution is not possible, the Customer
Service representative will require your assistance in performing routine diagnostic procedures. This warranty is effective for the time
periods listed above and subject to the conditions provided for in this policy. To register this product and view other ne products, visit us
online at www.selectbrands.com.
Made in China
111820
Table of contents
Other Tru Blender manuals
