Truly Pic N Roll FE101 User manual

www.picnroll.com

User Manual for Fe101 Digital Mp3
Welcome to your Truly World of Digital Entertainment! We are
pleased that you have chosen the FE101 Digital Audio Player.
Please be sure to read this manual carefully before using this
unit for the first time.
! Safety Instructions
1. This electronic unit is of high precision. Please do not try to
disassemble this unit yourself.
2. Do not subject this unit to severe impact.
3. Do not expose to extreme temperatures, moistures, dusty
area, magnetic field or direct sunlight.
4. Clean the unit with soft cloth. Avoid using any chemical
Solutions.
5. Do not subject to water. Avoid placing this unit near objects
that contain liquid.
6. To avoid permanent hearing loss, please adjust the volume
properly before use.
7. Do not try to modify any part of this unit.
8 Only use the battery, charger and accessories that are
recommended by the manufacturer. Using non-
manufacturer approved parts might result in injuries and
void of product warranty.manufacturer approved parts
Might result in injuries and void of product warranty.
9. Dispose of this unit and its accessories according to your
Local environmental regulations.
10. If you have any problems when using this unit, please
contact your local dealer or our customer service center
at 1-866-742-6765 (U.S.). Outside of U.S. please contact
us at or .
! Declarations
1. Truly Electronics Mfg. Ltd. assumes no responsibility for
any damaged or loss data caused by accidental deletion of
data as a result of malfunction,repairs or battery
replacement making backups of important data on Other
media to protect against data loss is strongly recommended.
2. This manual is based on the first version of this unit. Should
there be any changes, please see the revised manual in the
supplied installation CD or the corresponding manual on our
company's website at www.truly.net.
www.picnroll.com www.truly.net
.1. .2.

3. Should there be any upgrade, please visit our website at
to download the latest drivers.
4. The pictures shown in this manual may be different from the
actual product screen.
5. Design of this unit is subject to change without notice.
http://www.truly.net
Contents
Package contents..........................................................5
Minimum System Requirements....................................5
Connection to Computer................................................6
Specifications.................................................................6
Location of Controls.......................................................7
Locking/unlocking the Controls......................................8
Understanding the displays...........................................
Replacing battery...........................................................9
Operating instructions.........................................................
Music playback....................................................................10
Copying music files to your FE101......................................11
How to set up the EQ, the playback mode and the lyric
synchronization function......................................................12
How to delete a file..............................................................14
How to use A-B segment repeat..........................................14
Recording............................................................................
Playback recording..............................................................15
System setup.......................................................................16
a) Language selection
b) Adjust volume
c) Power display
d) Auto-power off setup
e) Memory
f) Brightness
g) Version Information
Removable USB Drive.........................................................19
Safe removal of USB...........................................................19
Installing and using the TRULY FE101 Software.................19
.3. .4.
FCC Notice:
This device complies with Part 15 of the FCC Rules. Operation is
subject to the following two conditions:
(1) This device may not cause harmful interference.
(2) This device must accept any interference received, including
interference that may cause undesirable operation.
10
15
9

Installing the Truly FE101 software...............................19
The TMusic Music Management Software....................20
To view Help on TMusic Music Management................20
Installing the “FE101 Driver/Upgrading Software”.........21
! Package contents
FE101 MP3 Player (1)
Headphone (1)
Installation CD-ROM (1)
User's Manual (1)
Battery (AAA) (1)
! Minimum System Requirements
Microsoft Windows WIN 98/2000/XP/ME
Pentium 200MHz CPU or even higher
USB Port
CD-ROM Driver
40MB Hard Disk Space
32MB Memory
!
!
Connection to Computer
Remove the USB protective cap from the player. Connect the
USB plug to the USB port on your computer. Screen in Figure 1
will display when successfully connected to your PC. Screen in
Figure 2 will display during file transfer.
Specifications
Model: FE101
Storage Medium: Built-in 512MB Flash Memory
Connection: USB 2.0
Recording Format: WAV
.5. .6.
ATTENTION!
WINDOWS 98 USERS:
To avoid installation problem, complete installing the driver
from the included CD-ROM before connecting the FE101 to
your PC.
Figure1 Figure2

Bit Rate: 8Kbps~320 Kbps
Recording Time: 12 hours (512MB)
Display: LCD; 96 X 16(display pixel)
Power Supply: One 1.5 V “AAA” Alkaline cell
Playing time: Lasts up to 8 hours
Max. Output: Headset 4.0mw×2
Dimensions: 3.13”X1.38”X0.52”
Location of Controls
(1) LCD Display
It displays information - song title, artist, playback time, etc.
!
(2) Menu / Power / Escape Button
Press and hold this button to Power On/Off the unit
During music playback, press this button to view your music
list.
When the unit is in Standby, press this button to exit out of
the last operation.
(3) A-B Button
(4) Volume Down
(5) Volume Up
(6) Rewind / Skip Back
(7) Fast Forward / Skip Forward
(8) Headset Jack
(9) Play/Pause/Stop
(10) String Jack
(11) Microphone
(12) Battery Compartment
(13) USB Plug
(14) USB Cap
Locking/unlocking the controls
During music or voice recording playback, press the 'A-B'
!
.7. .8.

button, then the MENU/ button to lock all buttons. Press the
same buttons again to unlock.
! Understanding the Display
(1) Playback Mode (8) Recording Mode
(2) Pause Mode (9) File No.
(3) Music Symbol (10) Elapsed Recording Time
(4) Segment Repeat (11) Remaining Recording Time
(5) Repeat Mode (12) Elapsed Time/Remaining Time
(6) Screen Up/Down Of Current Track
(7) File Name and Format (13) Battery Indicator
! Replacing Battery
Power off the unit. Push the compartment cover upward and
remove it. Remove old battery and insert a new “AAA”
battery with polarities corresponding to indications on the
compartment. Re-insert compartment cover when done.
! Operating Instructions
Note: If operation errors occur during use, remove the
battery and insert it back again.
Power On/Off: Press and hold the MENU/ button to turn
the unit on/off. Shown in Figure 3 & Figure 4.
The FE101 has an automatic power-saving feature. The unit
will turn itself off if inactive for 3 minutes while in Standby.
The power-saving function will not be in effect if the unit is in
operation or if connected to your PC.
Music Playback
Press and hold the MENU/ button to turn on the player.
Shown in Figure 5, press the button to access your music
!
.9. .10.
Figure 3 Figure 4

.11. .12.
files. Use the button or the button to select the music
file, shown in Figure 6. Press the button to begin play. The
music playback screen is shown in Figure 7. Press the V+/V-
buttons to adjust the volume; press the button to pause the
music playback; press and hold the button to stop the
music and enter the file list, shown in Figure 8.
Copying Music files to your FE 101
Insert the USB plug into the available USB port on your PC.
“Ready”will display on your FE101. Your PC will
automatically detect the FE101 as a new Removable Drive.
click into your “My Computer” screen and a new Removable
Disk will appear. The new Removable Drive is your FE101.
Copy and paste your MP3 music files from you PC into the
FE101. Disconnect using the Safe Removal of USB device
method when done.
!
! How to set up the EQ, the playback mode and the
lyric synchronization function
During music playback, press the MENU/ button once to
access the music file folder, shown in Figure 9. Press the
MENU/ button one more time to access the feature menu,
shown in Figure 5; press the button or the button to
select “System Setup” and press the button to enter. Then
press the button or the button to select the setting that
you would like to adjust and press the button to confirm
new setting.
Sound Effect Option: This player offers 7 built-in sound effects -
Standard, Rock, Jazz, Classic, Pop, Bass, Treble. Select the
type of sound effect you want to set up, and press the button
to confirm.
Playback Modes: This player offers 5 different playback modes -
Normal, Single Track Repeat, All Repeat, Random Playback,
Figure 5 Figure 6
Figure 7 Figure 8
Figure 9 Figure 10
Figure 11 Figure 12

.13.
Random Repeat. Select the mode that you want to set up and
press the button to confirm.
Normal Playback: The player starts from the selected music file
in the folder and stops at the finish of the last music file.
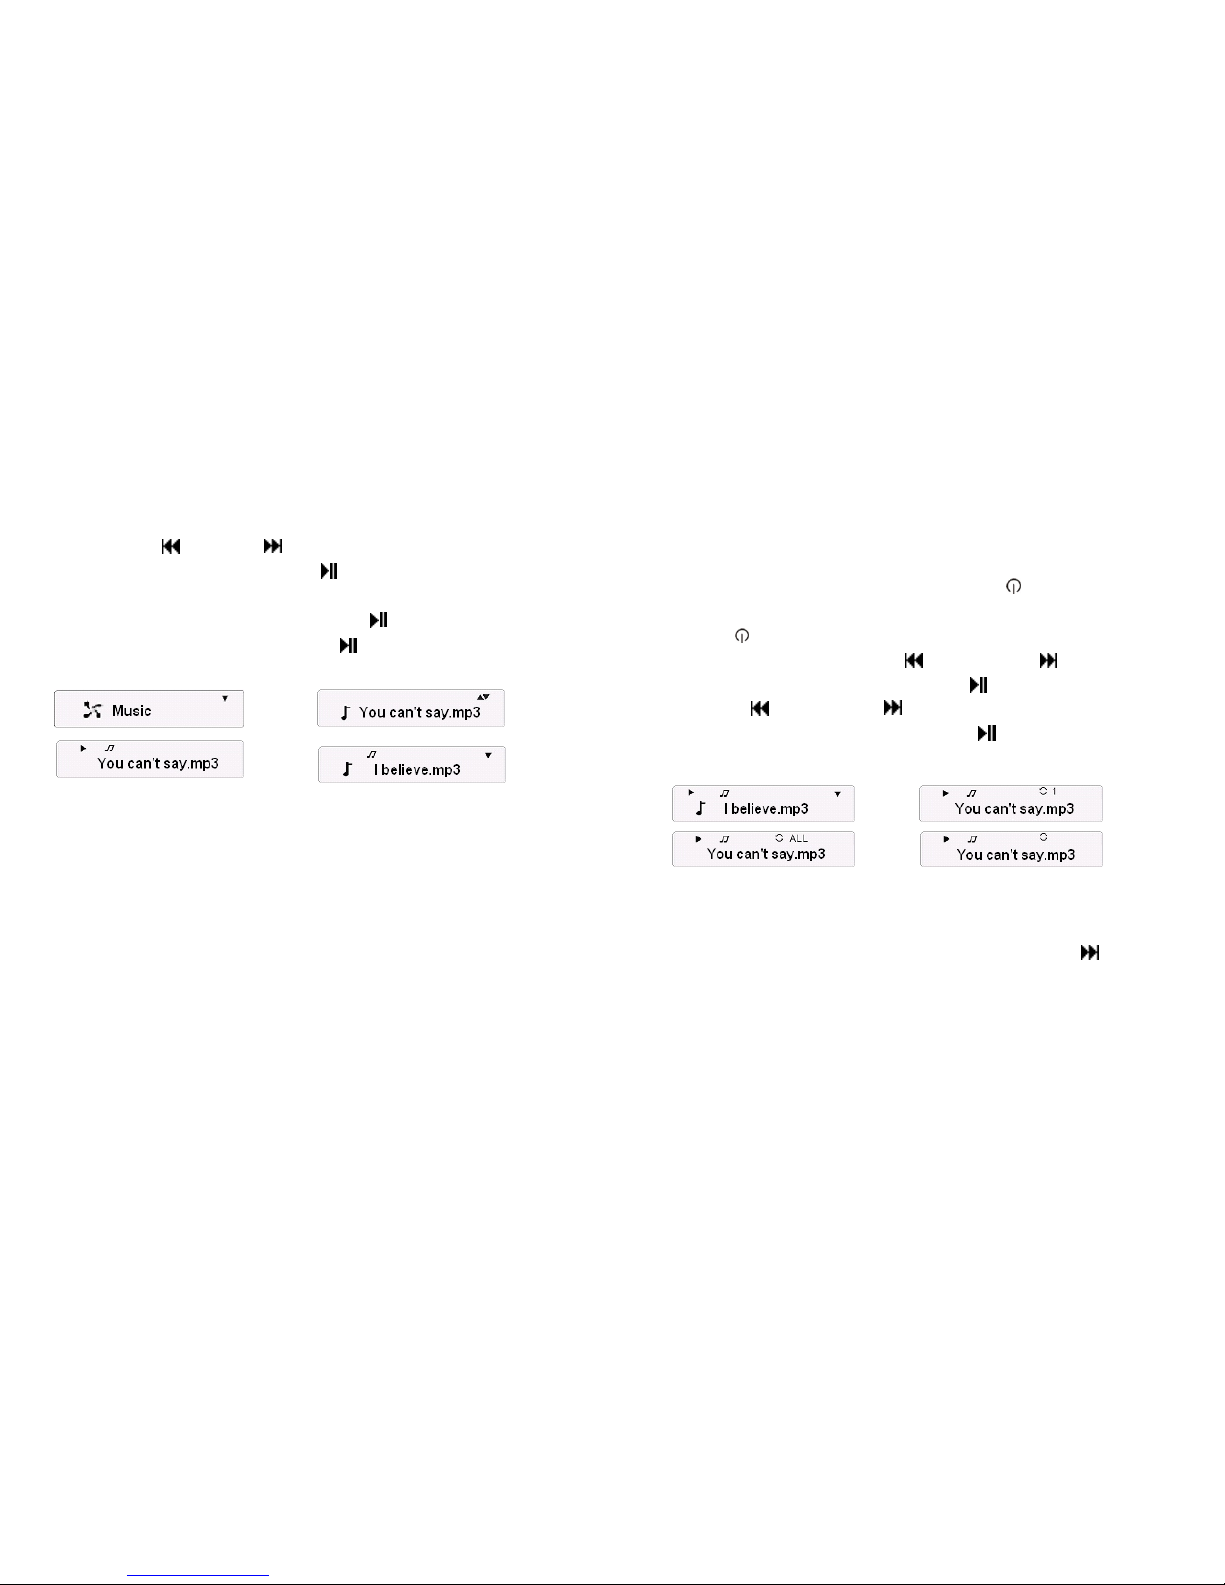
Single Track Repeat: The player plays the current F ile
repeatedly. The 1 icon will be displayed, shown in Figure 10.
All Repeat: The player plays all the music files in the directory
repeatedly. The ALL icon will be displayed, shown in Figure 11.
Random Playback: The player plays all the music files in the
directory randomly. The icon will be displayed, shown in
Figure 12.
Random Repeat: The player plays the music files in the
directory in a random repeat manner. The ALL icon will be
displayed, shown in Figure 13.
Lyric Synchronization: Lyrics synchronization will automatically
begin if an LRC file is available in the same directory as the
music file. Note that the LRC file name must match that of the
music file for the synchronization to take effect.
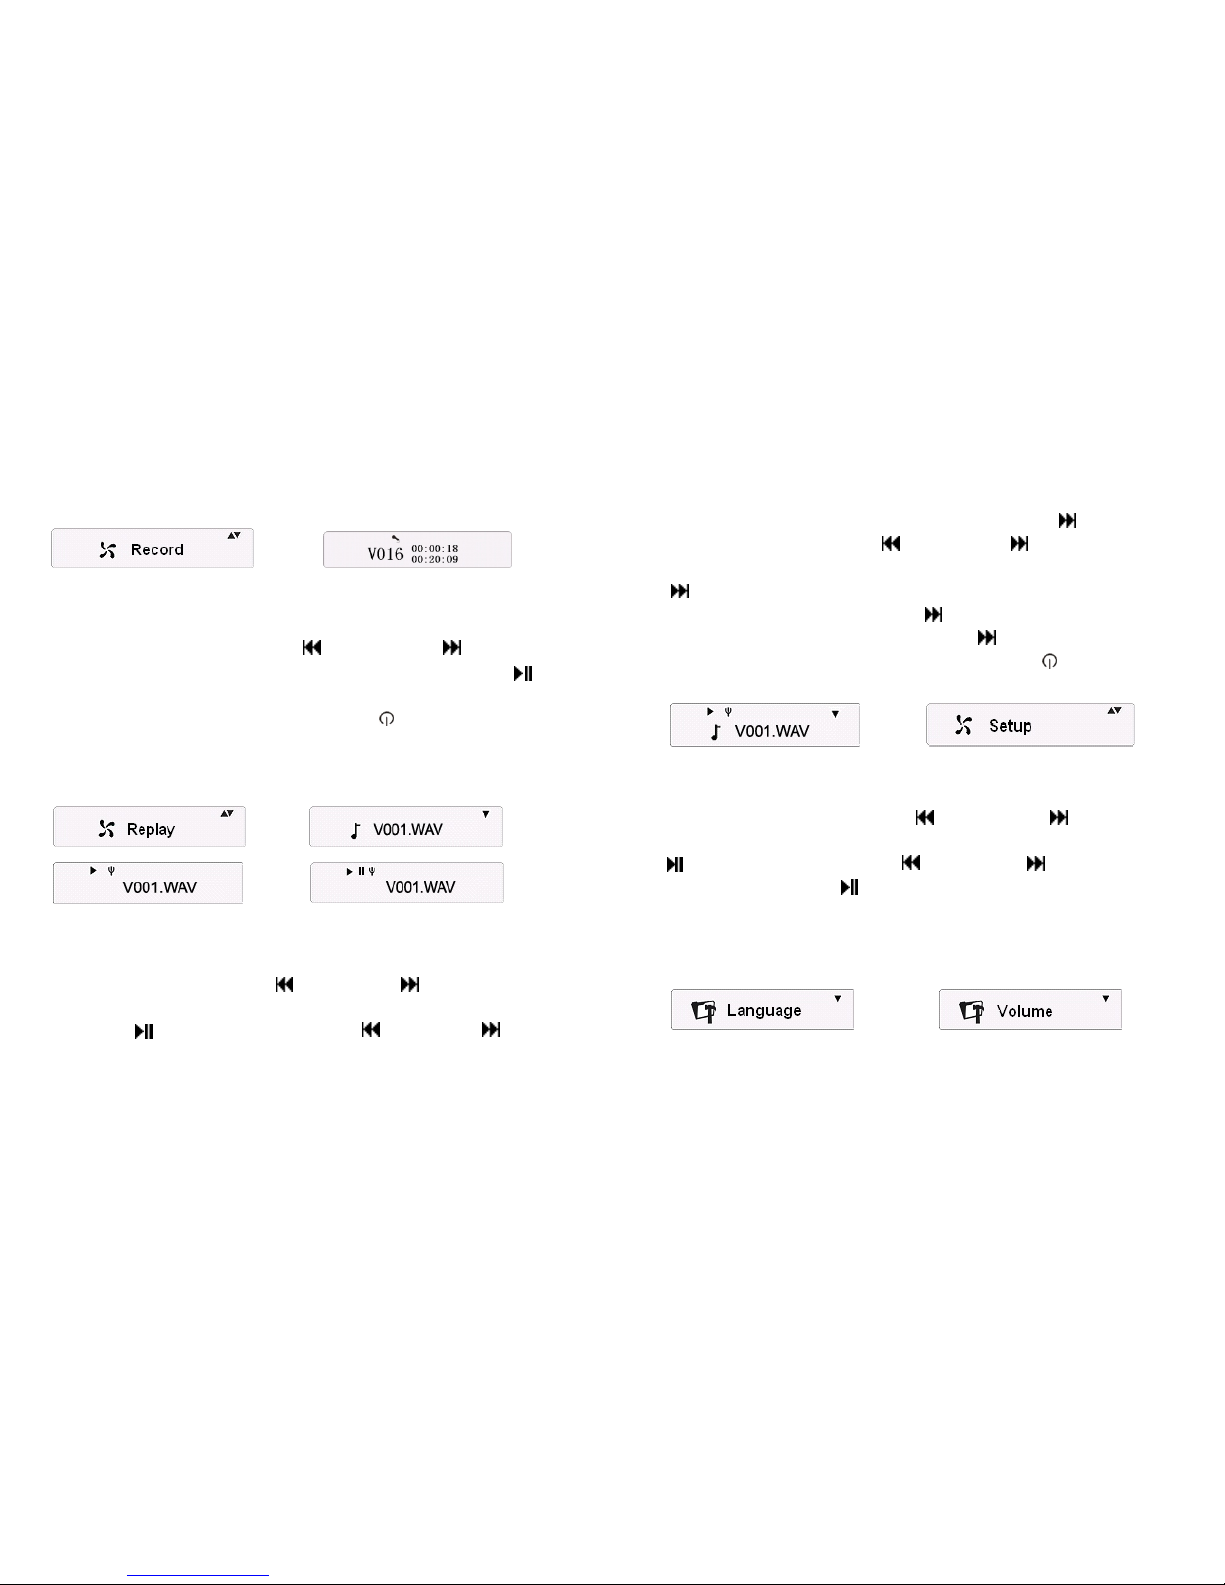
! How to delete a file
There are two ways to delete a file. ① In the music file list, press
the or the button to select the file to be deleted, then press
the A-B button. The player will ask “ Are you sure about the
deletion?”, shown in Figure 15. Press the button to delete the
file and return to the previous menu. Press the MENU/ button
to cancel. ② In “System Setup”, press the button or the
button to select the “Delete a file” option, shown in Figure 14.
Press the button to confirm. Use the button or the button
to select the file type - “Music File” or “Recording File”, and
press the button to enter; then press the button or the
button to select the file to be deleted. Press the A-B button and
the player will ask “Are you sure about the deletion?”, shown in
Figure 15. Press the button to delete the file and return to the
previous menu. Press the MENU/ button to cancel.
How to use A-B segment repeat
During playback, press this button once to set the Starting Point
(A), and press it a second time to set the Ending point (B).
Press this button again to cancel the (A-B) Repeat playback.
!
Figure13 Figure14
Figure15 Figure16
.14.

.15. .16.
to select the file type - “MIC Recording”. Press the button to
enter the file list. Press the button or the button to select
the “MIC Recording” file to play, shown in Figure 20. Press the
Button to enter the playback interface. The playback interface
is shown in Figure 21. Press the button to pause the playback,
shown in Figure 22. Press and hold the button to stop the
playback, shown in Figure 20. Press the MENU/ button during
playback to browse the file list, shown in Figure 23.
! System Setup
While the player is on, press the button or the button to
select the “System Setup” menu, shown in Figure 24. Press the
button to confirm. Press the button or the button to select
the item and press the button to confirm. Languages, volume,
sound effects, playback options, power status, file deletion,
auto-power off, memory status, brightness adjustment, version
information, etc. can be found under “System Setup”.
!
!
Recording
While the player is on, press the button and the button to
select the “Recording” menu, shown in Figure 17. Press the
button to confirm and enter the recording menu, shown in Figure
18. During recording, press The MENU/
button to stop
recording and the system will save the newly recorded file into
the “Voice” directory. The Voice directory will be generated
automatically for the first recording file.
Playback Recording
Power on the player and the button or the button to select
the “Recording Playback” menu, shown in Figure 19, and then
press the button to confirm. Use the button or the button
Figure 17 Figure 18
Figure19 Figure20
Figure21 Figure22
Figure23 Figure24
Figure 25 Figure 26

.17. .18.
Button or the button to switch between the digits (hour,
minute, second), then press the V+/V- button to adjust the
values. The timer ranges from 3 minutes to 24 hours. Press the
Button to confirm and exit the setting.
e. Memory
Select “Memory Display” and press the button in “System
Setup” to display the player's memory status, shown in Figure
31. Press the MENU/ button to return to the previous interface.
f. Brightness
Select “Brightness Adjustment” and press the
Button in
“System Setup”, shown in Figure32 & Figure 33. Use the V+/V-
button to adjust the brightness. Press the button to confirm
and exit.
g. Version Information
Select “Version Information” and press the button in “System
Setup” to display the player's version information, shown in
Figure 34.
a. Language Selection
Select “Language” in “System Setup”. Press the button to
select display language. Press the button to confirm.
b. Adjust Volume
Select “Volume Adjustment” in “System Setup” to adjust volume,
shown in Figure 26. Press the V+/V- button to adjust the volume.
c. Power Display
Select “Power Display” and press the button in “System
Setup” to view battery status, shown in Figure 27 & Figure 28.
d. Auto-Power Off Setup
Select “Switch-off Time Setup” and press the button in
“System Setup”, shown in Figure 29. The grayed out digits
shown is the current time setting, shown in Figure 30. Press the
Figure 27 Figure 28
Figure 29 Figure 30
Figure 31 Figure 32
Figure 33 Figure 34

.19. .20.
“TMusic Music Management ” software
This program will enable you to convert music from a CD into MP3
files. Click on “Install TMusic” and follow the instructions in the
window to complete the installation.
To View Help on TMusic Music Management
Run TMusic Music Management and press the Help button at the
top of the screen. Help will be displayed.
To install DirecX 9 for T-Music
Try clicking on the “Install DirecX 9” in case you encounter any
problem while starting or running T-Music software.
! Removable USB Drive
This player can be used as a driver-free USB drive in WIN
ME/2000/XP operating system. Drive installation is needed to be
used with Win 98 or Mac operating systems. The driver is
included with the FE101 Installation CD.
! Safe Removal of USB Device
In order to prevent data loss from the sudden removal of the
player from the USB port, please click the “ ”icon on the
lower-right corner of the Windows Desktop and follow the
instructions step by step to remove the USB safely from the
computer. (Not available in Win 98)
! Installing and Using the TRULY FE101 Software
Note: The display screens in this section are for demonstration
only. The actual screens on your PC may appear to be slightly
different.
! Installing the TRULY FE101 software
Insert the Installation CD into the CD-ROM drive. The software
installation screen will appear momentarily. (Figure 35)
Figure 35

.21. .22.
Interface shown in Figure 37. Click “Start” to update the program.
Click “Close” when the process is completed.
Note: When you run the “Update” for the first time, the system
may locate another new hardware while the firmware update is
being completed,shown in Figure 36.Click “Next” to complete
installation of the new hardware. This will bring you to the next
interface, shown in Figure 38.
Please visit our website at for Frequently Asked
Questions.
www.picnroll.com
“Install the FE101 Driver/Upgrading Software”
The driver only needs to be installed if you are using Win 98.
Formatting
Right-click on your FE101 Removable Disk Drive icon in your “My
Computer” screen. Select “Formatting” and Figure 36 appears.
Select FAT or FAT32 in the “File System” category. Click “Start” to
start formatting. Click “Close” when formatting is completed.
Program Updating
Normal Mode: Connect the USB plug to your PC. In your PC, click
Start > Program > TRULY FE101 Multimedia player > MP3 Update.
Figure 37 will appear in the window momentarily. Select “Format
Data Area”, then click “Start” to update the program. Click “Close”
when the process is completed.
Recover Mode: Press and hold the button of the player. Insert the
USB plug into the USB port. The cursor in your screen flashes
briefly. Hold the button for 10-15 seconds. On your desktop, click
Start > Program > TRULY FE101 Multimedia player > MP3 Update.
A window shown in Figure 36 appears (If the window does not
appear, repeat the above steps). When the progress bar shown in
Figure 46 is completed, the window changes automatically into the
Figure 36
Figure 38
Figure 37
Other Truly MP3 Player manuals

Truly
Truly Pic 'N Roll MP310 User manual

Truly
Truly Pic N Roll MP310 Plus User manual

Truly
Truly Pic 'N Roll MP313X User manual

Truly
Truly FC606+ User manual

Truly
Truly Pic 'N Roll MP313X User manual

Truly
Truly FT602 User manual

Truly
Truly MP368 User manual

Truly
Truly Pic 'N Roll Pic 'N RollDigital Photo & Audio... User manual