IMPORTANT
BEFORE USE READ THESE INSTRUCTIONS AND RETAIN FOR FUTURE REFERENCE
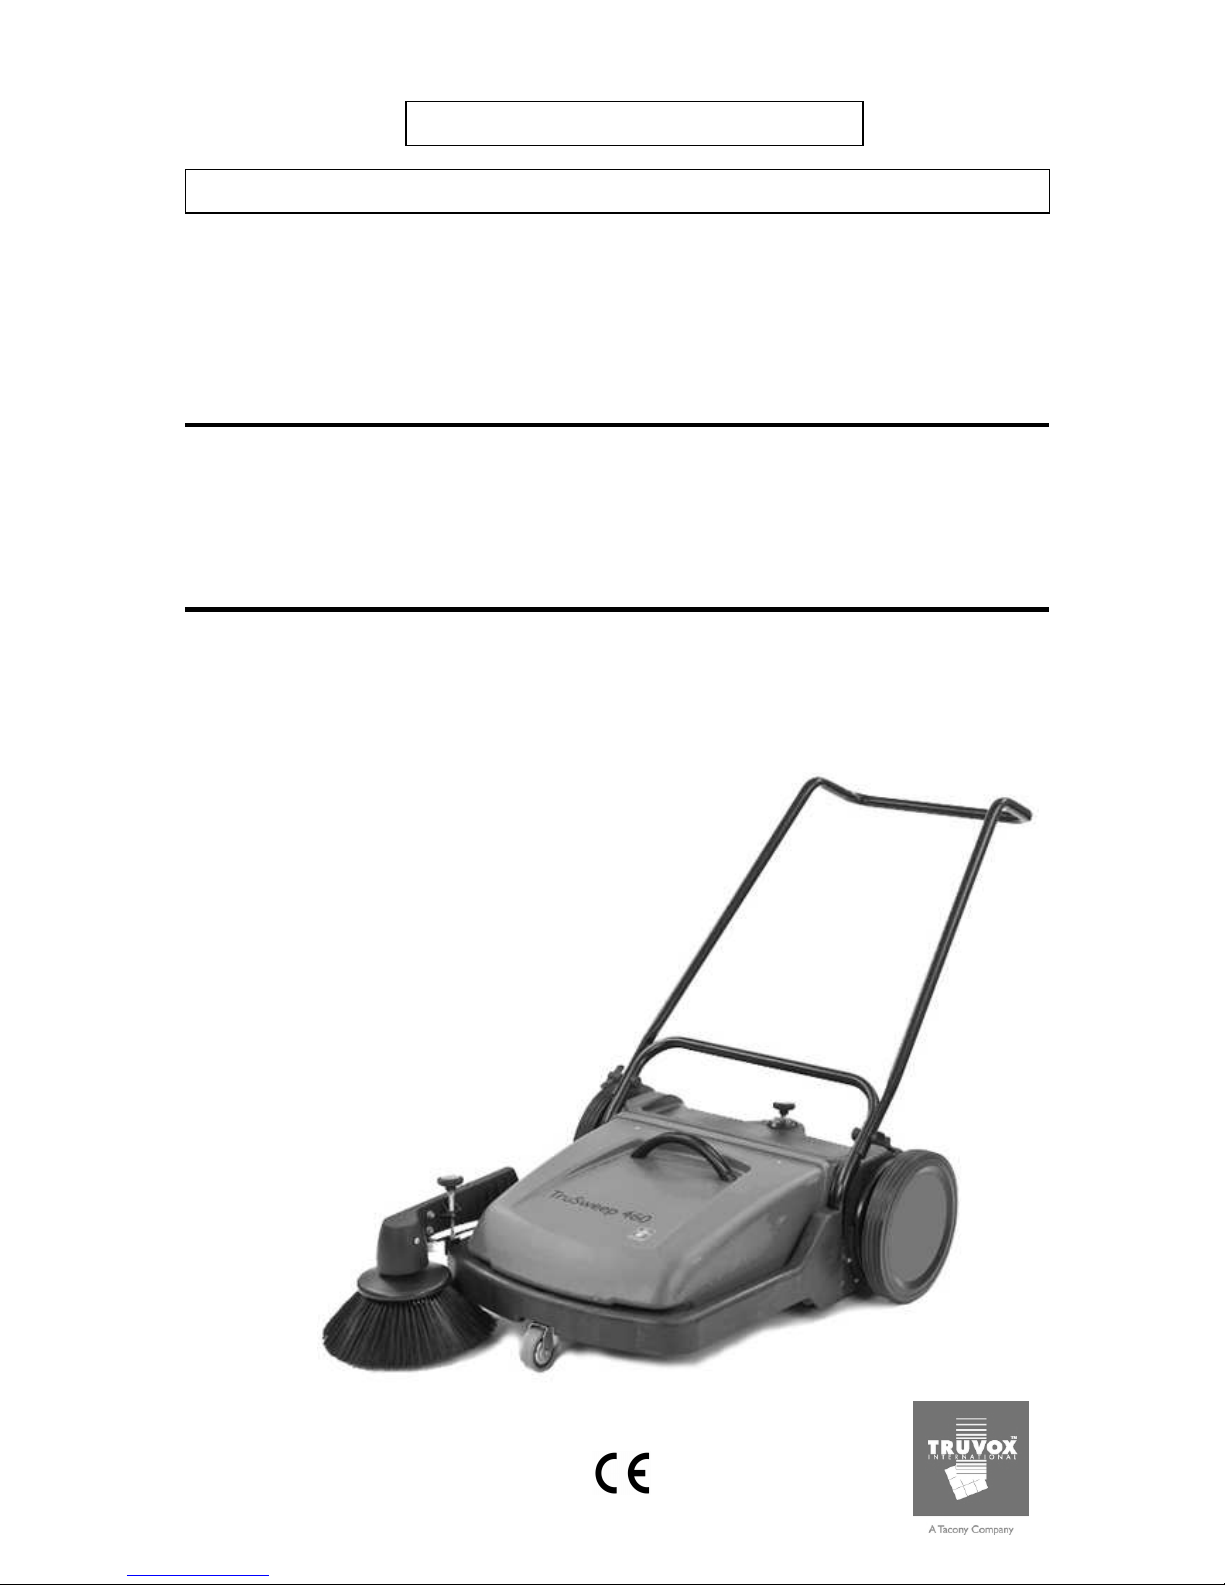
1. Product information
The TruSweep 460 is designed exclusively for
operation on solid, level and dry surfaces. It
has been designed for the professional user to
ensure long service life and safe operation.
These instructions only cover the operation of
the machine and do not include information on
the basics of sweeping. Any user not familiar
with basic sweeping methods should contact
their supervisor, supplier or Truvox
International before proceeding.
This machine must only be used for the
manufacturer’s approved application. This
sweeper is intended exclusively for operation
on solid, level and dry surfaces.
Do not use on a surface with a slope
exceeding 2%. Do not use the
machine where it is suspected that the surface
contains health endangering dust or debris
such as asbestos or chemical waste. If this is
suspected do not proceed, contact your
supervisor or Truvox International for advice.
The following instructions contain important
information about the machine and safety
advice for the operator.
Equipment must be operated, serviced and
maintained in accordance with the
manufacturer’s instructions. If in doubt
contact the supplier of your machine.
These instructions are valid for the following
model: TruSweep 460 – TRUS460
1.1 Important safety advice
When using the TruSweep 460 basic safety
precautions should be followed including the
following:
•Read all instructions carefully before use.
•Please note that the safety information
described in the manual supplements and
does not replace standards in force in the
country in which the machine is used.
•This appliance is suitable for commercial
use, for example in warehouses, hotels,
schools, hospitals, factories, shops, rental
businesses and other than normal
housekeeping purposes.
•Do not operate machine:
-Unless trained and authorized by a person
responsible for their safety.
-Unless operator manual is read and
understood.
-Unless with mentally, physically and the
sensory capability of following machine
instructions.
•Keep children and unauthorised persons
away from the machine when in use.
•All parts are to be positioned as indicated in
the instructions before using the machine.
•Do not operate the machine if it malfunctions
or is damaged in any way. Contact an
authorised service agent for repair or
adjustment.
•Keep hair, loose clothing, fingers and all
parts of body away from openings and
moving parts.
•Do not use where hazardous dust is
present.
•Do not use in an explosive
atmosphere.
•Do not pick up oil or other flammable
material.
•Take care when using a machine near the
top of stairs to avoid overbalancing.
1.2 Guidelines for the operator
WARNING - Operators must be fully
trained in the use of the machine in
accordance with these instructions,
able to perform user maintenance and the
correct selection of accessories.
•Operators should be physically capable to
manoeuvre, transport and operate the
machine.
•Operators should be able to recognise
unusual operation of the machine and report
any problems.
•Only use the machine on firm level surfaces
•Wear suitable footwear to avoid slipping.
•Wear suitable clothing to keep dry and
warm.
•Where possible implement job rotation and
adequate rest periods to avoid continuous
use of the same muscles.
•Do not smoke when using the machine.
•Do not put any objects into openings. Do not
use with any opening blocked: keep free of
dust, debris, hair, or anything that may
reduce air flow.
•Do not sweep over wet surfaces.
CAUTION - This machine is for use in
dry areas and should not be stored
outdoors or in wet conditions.
CAUTION - If it is suspected that there
is hazardous dust or flammable
materials stop cleaning the area
immediately and consult your superior.