TRYSIGHT MERCURY VISION User manual

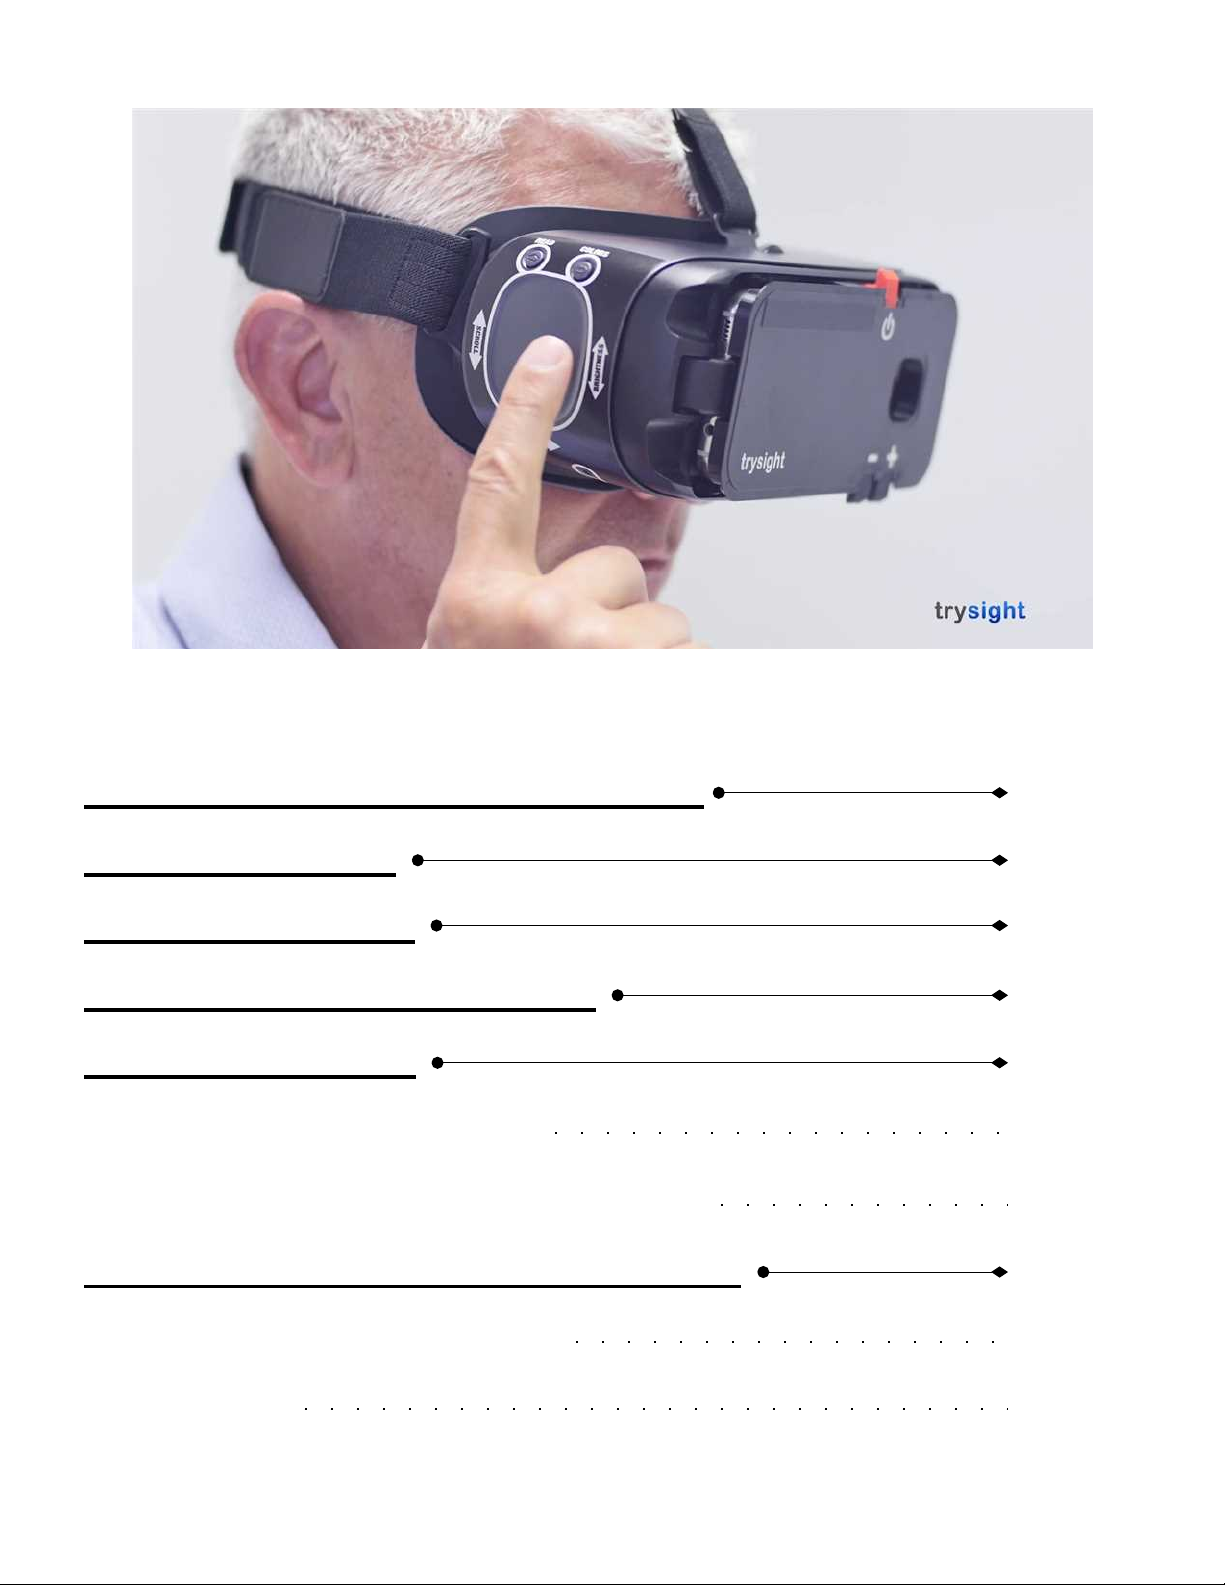
M E R C U R Y V I S I O N
D i g i t a l G l a s s e s
USER MANUAL
V. 1.0
19/20-5511 Tomken Road, Mississauga, ON, Canada, L4W 3Y3
1-866-499-2921 | info@trysight.com
Please read this user manual before operating your
Mercury Vision device and keep it for future reference.
Copyright © 2019 by
All rights reserved
I N T H I S M A N U A L
Introduction to Mercury Vision
Safety Warning
What's Included
Using The Mercury Vision
Reference Guide
1
2
3
4
5-6
5
Device Overview (locations)
6
Device Overview (trackpad & buttons)
Mercury Vision Headset Controls
7-11
Power Button & Focus Wheel
7
Read Button
8
c o n t i n u e . . .

Advanced Settings Menu
Warranty Conditions
Contact Us
12-18
19
20
Colors Button
Technical Specifications
21
9
Trackpad
10
Volume Buttons & USB-C Charging Port
11
Main Menu (advanced setting menu)
12
Language
13
Rate
14
Voices & Highlight Color
15
Eye Modes
16
Voice Commands
17
Shutdown While Charging
18

I n t r o d u c t i o n t o M e r c u r y V i s i o n
Congratulations on your purchase of the Mercury Vision!
We created this remarkable product by combining advanced
state-of-the-art high quality materials with our custom
developed software to produce an unprecedented and
unparalleled visual sensory experience.
Weighing a little over one pound, your Mercury Vision is
lightweight and may be comfortably worn for extended
periods of time. We immerse your vision, eliminate external
glare, and compound your periphery field of view.
We did not stop there. We raised the bar even further
providing you the benefit of hearing print read aloud. This
results in reduced eyestrain and provides for quicker
comprehension. You can use your Mercury Vision to watch
television, theatre, sporting events, museums, cruises,
safaris, your family, work on art projects, distance tasks,
menus, signs, computer screens, tablets, smart phones, and
more. Imagine the possibilities!
M E R C U R Y
V I S I O N
1

S a f e t y W a r n i n g
2
We designed the Mercury Vision to be used by
wearing it while seated or standing still and motionless.
To avoid accidental tripping, or falling, it is imperative to not
move while wearing the headset as it encompasses your
complete visual field. Do not attempt to walk while wearing
the Mercury Vision headset.
DO NOT USE AS A MOBILITY DEVICE DO NOT
MOVE, WALK OR PUT YOURSELF INTO
MOTION
DO NOT ATTEMPT TO DRIVE WHATSOEVER
M E R C U R Y
V I S I O N

W h a t ' s I n c l u d e d
3
Your Mercury Vision unit should come with these items:
1X - Mercury Vision display unit
1X - Goggles / headset
1X - AC adapter
1X - Charging cable
1X - Ear buds (1 pair)
1X - Carrying case
1X - User manual
M E R C U R Y
V I S I O N

U s i n g T h e M e r c u r y V i s i o n
4
Before powering unit on, please take a moment to place
the Mercury Vision on your head, over your eyes, pull on
the elastic straps and adjust them using the velcro tabs,
making sure it is comfortably snug on your face and
evenly balanced on the top of your head and sides.
Note: If you wear corrective eyeglasses, please keep
them on and wear the Mercury Vision over your corrective
eyeglasses. In the unlikely event your eyeglasses are too
large to fit into the system, we recommend smaller
corrective eyeglasses suitable to fit within the unit.
M E R C U R Y
V I S I O N
Upon turning on your device, it will arrive on a WARNING
message (picture 4.1), it is imperative for your safety and safety
of others that you use this device only when seated or standing
still. Do not walk, drive, or move in any manner.
While viewing this WARNING message, reach above the visor and
locate the focus wheel, adjust it to obtain the optimal clearest view
while looking at the screen image.
Note: Unit will not require re-adjustment if you are the only user.
4.1

R e f e r e n c e G u i d e
5
M E R C U R Y
V I S I O N
D e v i c e O v e r v i e w
( L o c a t i o n s )
R e a d B u t t o n
( S e e P a g e 6 )
C o l o r s B u t t o n
( S e e P a g e 6 )
P o w e r B u t t o n
F o c u s W h e e l
T r a c k p a d
( S e e P a g e 6 )
U S B - C C h a r g i n g P o r t
V o l u m e B u t t o n s

6
M E R C U R Y
V I S I O N
D e v i c e O v e r v i e w
( T r a c k p a d & B u t t o n s )
R e f e r e n c e G u i d e

M e r c u r y V i s i o n H e a d s e t C o n t r o l s
7
M E R C U R Y
V I S I O N
Power Button
Refer to reference guide on page 5 of this user manual to
locate the power button. To turn on the Mercury Vision,
press the power button for a few seconds until you feel a
slight vibration on the headset indicating that the device is
already on.
You will see the trysight logo (picture 7.1) displayed and will
shortly be replaced by the warning message (see picture
4.1).
Press any button to enter into the live view screen.
Note: Wear your headset before turning the device on. To
wear the headset, place the device over your eyes and pull
the straps over your head. Adjust the Velcro straps to
achieve the best fit. It is suggested that you keep your
prescription glasses on. DO NOT WALK OR DRIVE WHILE
WEARING THE DEVICE.
Focus Wheel
Refer to reference guide on page 5 of this user manual to locate
the focus wheel. When the device is already on, use the focus
wheel of your goggles by scrolling it to the left or right to adjust
the focus until you get the clearest picture.
7.1

Read Button
Refer to reference guide on page 5 of this user manual to locate
the read button. To enter the read mode, when at the live view
screen, aim at the printed text, screen or any form of media
that you wanted the device to read and then press the read
button.
The word "PROCESSING" will be displayed while the device is
preparing to read the printed text on the screenshot.
The device will begin to read aloud and will display a magnified
version of the text into your screen.
In read mode, swiping up will read previous sentence, swiping
down will read next sentence, swiping rearward will decrease
zoom and swiping forward will increase zoom.
Double tapping the center of the trackpad will pause reading
and doing this again will resume reading. Pressing the read
button again exits you from read mode and returns you to the
live mode.
8
M E R C U R Y
V I S I O N
M e r c u r y V i s i o n H e a d s e t C o n t r o l s

9
M E R C U R Y
V I S I O N
Colors Button
Refer to reference guide on page 5 of this user manual to locate
the colors button. You can press the colors button to change
between the various contrasting color combinations as follows:
Original (color), High contrast (color), Black on White,
White on Black, Black on Yellow, Yellow on Black, Black
on Green, Green on Black, Yellow on Blue, Blue on
Yellow, Grayscale
Note: You may customize and reduce the number of color
selection options. Do this by going to your favorite non-
original and non-high contrast color option, press and hold
the colors button for approximately 7 seconds until you hear
an audible chime.
This will limit your options to four total as follows:
1. Original (color)
2. High contrast (color)
3. The favorite you chose
4. The reverse of that favorite
Your favorite color choice should not be either original or high
contrast.
M e r c u r y V i s i o n H e a d s e t C o n t r o l s
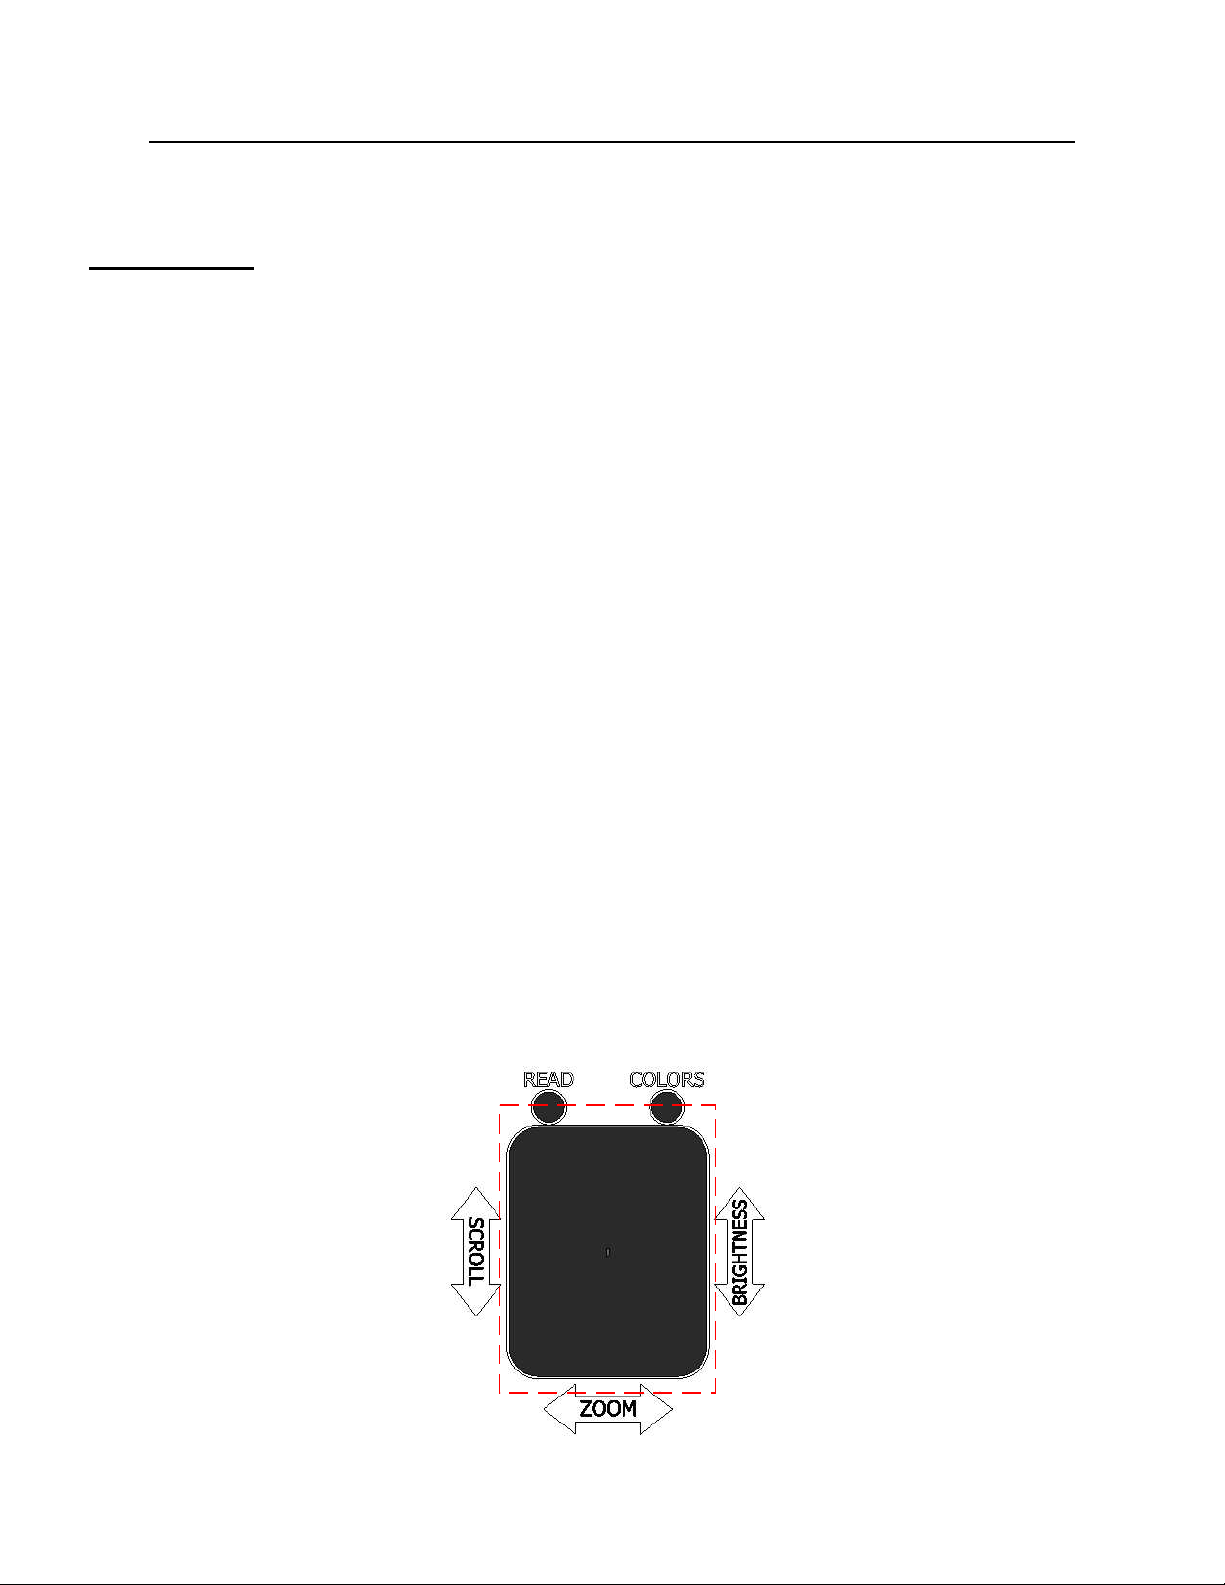
Trackpad
Refer to reference guide on page 5 of this user manual to locate
the trackpad. Locate the dimple in the middle of the trackpad
surface as this will be the "home" position for your reference.
The two major functions of the trackpad are zoom and
brightness.
To zoom in the live view screen, forward swipe to the trackpad
for increased zoom and swipe back for decreased zoom.
To control the brightness in the live view screen, swipe upward
for increased brightness and downward for decreased
brightness.
Note: Trackpad controls only works with the use of one (1)
finger. It does not react on desired controls when two (2)
fingers are used.
10
M E R C U R Y
V I S I O N
M e r c u r y V i s i o n H e a d s e t C o n t r o l s

11
M E R C U R Y
V I S I O N
Volume Buttons
Refer to reference guide on page 5 of this user manual to locate
the volume buttons. Control the volume of the device by
pressing the positive button (+) for increased volume and the
negative (-) button for decreased volume.
USB-C Charging Port
Refer to reference guide on page 5 of this user manual to locate
the USB-C charging port. The Mercury Vision can be plugged
in the AC power adapter to charge, the plug can be inserted on
either direction.
This port can also be used if you want to use the product for
extensive and continues use beyond what the built-in battery
can provide (See shutdown while charging instructions on page
14)
Note: This method of powering the device can sometimes
cause it to overheat. In case that it does overheat, unplug the
charging cable and turn off the device for a few minutes until
the device cools down.
M e r c u r y V i s i o n H e a d s e t C o n t r o l s
A d v a n c e d S e t t i n g s M e n u
12
M E R C U R Y
V I S I O N
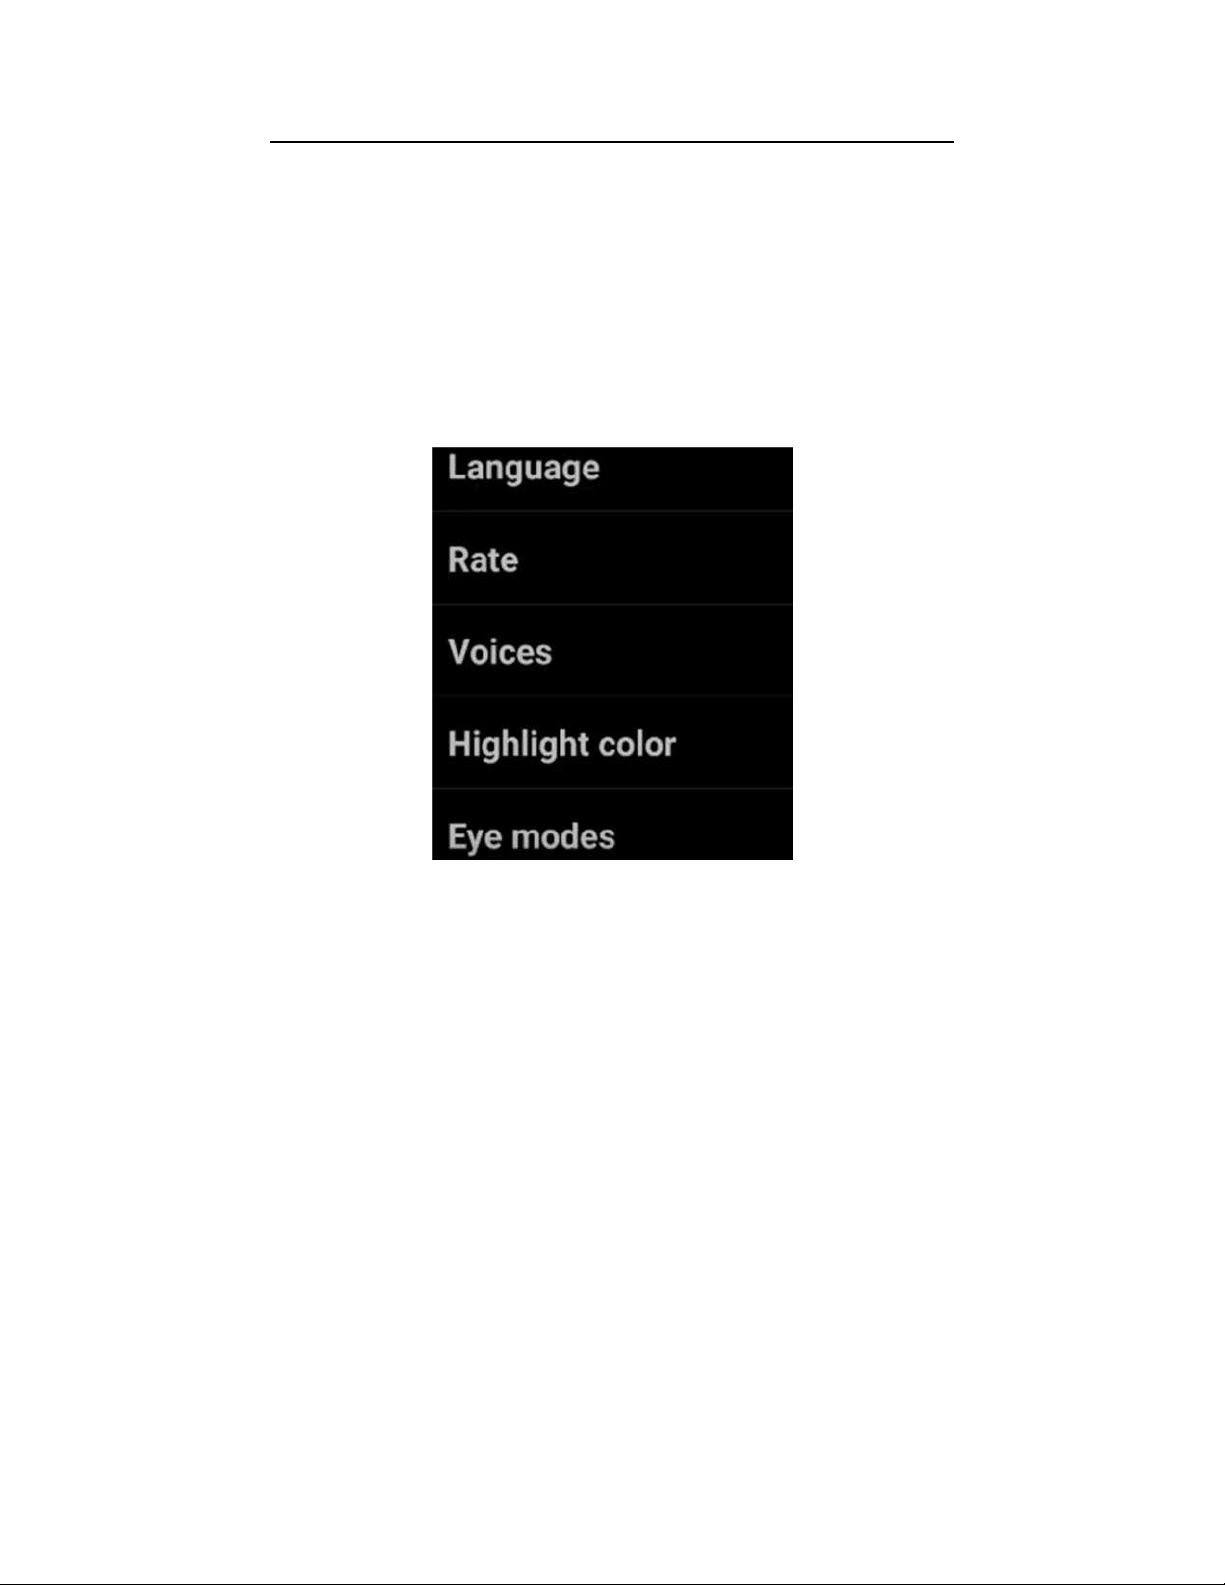
Advance settings menu can be accessed by pressing and
holding down the read button for approximately fifteen (15)
seconds when in the live view screen until the device makes a
chime ring sound. The main menu of the advanced settings
menu will be displayed right after (picture 12.1).
Navigate through the advanced settings menu by swiping up or
down into the trackpad to go through the different options you
can choose from. Choose between the following options:
Language, Rate, Voices, Highlight color, Eye modes,
Voice commands and Shutdown while charging. When
decided, press the read button to select the desired option.
Press the colors button to return to the previous menu. Pressing
the colors button repeatedly will allow you to exit into the live
view screen.
12.1

A d v a n c e d S e t t i n g s M e n u
13
M E R C U R Y
V I S I O N
Language
Selecting the language from the advanced settings menu will let
you choose what language to use for your Mercury Vision.
Trysight has made this device accessible to more users by
adding languages such as English, Spanish, French, Czech, and
German. (picture 13.1)
Note: The device is programmed with English as the default
language.
13.1
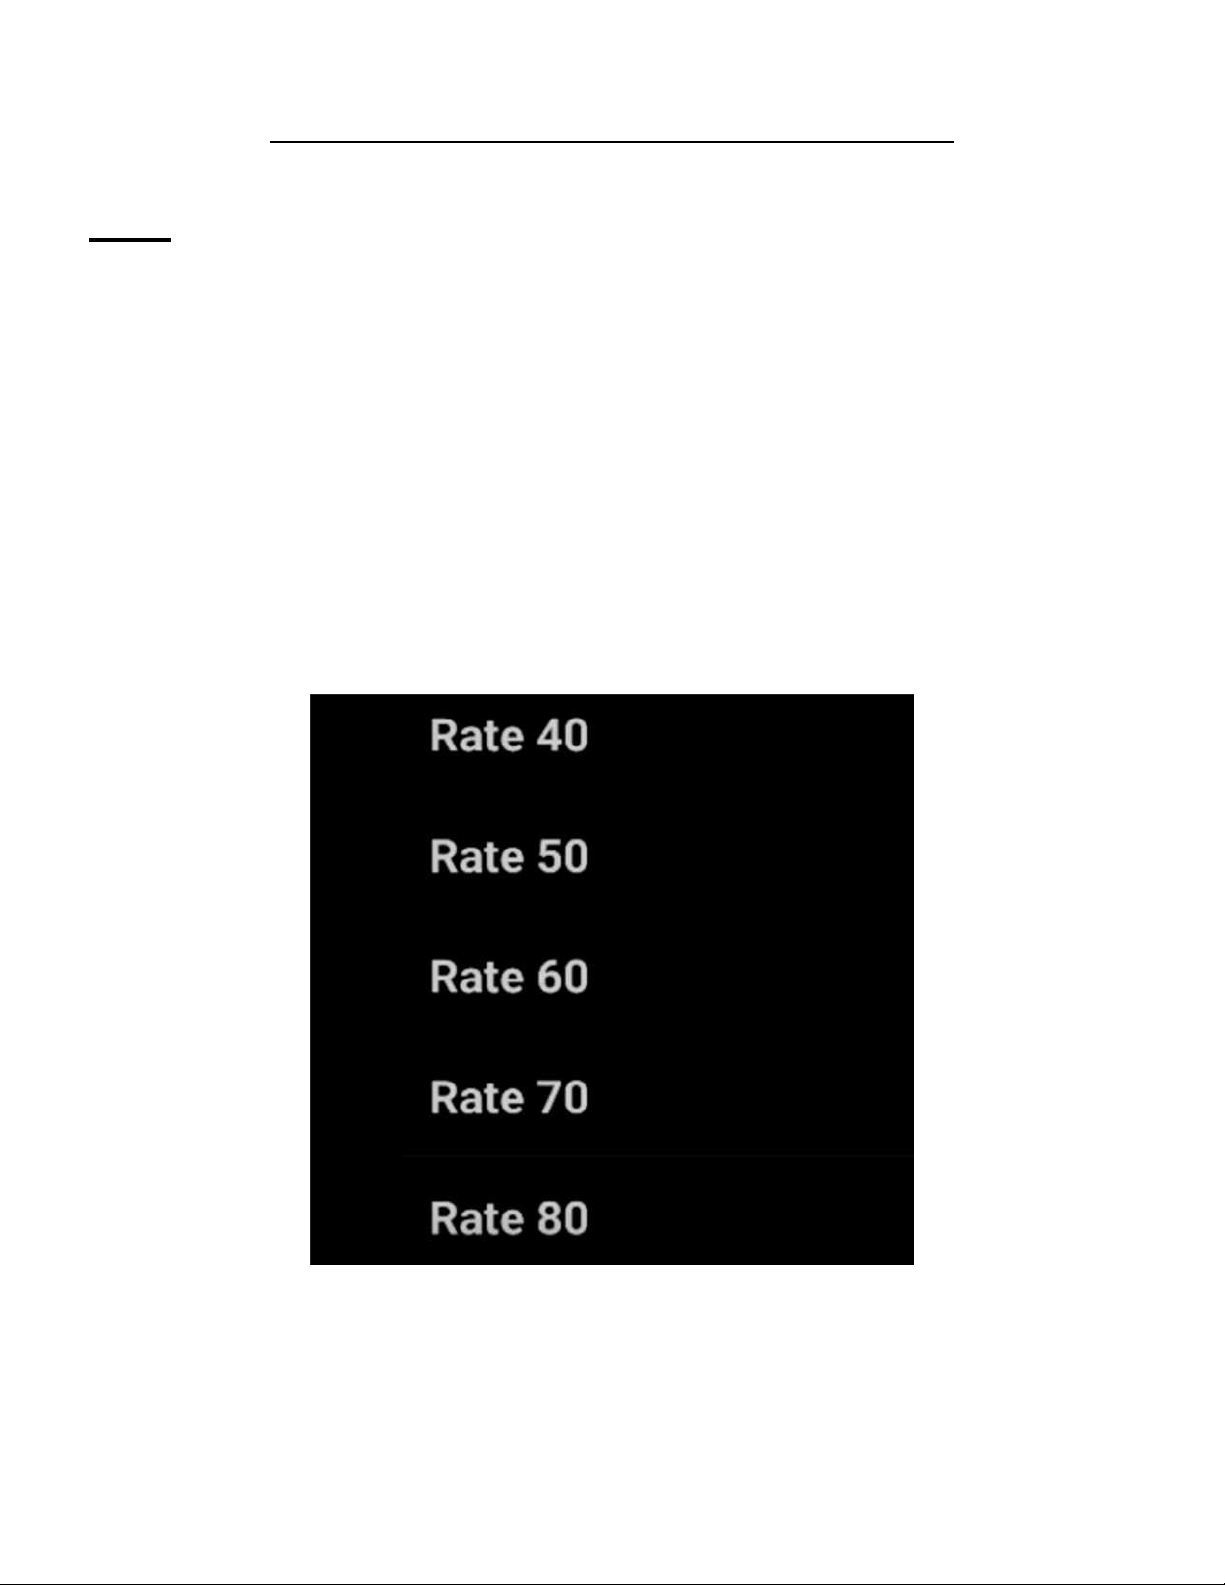
Rate
Changing the rate from the advanced setting menu will change
the speaking and reading speed of the device. The higher the
rate value, the faster the device will speak or read. Setting the
rate at a lower value will slow down the device's speaking and
reading speed. (picture 14.1)
Note: The device is programmed with Rate 40 as default.
A d v a n c e d S e t t i n g s M e n u
14
M E R C U R Y
V I S I O N
14.1

Highlight color
You can change the color that the Mercury Vision uses when
highlighting words while reading. Choose between Red, Green,
Blue, White, Black, Yellow and Gray (picture 15.2)
Note: The device is programmed with blue as default highlight
color.
A d v a n c e d S e t t i n g s M e n u
15
M E R C U R Y
V I S I O N
Voices
You can change the speaking and reading voice of your device
to your preference. You can either choose from "Samantha" for
female or "Tom" for male voice (picture 15.1).
15.1
15.2

A d v a n c e d S e t t i n g s M e n u
16
M E R C U R Y
V I S I O N
Eye modes
This mode gives you options whether to use both left and right
eyes, just the right eye or just the left eye while using the
Mercury Vision (picture 16.1).
Note: You can see your desired option for eye modes activated
when you exit to the live view screen by pressing colors button
repeatedly.
16.1

A d v a n c e d S e t t i n g s M e n u
17
M E R C U R Y
V I S I O N
Voice commands
You can navigate the Mercury Vision hands-free through the
Voice commands option. You can choose to activate the voice
command by selecting Voice Commands On and deactivate it by
choosing Voice Commands Off (picture 17.1).
Note: When the voice command is activated, you can turn it off
by tapping twice into the trackpad when you are in the live view
screen. Tapping twice again will reactivate the voice command.
This control by tapping will not work until you activate the voice
command through the Advance Setting Menu first.
17.1
Table of contents


