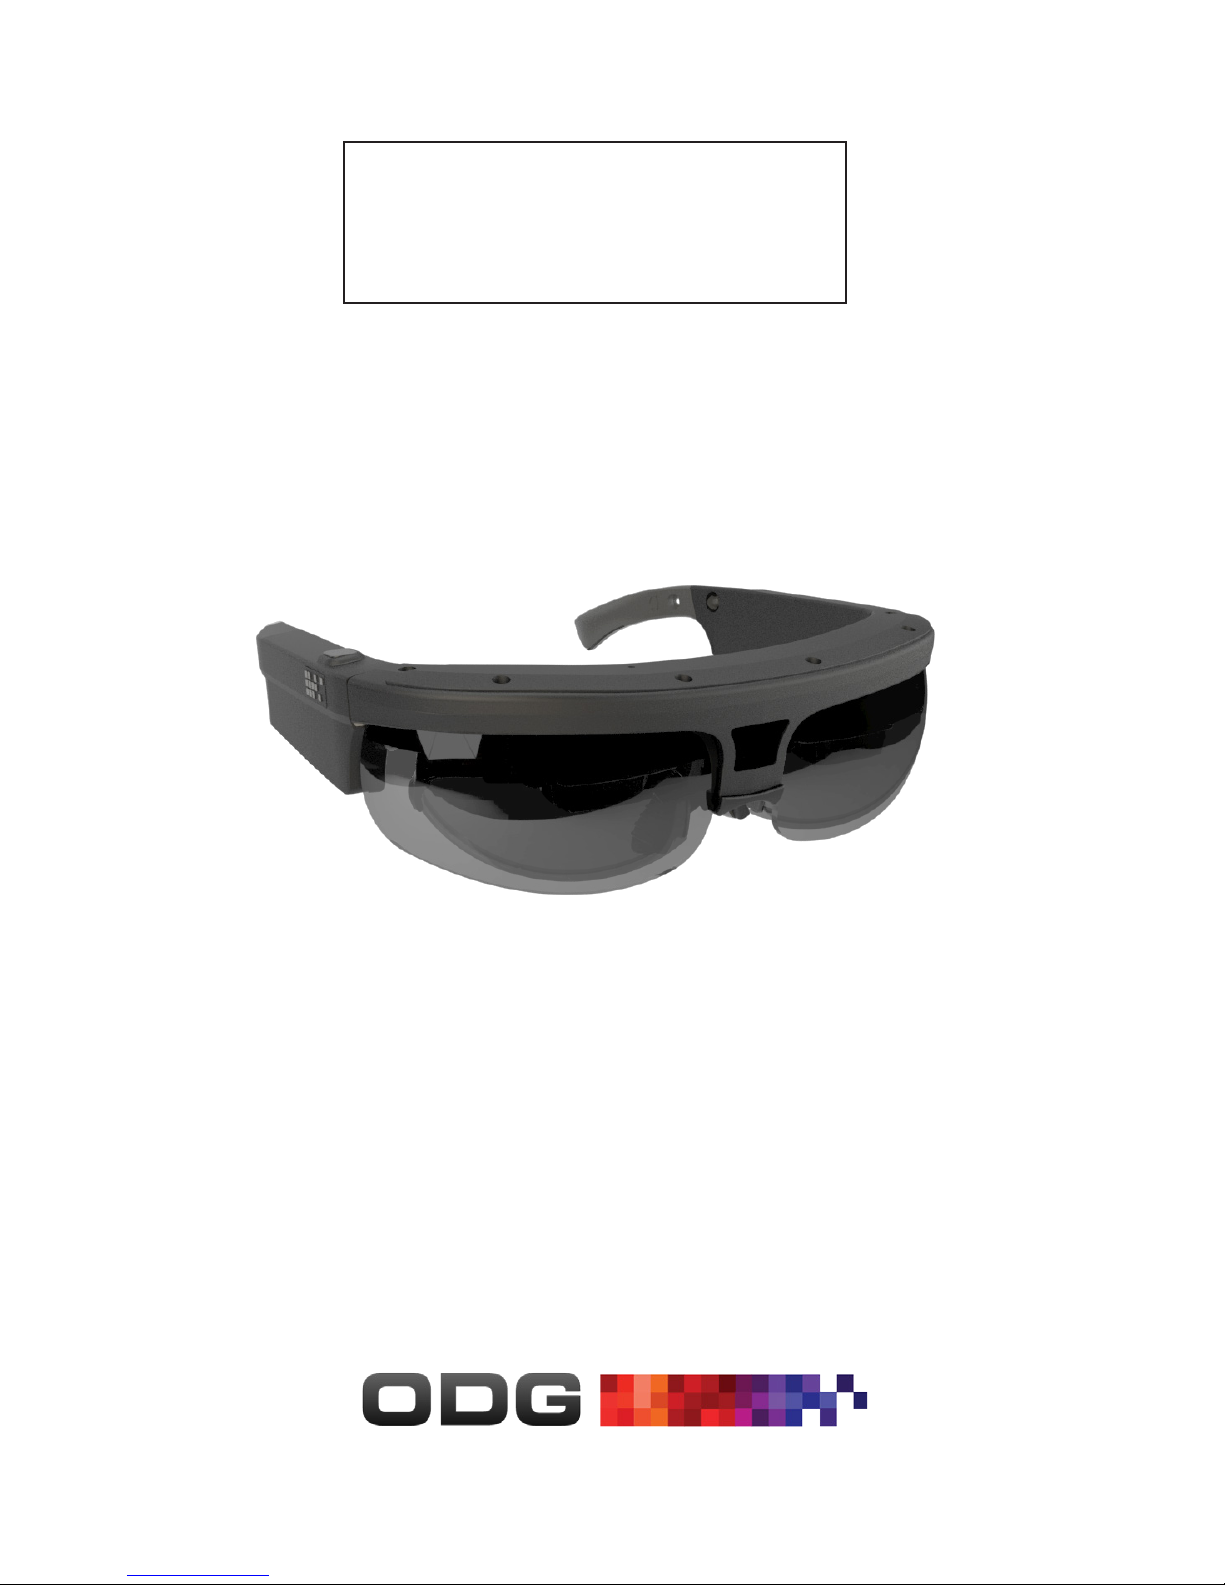
ODG R-6 User manual

1
USER GUIDE
R-6 GLASSES

2
Osterhout Design Group (ODG) reserves exclusive rights
to the product and grants not other licenses, rights, or
data of any kind. ODG prohibits the reverse engineering
or deconstruction of the item for any other purpose.
SDK documentation, guides, user forums, and software
downloads can be accessed through the ReticleOS
Developer Center:
To request a Developer account, please send an email to
developer.osterhoutgroup.com
DEVELOPER SUPPORT
R-6 GLASSES

3
Your ODG R-6 device has been designed and manufactured to
stringent quality and safety standards. You should, however,
be aware of the following important precautions for safe use
of the glasses and accessories.
Warning: This device contains powerful magnets and should
be kept a distance from persons with any metallic, electronic,
or magnetic device implants in the body.
This device contains lithium ion batteries, which can explode
or cause burns if disassembled or exposed to re or high heat.
Batteries must be disposed and recycled safely and properly.
Safety & Care
Read all of these instructions carefully.
Keep these instructions for future reference.
Heed all warnings.
Clean only with dry cloth.
Only use attachments/accessories specied by ODG.
Do not store glasses near any heat sources such as radiators,
registers, stoves, ampliers or other items that produce heat.

4
Quick Start....................................................................................5
Included in the Kit ..................................................................6-7
Main Components ..................................................................8-9
Using the Track Pad................................................................. 10
Charging...................................................................................... 11
Earbuds ....................................................................................... 12
Head Strap ................................................................................. 12
Wireless Finger Controller................................................... 13
Launching Applications ......................................................... 14
Control Panel ............................................................................ 15
System Menu............................................................................. 15
Nose Bridge ............................................................................... 16
Storing the Glasses.................................................................. 17
Parts & Accessories................................................................. 18
Table of Contents

5
Unpack Glasses
Attach Accessories
Adjust Fit
Power Up
Launch Applications
• Remove the glasses from the compact storage case.
• Unfold the ear horn. See Page 18
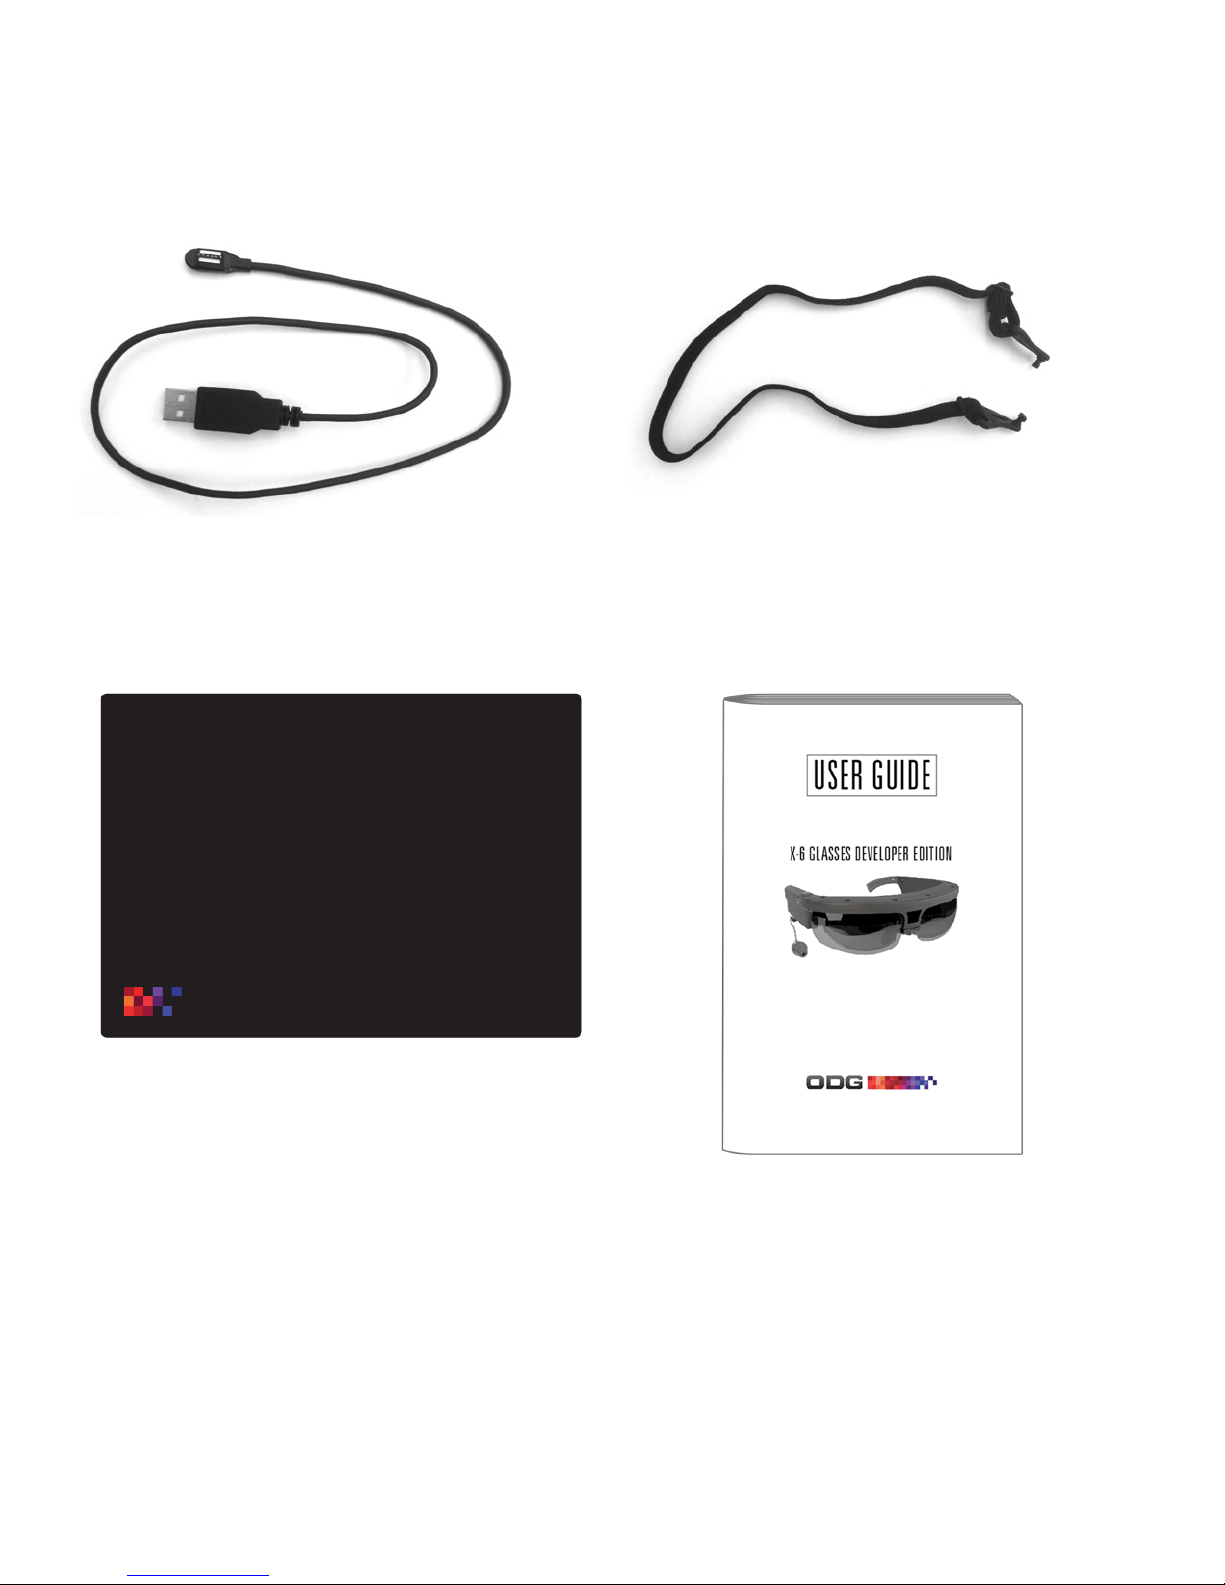
• If audio is desired, attach Ear Buds. See Page 12
• Attach Head Strap if needed. See Page 12
• Adjust Nose Bridge height and/or swap nose pads if needed
for optimum comfort and display viewing angle. See Page 17
• Press and release the Power button to turn on the glasses.
Within 30 seconds a startup screen should appear and then
the Home Screen. If there is insufcient power to boot the
device, see Charging , Page 11.
• Power up the Wireless Finger Controller by inserting it’s
battery and then pressing the two small round buttons at
the same time. See Page 13
• Power up the Wireless Keyboard by turning the power
switch on. See Page 14
• When the system powers on, the Home Screen will appear
with a row of icons mid-screen. Swipe left or right on the
Track Pad to highlight an application, and then press the
Track Pad to launch it. See Page 15
Quick Start
1
2
3
4
5

6
Included in the Kit
R-6 GLASSES
WIRELESS
FINGER
CONTROLLER
WIRELESS
FINGER
CONTROLLER
BATTERY
WIRELESS
FINGER
CONTROLLER
USB CHARGER
(2) EAR BUDS
PROTECTIVE CASE
USB
POWER
ADAPTOR

7
USER GUIDE
MICROFIBER LENS CLEANING CLOTH
HEAD STRAP
MAGNETIC USB
DATA & POWER CABLE

8
Track Pad
Finger Swipe........................................................ Controls cursor/selector
Press down........................................................... Click/select
Power Button
Short Press, Device Off................................... Powers up device
Short Press, Device On ................................... Puts displays to sleep
2-3 Second Press ............................................... Displays Shutdown menu
10 Second press ................................................. Forces shutdown of system
Back Button
Short Press........................................................... Navigates to previous screen
Long Press ............................................................ Navigates to Home Screen
Short Press, Home Screen ............................. Displays or Hides Home Screen
Menu Button
Short Press........................................................... Navigates to previous screen
Long Press ............................................................ Navigates to Home Screen
Short Press, Home Screen ............................. Displays or Hides Home Screen
RIGHT SIDE VIEW
POWER BUTTON
BACK BUTTON
TRACK PAD/CLICK
VIBRATORY FEEDBACK
MENU BUTTON
MAGNETIC EARBUD PORT
Main Controls

9
FRONT VIEW
TOP VIEW
MAGNETIC DATA & POWER PORT
CAMERA
TRACK PAD/CLICK
NOSE BRIDGE
SHIELDS
EAR HORNS
TEMPLES

10
RIGHT TEMPLE, TOP
PRESS DOWN
TO SELECT
SWIPE TO
MOVE CURSOR
Using the Track Pad
The track pads located on top of the right temple of the glasses as
well as the Wireless Finger Controller are optical devices. They
function equally with gloveless and gloved ngers.
Track Pad:
Finger Swipe..............................................Controls cursor/selector
Press down.................................................Click/select
TRACK PAD/CLICK

11
To charge the glasses, attach the Magnetic USB Data & Power Cable
to the charging port on top of the left temple and plug the cable into
the supplied power supply.
A charging status light located on the inside front of the glasses illumi-
nates when the charging cable is plugged in.
Solid White illumination indicates charging is underway.
Solid Green indicates a full charge.
Blinking Pink indicates an error with one of the batteries. If an error
is indicated contact ODG for servicing. Do not attempt to access the
batteries or disassemble the device.
Charging
LEFT TEMPLE, TOP
FRONT, INSIDE
CHARGING STATUS LIGHT
SOLID WHITE SOLID GREEN BLINKING PINK
CHARGING CHARGED BATTERY ERROR
MAGNETIC USB
DATA & POWER
CABLE
LEFT TEMPLE

12
To listen to audio, attach each of the supplied earbuds into the magnetic
earbud ports located on the bottom of each temple.
To adjust the volume, press and release the Menu button to display the
Volume settings in the Control Panel.
The included Head Strap may be attached to secure the glasses to the wear-
er’s head. To attach the strap, press the strap connectors into the oval hole
in the Ear Horns, then rotate them 90°.
Earbuds
Head Strap
SIDE VIEW
SIDE VIEW
EAR BUD (x2)
MAGNETIC EARBUD PORT
HEAD STRAP ATTACHMENT
1. Insert Connector
2. Rotate 90°

13
The Wireless Finger Controller is an input device for the system that
is worn on the user’s index nger and controlled with their thumb. The
Track Pad, Menu and Back buttons function in the same manner as the
device’s buttons. (See Main Components, Page 8)
To power up the controller, insert the battery and press and hold the Back
and Menu buttons simultaneously until the status light ashes green.
If the controller does not connect to the glasses the battery may not be
charged or the Bluetooth pairing may be lost.
Bluetooth Pairing
To enter pairing mode on the controller, press the Back, Menu and Track
Pad simultaneously until the status light blinks blue. On the glasses, press
and hold the Menu button to display the System Menu (See Page 16) and
select Settings. Under the Bluetooth settings, select the controller from
the list of available devices.
Charging
Included in the kit is a charger for the Wireless Finger Controller battery.
Disconnect the battery from the controller and insert the battery into the
charger. The battery should be fully charged in 3 hours.
Wireless Finger Controller
BACK BUTTON MENU BUTTON
FINGER STRAP
BATTERY
TRACK PAD/CLICK

14
When the system powers on, the Home Screen will appear with a row of
icons mid-screen. Swiping a nger left or right across the track pad will
select an application. Then press the Track Pad to launch the selection.
Pressing and holding the Back button at any time will navigate the user to
the Home Screen.
To view all available applications on the system, select the “Show All
Applications” icon. While viewing all applications, an indicator shows which
icons are on the Home Screen. Select “Back to Home Screen” to switch
back to the Home Screen.
To manage the icons, press and hold the Track Pad to display a menu of
options such as Add or Remove from Home . Press and release the Back
button to exit this menu.
Launching Applications

15
The Control Panel provides quick access to frequently used settings.
Controls include Volume, Brightness, Display Mode, Input Mode and
Voice Control.
To access the Control Panel, press and release the Menu button. Swipe
left or right to highlight a setting, then press and release the Track Pad to
display a popup menu of options. Swipe up and down to select the desired
setting. Press and release the Back button to exit the Control Panel.
The System Menu contains all available
settings and controls for the system and/
or applications.
To access, press and hold the Menu button.
The menu options will vary based on the
current application.
Press and release the Back button to exit
the System Menu.
Control Panel
System Menu

16
To provide comfort for the wearer as well as to adjust the glasses t for
optimum viewing of the displays, the nose bridge may be adjusted up and
down to three positions.
To adjust the height of the nose bridge, press and hold the indicated button
and slide the nose bridge up or down.
Three sizes of nose pads are also included to provide additional adjustment
of t for a variety of faces. To remove the nose pads, carefully stretch them
off the nose bridge clips. To install nose pads, carefully stretch them over
the nose bridge clips.
Note: After any adjustment gently wipe the camera lens off with the sup-
plied Microber Cleaning Cloth.
Nose Bridge
FRONT, INSIDE
SLIDE UP AND DOWN
PRESS AND HOLD BUTTON

17
TEMPLE INTERIOR
COMPACT CASE
To store the glasses in the compact
case, one of the ear horns must be
folded in. Holding the temple, pull
slightly on one of the ear horns to
release it, then carefully rotate until
it clicks into the folded position. Fold
this ear horn down rst, then fold
the other (un-rotated) ear horn, then
place the glasses into the compact
case.
Reverse these steps when removing
the glasses from storage.
Storing the Glasses
TEMPLE
DO NOT TWIST TEMPLE
1
2
EAR HORN

18
For pricing and ordering information on parts and available
accessories for the X6 system please email ODG at
Replacement Parts & Accessories
Magnetic USB Cable
Earbuds
Nose Pads
Ear Horns
Front Shields
Corrective Lenses
Compact Storage Case
Wireless Finger Controller
USB Power Adapter

THIS DEVICE COMPLIES WITH PART 15 OF THE FCC RULES. OPERATION IS SUBJECT TO THE FOLLOWING TWO
CONDITIONS: (1) THIS DEVICE MAY NOT CAUSE HARMFUL INTERFERENCE, AND (2) THIS DEVICE MUST ACCEPT ANY
INTERFERENCE RECEIVED, INCLUDING INTERFERENCE THAT MAY CAUSE UNDESIRED OPERATION.
NOTE: THE MANUFACTURER IS NOT RESPONSIBLE FOR ANY RADIO OR TV INTERFERENCE CAUSED BY
UNAUTHORIZED MODIFICATIONS TO THIS EQUIPMENT. SUCH MODIFICATIONS COULD VOID THE USER’S
AUTHORITY TO OPERATE THE EQUIPMENT.
NOTE: This equipment has been tested and found to comply with the limits for a Class B digital device, pursuant to
part 15 of the FCC Rules. These limits are designed to provide reasonable protection against harmful interference
in a residential installation. This equipment generates, uses and can radiate radio frequency energy and, if not
installed and used in accordance with the instructions, may cause harmful interference to radio communications.
However, there is no guarantee that interference will not occur in a particular installation. If this equipment does
cause harmful interference to radio or television reception, which can be determined by turning the equipment off
and on, the user is encouraged to try to correct the interference by one or more of the following measures:
- Reorient or relocate the receiving antenna.
- Increase the separation between the equipment and receiver.
-Connect the equipment into an outlet on a circuit different from that to which the receiver is connected.
-Consult the dealer or an experienced radio/TV technician for help.
19

20
OSTERHOUT DESIGN GROUP
153 Townsend Street, Suite 570
San Francisco, CA 04107
Tel: (415) 644-4000
www.osterhoutgroup.com
V4.3
Table of contents
Other ODG Smart Glasses manuals