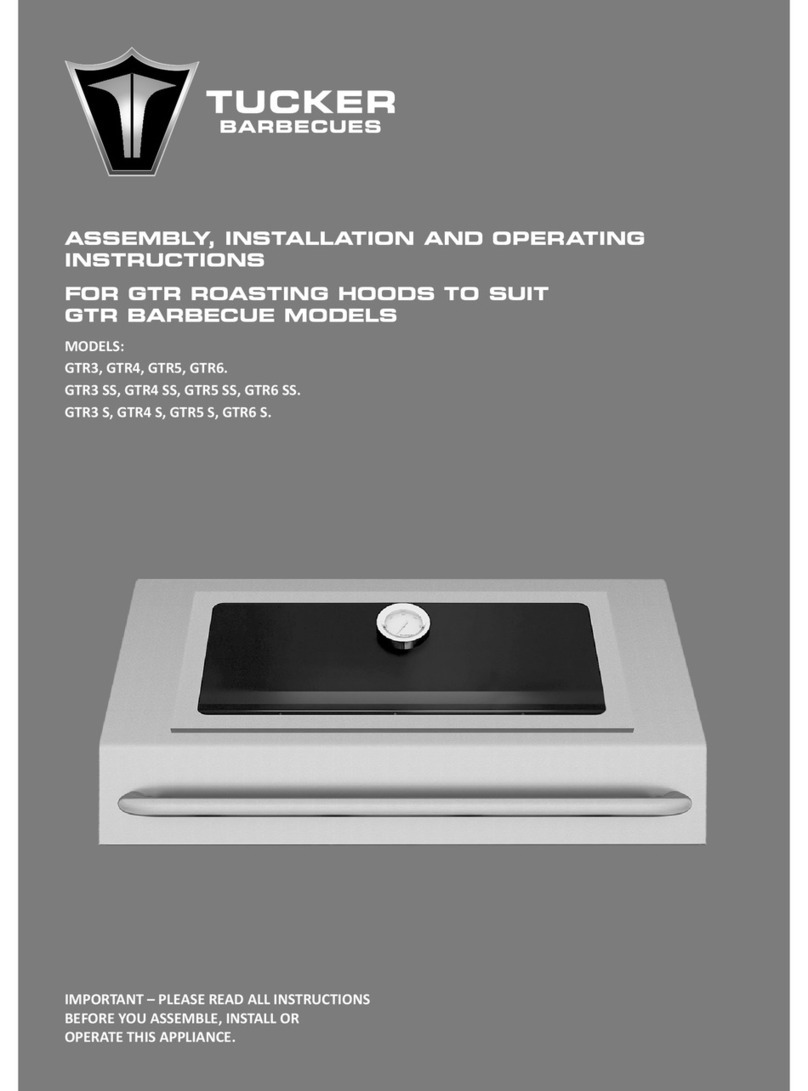
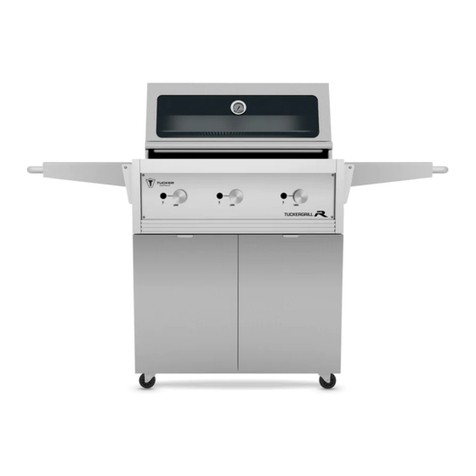
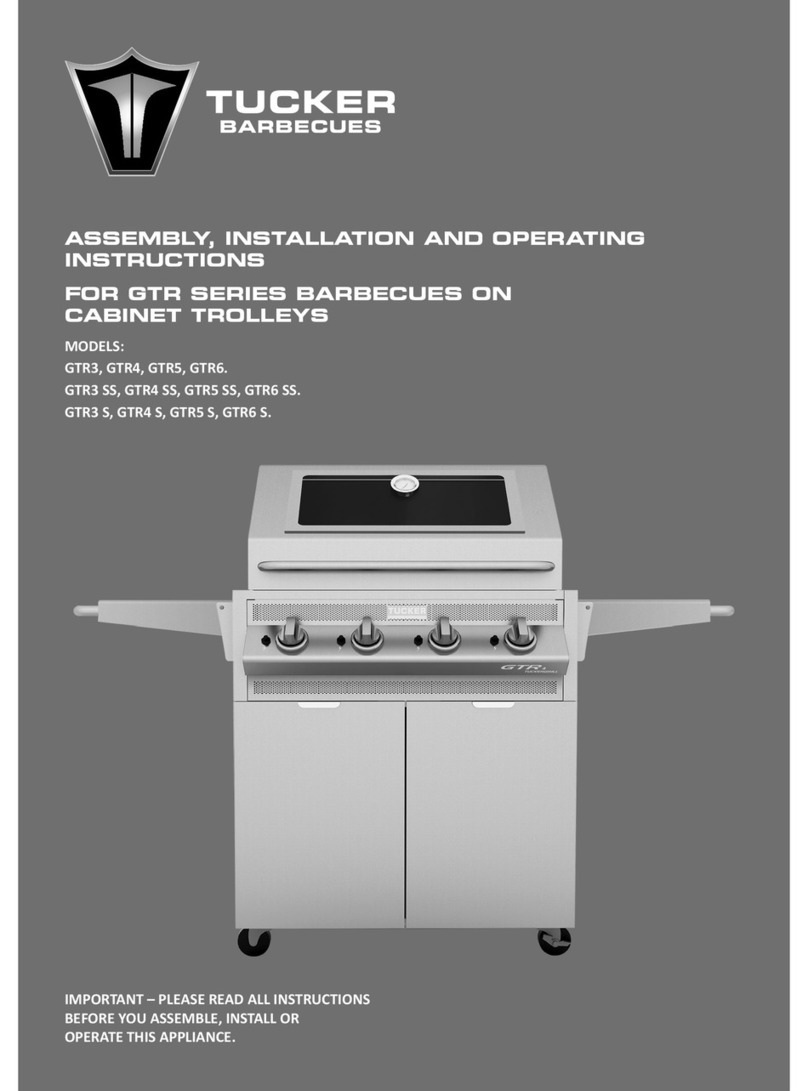
Tucker Horizon Barbecue User manual

0
HORIZON
BARBECUE
ROASTING HOOD
OWNERS MANUAL

1
IMPORTANT READ ALL INSTRUCTIONS BEFORE ASSEMBLY,
INSTALLATION OR OPERATING ROASTING HOOD
SAFETY PRECAUTIONS AND WARNINGS
Tucker Horizon barbecues and roasting hoods are approved for
outdoor use only.
Save this manual for future reference.
The maximum cooking temperature is 200’c.
The roasting hood is hot while in use, keep children well away.
Always attend the barbecue while it is in operation.
Regular cleaning is essential.
Grease or fat fires are not covered by warranty.
When not in use the roasting hood should be left shut.
An optional canvas cover will protect your appliance from the weather.
ROASTING HOODS ARE OPTIONAL ACCESSORIES TO YOUR BARBECUE,
PLEASE READ THIS MANUAL IN CONJUNCTION WITH THE TUCKER
HORIZON BARBECUE INSTRUCTION MANUAL.
WARNING: If you smell gas, shut off gas supply and extinguish
any open flame. If odour continues immediately call your gas
supplier or your fire department.
HAZARDOUS FIRE OR EXPLOSION MAY RESULT IF INSTRUCTIONS
ARE IGNORED.
It is the consumer’s responsibility to see that the barbecue and hood are
properly assembled, installed and taken care of.
Failure to follow instructions in this manual could result in injury and/or
property damage.

2
ASSEMBLY INSTRUCTIONS
1. Remove all the packaging material and plastic coating from the hood.
2. Check you have all the correct components as listed below.
PARTS LIST.
TOOLS REQUIRED
Roasting hood body
10mm spanner
Rear cooking shelf
Handle and 2 x nuts
Roasting rack
Baking Dish
3. Attach the handle to the front of the hood using the 2 x 10mm nuts.
4. Place the rear-cooking shelf onto the brackets in the rear section of the hood.
5. The roasting rack and baking dish can be stored away for now unless needed
for roasting.
HINTS:
Remove greasy fingerprints etc. from the hood after assembly. Stainless
steel polish or a little cooking oil with a soft cloth works well.
The oil will protect the stainless steel from dust and salt spray settling on the
stainless steel.
Salt spray, dirt and grime can cause tea staining on stainless steel, a
weather proof cover is recommended to keep your barbecue clean and
reduce tea staining especially in coastal areas.

3
INSTALLATION INSTRUCTIONS
Tucker Horizon roasting hoods are designed to be
installed onto Tucker Horizon barbecues.
This appliance must be installed outdoors.
The minimum clearance to combustibles is as follows.
Minimum 100mm clearance to combustibles on the rear.
Minimum 50mm clearance on the sides and 800mm top clearance.
Do not install this appliance indoors or on marine craft.
Do not obstruct the air ventilation opening at the rear of the hood.
1. Place the roasting hood on top of the barbecue.
2. The lugs on the base of the hood slot into the surrounding edges of the
barbecue.
NOTE: The lugs on the front of the hood must slot into the barbecue before the
lugs on the rear.

4
OPERATING INSTRUCTIONS
1. Always open the hood before lighting the barbecue.
2. Use the burners on high to reach180 - 200 deg with the hood closed to pre
heat the barbecue.
3. Then turn the burners down a little to maintain between 180 - 200 deg.
4. This will provide you with the optimum temperature for roasting.
5. For barbecuing the temperature is much the same although it depends on
the way you like to cook, slowly or fast.
6. The maximum recommended temperature for roasting is 200 deg.C.
Cooking times can vary depending on weather conditions but generally
times should be similar to regular oven times at the same temperatures.
Allow 1 hour per kilo of meat. A standard size family roast will take
approximately 2-3 hours, (the slower the better).
NOTE:
•Cold and windy conditions can affect roasting hood temperatures.
•Do not run the barbecues on high for long periods unless you are
cooking.
WARNING!
If the barbecue burners should go out due to strong winds, care
should be taken.
Wait 1 minute before re-lighting to let any gas disperse
All surfaces of the roasting hood are hot; do not touch any part of
the hood except the handle.

5
PRE HEATING BEFORE COOKING
Turn on the amount of burners you require to barbecue. (Depending on
how much food you are going to cook).
Run the barbecue for 5 minutes on high with the hood closed to warm it
up.
Apply a light coating of cooking oil over the surface of the plate and grills
to help stop food from sticking to them.
ROAST RACK AND BAKING DISH
The roasting rack is designed for roasting.
Place the roast rack on the cooking surface.
Place the baking dish filled with water under the roast rack.
The water keeps the roast moist while cooking and collects oil and
marinade that drips off the roasting meat.
Without the water the tray will get very hot and buckle and the fat will hiss
and spit.
The tray also protects the roast from direct heat, which will cause the
roast to flare from oil dripping onto the heat diffusers and burning the
roast.
The ideal temperature to roast is 180-200 deg. C.

6
Check your roast regularly and top up the water in the baking dish as it
will slowly evaporate over time as it boils.
When your roast is half cooked, turn it over so as to brown the roast evenly
on both sides.
At this time you can put your vegetables up on the rear-cooking shelf either in
another baking dish or just on the shelf to roast them above the grill.
Handy Hints;
The roast vegetables will require turning every 10 minutes, as they can
stick to the baking dish.
Only lightly baste the vegetables, as oil is highly flammable.
Use baking paper under the vegetables to stop them sticking.
You can make tasty gravy from the reduced water in the baking dish with
the addition of a stock cube and a little flour or cornflour.
REAR-COOKING SHELF
The rear-cooking shelf is used for extra cooking space inside the hood as
well as a warming space.
You can grill any meat up on the cooking shelf.
The chance of flare up is decreased, as the distance from the heat vaporiser
is further away.
This makes it ideal for fatty meat like sausages, lamb chops, pork chops,
ribs, chicken wings and legs, satays.
The rear cooking shelf can be adjusted forwards or backwards to give you
better stability when using large pans or big pieces of meat and fish on it.

7
MAINTENANCE
1. Wash the roasting hood regularly with hot soapy water and a soft cloth.
2. Rinse well and wipe the surface dry before storing or covering.
3. For stubborn stains and grease build up, scotch bright pads or stainless
steel wool can be used, but try to avoid using these heavy abrasives, as
they will leave scratch marks on the stainless steel.
If used rub with the grain of the stainless steel to avoid obvious
scratching.
4. Do not use steel wool, as this will leave steel granules on the surface of
the stainless steel that will cause surface rust.
5. To remove surface rust marks we recommend Eagle One, NEVER DULL
wadding polish. To prevent rust marks polish the barbecue with stainless
steel polish regularly.
6. Stainless Steel barbecues can be affected by high temperatures of which
can cause discolouration on the barbecue and roasting hood.
7. Check and tighten nuts on the hood handle periodically.
8. A canvas cover will help keep your barbecue protected from weather.
Make sure the barbecue is dry before putting the cover on or corrosion
may occur. Coastal climates are particularly vulnerable to this.
FOR SERVICE OR REPLACEMENT PARTS, CONTACT YOUR NEAREST
DEALER OR TUCKER AUSTRALIA PTY LTD.

8
TUCKER HORIZON ROASTING
HOOD WARRANTY
WARRANTY PERIOD
Stainless steel body 10 years
Stainless steel cooking shelf 2 years
Temperature gauge 1 year
Roast rack 2 years
Baking pan 1 year
Should any part fail due to defective workmanship or faulty materials
within the specified period from the date of purchase, TUCKER distributors
will repair or, (distributors option), replace the defective part free of
charge.
NOT COVERED
•The warranty does not cover the purchaser or any other person for
damage malfunction or loss due to the following:
•Lack of maintenance, abuse, neglect, misuse, accident, or improper
installation of this appliance.
•Scratches, dents or discolouration caused by heat, abrasive or chemical
cleaners.
•Damage due to grease or fat fires.
•Surface rust.
•Cleaning and normal wear and tear.
•Unauthorised repairs during the warranty period.
•Removal or re-installation costs.
SERVICE CALLS OF THE ABOVE NATURE ARE CHARGEABLE
CONDITIONS OF THIS WARRANTY
1. The appliance is delivered to TUCKER AUSTRALIA distributors service
department or authorised service agent and freight charges both ways is to
be paid by the owner. No liability is accepted for loss or damage during
transit.
2. The appliance is installed by a qualified person and operated and maintained
in accordance with the instructions supplied. Repairs and service must be
carried out by an authorised person.
3. Installation must conform to the standards laid down by the local codes or, in
the absence of local codes, with AGA code AG:601 AS:5601:2002

9
4. No alterations or repairs are to be carried out without obtaining the
distributors prior consent. Such repair or any replacement does not extend
the warranty period.
5. Proof of purchase together with this warranty must be provided to verify
purchase date and establish the warranty period. Only the original purchaser
is covered under this warranty.
6. Where this warranty is inconsistent with any state laws, the rights of the
purchaser shall prevail.
7. Parts installed from other manufacturer’s products will nullify this warranty.
FOR YOUR RECORDS
Model: ........................................................`............
Serial Number: .......................................................
Retailer: ..................................................................
Purchase Date: .......................................................
Gas type: ............................................……………...
TUCKER AUSTRALIA PTY LTD.
2/91 DARLEY STREET.
MONA VALE NSW 2103.
AUSTRALIA.
PHONE (+612) 9999 1891
FAX (+612) 9979 5689
WEB SITE www.tuckerbbq.com.au
EMAIL mail@tuckerbbq.com.au
Table of contents
Other Tucker Grill manuals