TM
x40 x40 x40 x1x10
x1x10x10
TG-FF8D4078
1/2
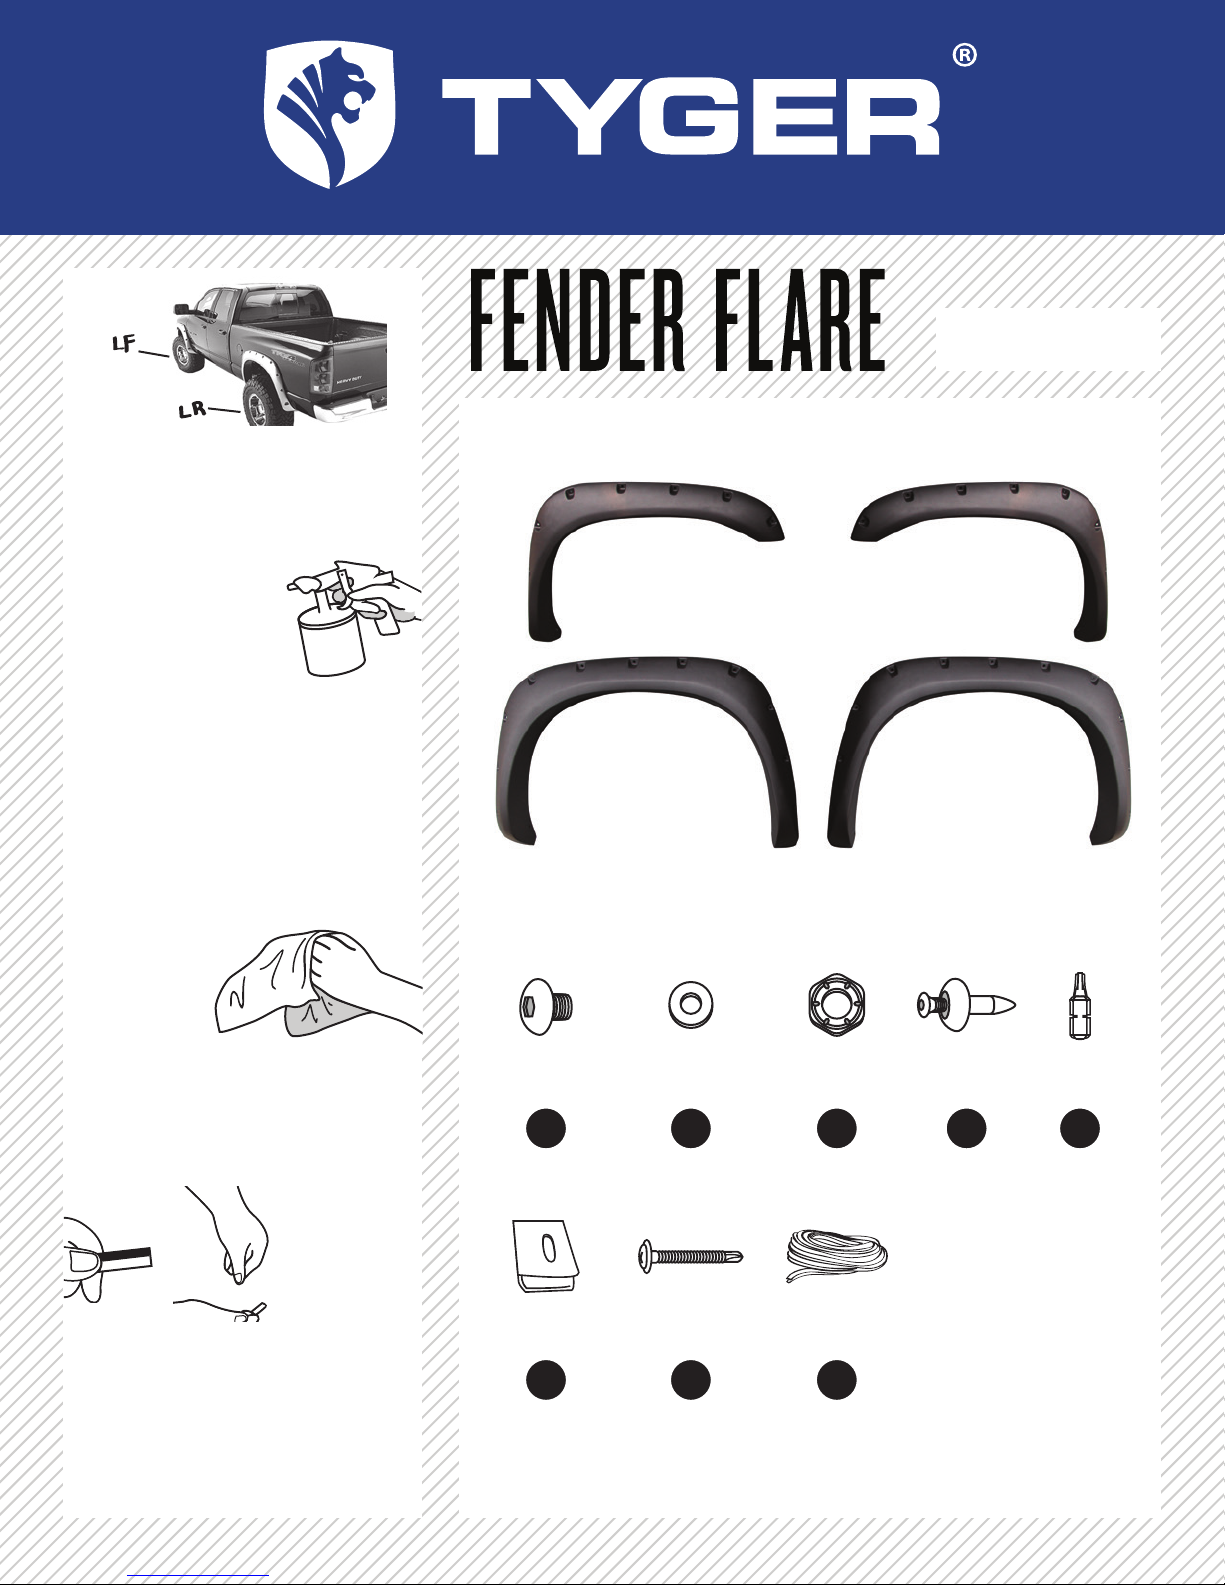
If Painting is needed
If paint is desired, it must be done prior to
installing ares on vehicle. DO NOT USE
LACQUER THINNER OR ENAMEL REDUCER AS A
DEGREASER. Wipe outer surface thoroughly
with a tack rag prior painting. Paint ares by
using a high quality enamel, or polyurethane
automotive paint. If painting edge trim (not
recommend), use a ex additive
Apply Rubber Seal
Remove a 1 inch tape liner from rubber seal
and apply it to the out edage of the are, start
from one end go along the edge that comes in
contact with body panel, apply pressure on the
tape to ensure that it adheres well, trim if any
excess.
Before Installation
Verify the tment of the ares to vehicle prior
installation. (Some ling, sanding or cutting
may be require to ensure proper t)
Clean thoroughly before application
Wash and wipe dry the surface and inside
edge of the fender are where the rubber seal
is to be attached.
Installation
(Left Front Flare Shown)
Rubber Seal (1)
Push-In Clip (10)
Plastic Expanding Fastener (4)
Allen Bolt & Nut (Allen Key required) (38)
5/16 x 18 x3/8”
Allen Bolt
.320 x .700 x .03
SS Washer
5/16-18 Jam Fin.
Allen Nut T-45 Allen Key
Rubber Seal
350 inches
Tuok
Self
tappling screw
Push-in Clip


