P a g e | 9 Copyright UltraDisk® Digital Voice Recorders
© All rights reserved 2011
Setting t e time and date
Setting t e time and dateSetting t e time and date
Setting t e time and date
stamp of recordings.
stamp of recordings.stamp of recordings.
stamp of recordings.
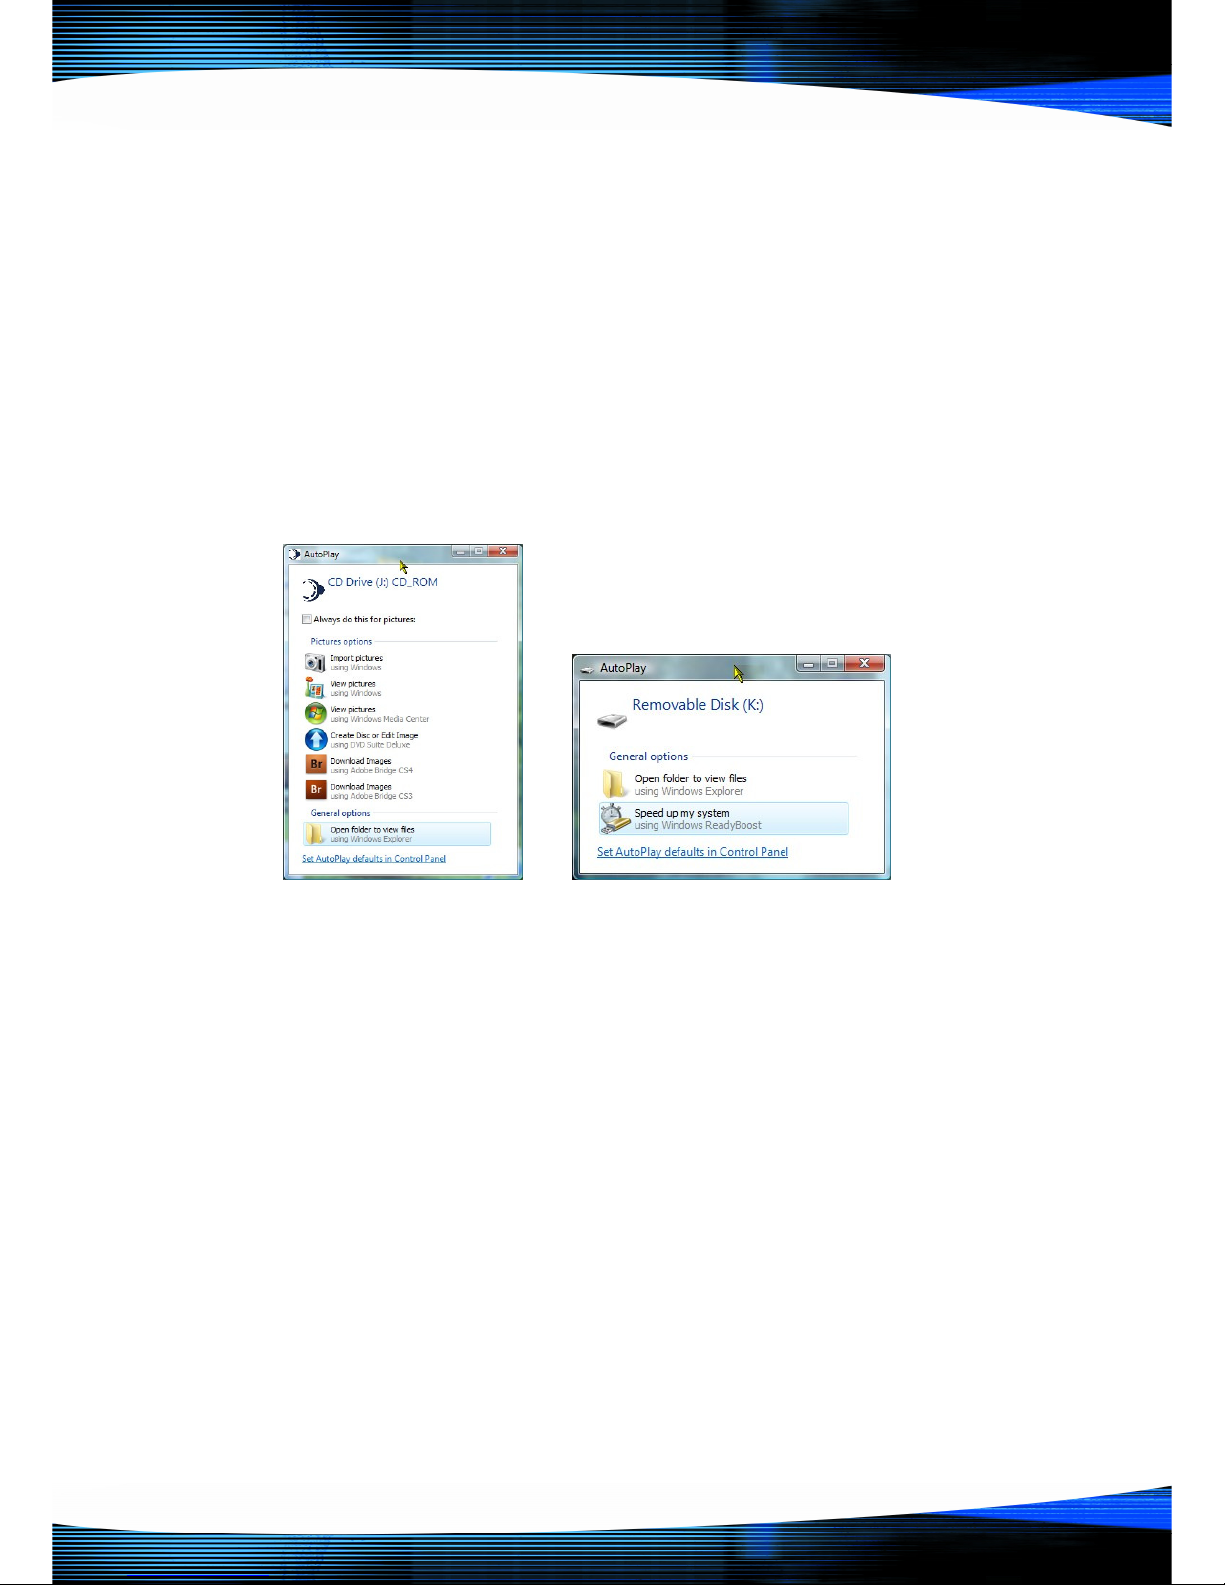
Drive J (
Drive J (Drive J (
Drive J (t is letter may vary on your computer
t is letter may vary on your computert is letter may vary on your computer
t is letter may vary on your computer)
) )
)
contains UltraDisk® Software
contains UltraDisk® Software contains UltraDisk® Software
contains UltraDisk® Software
•
Double click on t e application
SetTime.exe
SetTime.exeSetTime.exe
SetTime.exe
•
Please note t ere will be no message
indicating success or failure
•
Your computer time now sync ronises
to t e USB Device
•
Remove t e USB Voice Recorder and
make a test recording
•
Re-insert t e UltraDisk® DVR10 voice recorder into t e PC
If you now c eck t e properties of t e file, t e date and time of t e
wav file is now s own as t e date and time it was created.
Resetting t e DVR10
Resetting t e DVR10Resetting t e DVR10
Resetting t e DVR10
If t e DVR10 is failing to respond, c arge or
launc t e built in UltraDisk® software
w en you insert it into your computer
consider resetting it.
To perfom a ard reset insert a pencil /
paperclip into t e reset ole as s own for 3
seconds. T is will restore t e unit to its factory settings and perform a
ard reset.
Formatting
FormattingFormatting
Formatting
t e DVR10
t e DVR10 t e DVR10
t e DVR10
Insert your voice recorder to t e usb port on your computer and rig t
click t e detected removable drive (In our example it is Drive K).
Warning !! Formatting will delete
deletedelete
delete
all t e data from your Digital
all t e data from your Digital all t e data from your Digital
all t e data from your Digital
Voice Recorder
Voice RecorderVoice Recorder
Voice Recorder. You may wis to copy all of t e data off t e
recorder before you perform t e format, as all data will be
deleted!